
LIFX makes some of the best smart light bulbs around, and offers a great app for controlling them, but turning on the lights and changing their colors is even easier with Google Assistant. Once connected, you’ll be able to use your voice to control your LIFX lights from your phone or Google Home — and don’t worry, setup is quick and easy.
Our top recommendations
- The best bulb: LIFX 1100 Lumen A19 ($60 at Amazon)
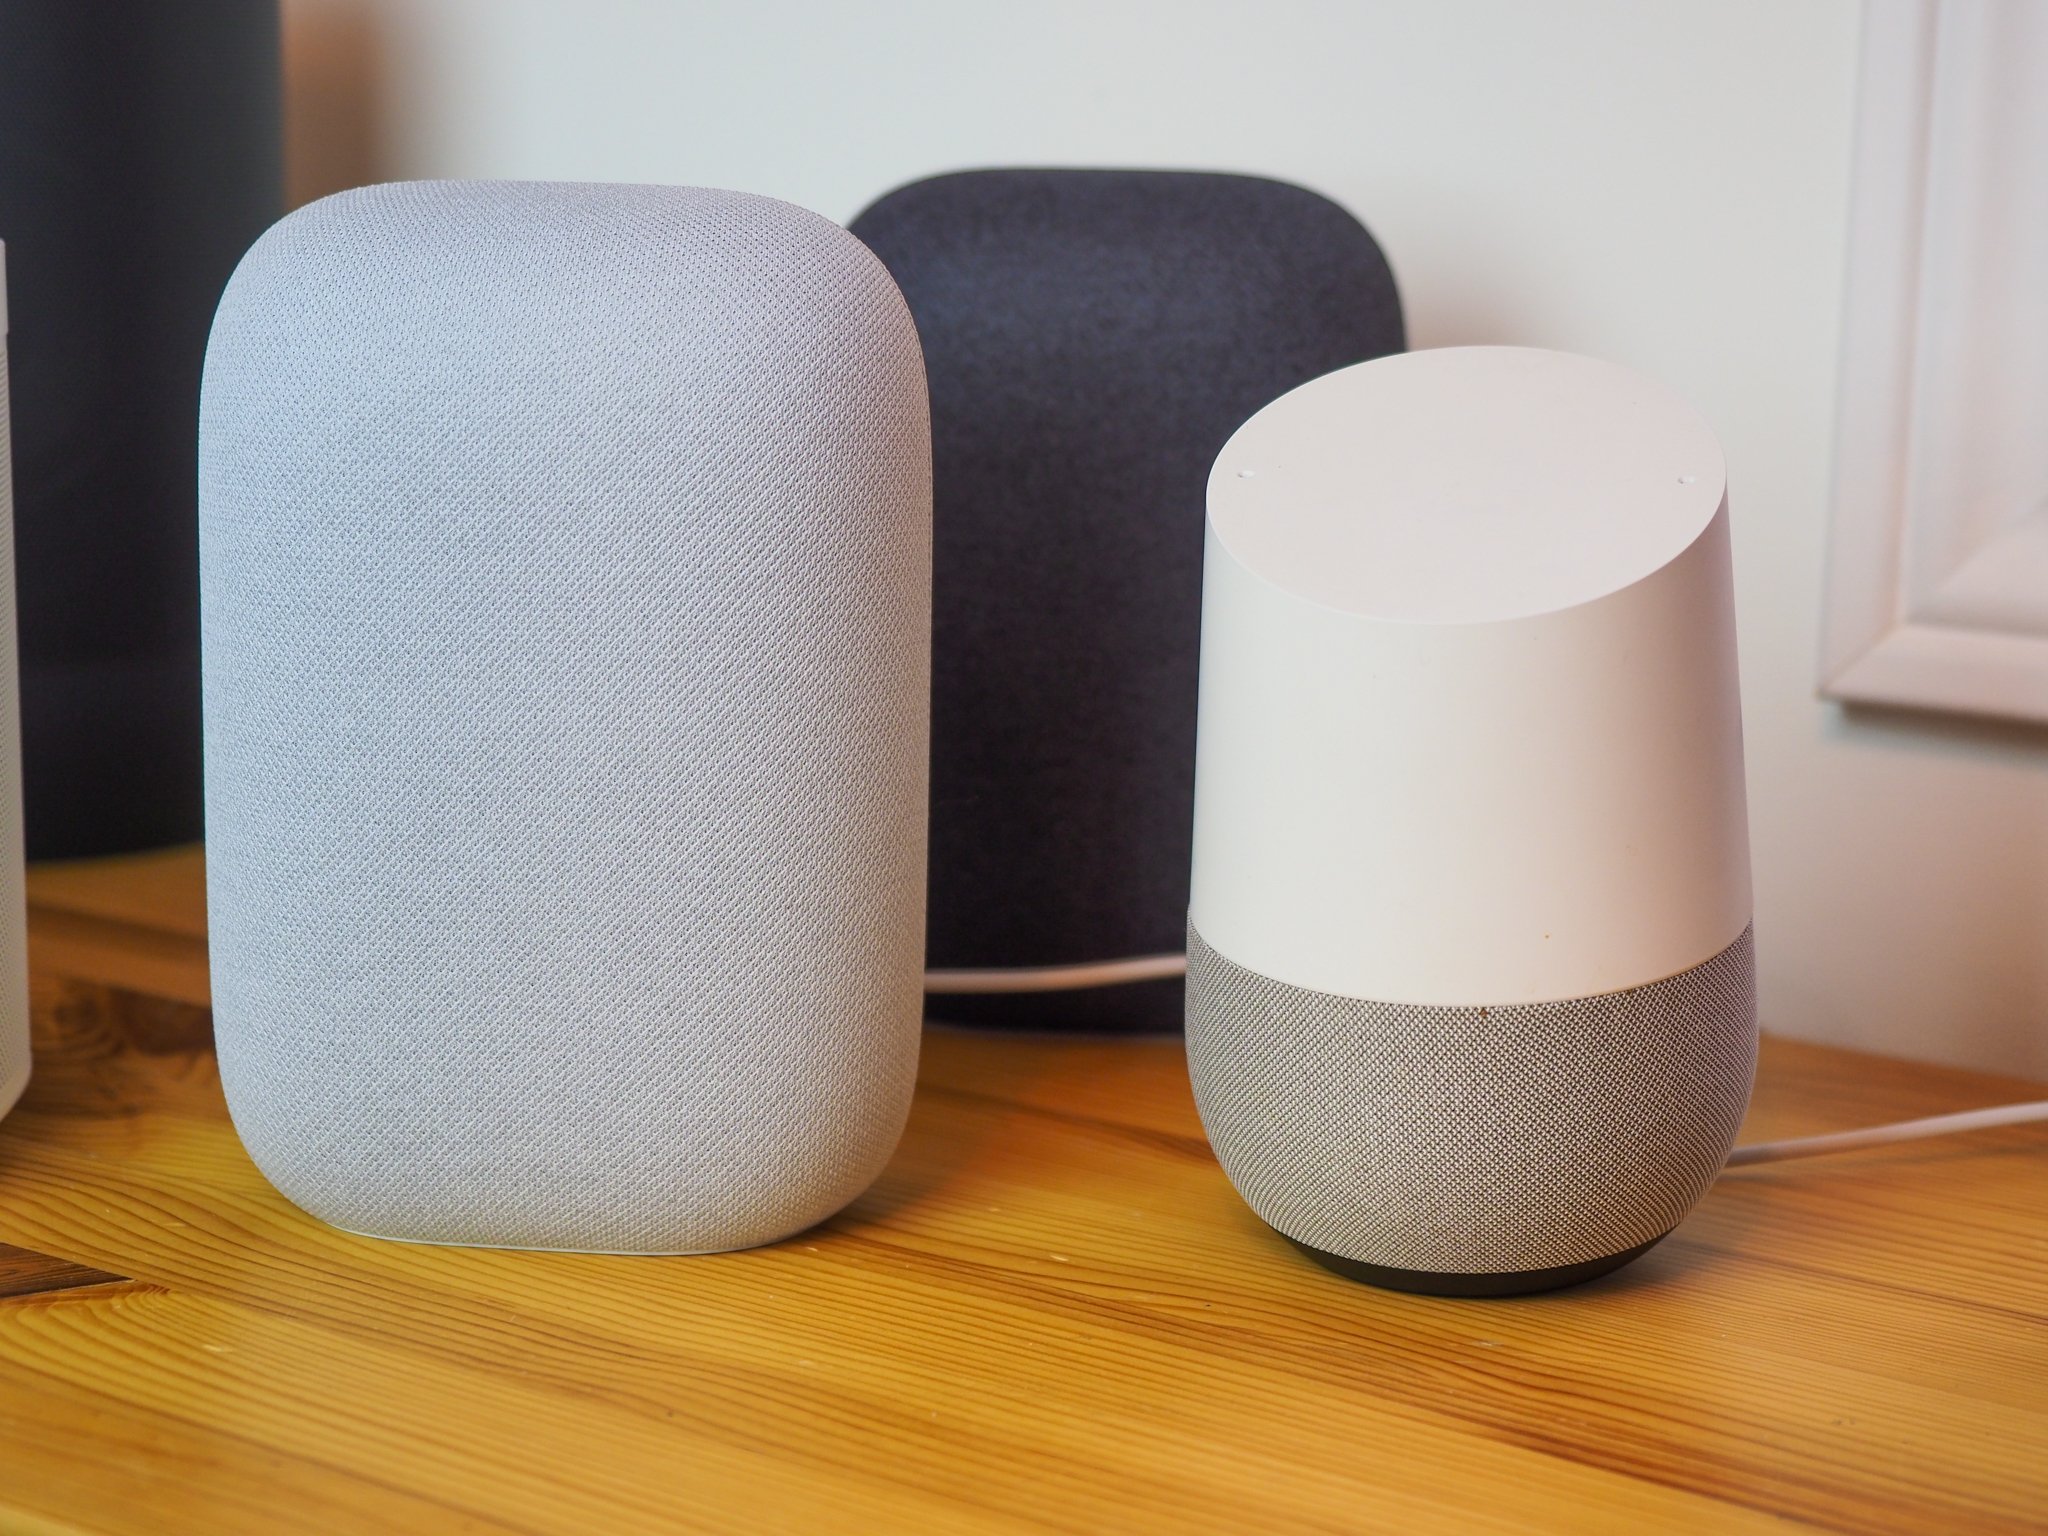
- Cheap smart speaker: Nest Mini ($30 at Best Buy)
How to set up a new LIFX bulb
Before you can connect your smart bulb to the Google Home app, you’ll need to associate it with your LIFX account through the LIFX app. Thankfully, it’s a relatively simple process.
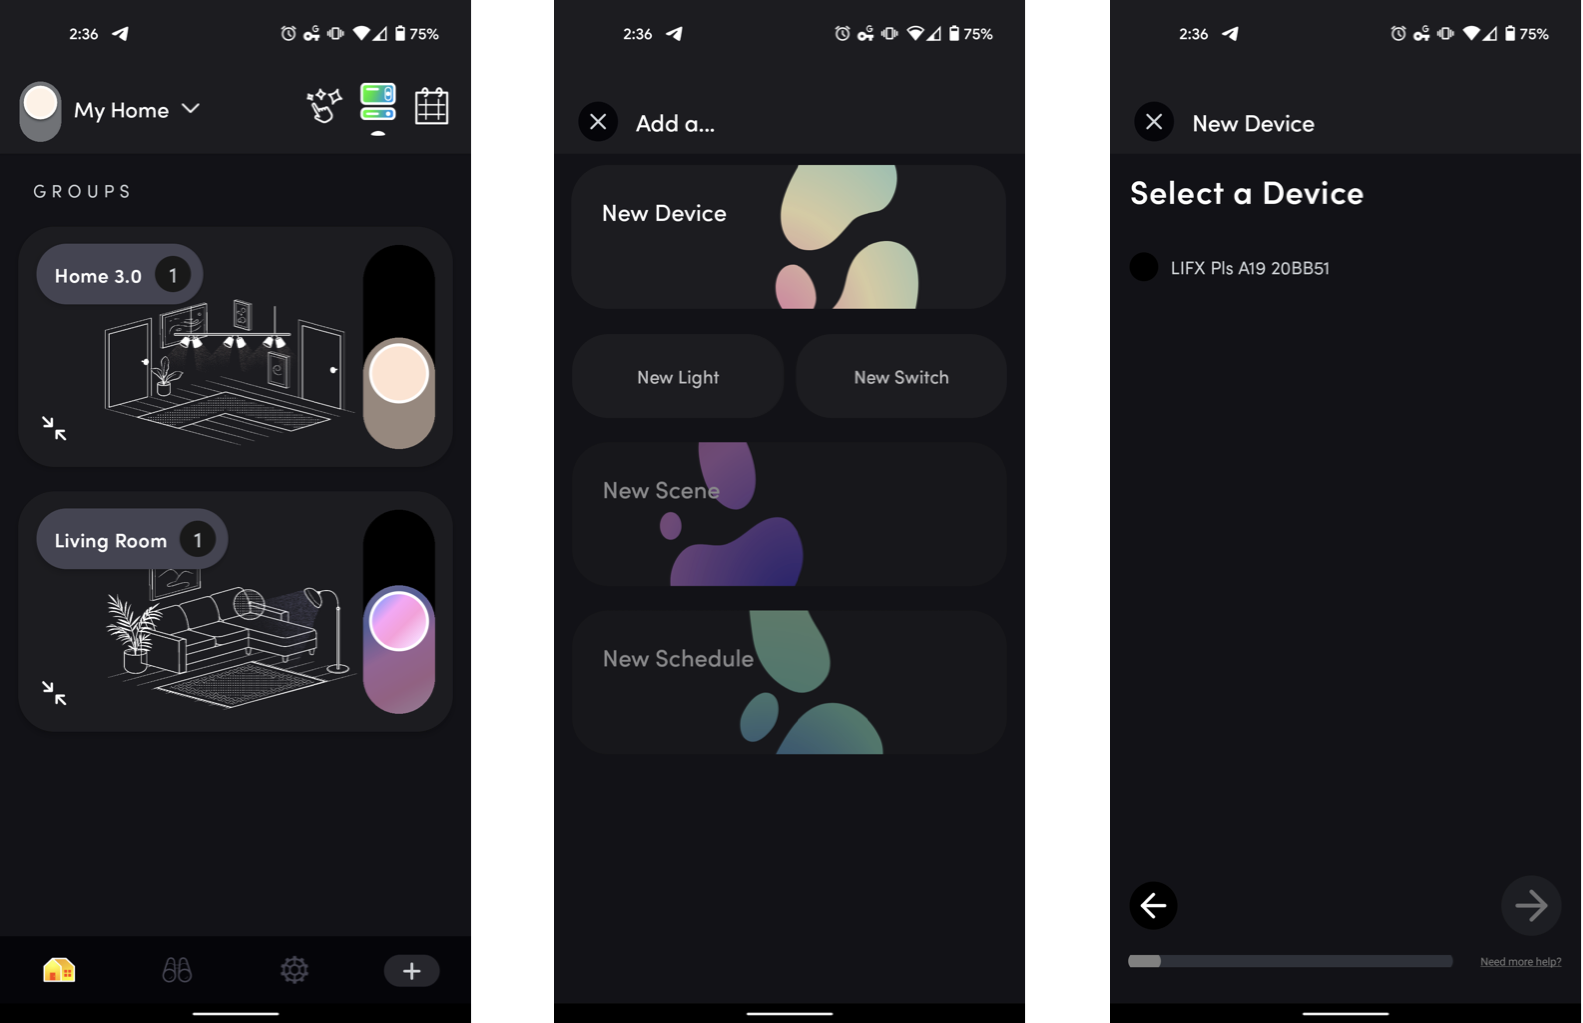
- Open the LIFX app, and tap the Plus button in the lower-right corner.
- Tap New Device, then tap New Light.
- Tap Next on the initial setup screen.
-
Select your LIFX bulb from the list.
- If it doesn’t appear, you may need to force it into pairing mode by turning the light off and back on five times in rapid succession — it should cycle through a few colors to confirm it’s in pairing mode.
- Once you’ve selected your bulb, select the Wi-Fi network you want to connect it to.
- Enter the network password on the following screen.
- Wait as the LIFX app prepares the bulb.
-
Once you’ve gotten confirmation of a successful pairing, tap Next and assign it to a location, such as your house.
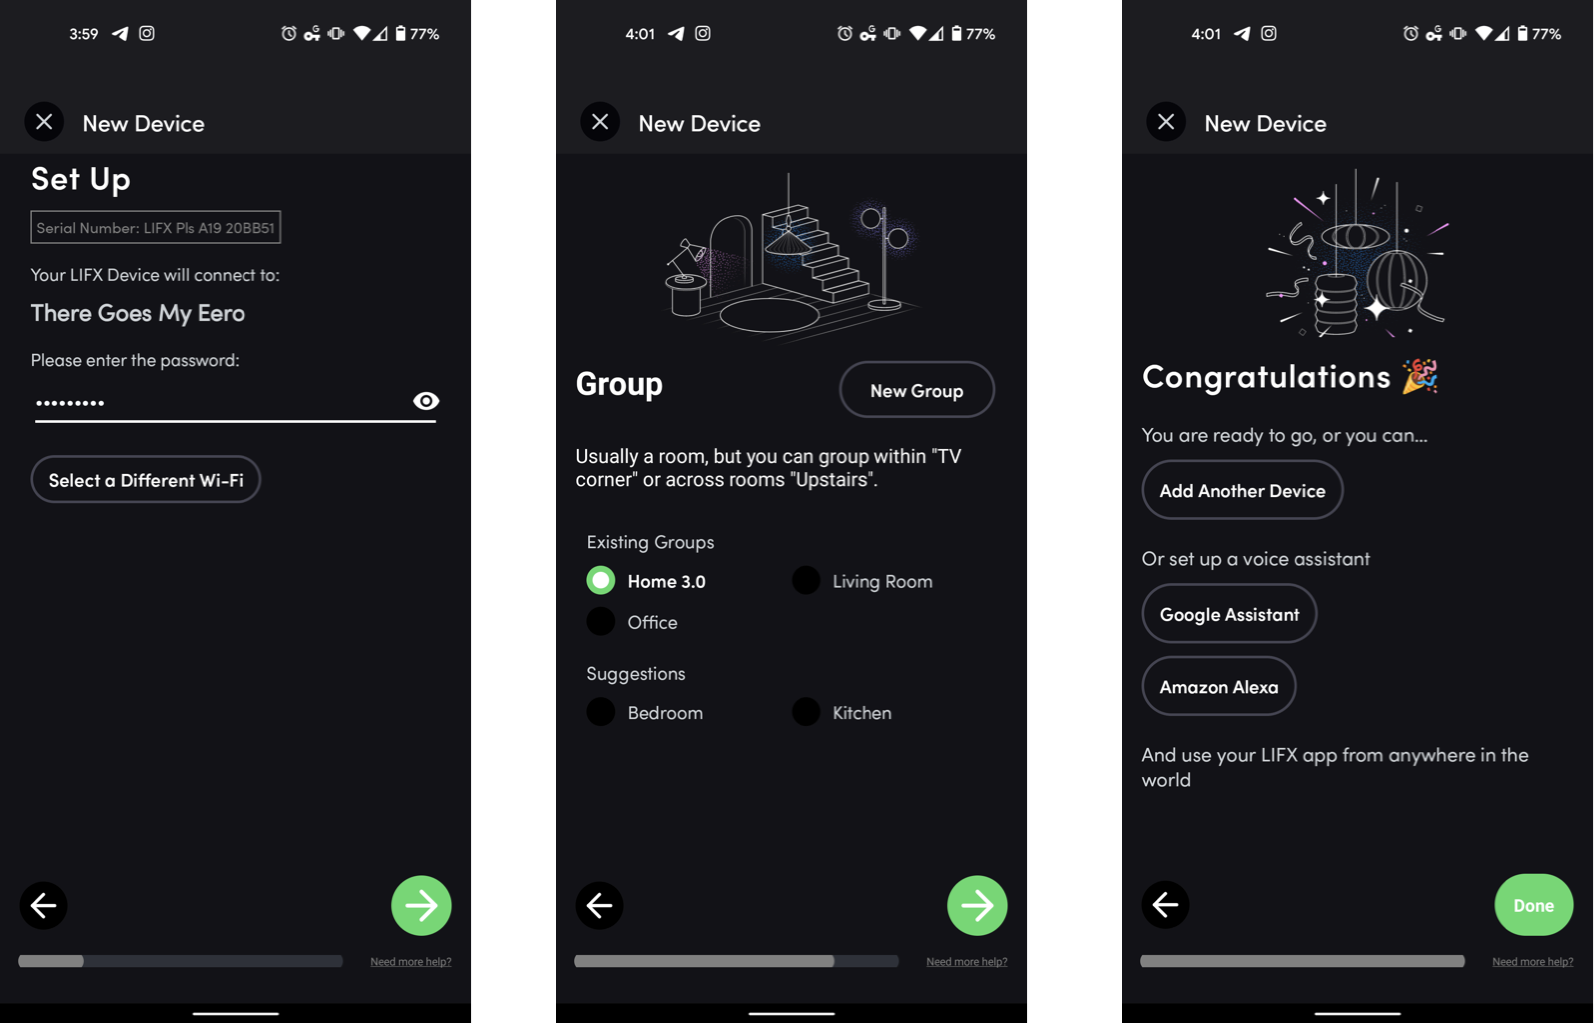
- Next, assign it to a group (typically a room within the house).
- On the following screen, give the bulb a name for easy identification.
- Tap Done on the confirmation screen to finish the setup process.
Bear in mind that LIFX bulbs require a 2.4GHz network. If your router uses smart device management to combine 2.4GHz and 5GHz bands into a single network, you may need to temporarily disable the feature or create a separate 2.4GHz SSID to complete setup.
How to link LIFX to Google Home
- Open the Google Home app.
- Tap the Plus button in the upper-left corner of the screen.
-
Under Add to home, tap Set up device.
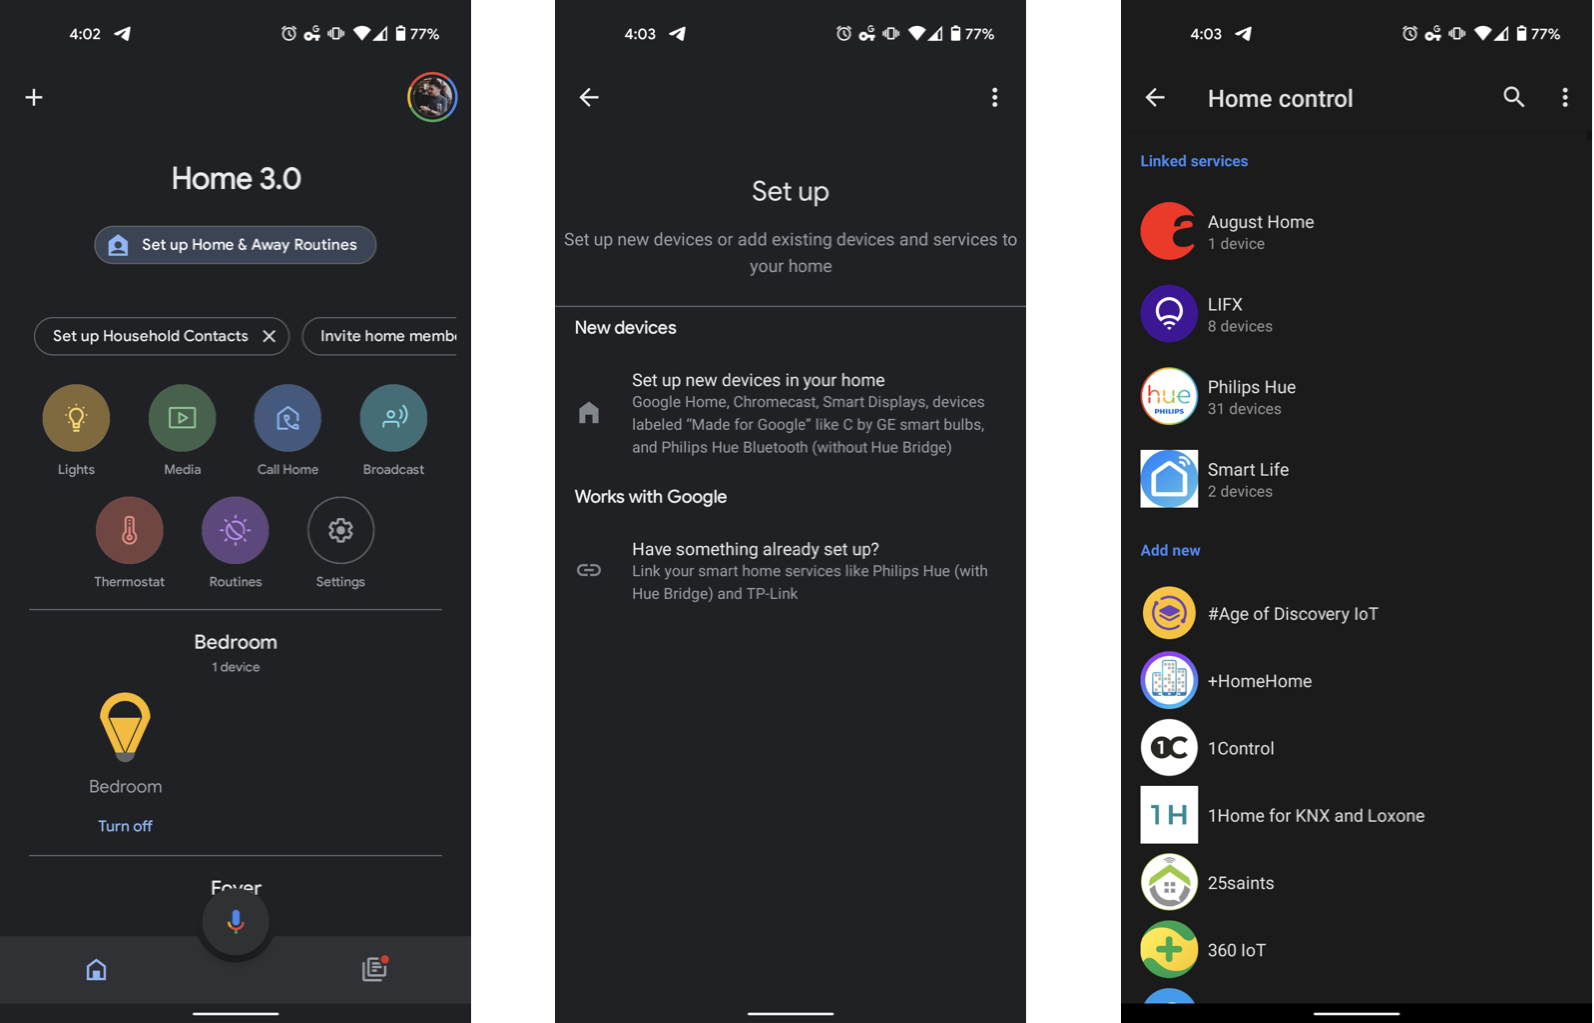
- Under Works with Google, tap Have something already set up?
- Find and tap LIFX in the list of supported services.
- Sign into your LIFX account.
- Authorize Google to access LIFX.
- Assign your bulb(s) to a room.
That’s it! With LIFX connected to your Google account, you should see your bulbs within the Google Home app. From here, you can tap the lightbulbs to toggle them on or off, or use Google Assistant to do more advanced tasks like changing the bulbs to specific colors.
Our top equipment picks
All you need to get smart, voice-controlled lighting is a LIFX bulb and a Google Assistant-powered speaker. We recommend the A19 bulb and the Nest Mini, but there are plenty of other options. LIFX offers other lights like the BR30, which offers the exact same features in a floodlight form factor, and the LIFX Plus, which adds infrared lighting to the mix for augmenting night vision security cameras. Likewise, the Nest Audio and Nest Hub Max offer the same voice control as the Nest Mini, but with larger, better-sounding speakers.
Smart lighting
LIFX 1100 Lumen A19

The universal smart bulb
The LIFX A19 bulb fits into almost any standard lighting fixture and provides wireless control and millions of colors to choose from. You can buy a single bulb or buy in bulk to save money and light multiple rooms.
Smart assistant
Nest Mini
$29 at Walmart
$29 at B&H
$30 at Best Buy
Google Assistant in a compact package
The Nest Mini is a small Assistant-powered speaker that allows you to check the weather, play music, and of course, control your smart home. It won’t beat out Google’s larger speakers, but it still sounds surprisingly good for its size. It’s small enough to fit onto most shelves and can even be mounted to the wall with third-party accessories.
Find A Teacher Form:
https://docs.google.com/forms/d/1vREBnX5n262umf4wU5U2pyTwvk9O-JrAgblA-wH9GFQ/viewform?edit_requested=true#responses
Email:
public1989two@gmail.com
www.itsec.hk
www.itsec.vip
www.itseceu.uk
Leave a Reply