
With so many fun missions and events, it’s hard to find a free-to-play game as fun as Destiny 2. With it now available to play on next-generation consoles more players than ever before are exploring what the game has to offer.
There are many challenges in Destiny 2 and several can be found in the European Dead Zone. There are certain mini-dungeons of sorts for players to explore called Lost Sectors. One such lost sector, the Whispered Falls, has a big boss to take down for an impressive bounty.
6 Buy The Bounty
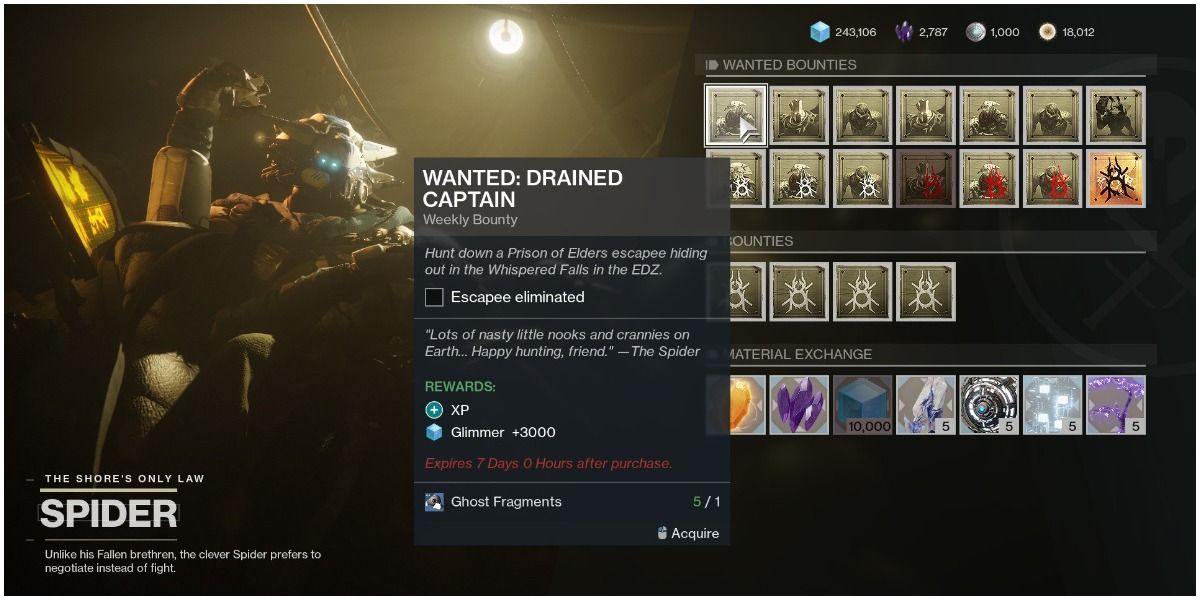
There is no point in heading all the way to the Whispered Falls without having a proper bounty to collect. Players must find Spider on the Tangled Shore and use Ghost Fragments to purchase the bounty from him. Thankfully, the bounty is rather cheap and only costs a single Ghost Fragment to purchase.
5 Collecting Ghost Fragments
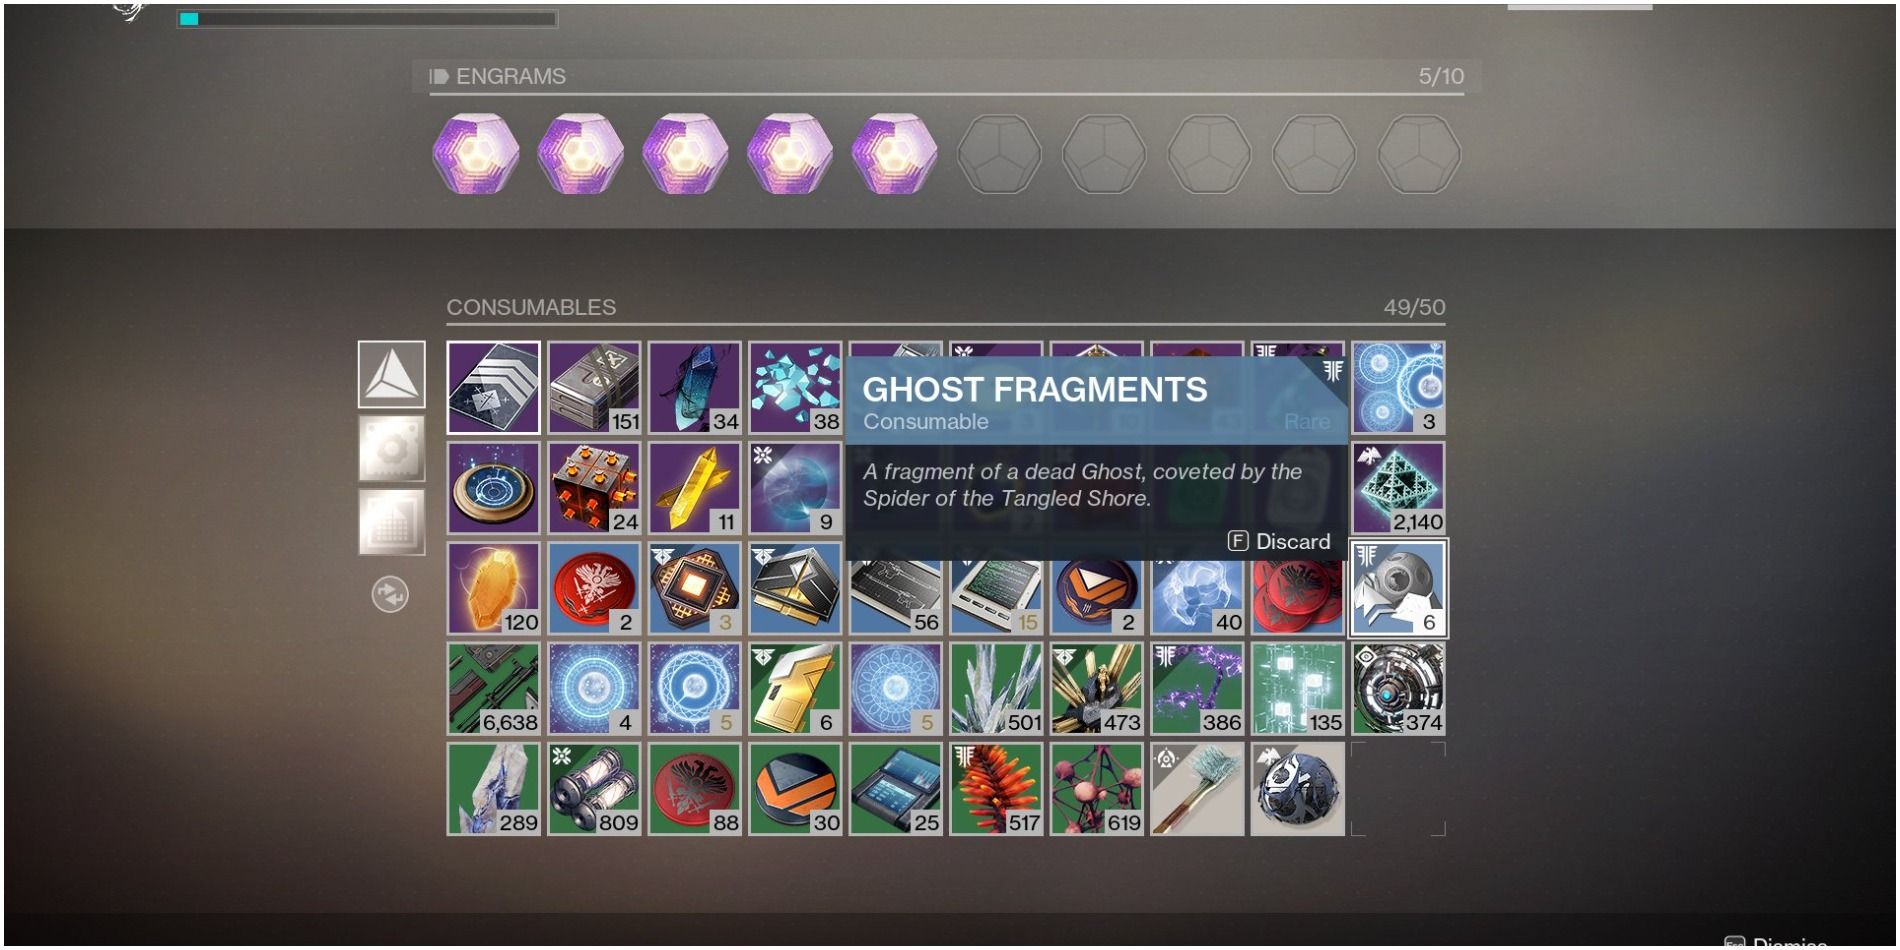
Even at such a low cost, sometimes players are short on Ghost Fragments. Thankfully, there are many ways to collect them. They can also be found in region chests, random loot chests, and by taking down high-value targets. Plus, players can complete public events on the Tangled Shore while picking up and completing patrols.
Get enough of these done and those bounties will be affordable in no time! Most bounties cost anywhere between one to five Ghost Fragments. Players can only hold 10 of them in their inventory at any given time so they’ll need to plan accordingly.
4 Locating The Whispered Falls
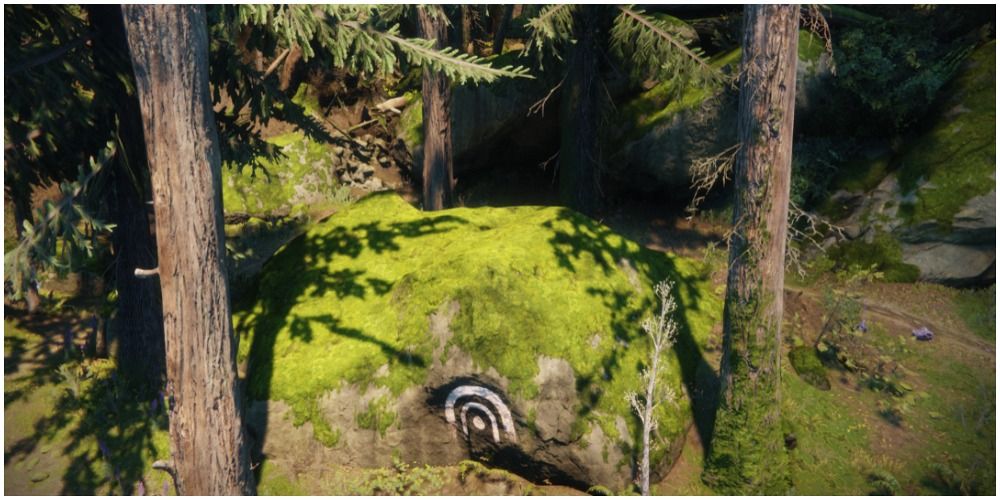
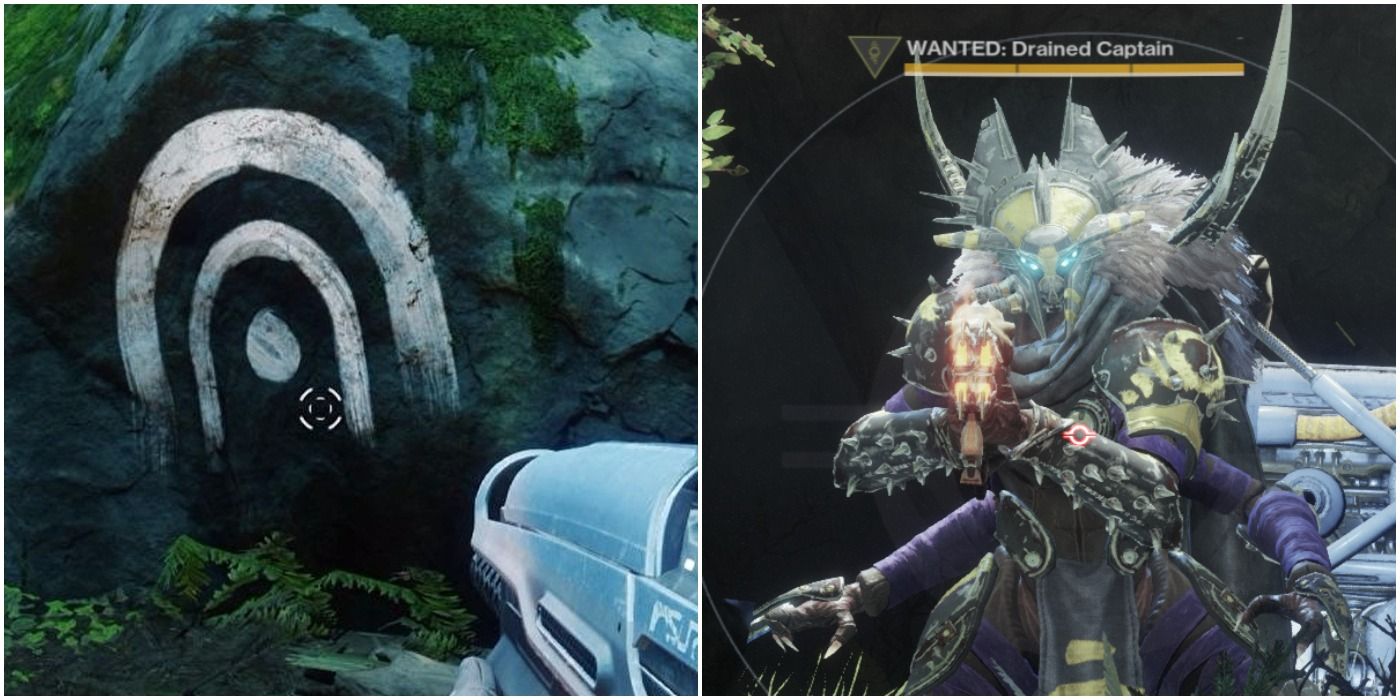
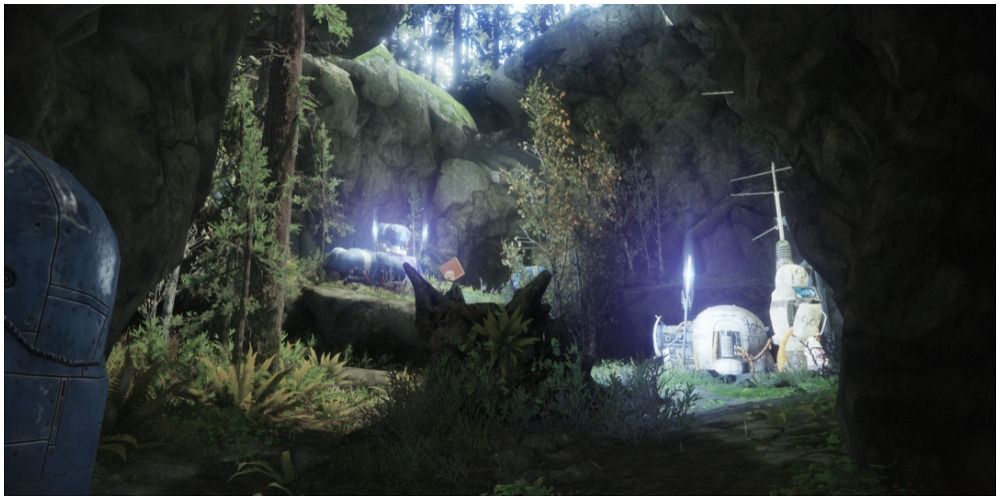
T0 get to the Whispered Falls, players will first need to make their way to the Outskirts where this Lost Sector is located. Starting at the Troastland spawn point, players should keep their eyes peeled for the Lost Sector symbol as they head towards the left upper hand corner of the map in the Outskirts.
The Lost Sector symbol can be spotted painted on a small hill. Players need to walk behind that hill to find the entrance to the cavern they will be exploring to reach Keldrik, the Drained Captain. The entrance might look like just a darker spot in the shadows under a rock, so be sure to look closely and not miss it.
3 Enemies Along The Way

Be sure to light up the cave as navigating its incredibly tight spaces early on is severely annoying otherwise. Still, there are no major enemies to take on until players reach a brighter, wider, and more open area of the cavern. Players will find that they have the high ground and those who stay up on top of the waterfall nearby can snipe or use grenades to take out the Dregs and Vandals below.
Players then must continue forward and fight various other Dregs on their way to the final boss. There are red explosive barrels that players can use to help make taking these enemies down even easier.
2 Defeating Keldrik, Drained Captain
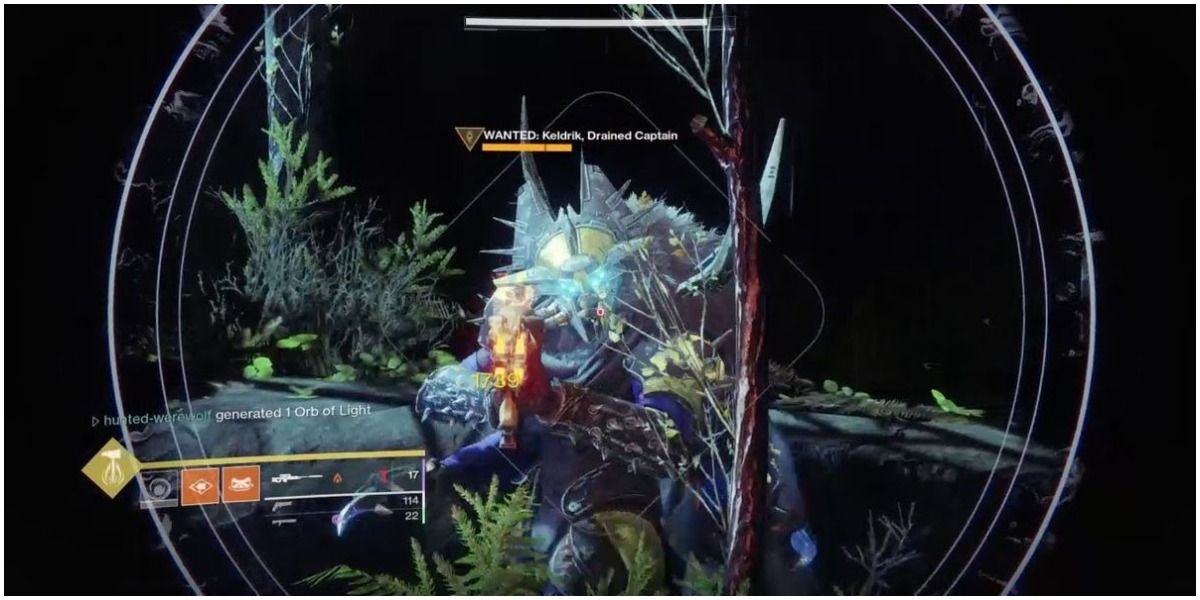
When players spot this final boss, he’ll shield himself and likely teleport to get out of harm’s way. At this point, players can choose to take out the other enemies surrounding Keldrik or focus their damage on the Drained Captain as he’s more likely to hurt the player.
Once his shields are worn down, players will be able to take down the captain with relative ease. He’s not the most powerful and players can overwhelm him with enough brute force.
1 Grab That Loot
While the Glimmer and experience points are useful, players will want to be sure to not leave as soon as they defeat the Drained Captain. If players clear out the rest of the surrounding enemies, they’ll be able to open up a loot box. It’s located at the highest point in the final room where Keldrik is defeated.
![]()
www.itsec.hk
www.itsec.vip
www.itseceu.uk
Leave a Reply