
With Remnant: From the Ashes, not only does the world bring rich content to players that’ll keep them both on their toes and engaged, but also, it rewards them for their deeds, taking out bosses, enemies, doing maps, dungeons, and other activities. Finding each of these bosses, depending on their popularity within the story, can be either an easy task or one that will require a re-roll of the entire campaign to get them to spawn.
Once bosses are located, however, it’s just a matter of figuring out tactics for taking them out, what rewards they drop, and what needs to be done with the reward to get the best possible use out of it. It’s often not a weapon that drops, but the precursor to the weapon, or the item with which to buy or craft the weapon or mod. Each of the bosses listed below will reward you with something fancy.
Updated February 23, 2021 by Jacob Buchalter: A lot of gamers have given Remnant: From the Ashes and it has grown significantly in popularity. It was one of the free games on the Epic Store, so that helped. Plus, its VR-Exclusive prequel, Chronos: Before The Ashes, just released on PC at the end of 2020.
There are a lot of new faces in the Remnant community, which is nice to see considering the quality and replayability of this game. Replayability means more chances to take on bosses and collect their drops. With replayability comes a deeper understanding of what their alternate kills are (if they have one), and what weapons or mods those items turn into.
Disclaimer: This guide is sorted by the four “Realms” in Remnant, in this order: Earth, Rhom, Corsus, Yaesha, and Reisum.
38 Shroud, The First Boss
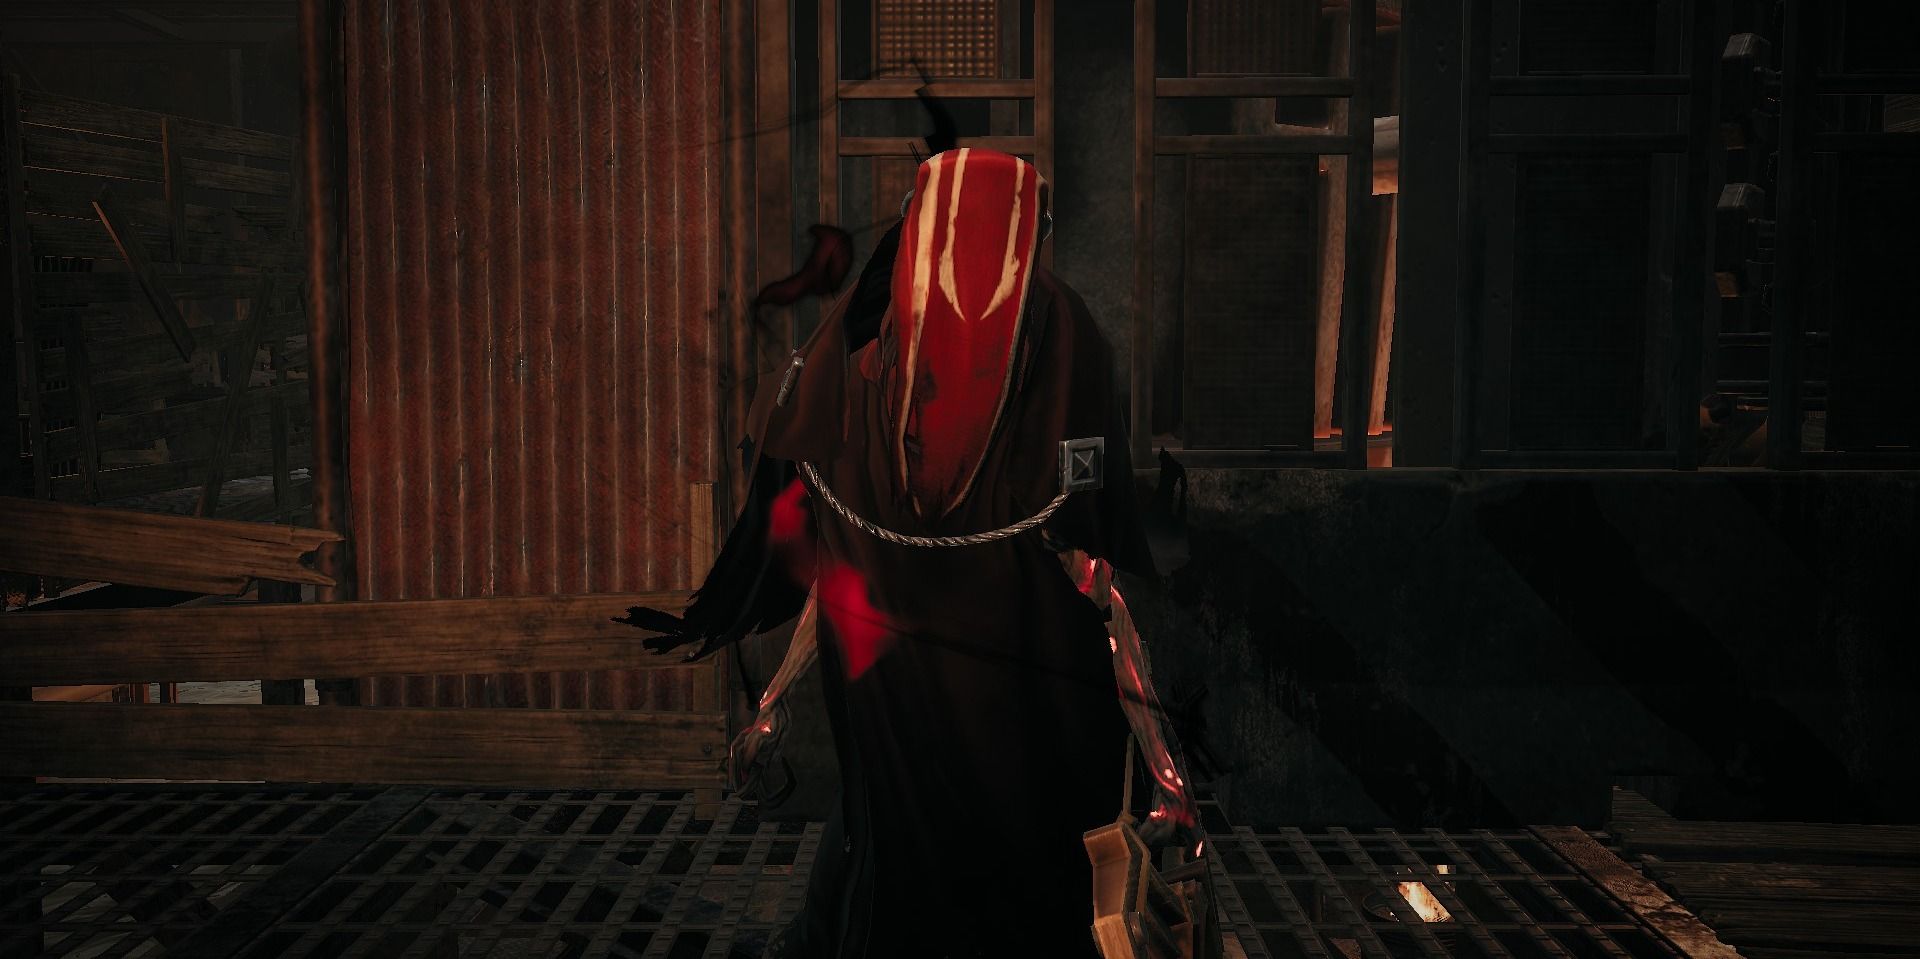
If you’re in the sewers of Earth (not the railway), there are only a couple of different Dungeon Bosses that could be waiting for you at the end, Gorefist or Shroud. As such, Shroud is likely the first boss players will fight in Remnant in general. It’s a pretty simple encounter, as far as bosses go. Because it’s so early in the game, Shroud is insanely easy with no alt-kill, so all that it drops is:
- The Shadewood: can be made into the Rattle Weed mod used for distracting enemies and bosses alike
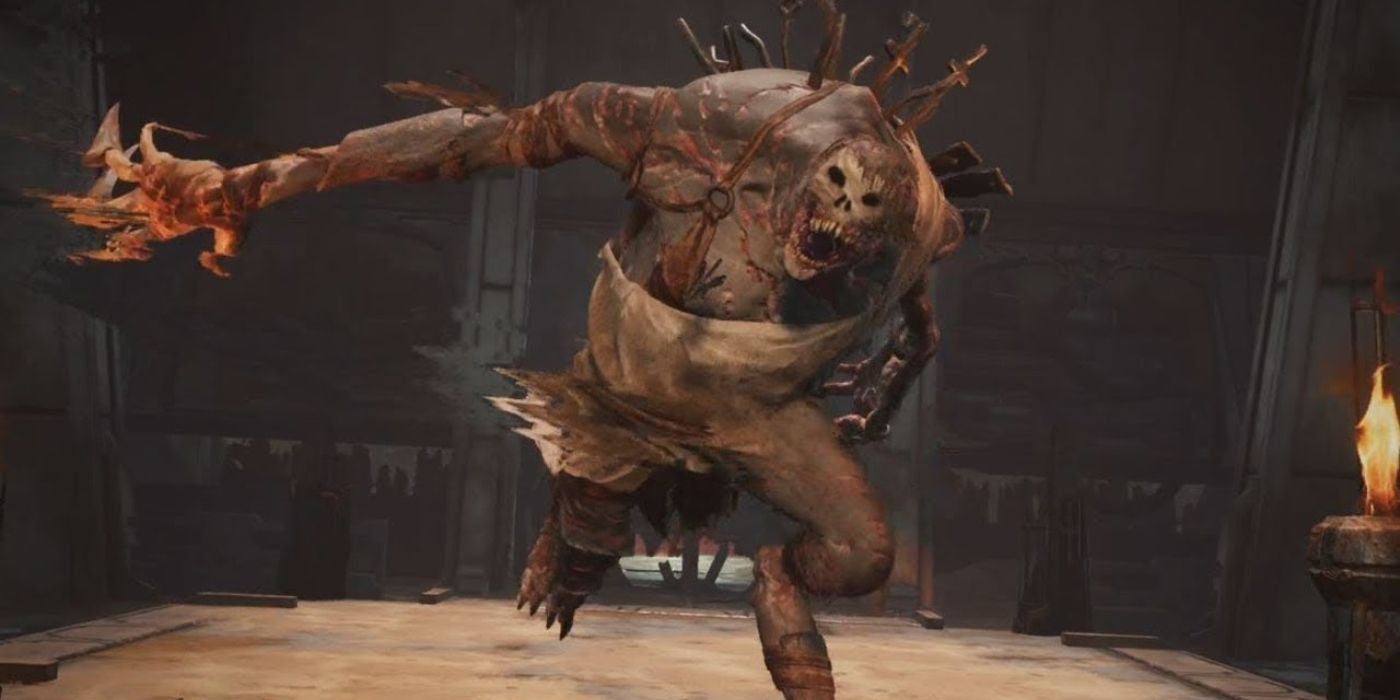
37 Gorefist, The Alternate First Boss
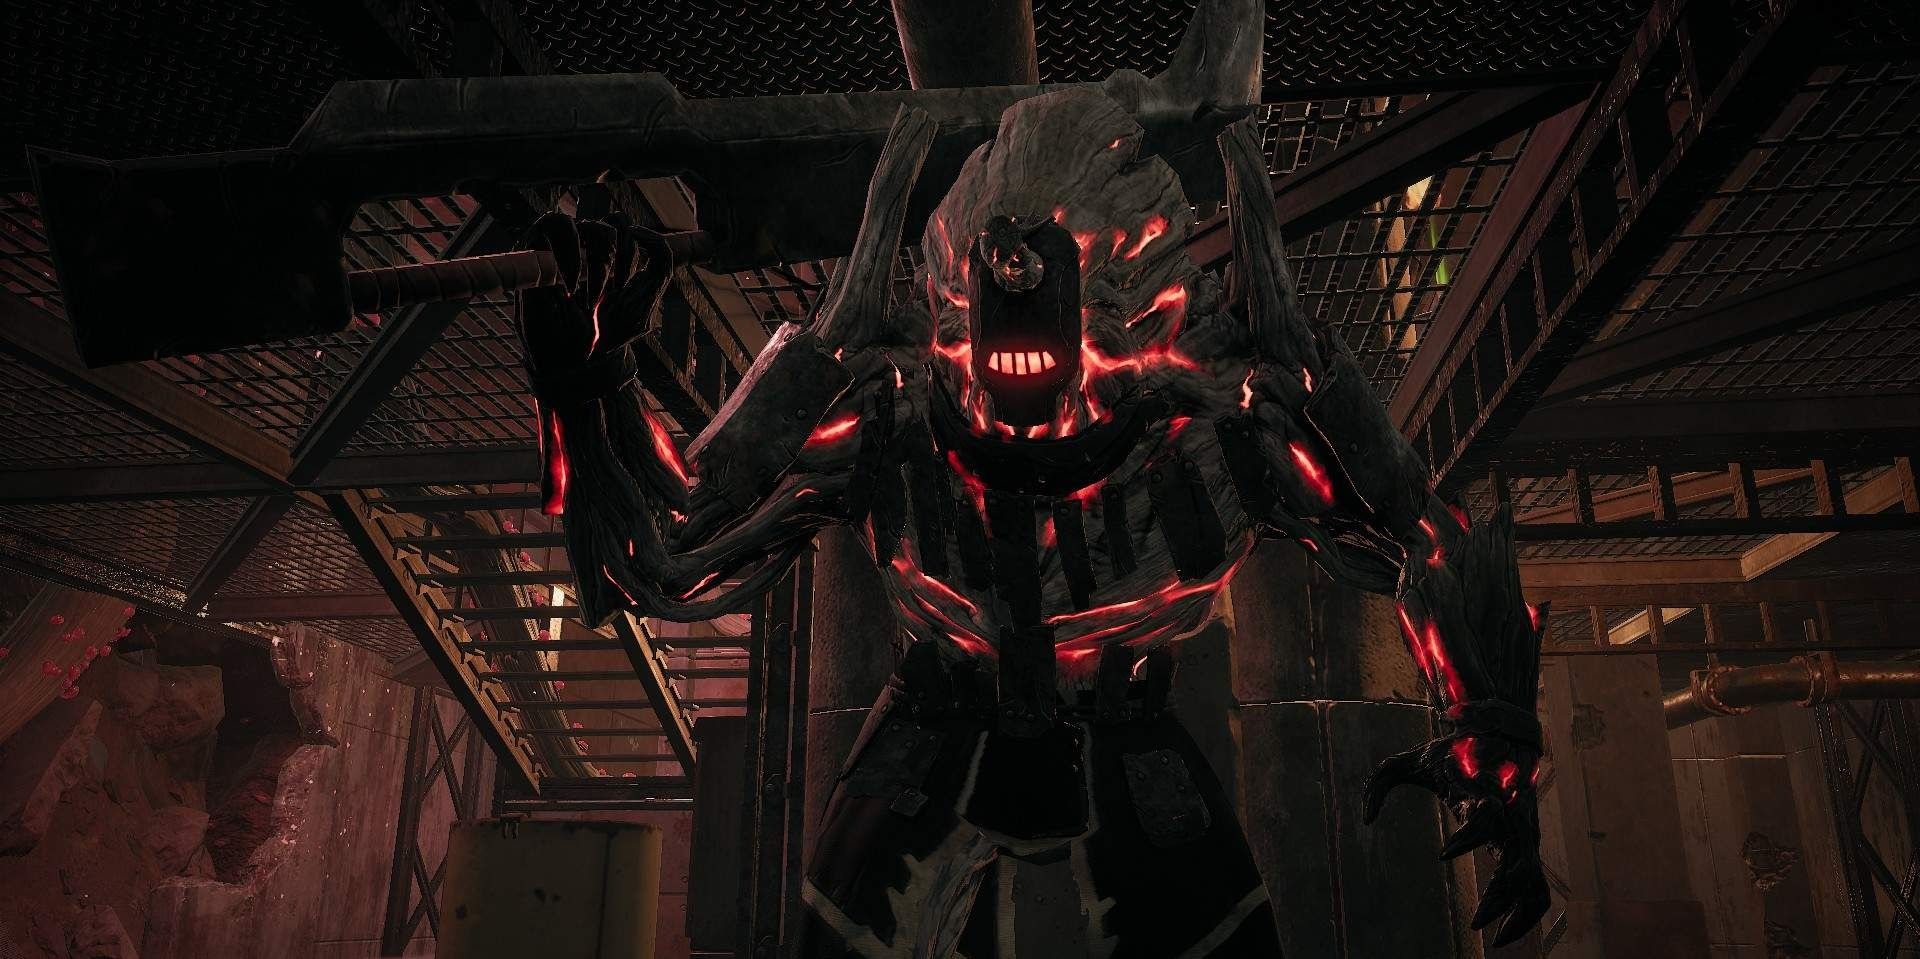
The other boss that might spawn instead of Shroud, Gorefist is the “boss” variant of the “Hulk” enemies, only this one summons Rot Warts whenever it feels like it. Again, a pretty easy fight if experienced with the regular variant. Players must focus on clearing all four Rot Warts out as soon as they’re summoned in. The only reward for beating it is:
- The Flesh Barb: used to purchase the Mantle of Thorns mod, an ability that is very helpful for dealing with melee attackers.
36 Brabus & His Endless Gang Of Bandits
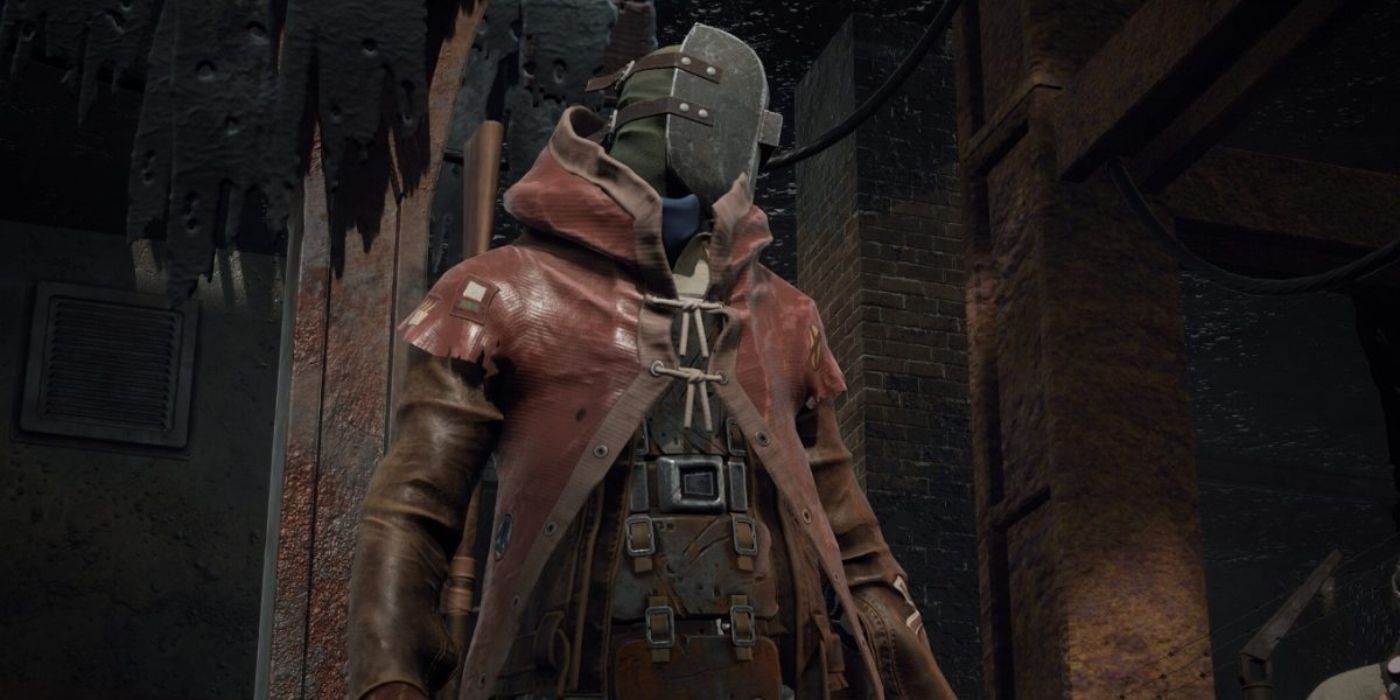
Brabus is a unique case, as he is a Dungeon Boss who has three potential drops, depending on if killed outright, given the Pocket Watch from his father Mud Tooth, or engaged him with a co-op companion. If players choose not to give him the Pocket Watch or not to kill the friend, a fight ensues with Brabus and his gang, where he uses his shotgun to stun the player while summoning continuous bandits around him. It’s an incredibly simplistic fight. Brabus drops three rewards:
- The Shrapnel Shard: gained from just killing him outright, turns into the Explosive Shot mod
- The Bandit Armor Set: given for handing the Pocket Watch over to Brabus, a useful armor set that has the Freeloader trait on it
- The Cold As Ice Trait: not a weapon drop, but can only be unlocked this one way, so it’s easy to accidentally avoid; given for slaying a co-op partner as Brabus demands
35 The Tower Defense-Like Root Mother Encounter
The Root Mother boss isn’t necessarily a “boss.” It’s more of a tower-defense mini-game where players have to defend the Root Mother from a variety of enemies breaking into the Church as she disconnects herself from the Root hivemind. On the first run, this boss can be laughably easy, but if players go for a second campaign or even Hardcore mode, they might find that this encounter is way more difficult than previously expected. For beating this encounter, players unlock two things:
- The First: players can now interact with the Root Mother in Ward 13, she uses Simulacrum to upgrade the player’s maximum amount of Dragon Heart Charges
- The Second: she gives the Mother’s Blessing Trait, reduces incoming ranged damage up to 10% at max
34 The Mangler, A Large Tumbler
The Mangler is another simplistic Dungeon Boss for the Earth Realm. Basically, it’s a larger variant of the Tumbler enemies, only this one grows in size in relation to its remaining health. That, and it also summons Hollows from time to time. As long as players dodge its rolling attack, this boss is incredibly easy to deal with. It also has no alt-kill, and only drops:
- The Hollow Seed: allows the purchase of the Seed Caller mod, one of the rare and amazing “Summon” mods
33 Riphide, The Cloning Machine
Riphide is a Dungeon Boss many players might not have known was in the game, considering it only spawns at the end of the elusive Leto’s Lab. It’s a boss with three simple attacks including a melee strike, a projectile, and an AOE attack. After taking a certain amount of damage, Riphide splits into two perfect clones, which then keep splitting into more clones as the fight continues. While it can be overwhelming, the simplistic attack pattern makes this fight pretty easy to approach overall. Sadly, this is another boss without an alt-kill, and it only gives:
- The Displacement Crystal: turns into the Flicker Cloak mod, acts as a damage shield and prevents staggering
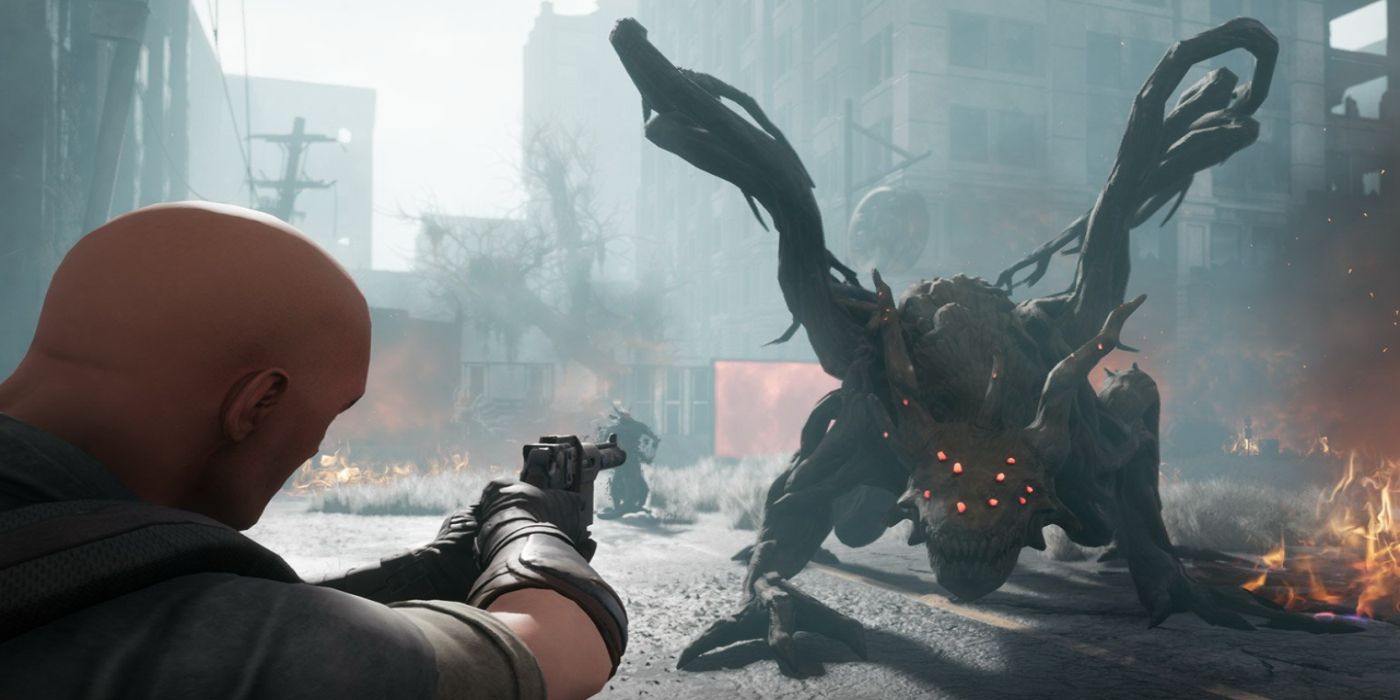
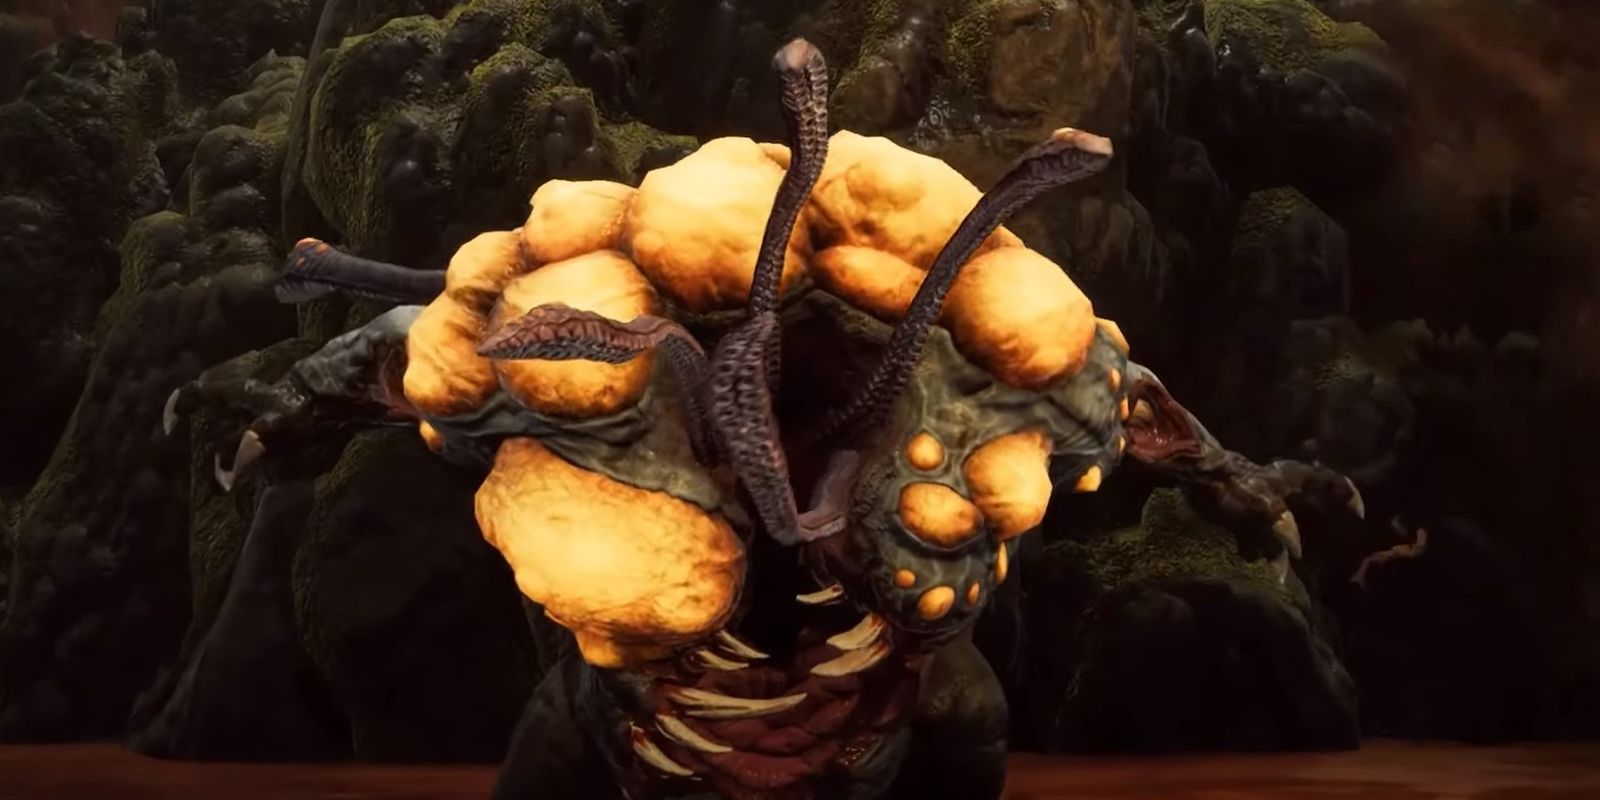
32 Earth World Boss: The Ent
Next up is the Cthulhu Tree, otherwise known as the Ent, which is one of two possible World Bosses that spawn for the Earth Realm. AOE slams and mob-spawning is all this boss has going for it. It also has two potential drops:
- The Spore Gland: requires players to kill the Ent; the Spore Gland becomes the Sporebloom, a close-range single-shot shotgun
- The Twisted Heart: requires players to focus fire on the Ent’s legs until they break; the Twisted Heart turns into the Petrified Maul, a slow swinging Warhammer that deals rot damage
31 Earth World Boss: Singe
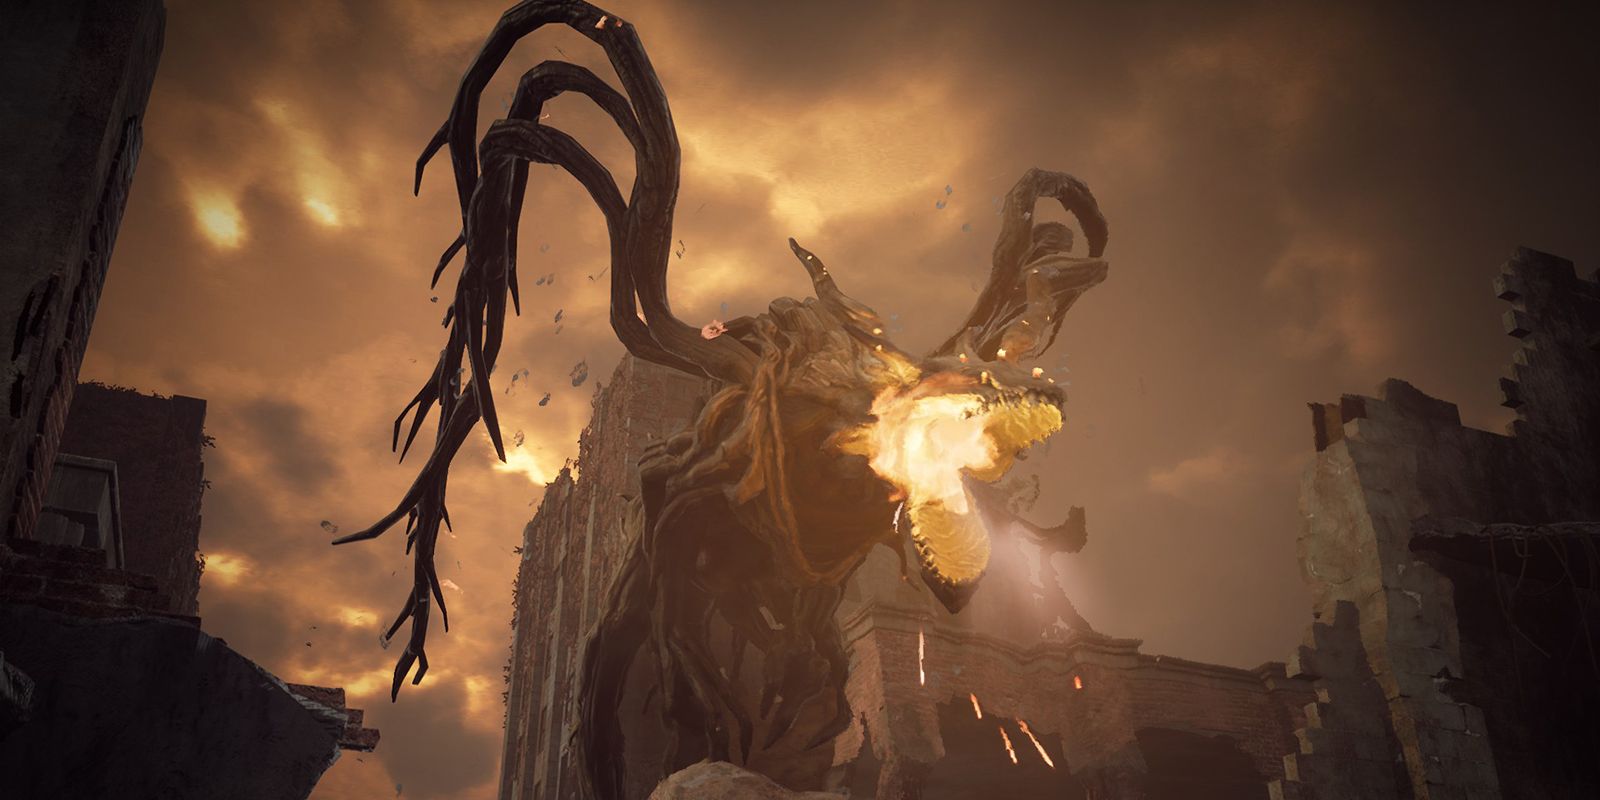
This tree dragon that Chronos: Before the Ashes players might recognize is the second potential World Boss of Earth. Singe is no doubt the more difficult boss fight of the two, and the rewards that come from it are the Blazing Heart or the Dragon Links, much like the Ent, which drop spawns depends on how exactly Singe is killed:
- The Dragon Links: requires the destruction of Singe’s tail before killing it; the Dragon Links transform into Smolder, a sword that deals fire damage
- The Blazing Heart: requires a normal Singe kill; Singe’s Heart turns into the Spitfire, a rapid-fire SMG
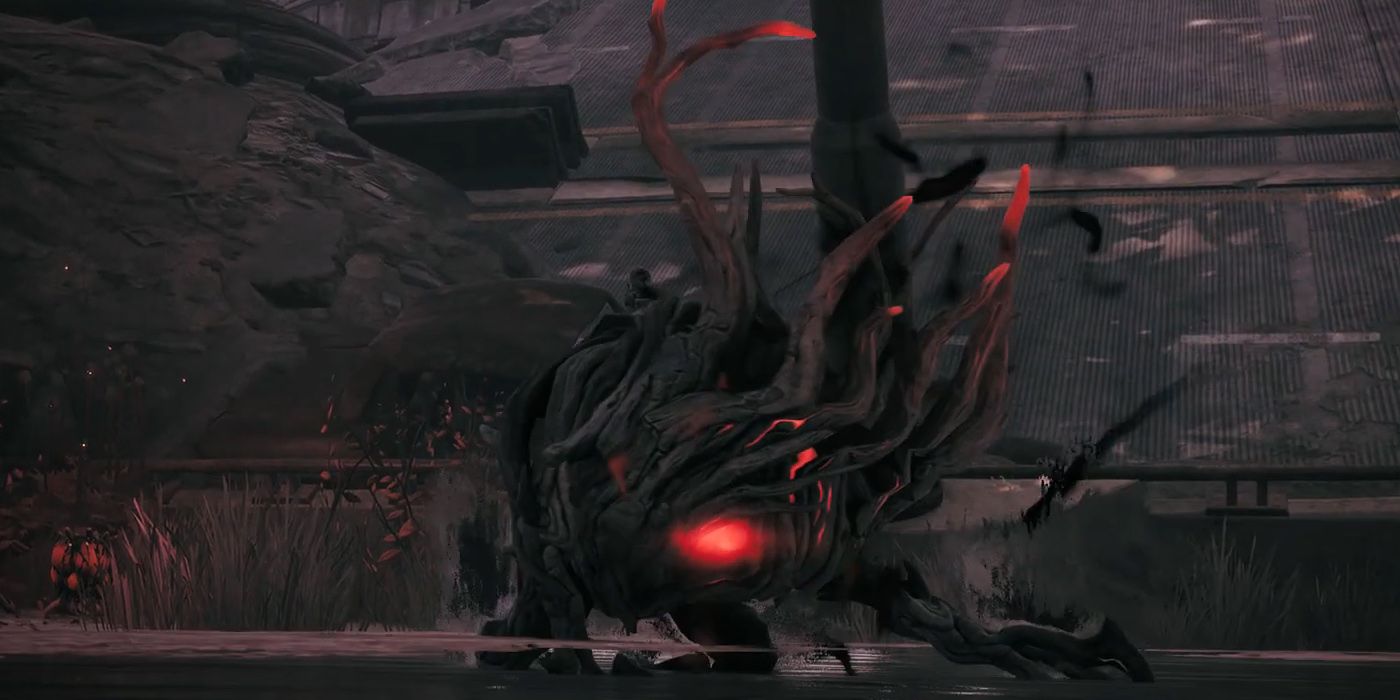
30 Scourge, A Battle of Attrition
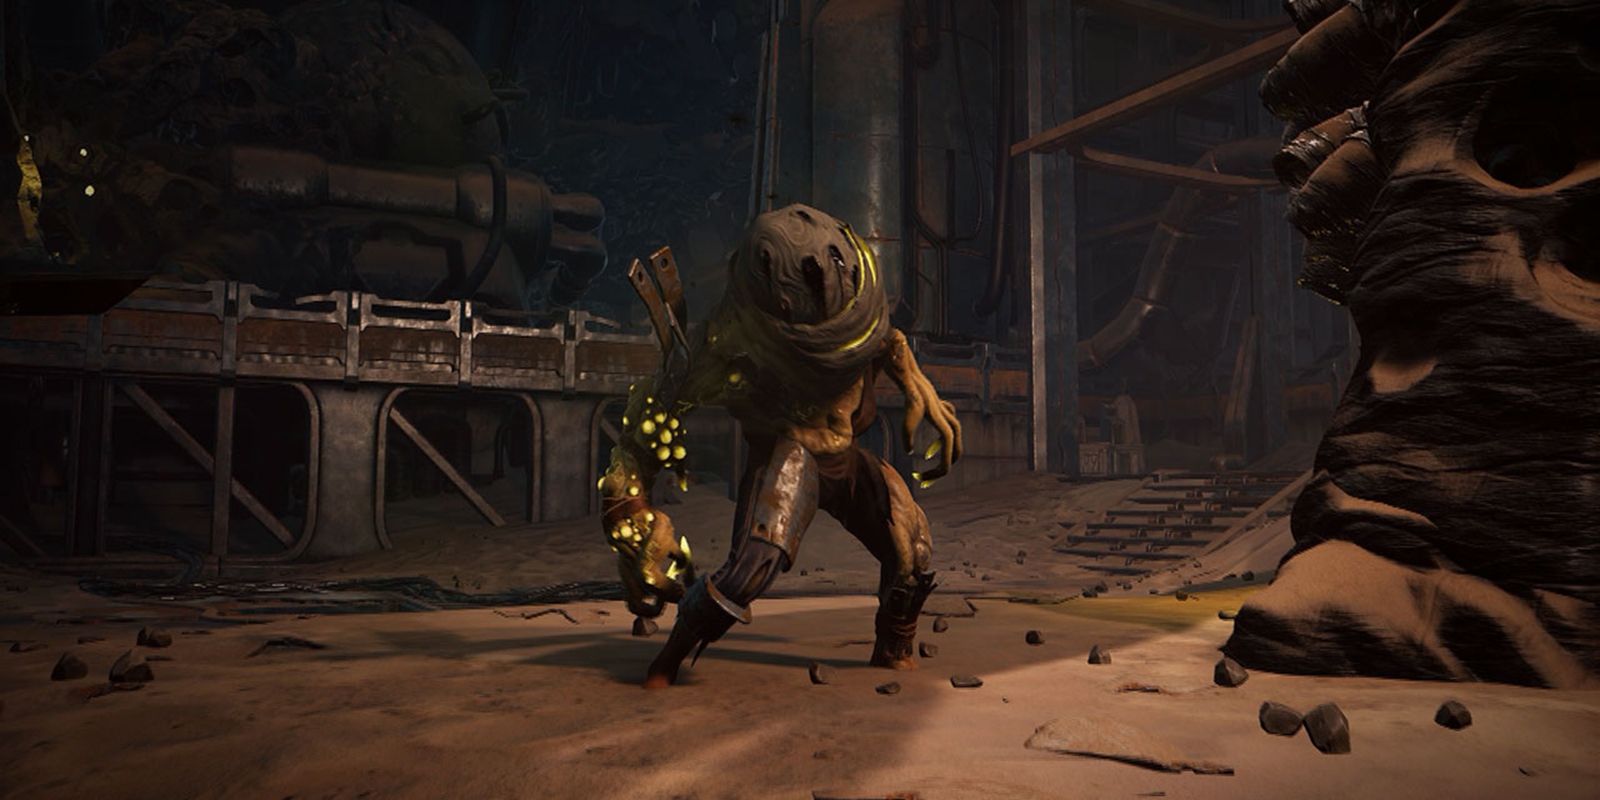
The most common of Rhom’s potential Dungeon Boss spawns, fighting Scourge is a battle of attrition.
This fight is really a test of endurance and will require quite a few consumables or a good build to get through, as the constant radioactive projectiles Scourage spawns and the non-stop Ghast mob summons can be overwhelming. Once it is defeated, players get:
- The Radioactive Skull: crafted into the Breath of the Desert mod, has a homing effect and does heavy damage to bosses and elites
29 Shade & Shatter Of The Ardent Temple
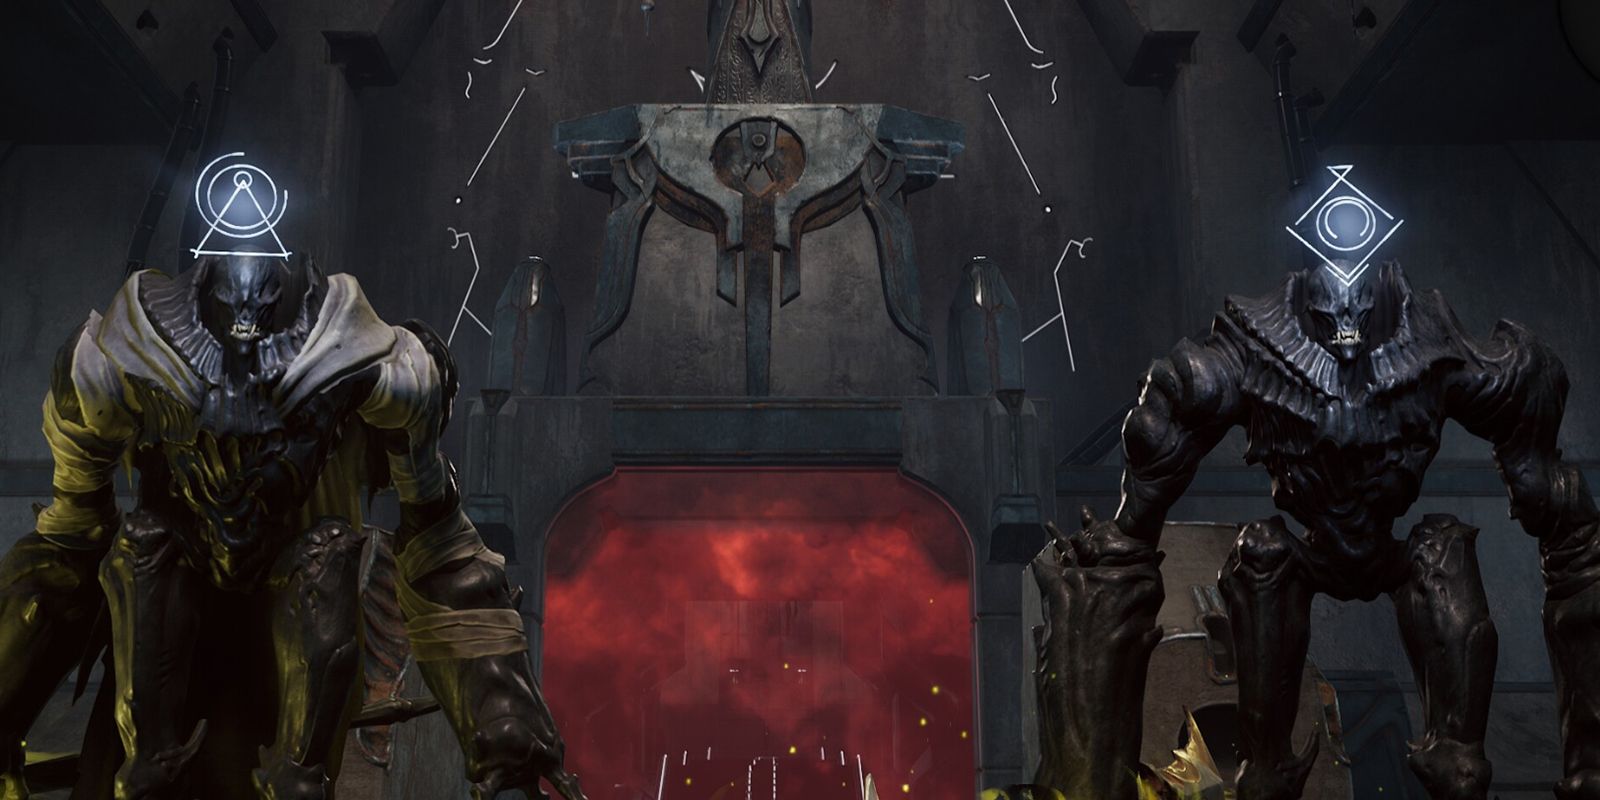
These two, Shade and Shatter, found in the Ardent Temple, are a pair of Dungeon Bosses who fight simultaneously. Shade fights at range, and Shatter specializes in melee combat. Players need to defeat both to win the fight. The easiest strategy is just to fight Shatter while keeping peripheral vision on Shade’s projectiles, then focus them both down when they group up for their force field attack. Killing them earns:
- The Black Tear: made into the Veil of the Black Tear Mod, creates a dome of energy that blocks all projectiles
28 Raze & The Swarm Of Skulls
Located in the Lair of the Eyeless, Raze summons a swarm of Wasteland Skulls by screaming at the player during their fight, as well as peppering them with fireballs off and on. It’s honestly a pretty frustrating confrontation. Luckily, defeating it gives:
- The Sentinel Shard: becomes Beckon, one of the best Summon mods, sumons two Wasteland Skulls
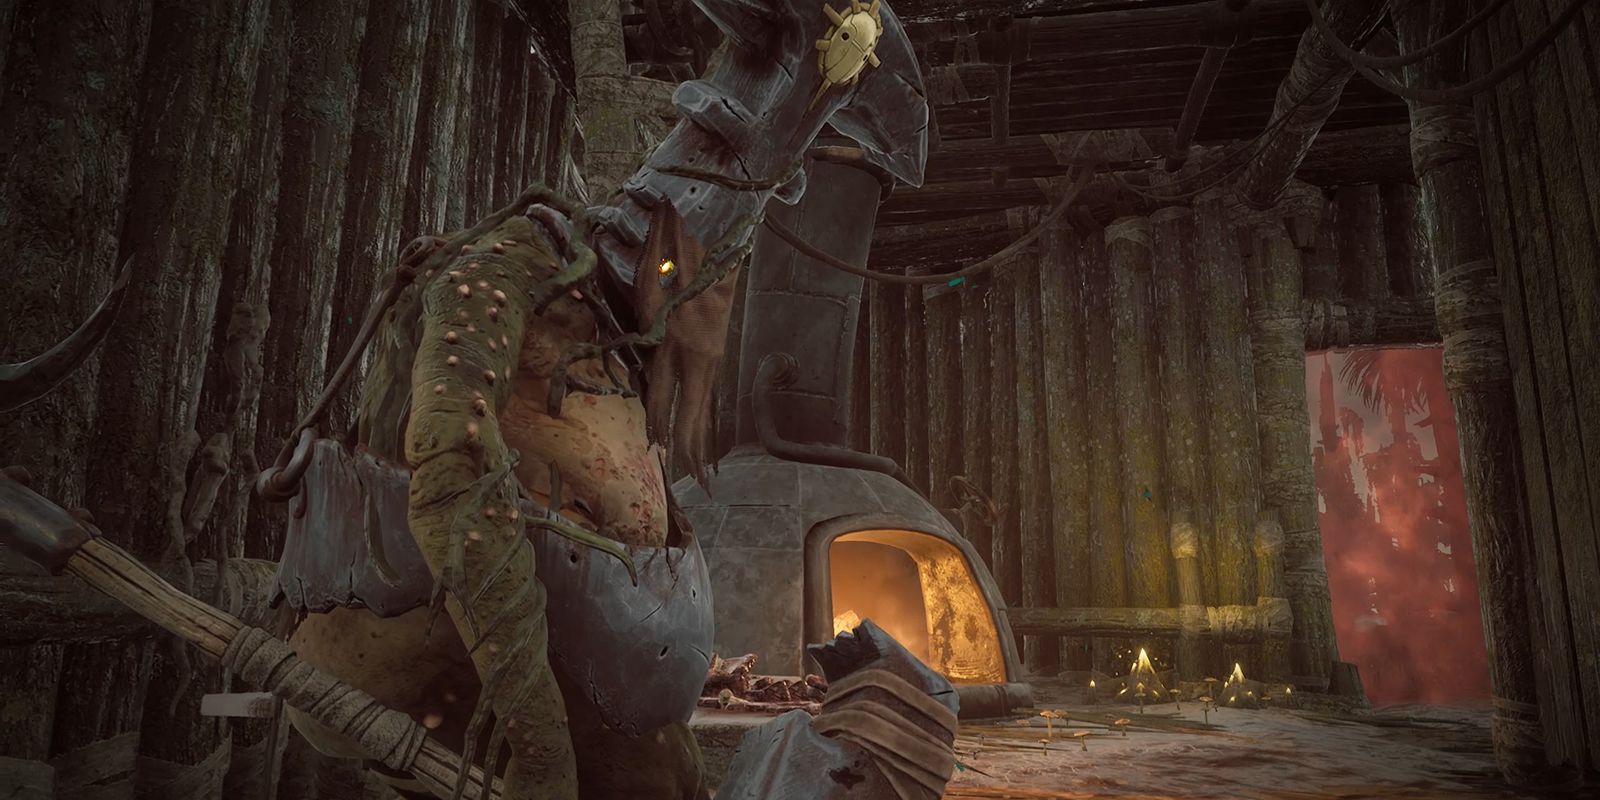
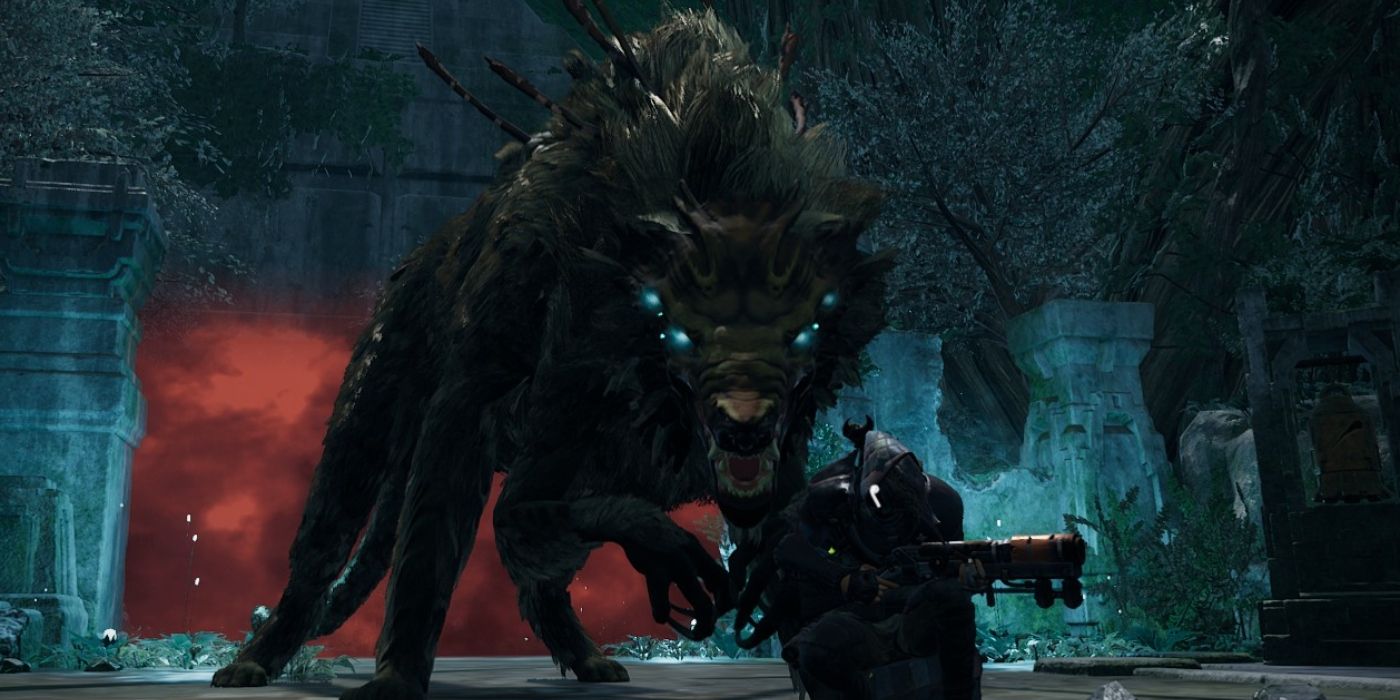
27 The Houndmaster & Maul
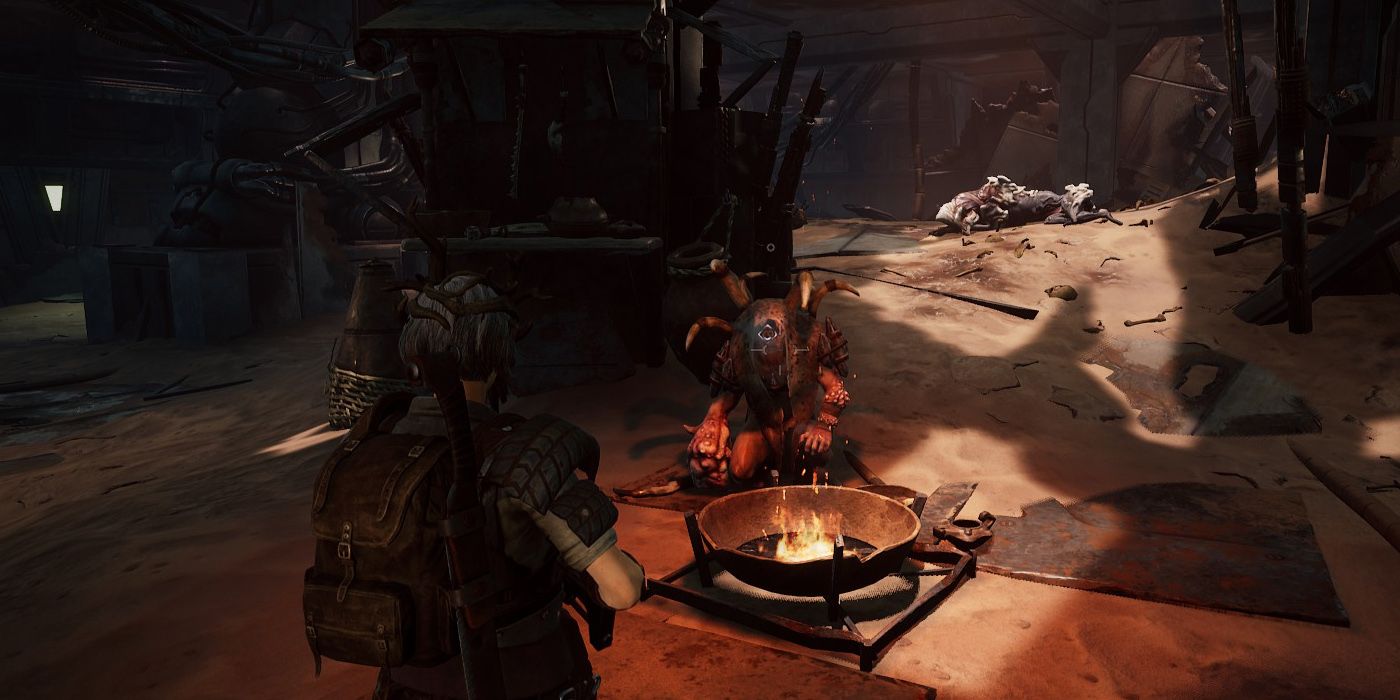
One of Rhom’s rarest boss spawns, the Houndmaster and his canine companion Maul, are a real pain. If players sneak into the arena while the hounds sleep, they can talk to Houndmaster and even buy jerky from him. Once ready to fight, focus on the Control Rod in the Houndmaster’s eye first, as breaking it is what drops it and also turns Maul and the rest of the dogs against their master. Otherwise, this fight is just amount managing mobs, as Maul will constantly summon more canine companions. After beating it, the player earns:
- The Hound Choker: can be turned into Howler’s Immunity, a mod that has a lot of use in multiplayer; the Control Rod gained here allows the activation of the Ancient Construct
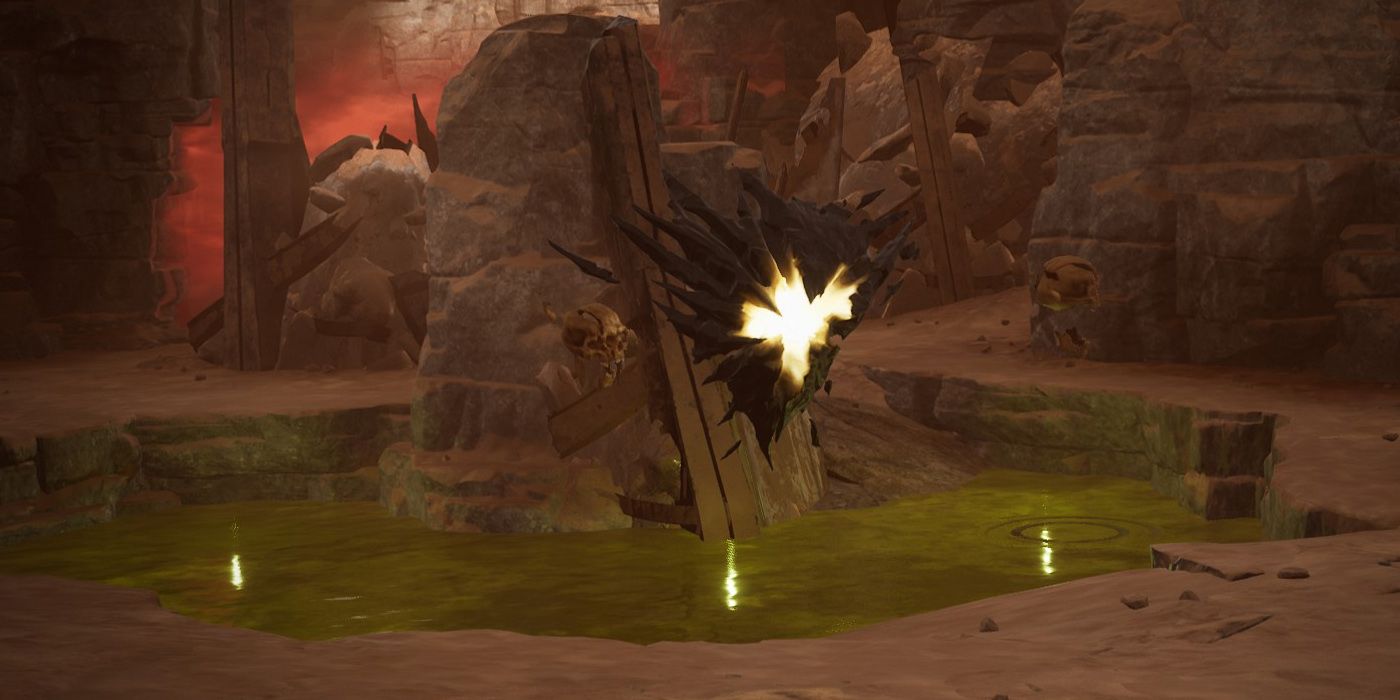
26 The Ancient Construct
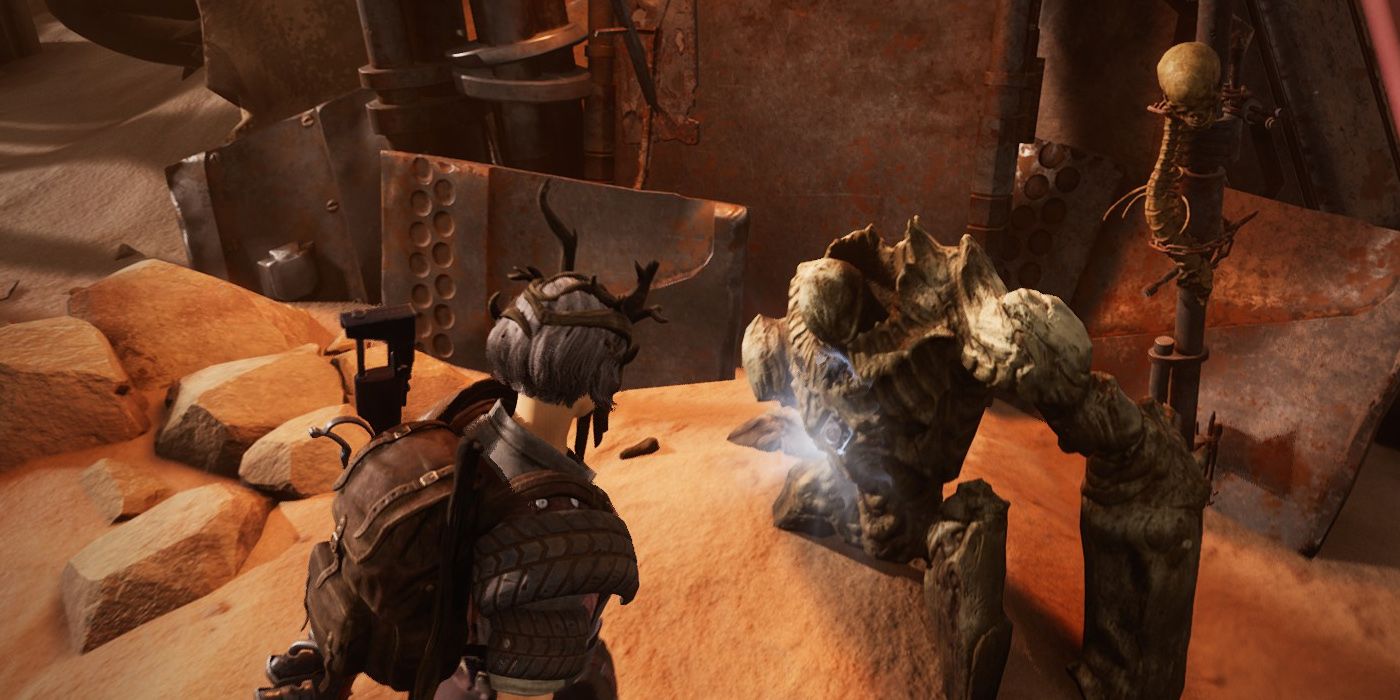
Outside Wud’s shop, a merchant that may spawn in the Rhom Realm, there’s an Anointed buried in the ground with a hole in its chest. This boss can only be activated if the Rhom has Wud’s Shop and Houndmaster on the same map, and the player successfully got the Control Rod from the Houndmaster, so it’s a bit of an involved process. The Construct is one of Remnant’s worst designed bosses, as it is just a tanky Anointed Enemy who constantly summons a pair of turrets that melt the player’s health bar before they can stop them. Upon its death, the player will be rewarded with:
- The Ancient Core: also known as the Iron Sentinel mod, allows the summon of The Construct’s turrets
25 Rhom World Boss: Claviger

Claviger can be found in The Spindle and is one of the options to get The Howling Key to access the Undying King, the other being The Harrow. Claviger is a unique fight since it summons Anointed, has a radiation beam, and has that whole shield mechanic. Claviger also has an alt-kill, meaning that it has two potential drops:
- The Stone of the Guardian: requires the defeat of Claviger the normal way; the Stone turns into the World Breaker, deals radiation damage
- The Void Sliver: requires the defeat of Claviger without letting it absorb any of its summoned minions (or any of the player’s summoned minions); turns into the Particle Accelerator, a shotgun that comes with the amazing Gravity Core mod
24 Rhom World Boss: The Harrow
Located in The Bunker and the second option for the Howling Key, it’s The Harrow. This boss is simple, but deadly. Basically, it swings around wildly until enough damage is done to it, then it runs away and summons waves of Ghasts and Lurkers, only coming back after they’re defeated. Like most World Bosses, Harrow has both a regular and alternate kill, each of which will reward the player with:
- The Thermal Geode: becomes the Defiler, a powerful pistol with the Radioactive Volley Mod
- The Lost Harpoon: requires the player to stagger The Harrow until it falls and then pull The Lost Harpoon out of it
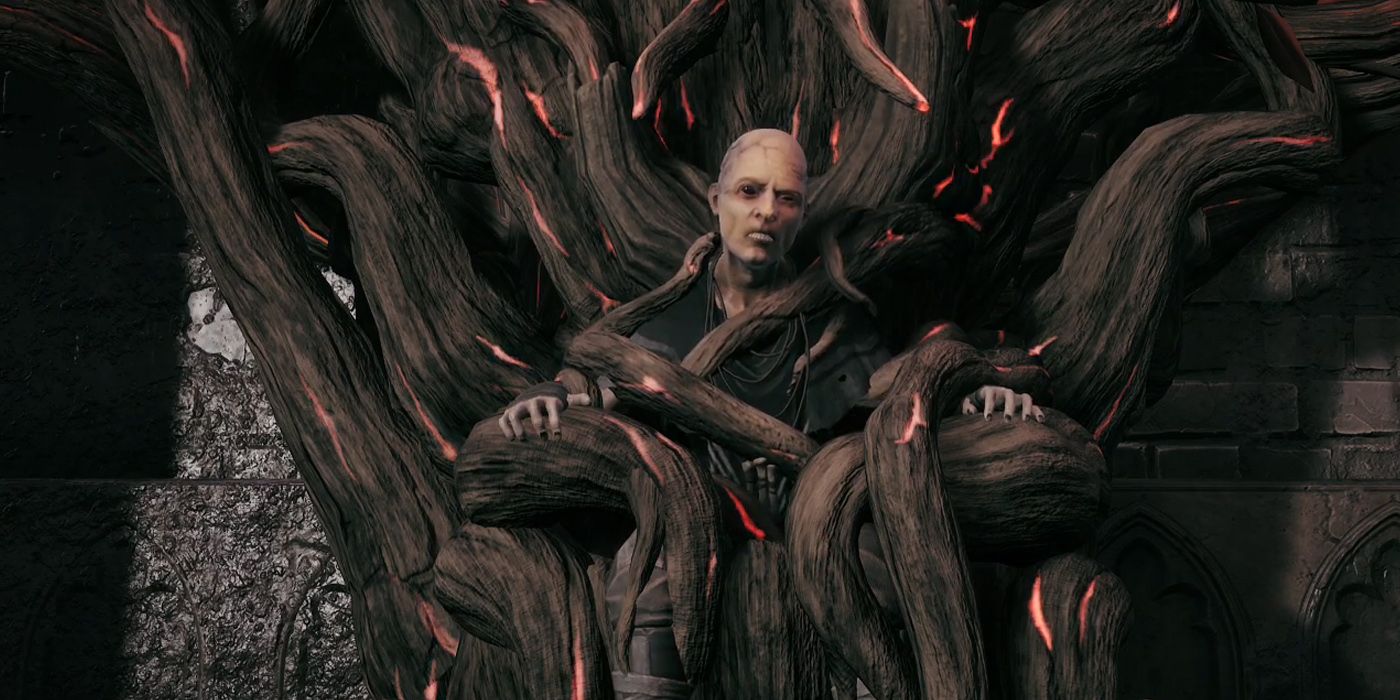
23 Rhom (Optional) World Boss: Undying King

The Undying King is an optional World Boss of Rhom that players can find in the Throne Room that is accessed thanks to the Howling Key. He’s optional, obviously, because the player doesn’t have to fight him to move forward. They can just simply agree to his request, let him open the portal to Corsus, and continue the campaign. If the player doesn’t bring the Guardian’s Heart back to him, that’s when he might get bloodthirsty. He’s a pretty tough fight, no doubt about that. After learning his patterns, it isn’t all too bad. Upon defeating the Undying King, who has no alternate kill, he’ll drop:
- The Undying Heart: used to craft Ruin, a tactical rifle/sniper; also drops The Labyrinth Key, a mandatory item needed to access Yaesha
22 The Thrall & It’s Swarm Bugs
This boss is very similar to fighting Shroud in that it will want to stay at a distance while lobbing projectiles at the player. Radiated damage is the name of the game with this boss, so bring lots of Greenleaf to increase protection. Oh, and watch out for Swamp Bugs. Its rewards are:
- The Swarm Tusk: used to craft the Swarm mod
21 Canker Of The Mire Hollow
Found in The Mire Hollow just inside the Drowned Trench, Canker is one of the most stereotypical “monster” designs and also one of the worst fights in the game. It’s not hard, it’s not fun, it’s just a slog. Basically, Canker’s arena is full of water that it can create waves with.
Other than that, and the mobs it spawns from eggs, this boss literally just runs back and forth. If the player just stands on the plot of dry land near the entrance and shoots him from there, its water attacks can’t even hit them. Unsurprisingly, its reward is equally lackluster:
- The Slime Vessel: used to craft the Corrosive Aura Mod, projects an area around the player that corrodes anyone who gets within five meters
20 Corsus World Boss: The Unclean One
Corsus is unique because both of its World Bosses spawn 100% of the time during the main campaign, those being The Unclean One and Ixillis. The Unclean One is one of the most well-designed fights in the game, with clear attack patterns and without such a heavy focus on mob spawns. That said, it still does still have some potential mobs that spawn, so if players want to avoid all mob encounters, just go for its alt-kill downstairs. Fighting the Unclean One, both upstairs and downstairs, nets:
- The Unclean Heart: used in crafting Devastator, a crossbow with the insanely strong Skewer Mod
- The Hammerhead’s Ore: requires the player to sneak downstairs while The Unclean One hammers away and hide in one of the three pots; the ore is used in making the Butcher’s Flail, a melee weapon
19 Corsus World Boss: Ixillis
Moving on to Corsus’ Guardian Ixillis, located in The Grotto, this boss fight is situated on a rather small bridge, and it involves a lot of dodging spectral orbs and laser beams. Oh, and there’s two of them instead of one. Its rewards are:
- The Hivestone: requires the player to simply kill both Ixillis XV and XVI at different times; the Hivestone etamorphizes into the Hive Cannon, an AOE pistol with the Hive Shot Mod
- The Guardian Tentacle: requires the player to kill both bosses in rapid succession; becomes the Guardian’s Axe, a fast-acting hand ax that charges 2x the amount of Mod Power when it hits
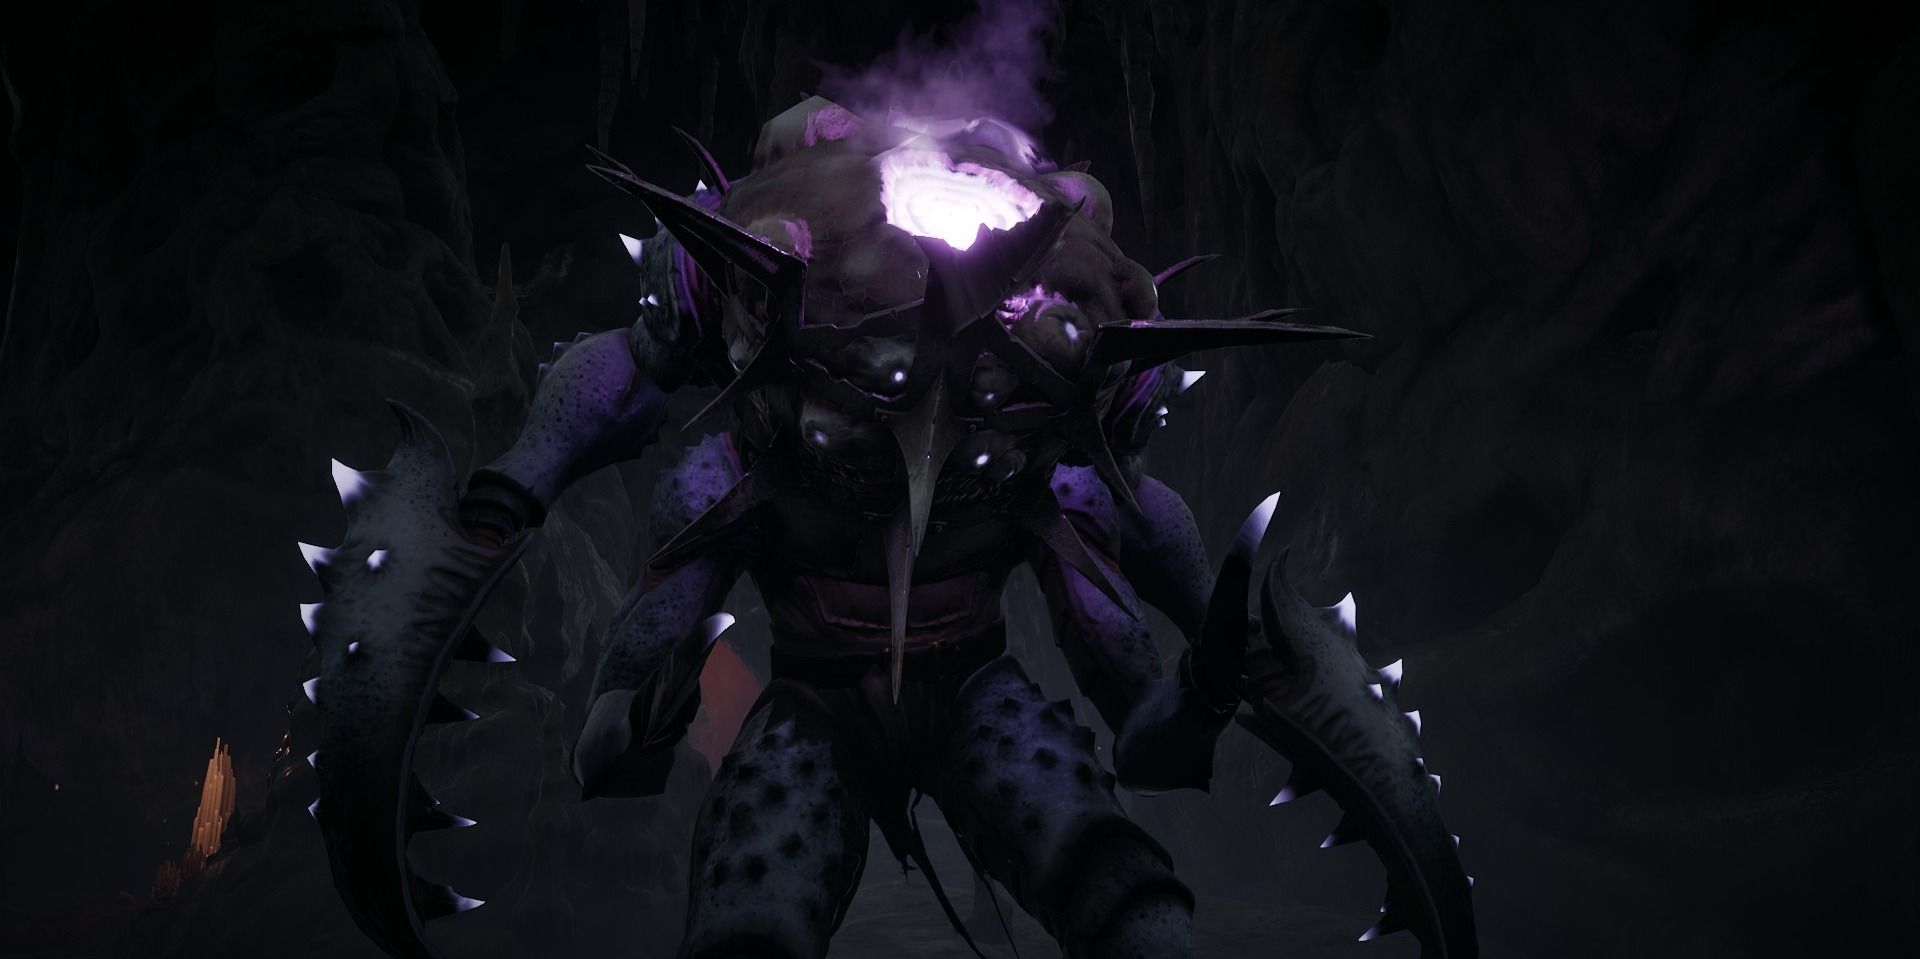
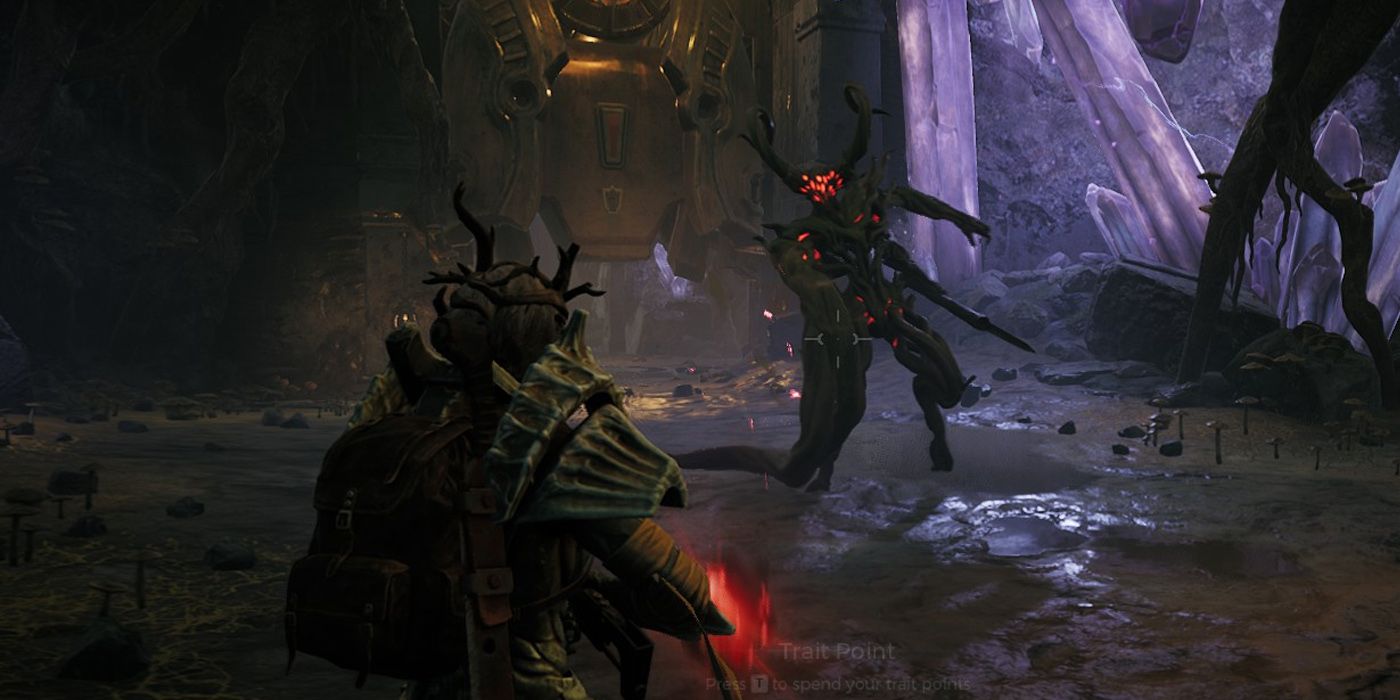
18 The Barbed Terror
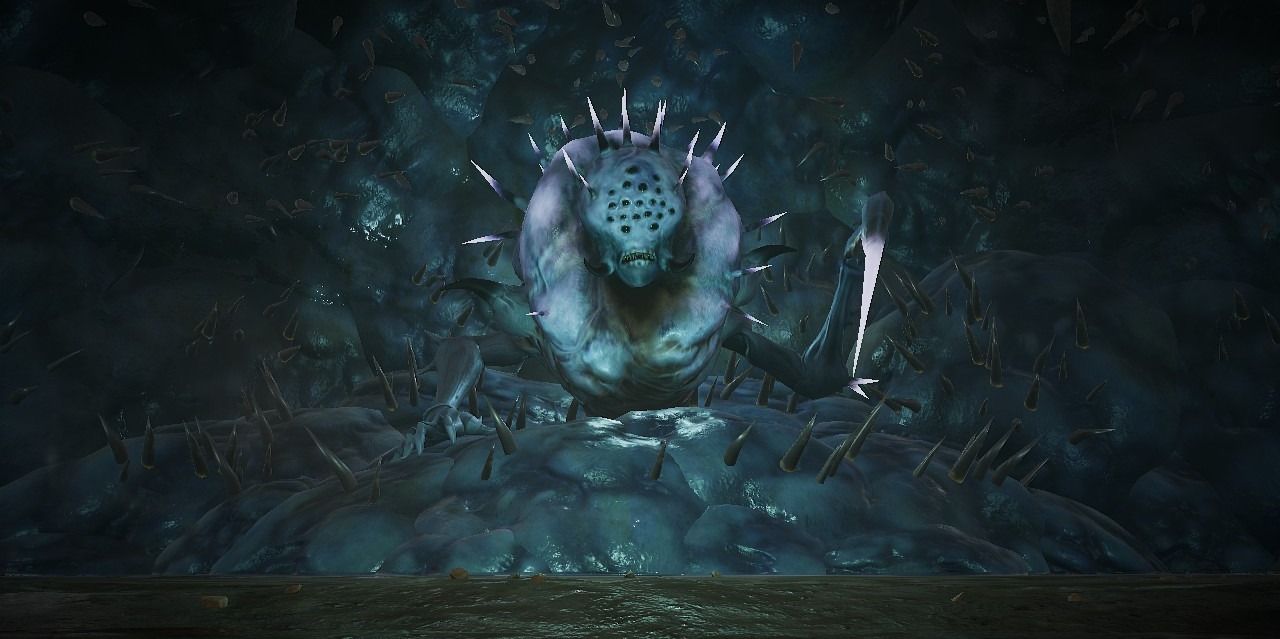
The Barbed Terror is the bane of some players and a favorite to others. The amount of spikes this boss summons from every side of the arena takes a couple of tries to get used to, at least. Players need to make sure that they’re paying attention to his moves to strike at the right time, as the small battleground that they’re given is pretty rough. For a boss his size, one would expect two different drops, but sadly, the Barbed Terror only has one:
- The Barbed Sinew: used to craft the Unstable Quills Mod
17 The Dream Eater
With his glowing head being his weak spot, the Dream Eater is a boss that is certainly one that will throw players for a loop if they’re easily sidetracked by his illusions. There are holes in the arena, a ton of projectile spam, and that whole floating illusion phase. Frankly, it’s another painful boss fight. If the player can tough it out, they get:
- The Luminous Gland: made into the Rift Walker mod
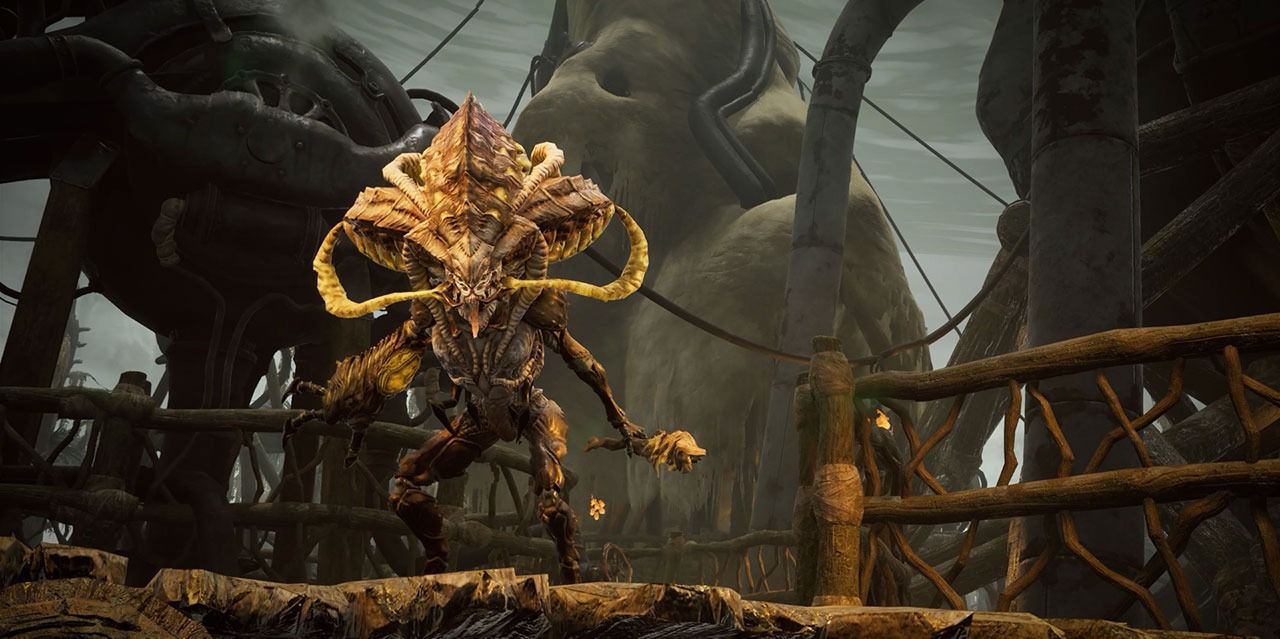
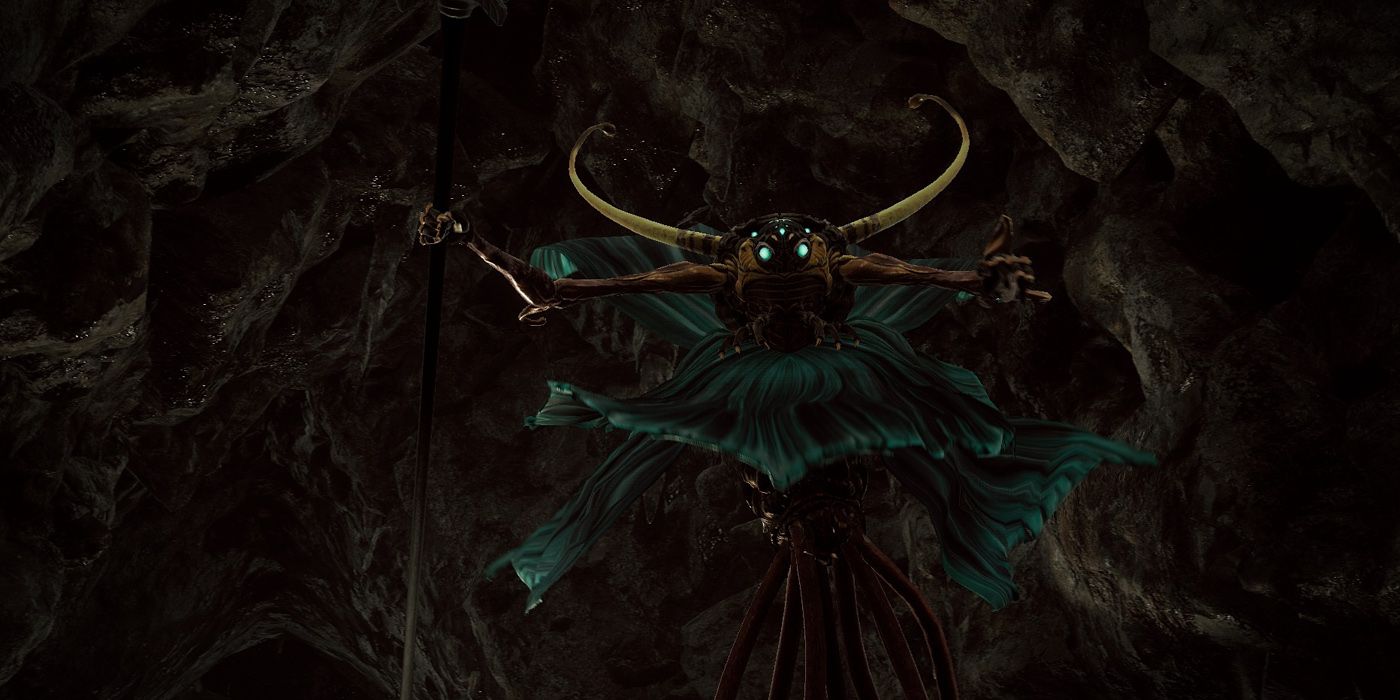
16 The Iskal Queen
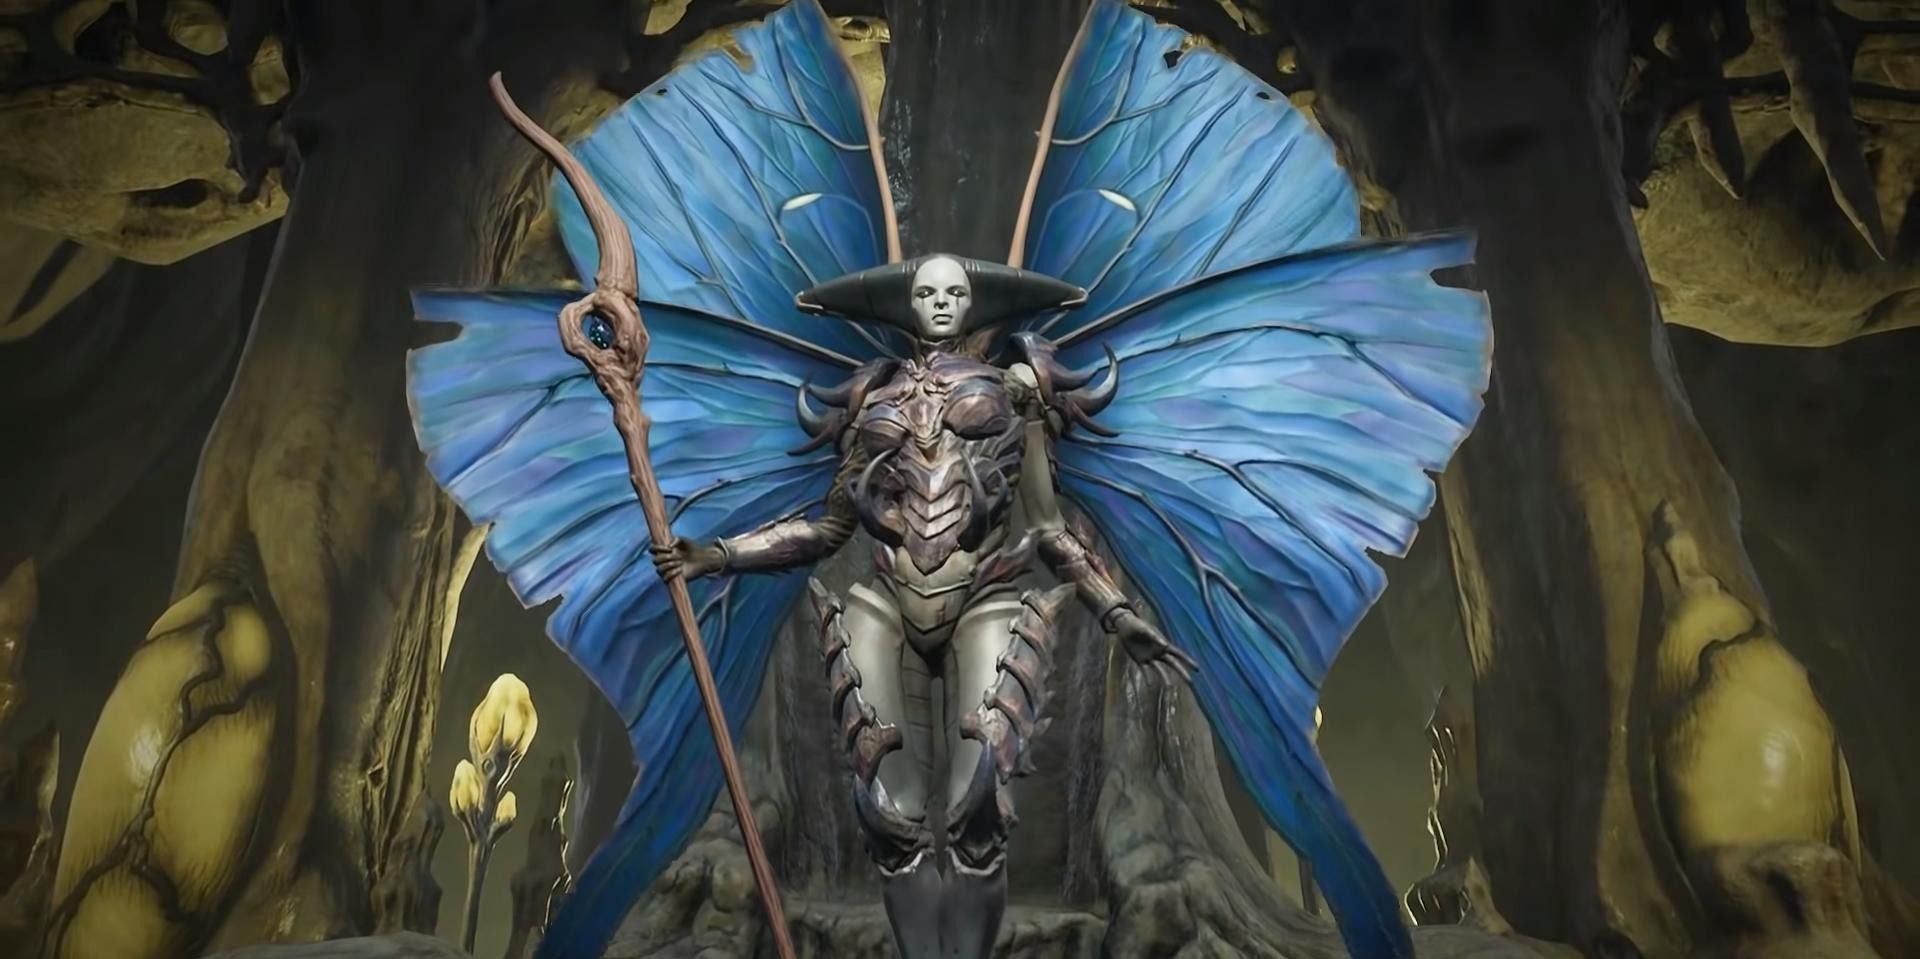
Fighting the Iskal Queen is optional, thankfully, as she’s incredibly difficult. There are several rewards that are obtained from her, such as:
- The Crystalline Plasma: requires the player to beat both her ranged and melee phases normally; turns into the Pride of the Iskal, a fantastic semi-auto pistol with the Vampiric Mod
- The Iskal Husk: requires the player to crush her with one of the stalactites during her phase transition which skips the melee phase of the fight; becomes the Seeker mod
Keep in mind, the Iskal Queen does also have a “sidequest” of sorts, involving the Graveyard Elf, the Parasyte status effect, and an Iskal Vial. Try and complete this before killing her if possible.
15 Sear & Scald, The Fiery Duo
Sear and Scald are all about lighting the player on fire, so Hydro Coolant and lots of rolling are important for this Dungeon Boss battle. Go for Scald first (the tiny drake), as his health bar is much smaller and he’s much easier to hit overall. Then, just poke at Sear while keeping an eye out for the Fleshopede’s he summons, and it should be over quickly. After being defeated, this duo drops:
- The Zephyr’s Conduit: turns into the Wildfire Shot Mod
14 The Stormcaller Of Yaesha

Quite honestly, Stormcaller is the easiest Dungeon Boss of Yaesha by far. Movement and speed are important when dealing with Stormcaller, as it summons lightning randomly around the arena as well as electric orbs that chase the player around. Its reward is:
- The Storm Crystal: becomes the Storm Caller Mod
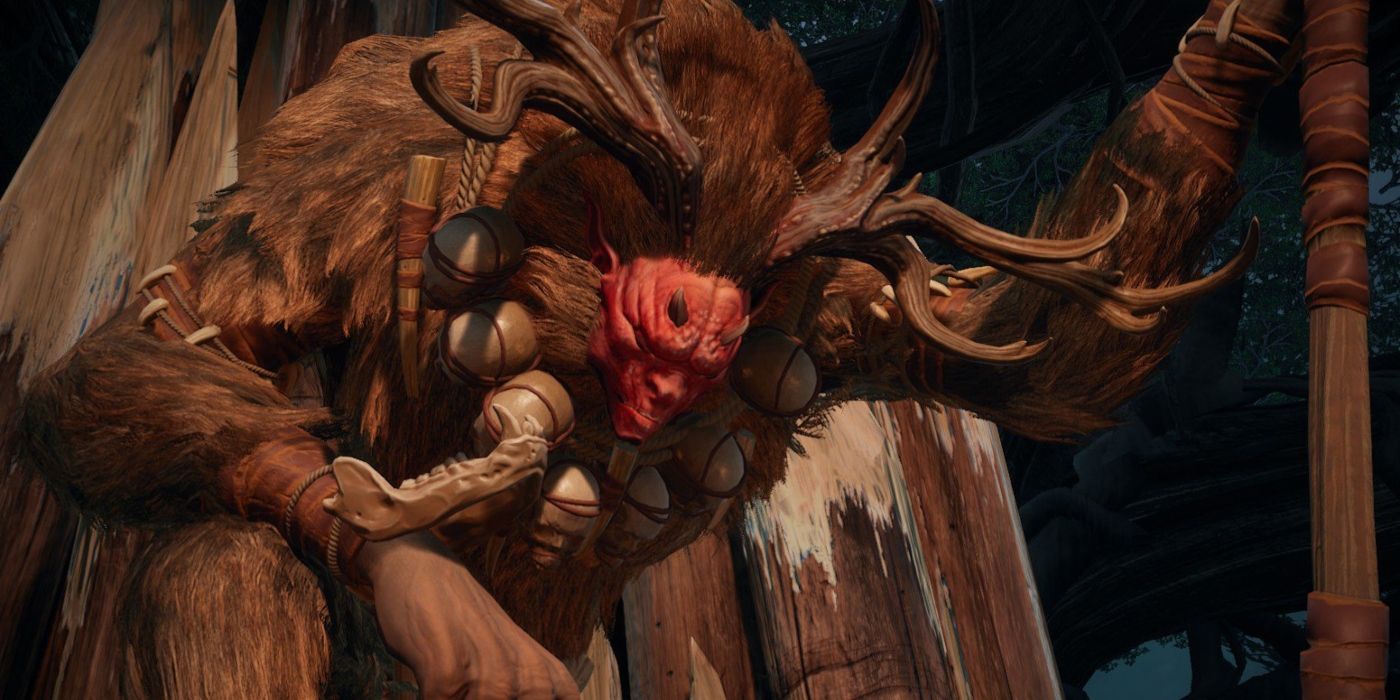
13 The Warden Of Yaesha
The Warden is another one of Yaesha’s Dungeon Bosses and also one of those bosses that just loves to summon mobs, so the best bet is to destroy the bells on the spears it throws so that it can’t summon anymore. Otherwise, the fight is pretty simple. Keep some distance, kill any mobs it spawns, rinse, and repeat. There’s only one reward for taking this monster down, and it’s:
- The Kin Callers Bell: take the bell to McCabe and craft the Song of Swords Mod, creates an aura that buffs damage output
12 The Root Horror
The Root Horror is a Boss a lot of people missed out on, simply because they either never found it originally, or they had no idea it had a second phase. Grab the Strange Curio from the back of the Stuck Merchant’s cart, then find the Guardian Shrine. After picking up the Radiant Visage, this boss spawns in. After beating his first phase, the second fight is sadly found near the body of the Stuck Merchant, which the Root Horror killed while hunting down the rest of the Radiant Armor:
- Root Horror Reward: the Radiant Set is linked to the Root Horror and is the same as a material that drops from it; also given the Guardian’s Blessing trait as well
11 The Onslaught Of Yaesha
The next two Dungeon bosses only spawn in the cave biomes that are full of purple crystals in the Yaesha Realm. They’re called Onslaught and Blink Thief respectively, and players can tell which one they’re going to get by the name of the cave location. If it’s the Forgotten Undercroft, they’ve got the Blink Thief, but if it’s Widow’s Pass, then they’ve got to fight Onslaught. This is a surprisingly tough fight since Onslaught teleports around and delays his swing speed to throw the players timing off. If the player manages to beat him, then they receive:
- The Blink Spear Shard: becomes the Blink Token Mod, teleports the player forward and does AOE damage
10 The Blink Thief Of Yaesha
The Blink Thief is a pretty unique battle. When walking into the Forgotten Undercroft, players will see the Ricochet Rifle laying there in front of them. When they walk closer, the Blink Thief appears, nabs the rifle, then teleports away. Players will then have about 12 seconds at three different locations moving forward to kill the Blink Thief. If they pull it off, they get:
- The Ricochet Rifle: requires the player to kill it within a certain amount of time; if they fail, they cannot get the rifle until they reroll
9 Yaesha World Boss: The Ravager
In the Ravager’s Haunt within the Tempest Court, players will find this next boss, one of two World Boss options for Yaesha. The battle is pretty tough, too, as the timing for some of The Ravager’s attacks takes some getting used to, but it’s worth it for:
- The Stalker’s Claw: requires the player to play him a certain lullaby using the bells around the arena which causes it to not fight; talk to him and get The Stalker’s Claw, used to craft Scar of the Jungle God
- The Tentacle Pod: requires the player to defeat him the normal way; take it to Mcabe who changes it to the Curse of the Jungle God
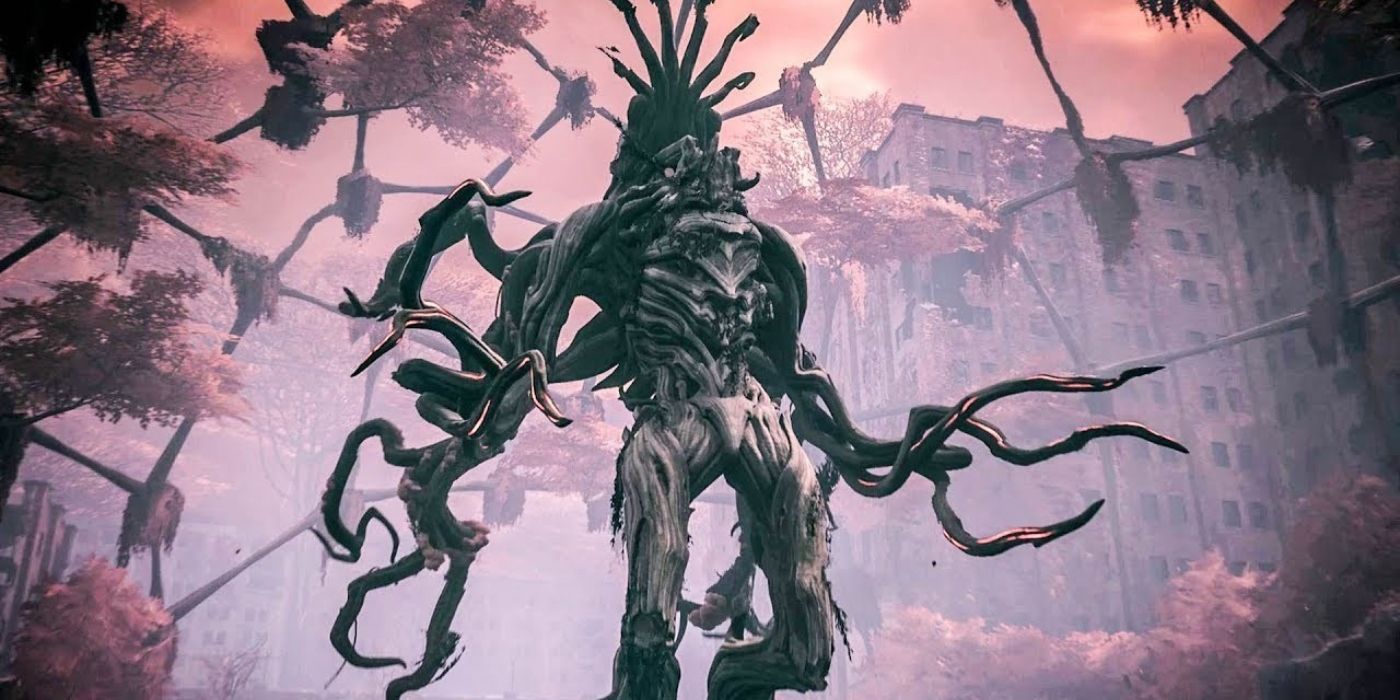
8 Yaesha World Boss: Totem Father
The secondary option that might spawn instead of the Ravager is the Totem Father. This majestic, yet imposing boss fights in two different ways, determined by the statue players can shoot just outside of the arena before walking in. In the blue stance, Totem Father is ranged, but his summons are melee. While the red stance makes the main boss melee and their mobs ranged. Both combat styles are relatively easy to deal with, as long as the player has the dodge timing down and get rid of the mobs right as they spawn. The drops include:
- The Totem Antler: requires the player to kill the blue stance variant, used for crafting the Eye of the Storm
- The Tempest Heartstring: requires the player to kill the red stance variant, used for crafting Voice of the Tempest
7 Final World Boss: Dreamer & Nightmare
The final boss of Remnant (pre-DLC) lies in Ward 17. Funnily enough, Chronos actually has plot threads tied to this boss too, as well as their Nightmare transformation. It’s a two-phase fight where the player will have to defeat The Dreamer and Nightmare in sequence, so bring plenty of supplies. There’s no alt-kill for this boss, as the Dreamer’s Mana and Orb of Undoing are guaranteed drops:
- The Dreamer’s Mana: turns into the Repulsor, a shotgun that can freeze enemies
- The Orb of Undoing: used to re-allocate all Trait Points; more Orbs can always be bought from Reggie’s shop after this point
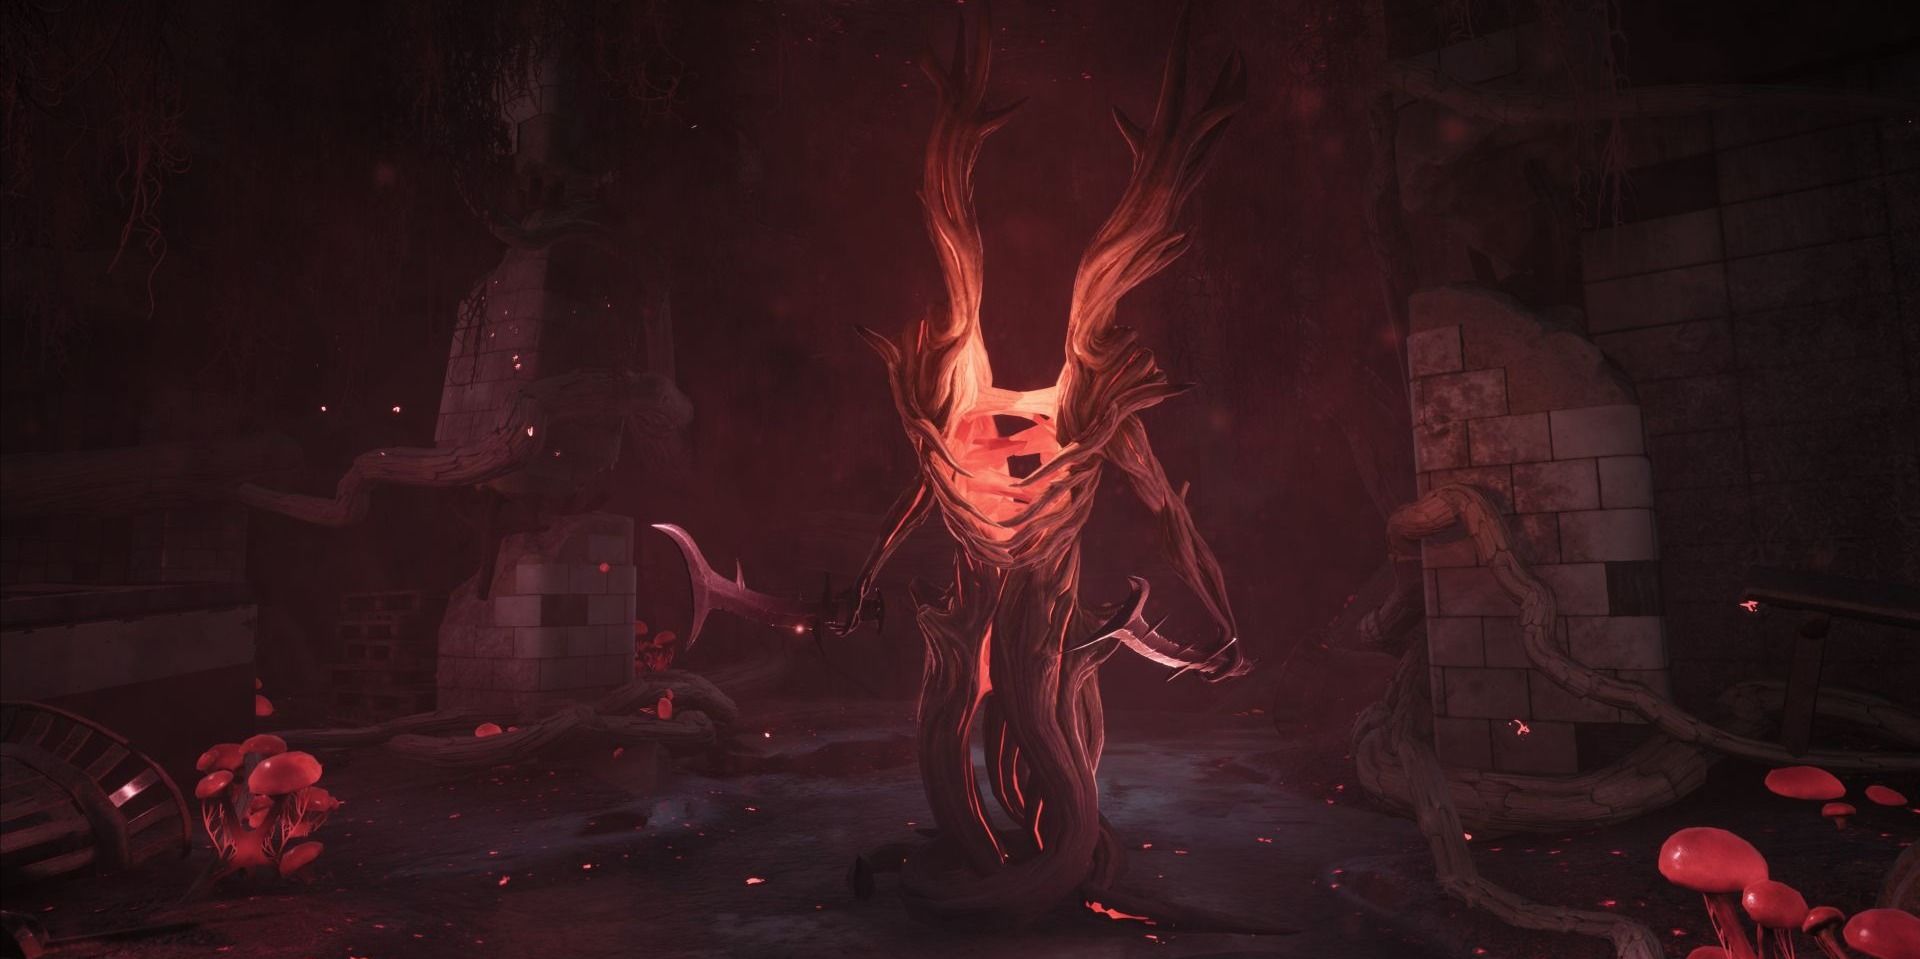
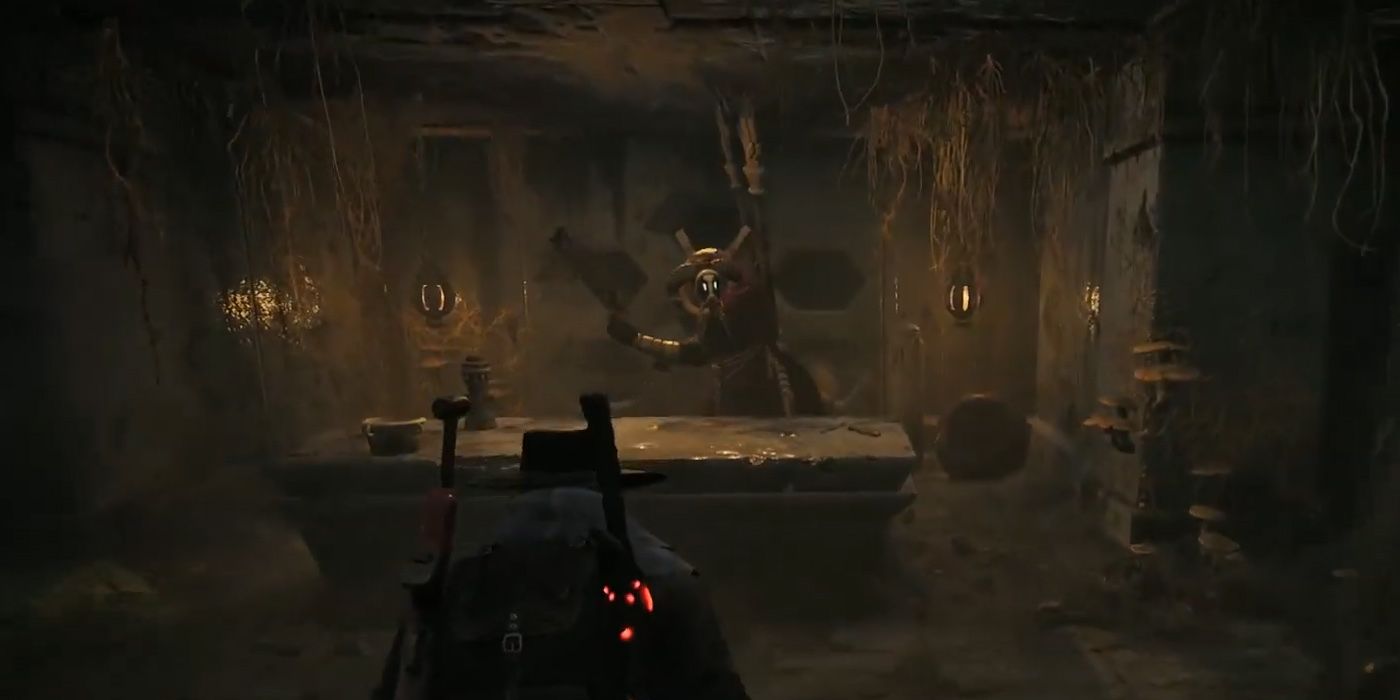
6 Tian, The Assassin
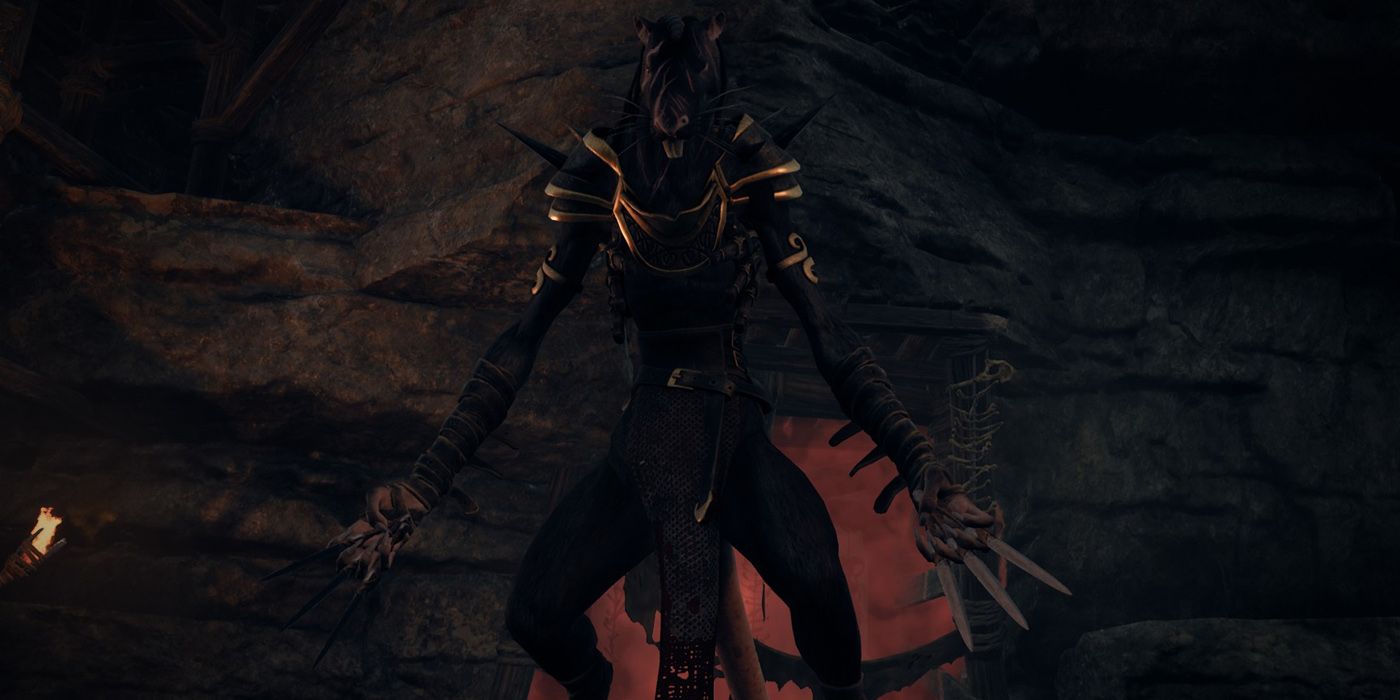
Sadly, there’s not much to say about Tian, since all it does is throw knives and summon mobs. This thief is quick and agile, which makes it a pain to pepper it with bullets. Their ranged attacks will track the player’s location too, so make sure to roll or use cover just to be safe. This rat-boss drops:
- The Silver Fragment: converts into the Fan of Knives Mod, throws a line of knives directly forward that inflict bleeding
5 Ikro, The Ice Conjurer
The battle against Ikro is more about the arena than the boss itself. Basically, Ikro has two storm clouds that constantly circle the arena at a slow speed, melting the HP of anyone they hover over. The primary objective of this fight is to destroy the orb Ikro summons above it while avoiding the clouds. Once that’s done, players can lay into Ikro until it summons another orb, then rinse and repeat. After defeating him, the player will get:
- The Glacial Scepter: remade into the Blizzard Mod, summons slow-moving ice clouds above enemies
4 Erfor, The Jackal

Much like its name suggests, Erfor is basically just the Dungeon Boss version of the Jackal enemies encountered throughout Reisum. Honestly, its patterns are so just so simple. Because of the holes it can create in the arena when throwing ice chunks, the whole experience a bit harder than expected, hower. In any case, Erfor’s body holds:
- The Jackal’s Ivory: McCabe modifies into the Cold Spear Mod, chucks spears of ice at enemies and inflicts Frost damage/Frostbite
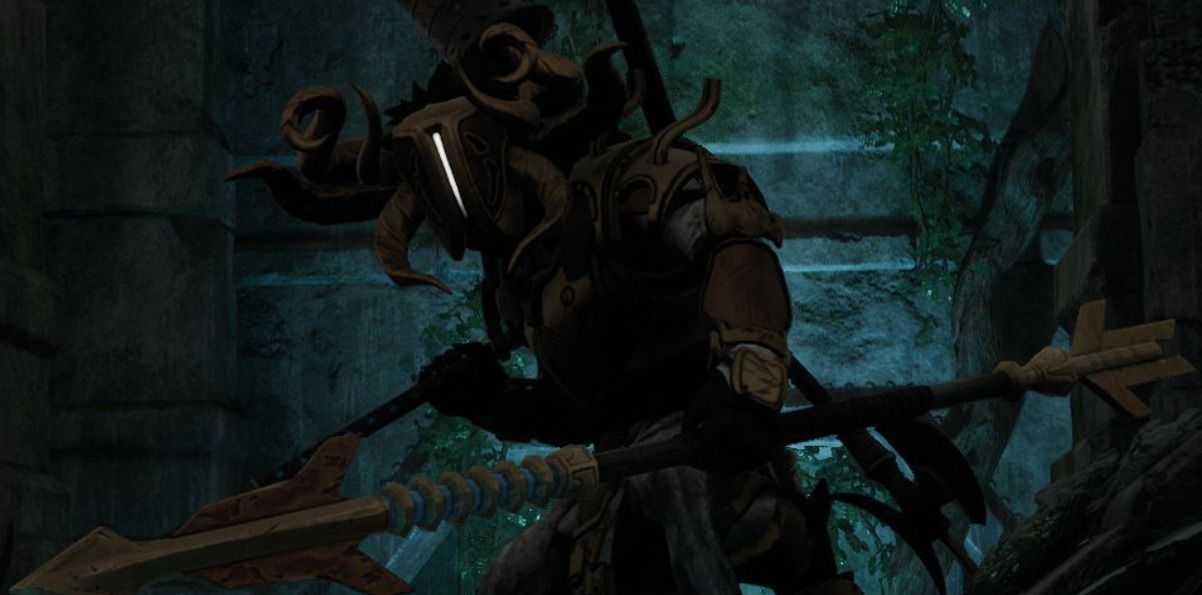
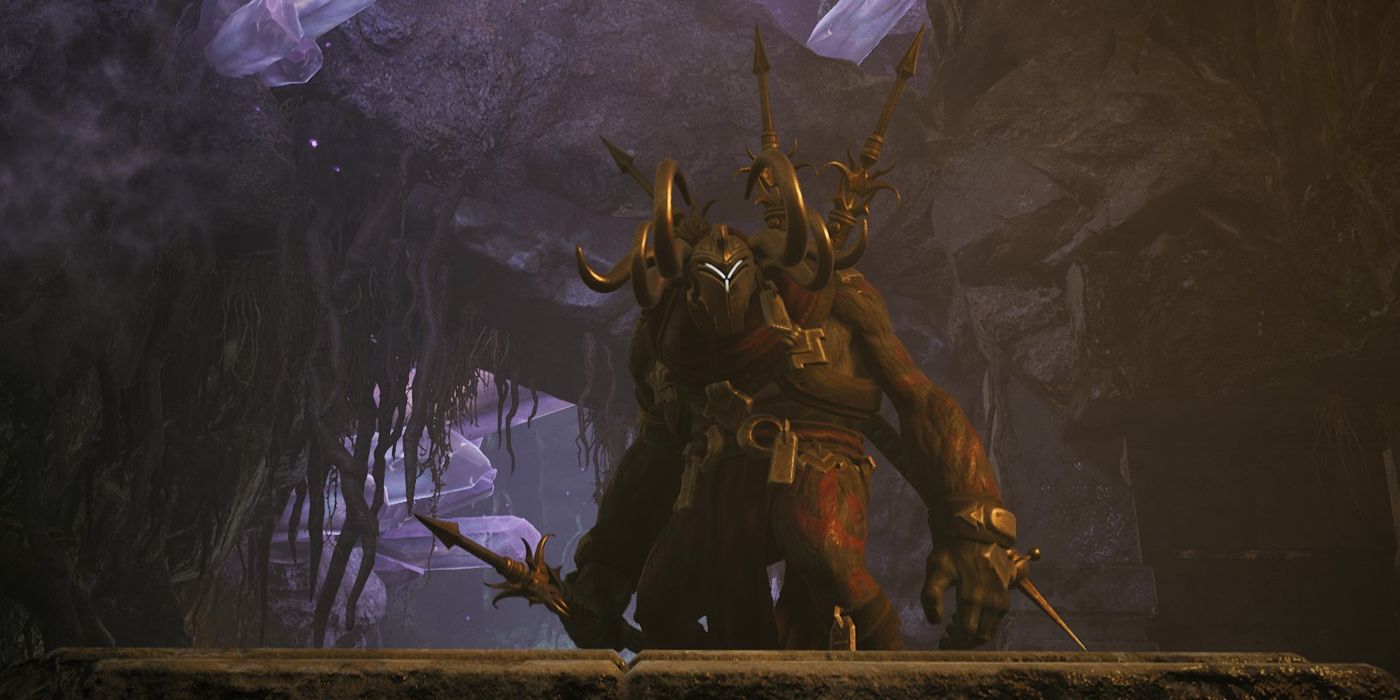
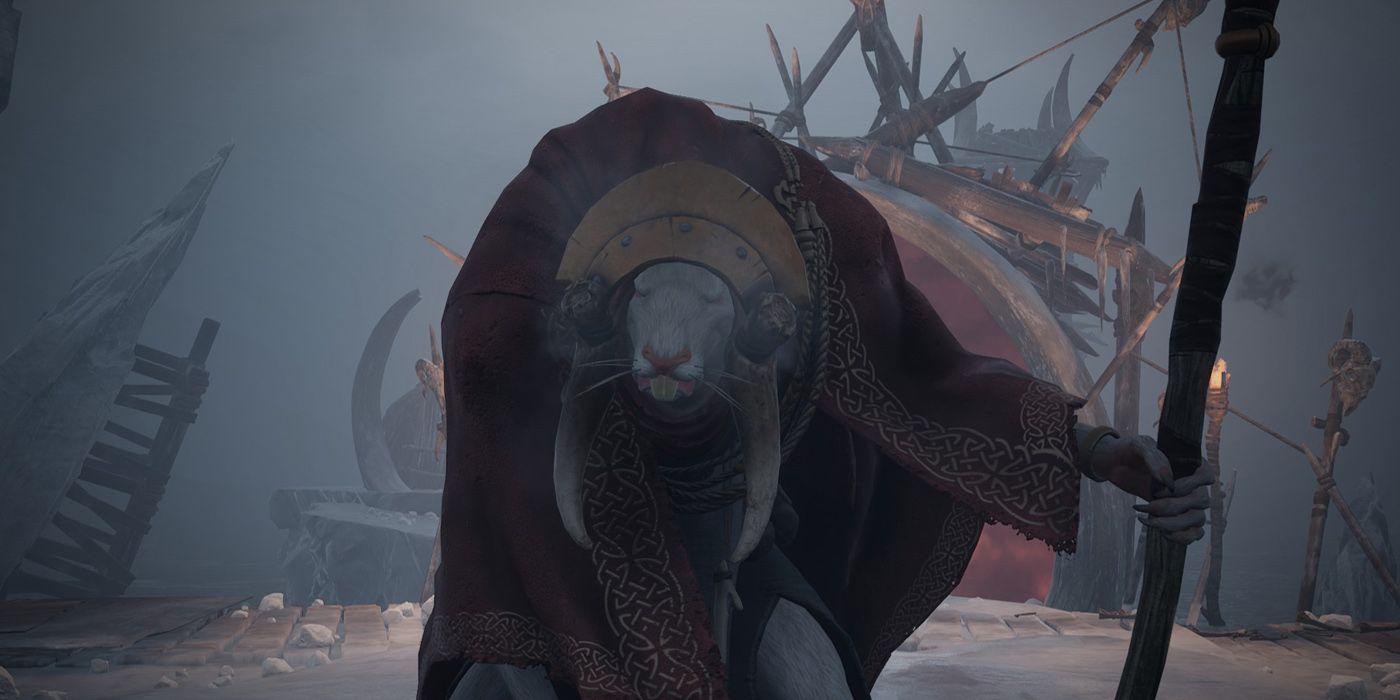
3 Obryk, The Shield Warden
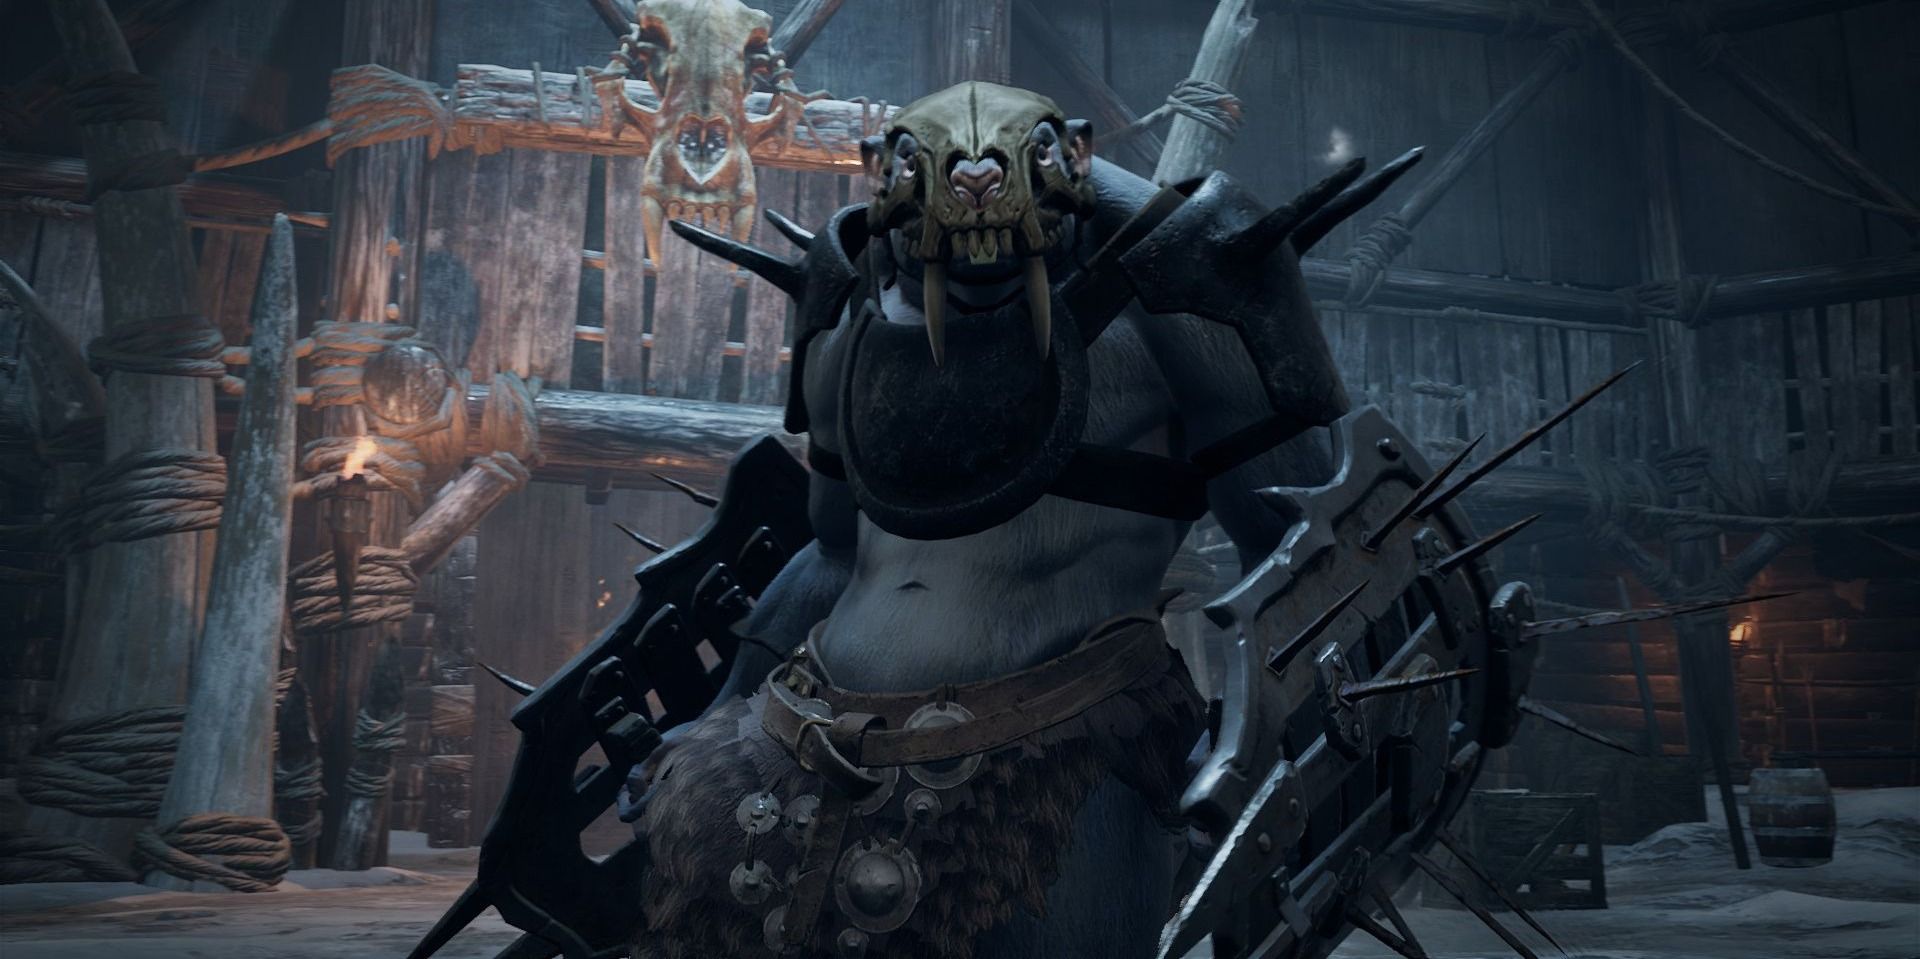
Fighting Obryk means bringing a bunch of Spiceroot, because it’s almost impossible to avoid getting afflicted with Frostbite during this battle. Obryk is one of the most aggressive bosses in the game, giving the player almost no time to heal. His patterns are pretty simple, so once the player has got them down, he isn’t too bad. Obryk drops his Bracelet after being killed:
- Obryk’s Bracelet: transforms into the Frozen Mist
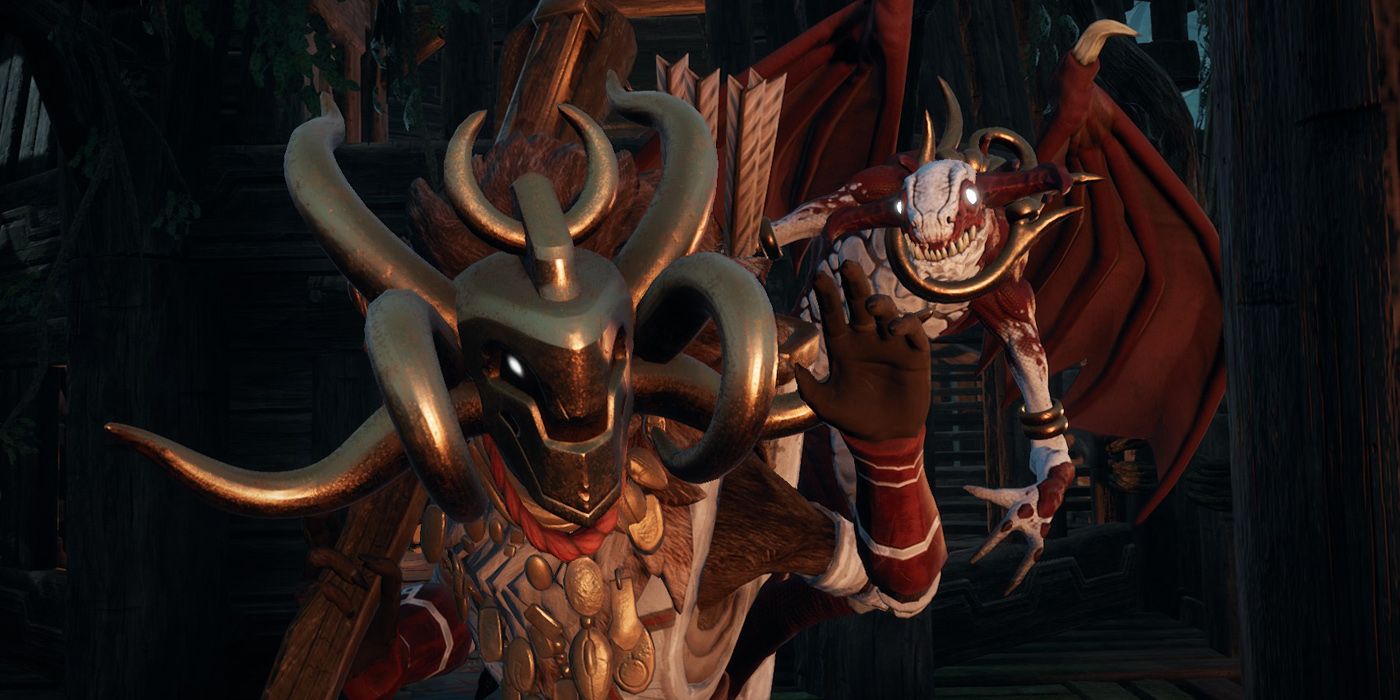
2 Reisum World Boss: Brudvaak, The Rider And Vargr, The Warg
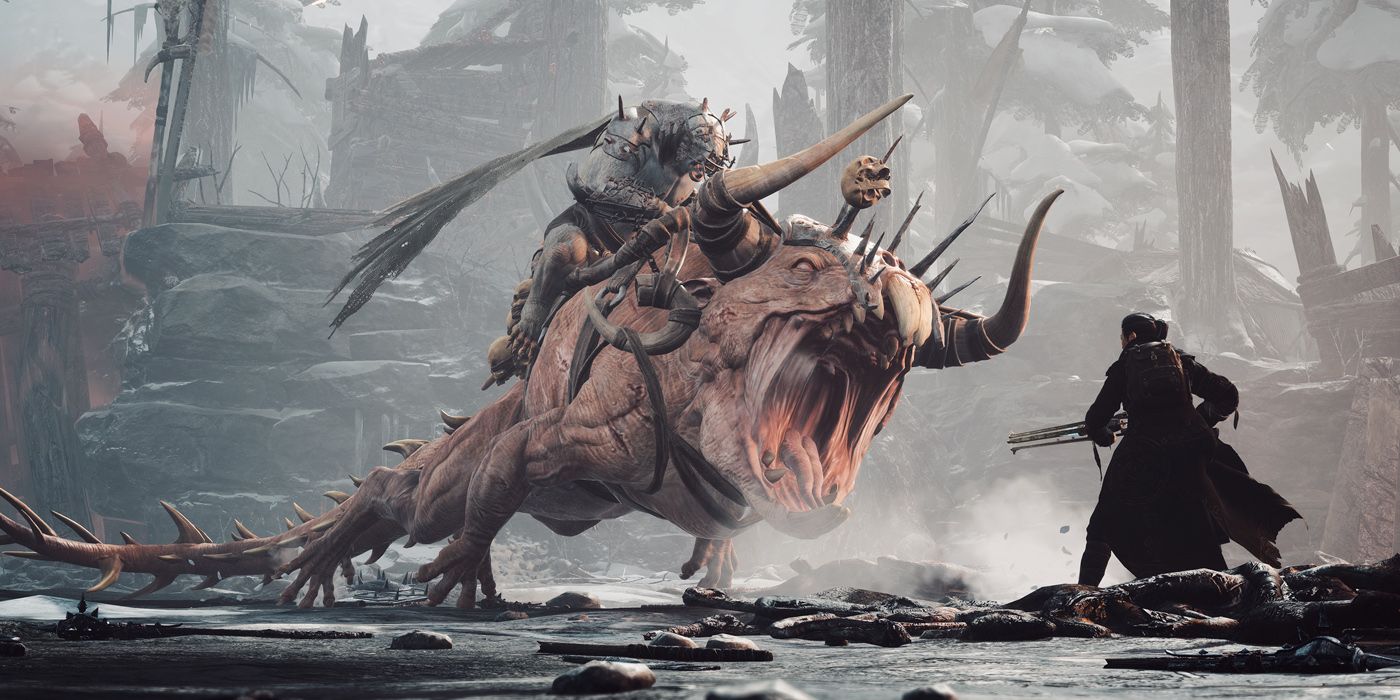
While the Subject 2923 DLC is incredibly cool, it’s a bit lame that there’s only one “World Boss” for Resium, and it’s the battle against Brudvaak and Vargr. Basically, think of this fight as a more simplistic version of the iconic Ornstein and Smough confrontation from Dark Souls (Remnant is a Souls-like, after all). Whoever the player kills first, the other one gets a power-up and a brand new health bar. The drops differ depending on who is killed first, too:
- The Cold Cell: requires the player to kill Brudvaak first; becomes the Alternator with an innate Incinerator Mod
- The Steel Of Agony: requires the player to kill Vargr first; becomes the Chain Blade, one of the longest ranged melee weapons in Remnant
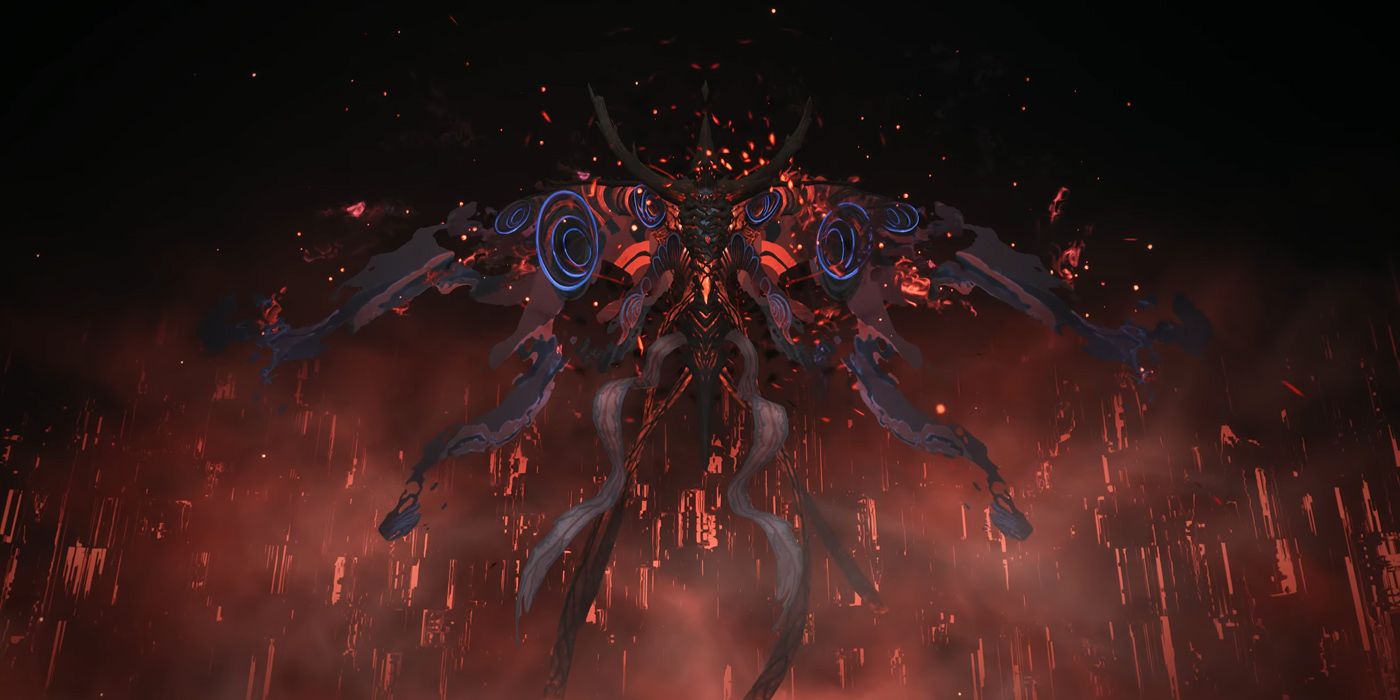
1 DLC Final World Boss: Harsgaard & Root Harbinger

And finally, much like the Dreamer and Nightmare, Harsgaard and the Root Harbinger are two boss fights linked together. The first phase involves fighting Harsgaard until he drops to 50%, at which point he’ll grow some extra arms and get a bit more aggressive. After getting rid of the remaining 50%, Harsgaard becomes the Root Harbinger, and a second, much harder fight begins. The first drop happens, oddly enough, in the middle of the second phase, while the second drop happens after:
- The Fusion Rifle: auto-equipped the first the player makes it to the Root Harbinger phase; comes with the Fusion Cannon Mod
- The Root Neoplasm: requires the player to survive both phases; turns into the World’s Edge, a high damage sword that has a wave projectile it propels with every charge attack
![]()
www.itsec.hk
www.itsec.vip
www.itseceu.uk
Leave a Reply