

It was Halo 2 that introduced the concept of skulls and they’ve been a fan-favorite part of the games ever since. In Halo 2 there were 15 of these easter eggs that could be found during a Legendary playthrough, and they would affect parts of the game in unique and challenging ways.
For players looking for the ultimate challenge, quirky new game mechanics, or looking to get all of the achievements, finding the skulls is an absolute must. This guide will provide some insight into where they can be located and what they do when activated.
15 Whuppopotamus Skull
This strange-sounding Skull is found in the first level before the player joins Sergeant Johnson in the elevator. The player needs to wait until he says “Would it help if I said please?” before getting on. Afterward, get on the tram, face the Earth side, and spam the action button on the glass doors to reach it.
The Whuppopotamus Skull causes the enemy to be more aware and dangerous. Camouflage is less effective, any sound triggers them, and they have incredible accuracy.
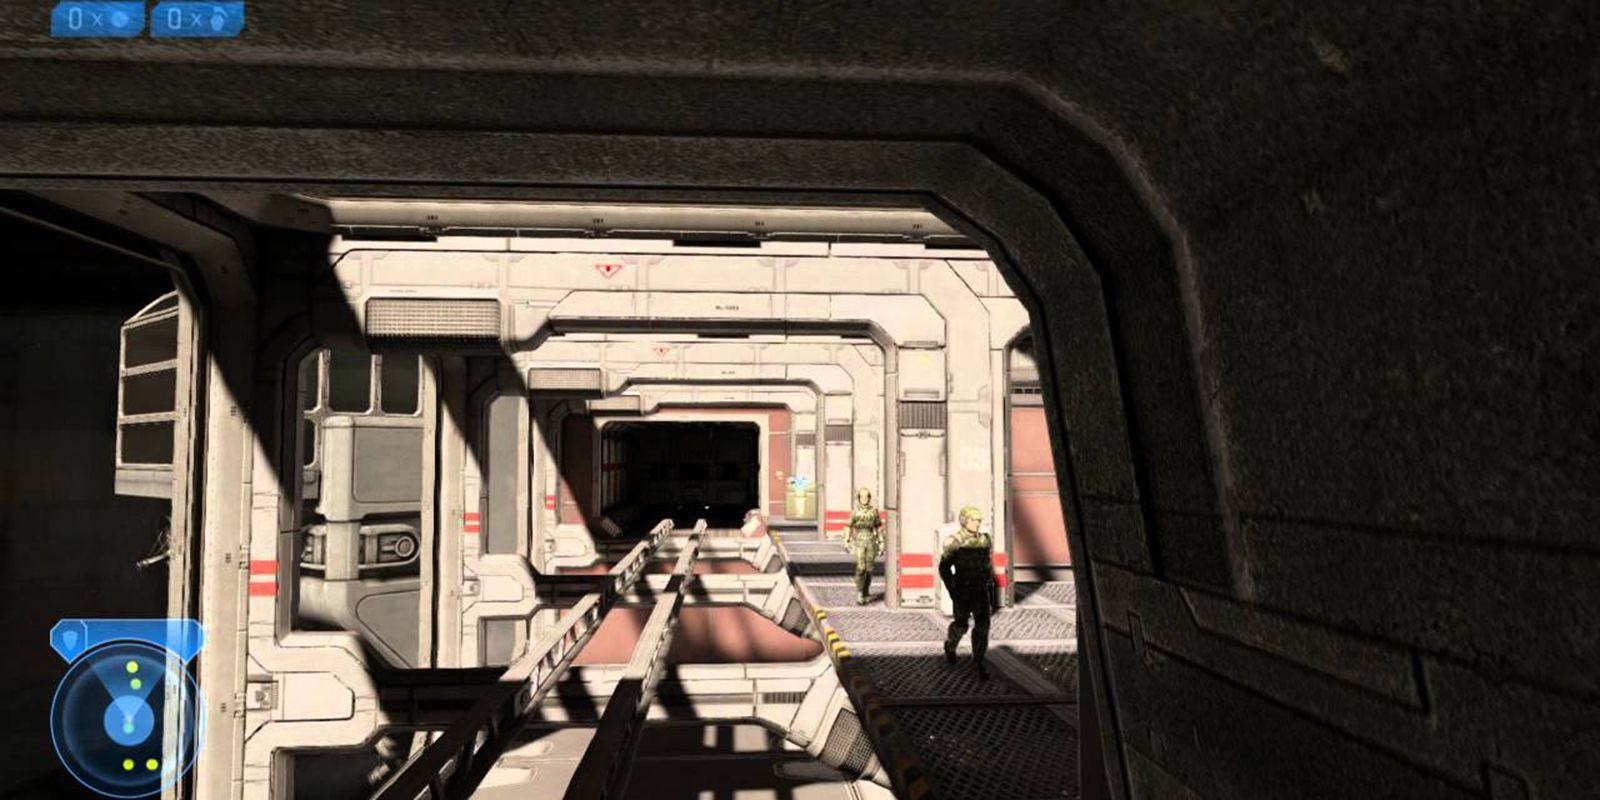
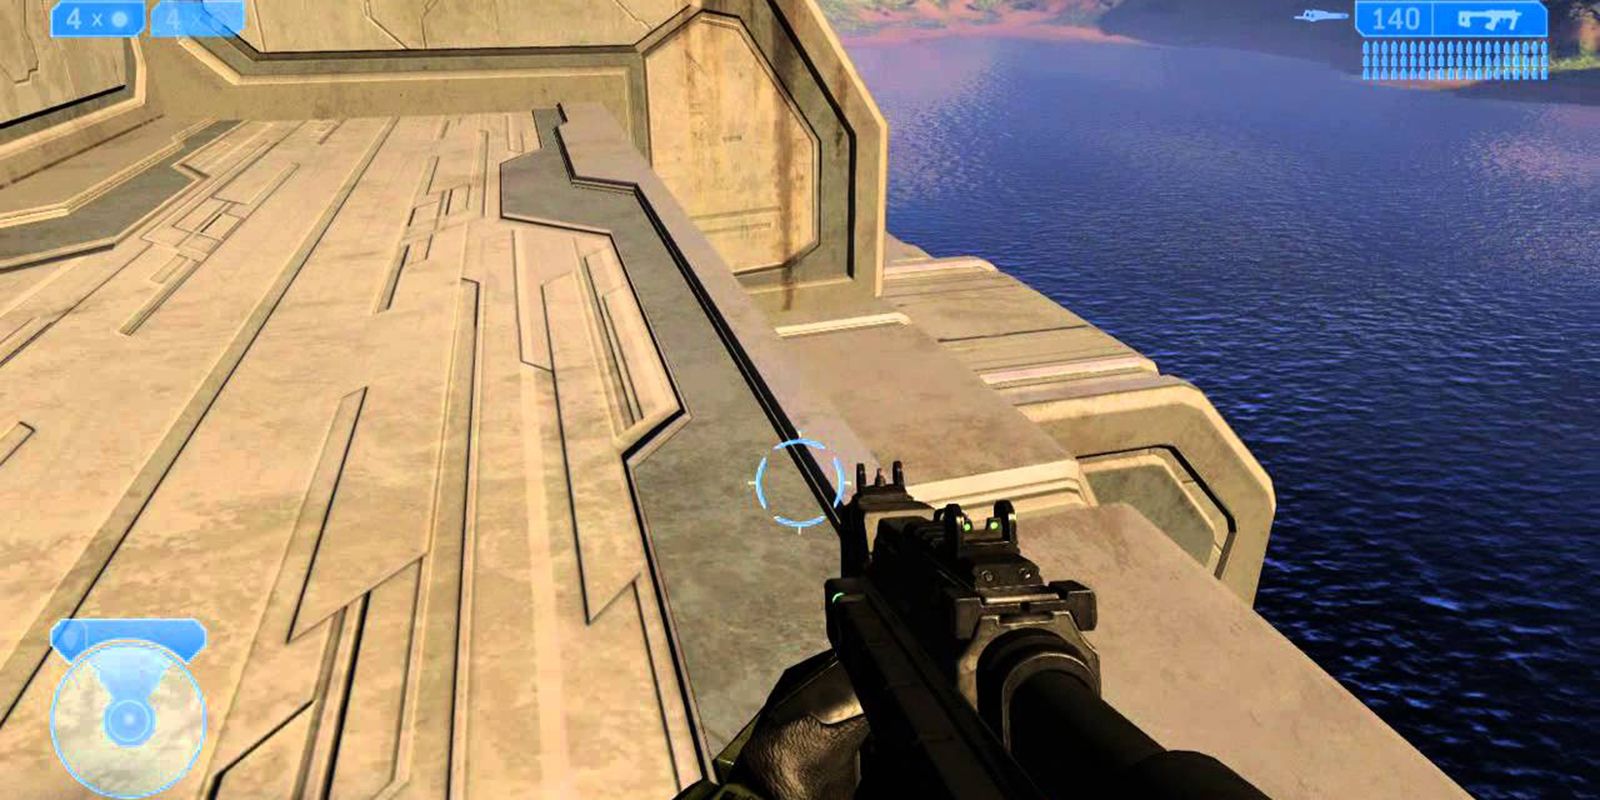
14 Thunderstorm Skull
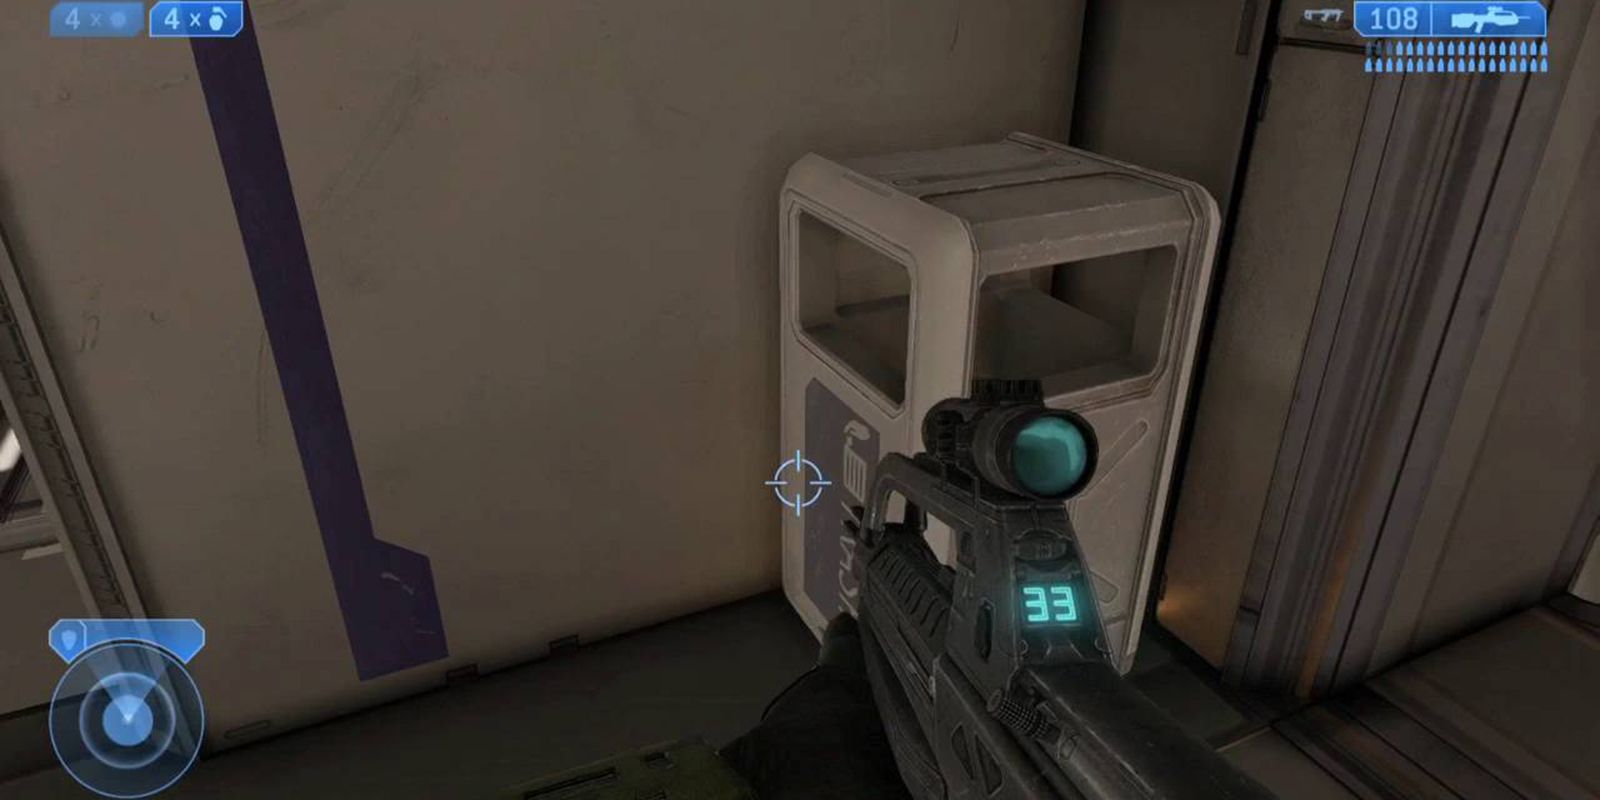
On the Cairo Station level is a large room outside of the Armory. The player then needs to parkour jump onto a light fixture to reach an open platform near the main entrance. From there is a beam near the Armory door. Hopping across will lead to a trashcan that can be bashed to reveal the skull behind. Grenade jumping and the Sputnik Skull can help.
The Thunderstorm Skull causes the majority of enemies to receive battle promotions to their highest rank, making them more dangerous. Flood Human Forms and UNSC Marines are not affected.
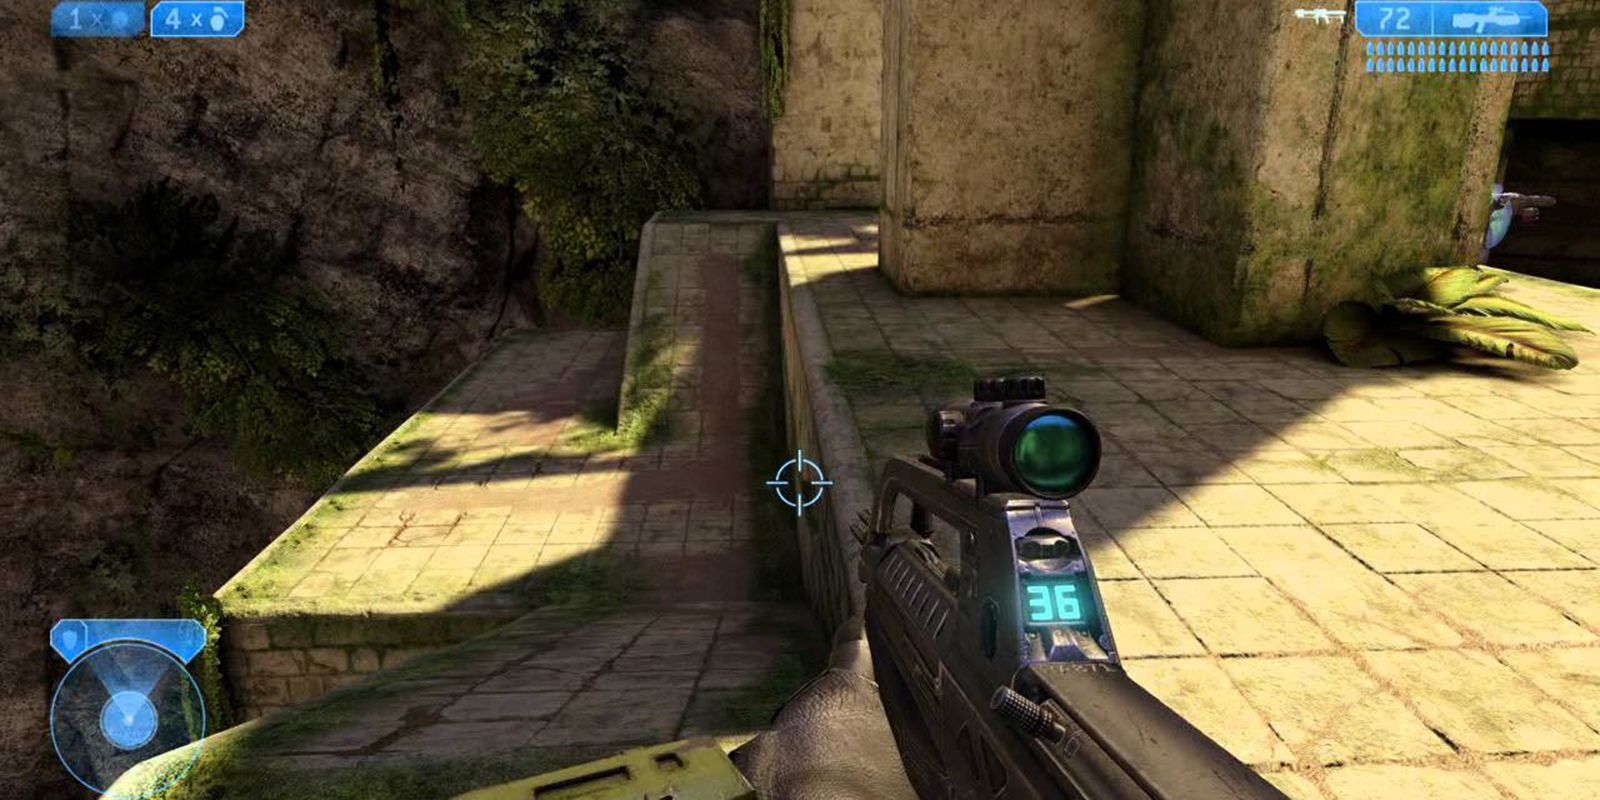
13 Blind Skull
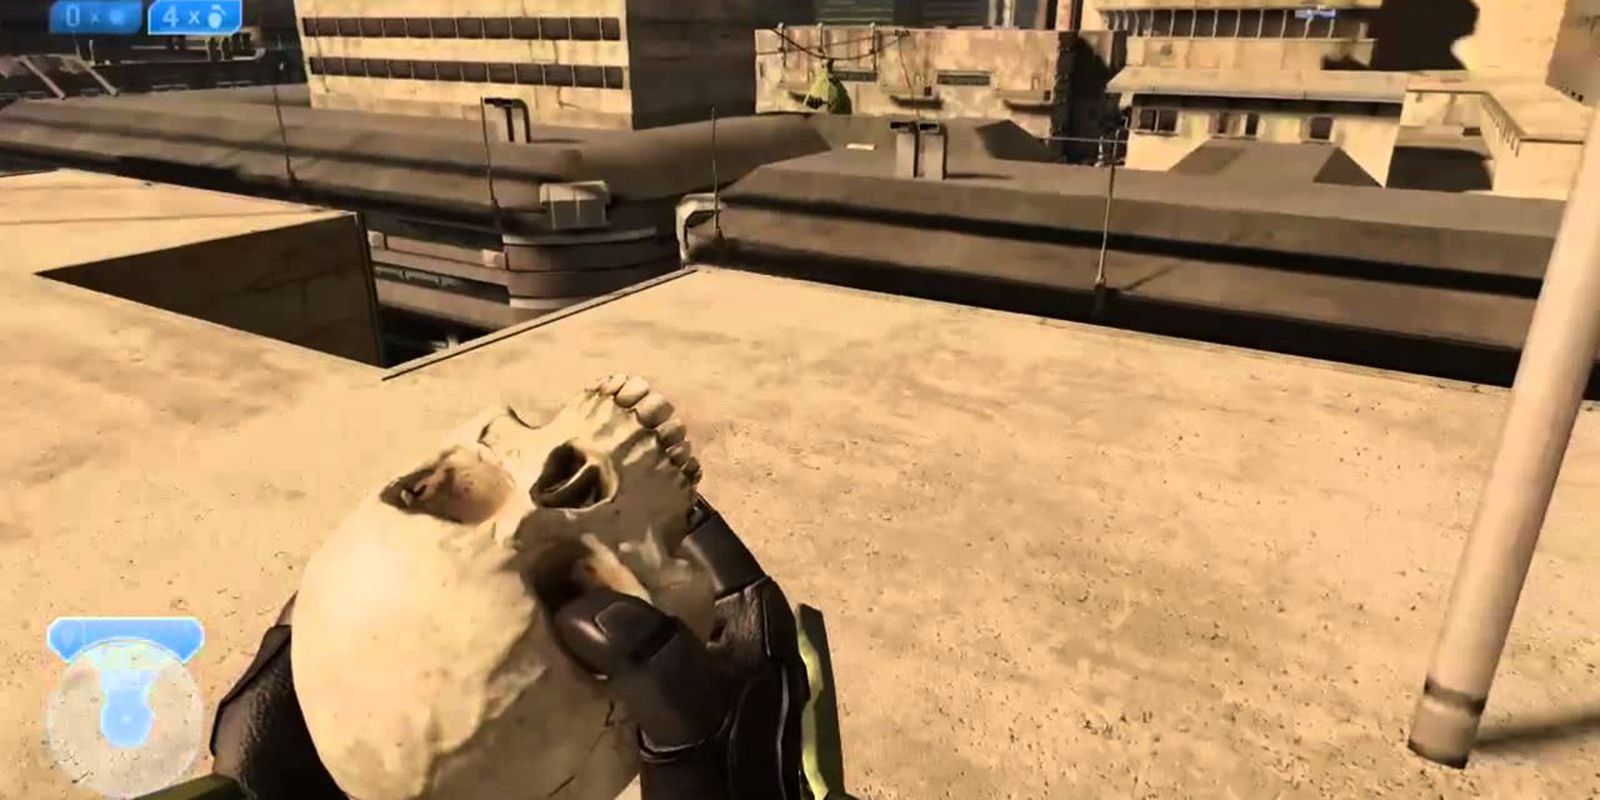
The Blind Skull is located in the Outskirts level. At the beginning of the level is a Grunt behind a door. After killing it the player needs to backtrack and hop onto the light on the wall to get on the roof. Grenade jumping, crouch jumping, or the Sputnik Skull help a lot here. After killing a Jackal is a dark alley with the skull at the end.
The Blind Skull causes the HUD and every weapon except the Energy Sword to disappear. It’s a bit challenging, to say the least. But on the bright side, it makes taking nice, clean screenshots much easier.
12 IWHBYD Skull
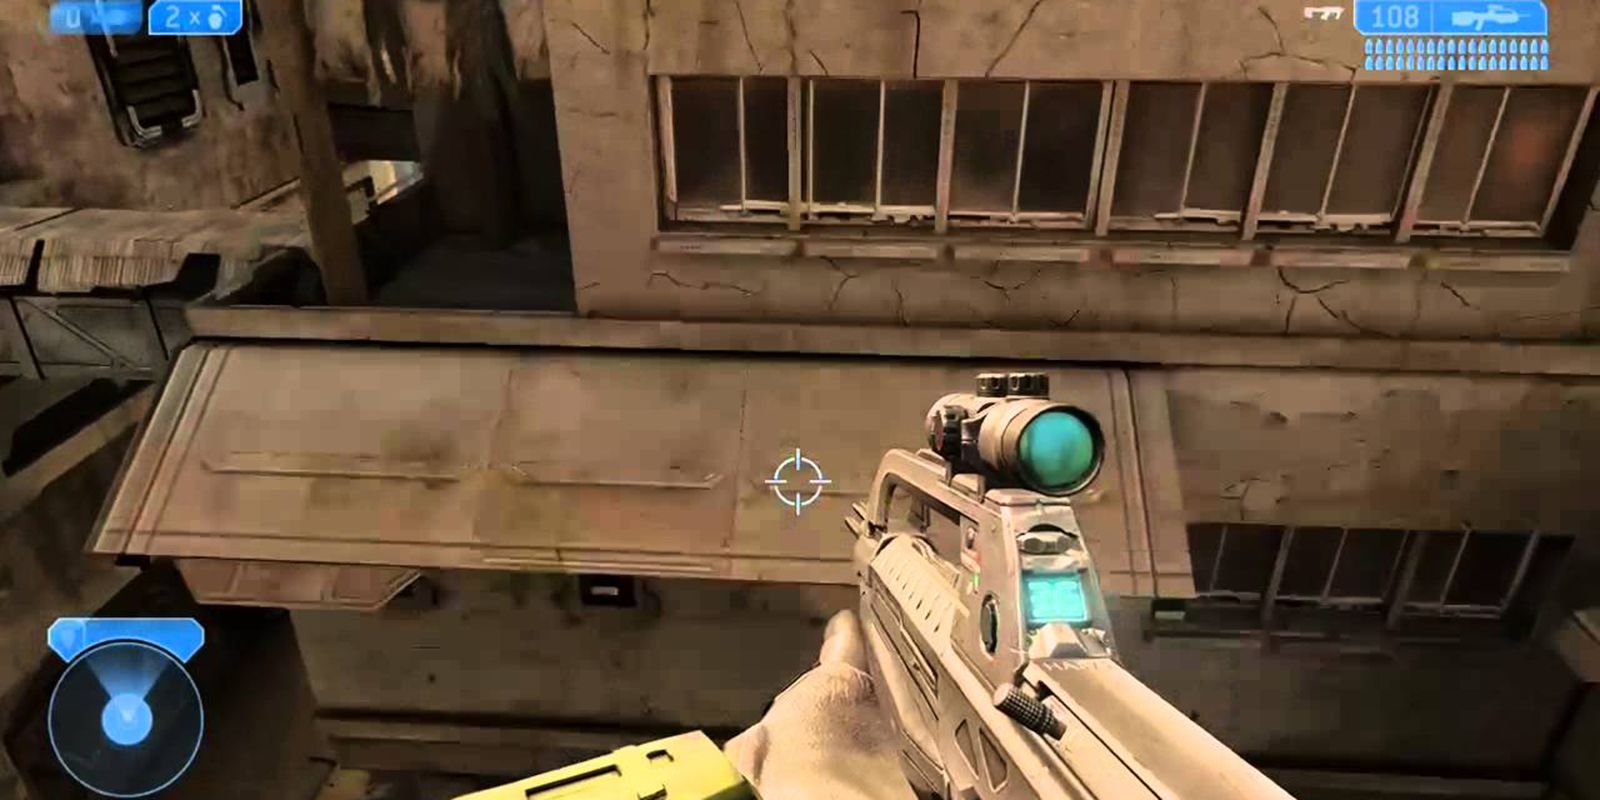
This Skull is very difficult to obtain, and having other Skulls like Bandana, Scarab, and Sputnik seems almost necessary when it comes to obtaining it. One issue is that the skull has a random chance of appearing. Having a detailed walkthrough is highly recommended. Generally speaking, it’s in the same location as the Blind Skull and has a challenging fight with seven waves of Elites.
The skull will cause the rare combat dialogue in the game to become more common. It serves no other practical function or benefit despite the difficulty in obtaining.
11 Catch Skull
This Skull is located in Metropolis. After exiting the tunnel is an area with two ghosts and multiple enemies. Once everything has been eliminated walk up the middle platform underneath a large arch structure. Grenade jump to the top of the middle beam. Follow the wall to the Catch Skull on the opposite side of the structure.
The Catch Skull causes enemies and allies to throw more grenades than they would normally. They will also drop more grenades upon death.
10 Grunt Birthday Party Skull
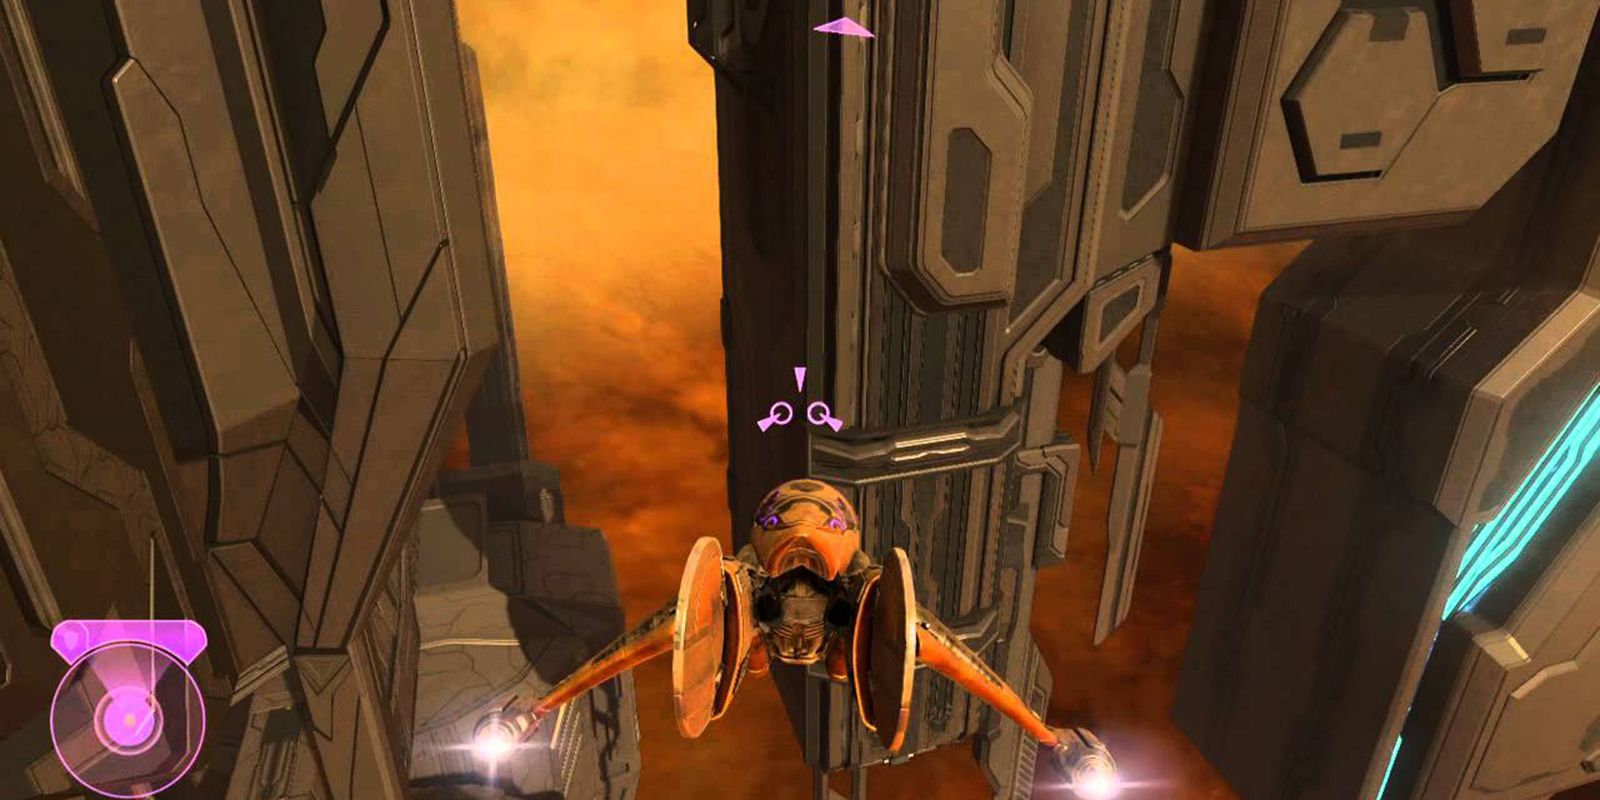
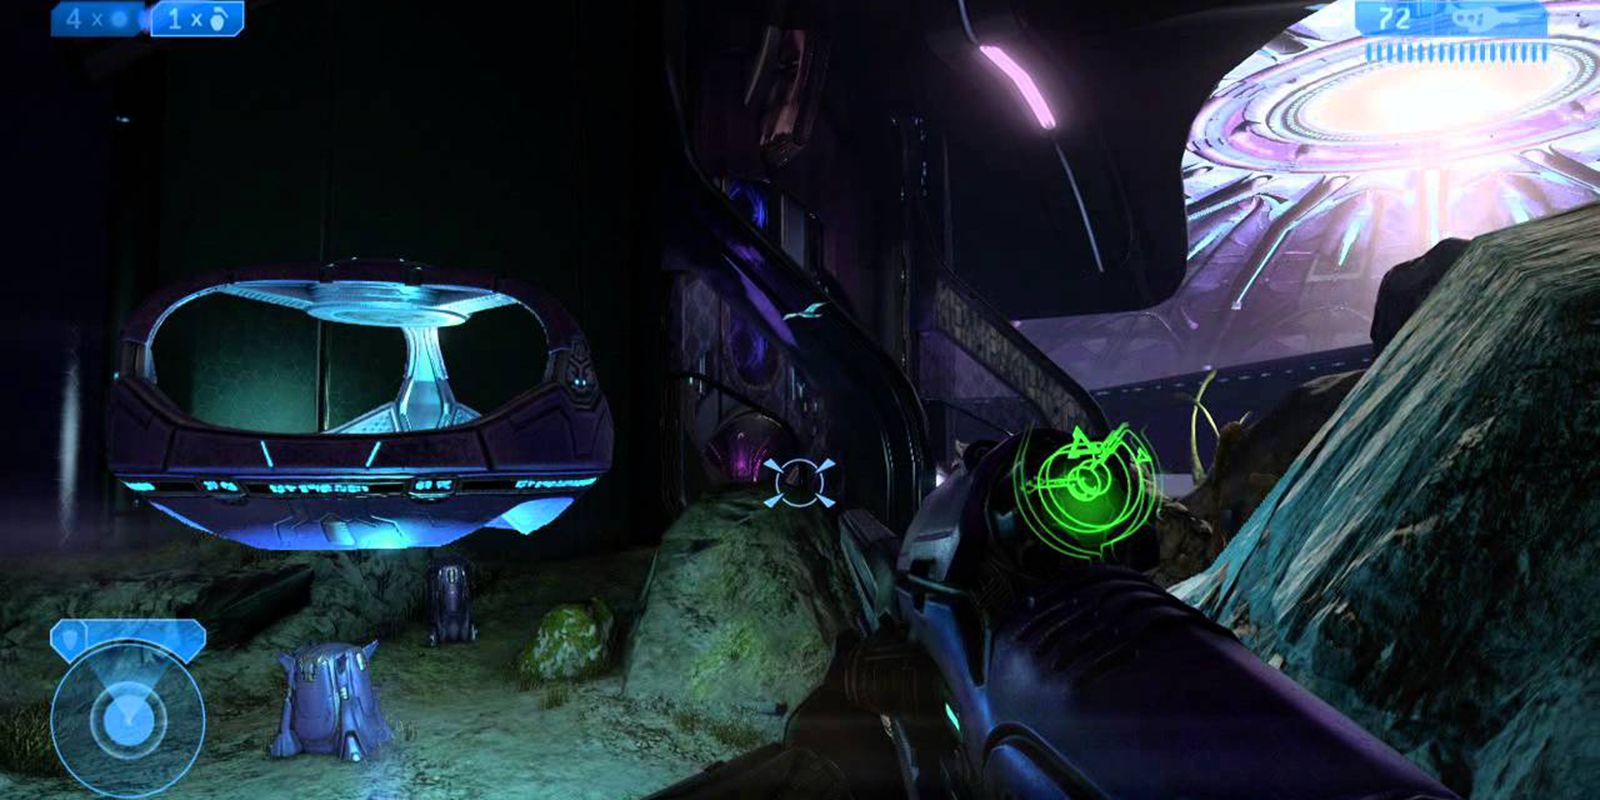
In The Arbiter level is the first Banshee the player can use. At the bottom of the station is a glowing archway that the player can use as a guide to fly towards the middle engine of the structure. Underneath one of the overhangs is a shaded spot with six passive Grunts having a birthday party around the skull.
The Grunt Birthday Party Skull causes enemies to explode into confetti amidst the sound of cheering whenever they’re killed with a headshot. There are no bonuses or changes to difficulty, just a morbidly entertaining game feature.
9 Famine Skull
After the long elevator ride on the Oracle level is a large room where Covenant and Flood are fighting. On the opposite side of the room is a platform surrounding by glass. Destroy the glass and use crouch or grenade jumping to reach the skull hiding inside. It’s between four wriggling Flood enemies who will not attack.
The Famine Skull causes weapons to have only half the normal ammo when collected by the player. It makes the game a bit tougher and requires better ammo conservation.
8 Envy Skull
On the Delta Halo level is a large building with shields and multiple Grunt manned turrets. There is a large block with two dead grunts and energy swords behind it. The player needs to jump above using a nearby rock and multiple ledges. The skull is guarded by two camouflaged Red Elites.
The Envy Skull replaces the flashlight with a cloaking feature. The cloak lasts for five seconds and has a 10-second cooldown.
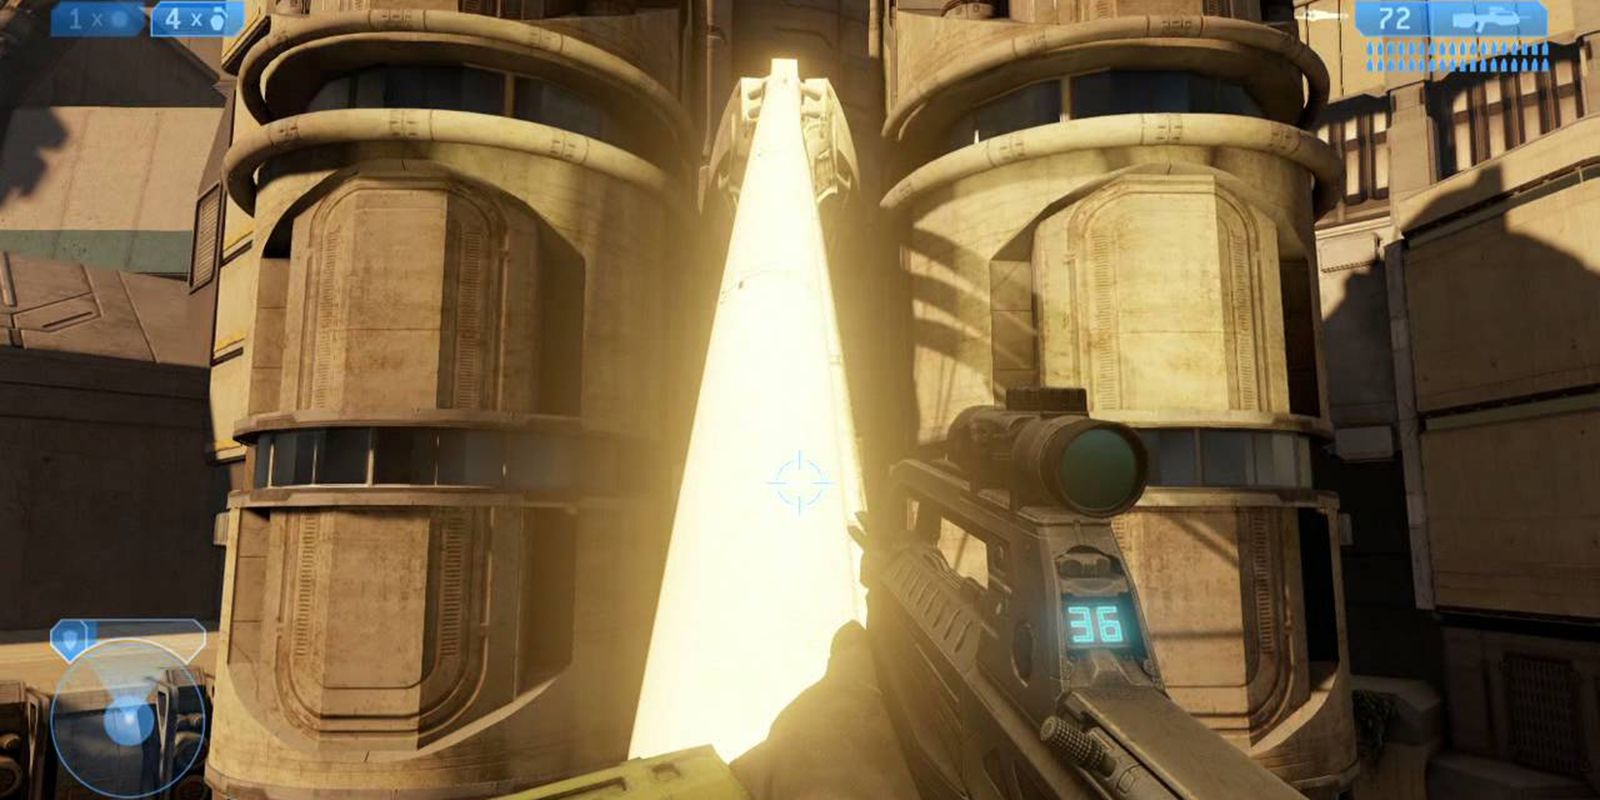
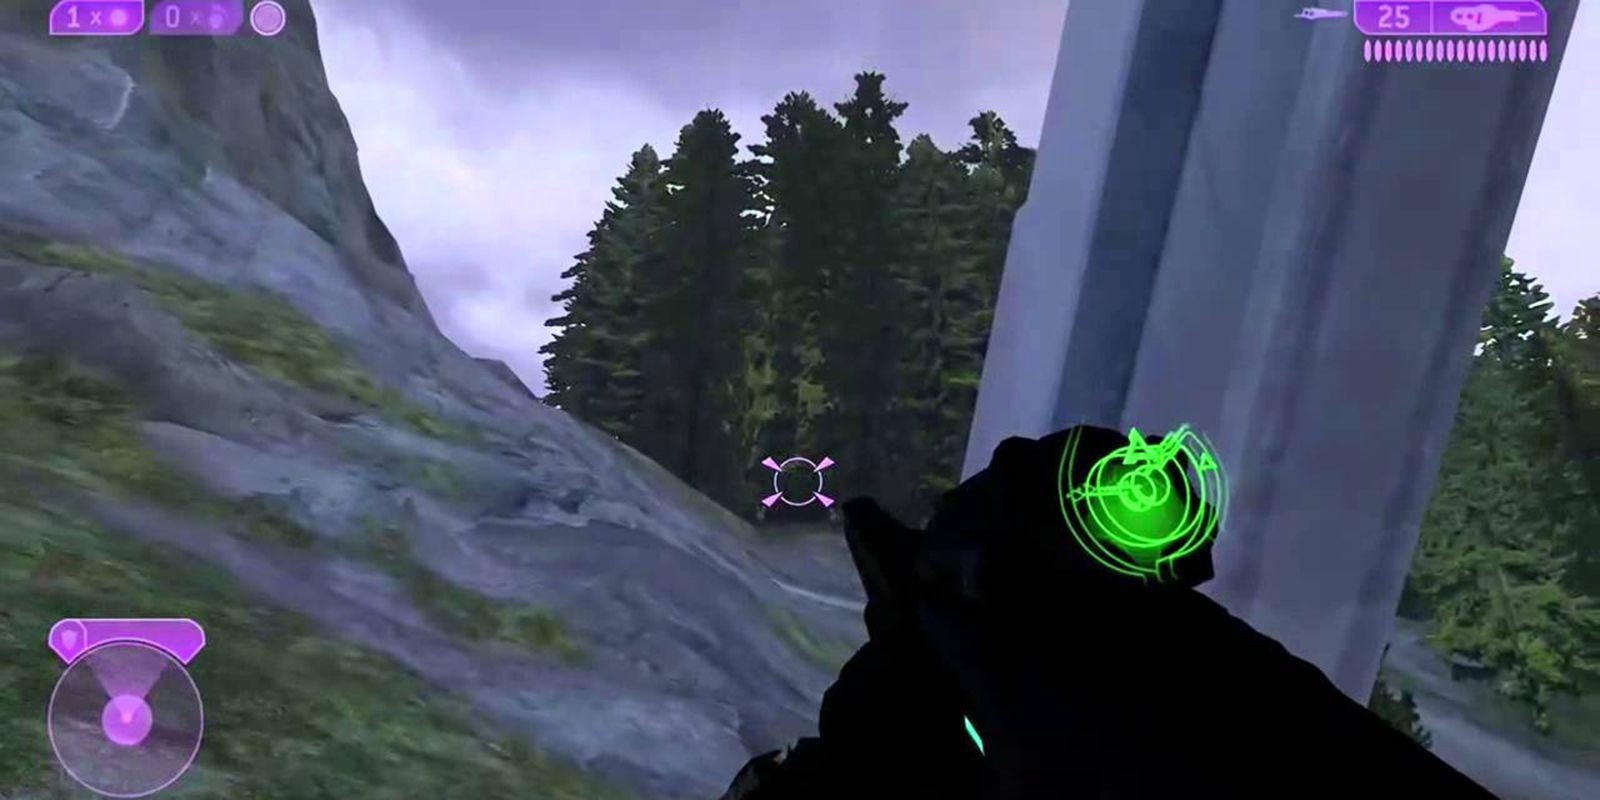
7 Assassin’s Skull
After getting off the gondola in the Regret level is a large structure with a block of stone. The player needs to jump above that stone to reach a ledge with turrets. Near the top of the structure is a ledge with the Assassin’s Skull sitting there.
The Assassin’s Skull causes all enemies in the game to become permanently invisible. Allies are also similarly unable to see the enemies in the game and will be unable to fight back effectively.
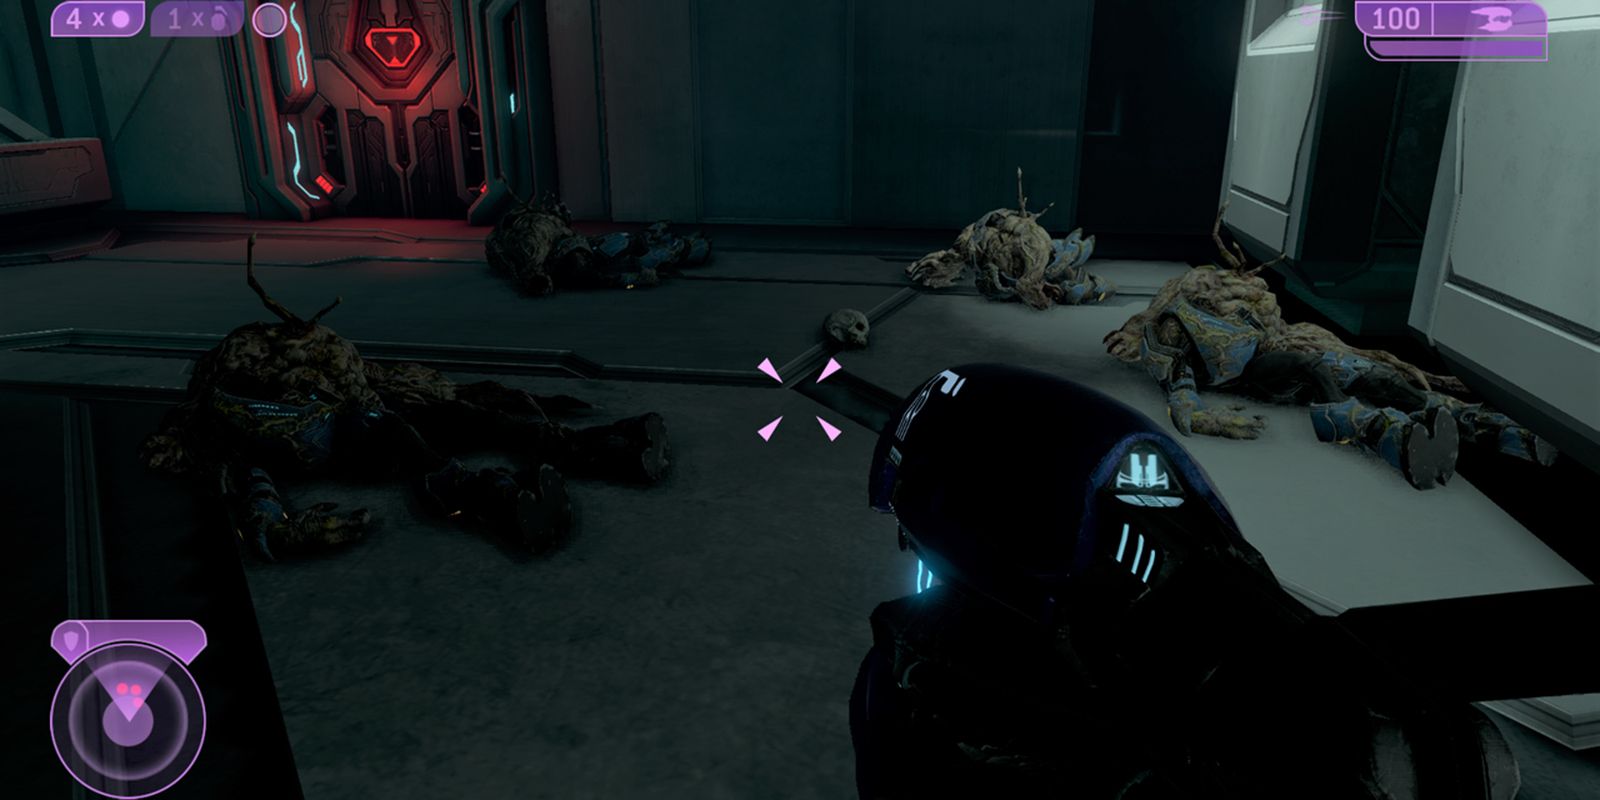
6 Mythic Skull
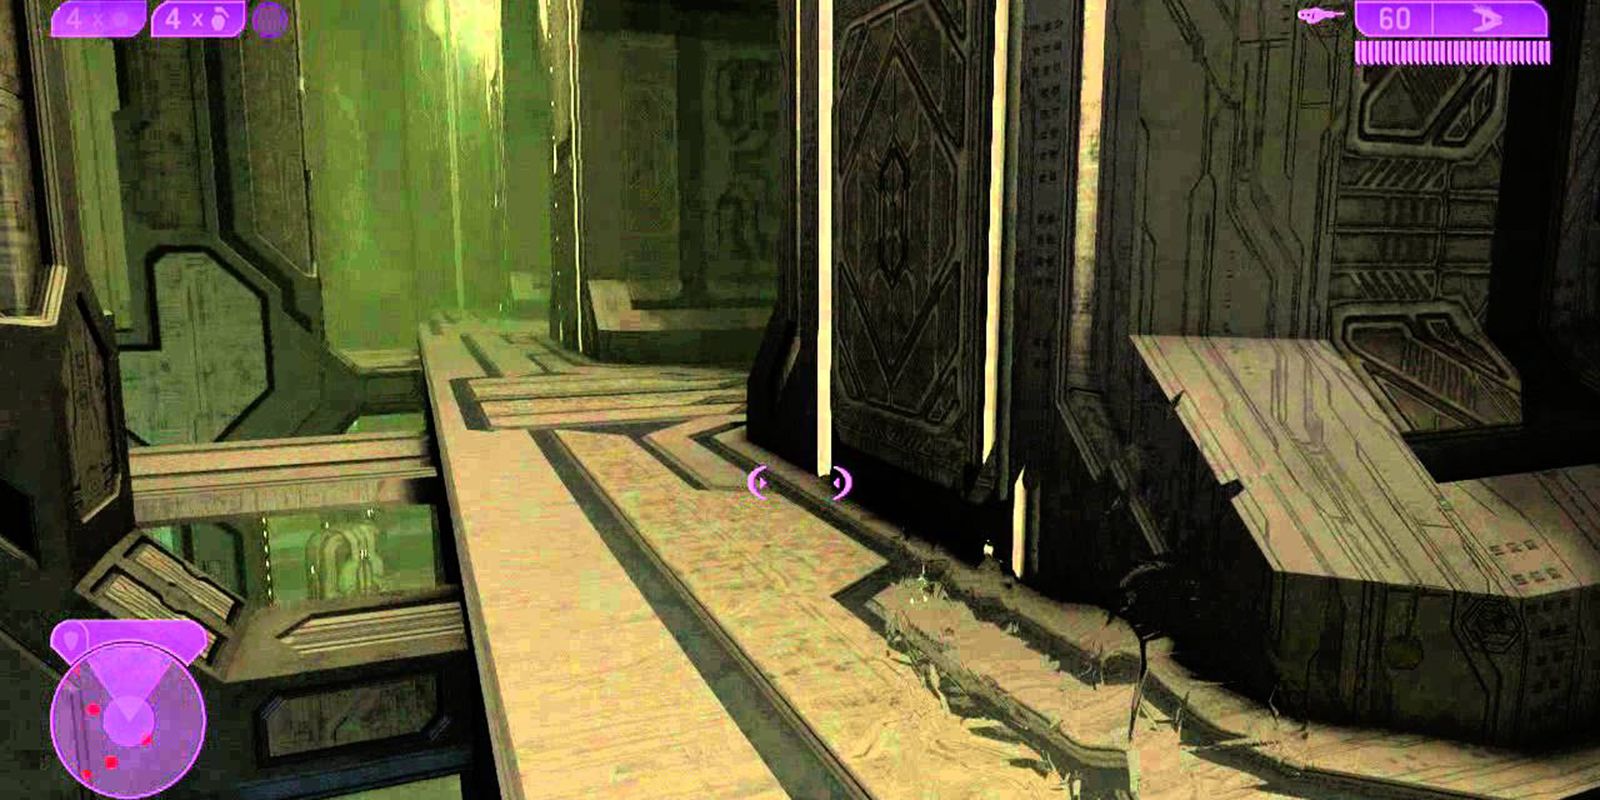
On the Sacred Icon level is a large piston halfway into the level. The right room is completely filled with Flood and the mysterious fog. There will be a stack of crates leading up to the top of the room. There you’ll find a hole in the wall with several dead Flood and the Mythic Skull.
This Skull causes the game to jump to the next difficulty level. Normal becomes Heroic and Legendary becomes a new difficulty called Mythic.
5 Sputnik Skull
This Skull is located in the Quarantine Zone level. At the beginning of the level is an Elite on the left. Next to that Elite is a tunnel leading to a cliff. On the left-hand side of the cliff is a wall with a narrow ledge on the right. The skull is at the end of that ledge.
The Sputnik Skull causes all explosions and melee strikes to have a great impact on the objects they hit in terms of physics. This makes Grenade jumps much easier and enemies ragdoll around violently when near explosions.
4 Angry Skull
The player needs to reach the end of the city on the level Gravemind. Once outside, the player needs to hug the right-hand wall to reach a Covenant device with a red rail. Jumping onto the object leads to a small gravity lift with the Angry Skull inside.
The Angry Skull causes enemies to have increased fire rate. They will also fire their weapons more often.
3 Ghost Skull
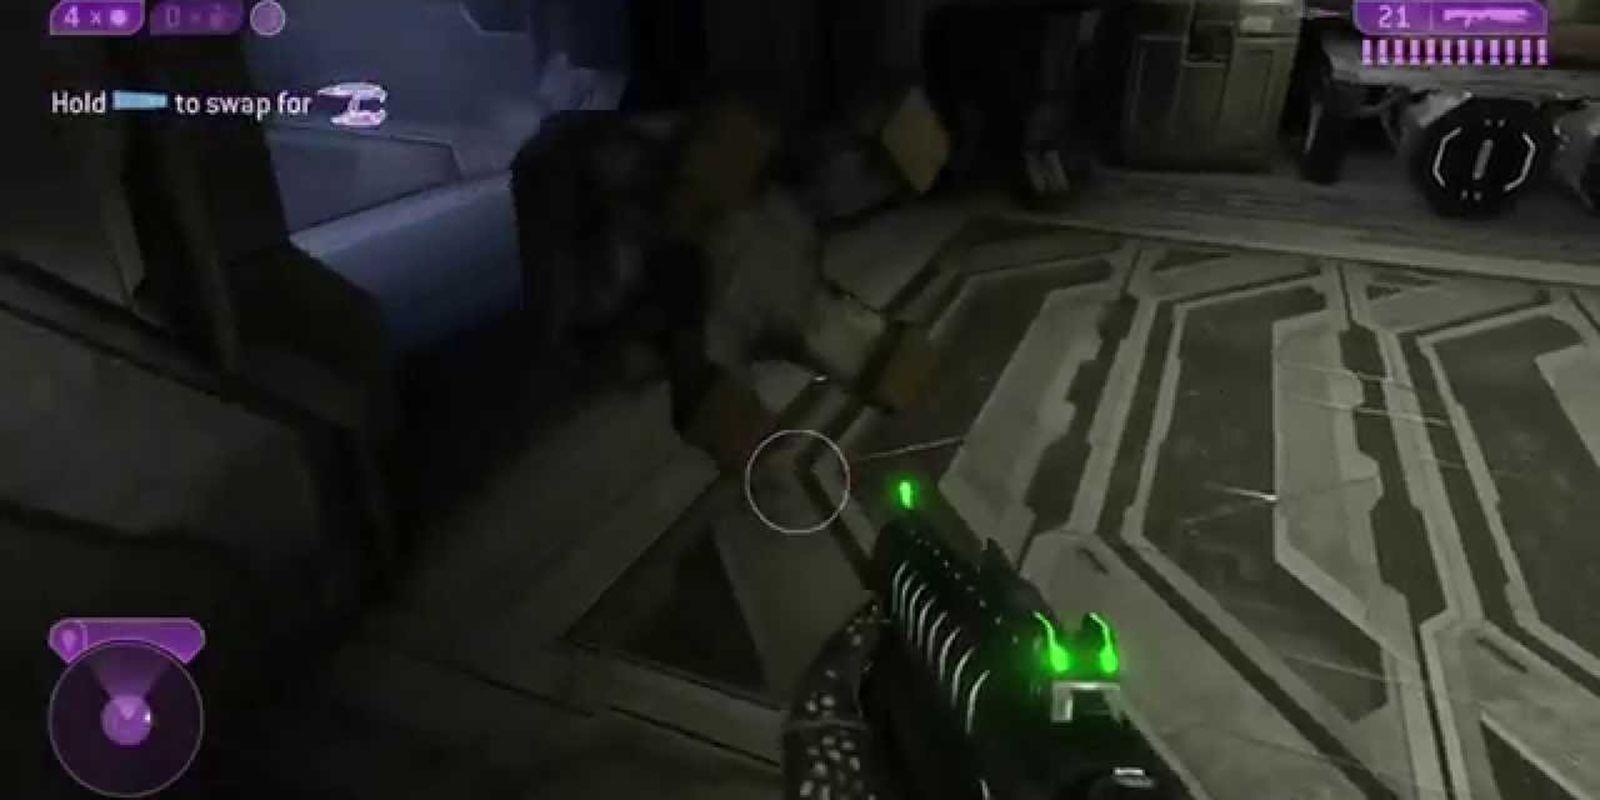
In the Armory of the Uprising level is a handful of Frag Grenades the player will need. After exiting the opposite side of the room, there is a platform above the door the player just walked through. After grenade jumping up to the platform, the player will find the skull.
The Ghost Skull removes the player’s ability to stagger enemies. This makes the game significantly tougher, especially when fighting Brutes.
2 Iron Skull
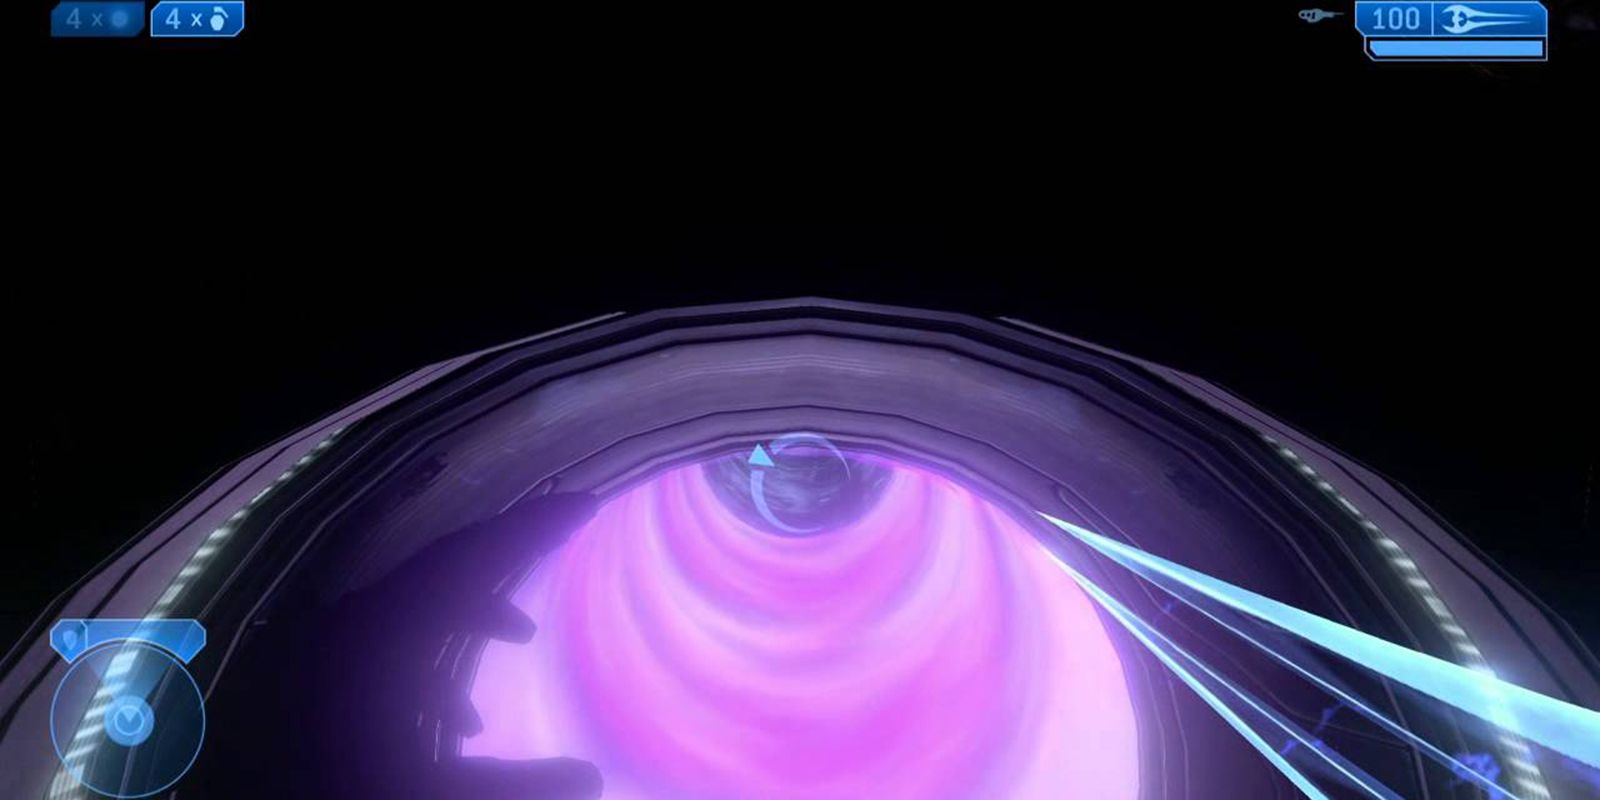
While riding the last Gravity Lift on the level High Charity, the player will pass by a skull. Looking straight up, the player simply needs to wait for it to get close and grab it as they ride.
The Iron Skull causes enemies to become immune to melee attacks.
1 Black Eye Skull
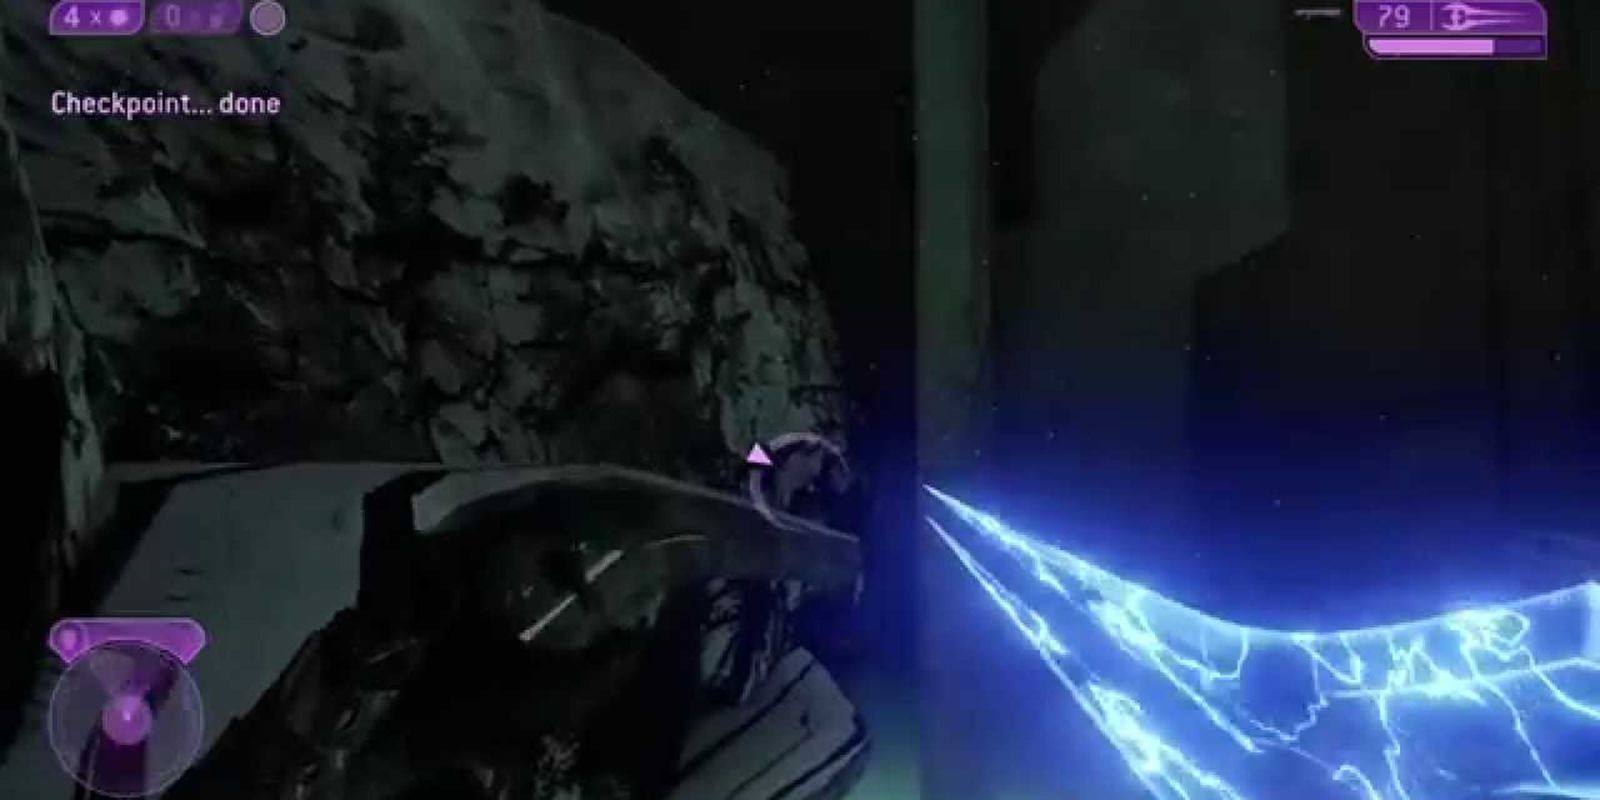
The last skull in the game is on the level Great Journey. Sergeant Johnson will be using a Scarab to shoot at a large tower. The player needs to use a Banshee to reach the top of that tower, where they must jump out to climb up the last bit. On the other side is a steep spire with a skull on top.
The Black Eye Skull removes the natural regeneration of the player’s shield. To recharge it, players need to bash enemies with melee to get some of it back with the possibility of Overshielding.
![]()
www.itsec.hk
www.itsec.vip
www.itseceu.uk
Leave a Reply