
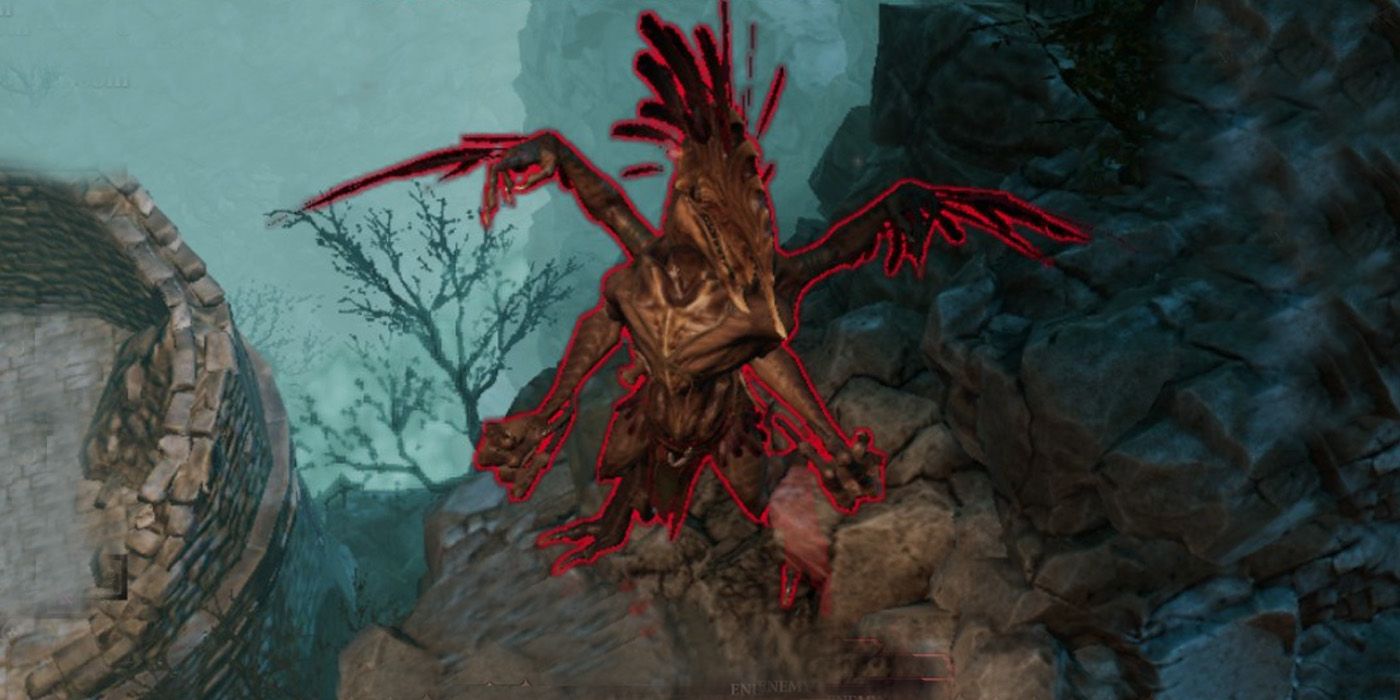
Players of Divinity: Original Sin 2 know boss battles can become extremely challenging, even with well-built characters. After all, a party that stumbles upon a boss while unprepared will almost always result in a party wipe in this Larian Studios title. Interestingly, fans might recognize such a boss battle in the Harbinger of Doom, one of the harder mini-bosses inside Reaper’s Coast in Act 2.
As fans will know, this horrid creature serves as the source of the blight that’s been plaguing Paradise Down. Unfortunately, taking it down doesn’t seem to be as easy as other opponents in the game area so far. After all, its minions and the Harbinger’s innate abilities make them a menace on head-on approaches. However, players can tip the tide to their favor with a few tips.
10 Check The Real Estate

Thankfully, players need to traverse a cliff before heading towards the battlefield. In turn, the game already gives them the opportunity to survey the battlefield prior to combat. In that regard, players should remember that there are four key locations on the map outside the poisonous battleground.
Firstly, the two broken battlements of the castle lie close to the Harbinger. They’re great for ranged incursions that provoke the Harbinger but the Dead Magisters may find difficulty reaching.
Likewise, there are two cliffs that overlook the entire battlefield. The first one lies directly above Almira’s house, from where players can first see the Harbinger. This is a good vantage point to plan ranged attacks. Moreover, opposite this cliff is another cliff that players can reach by teleporting to the ground away from the Harbinger and then climbing.
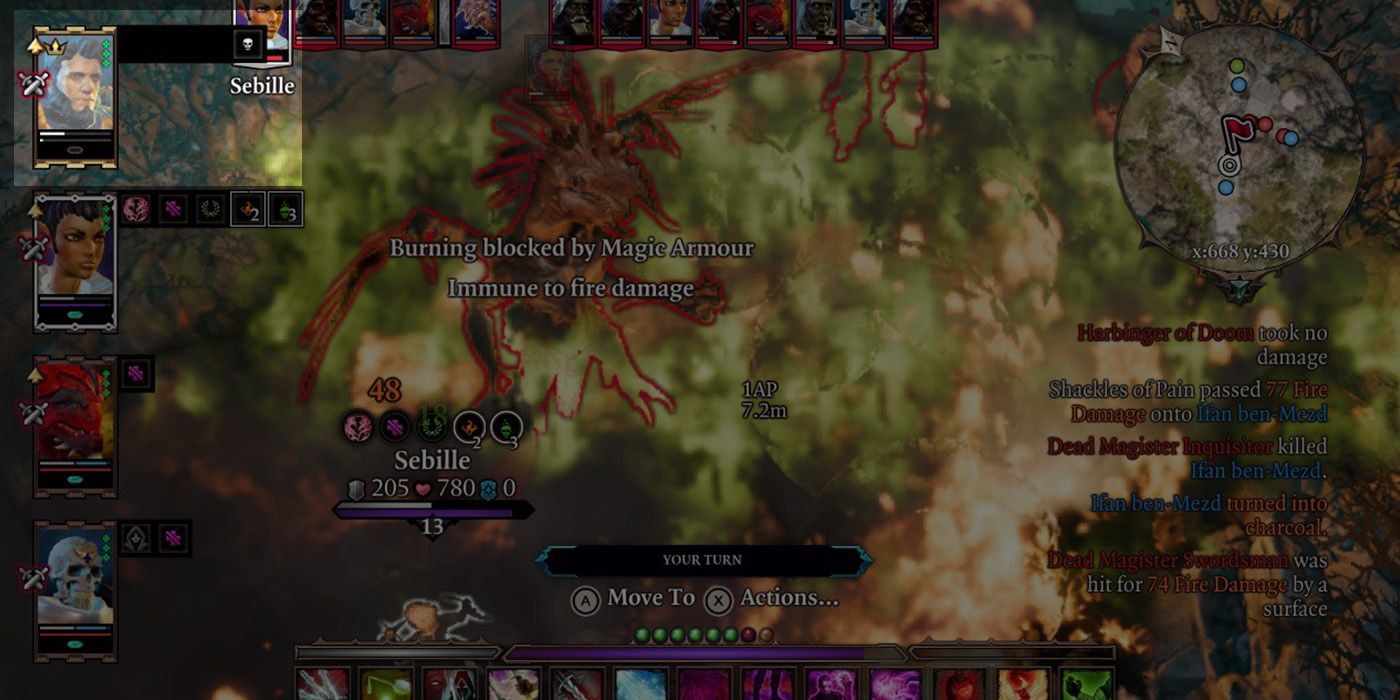
9 Take Note Of Immunities, Resistances
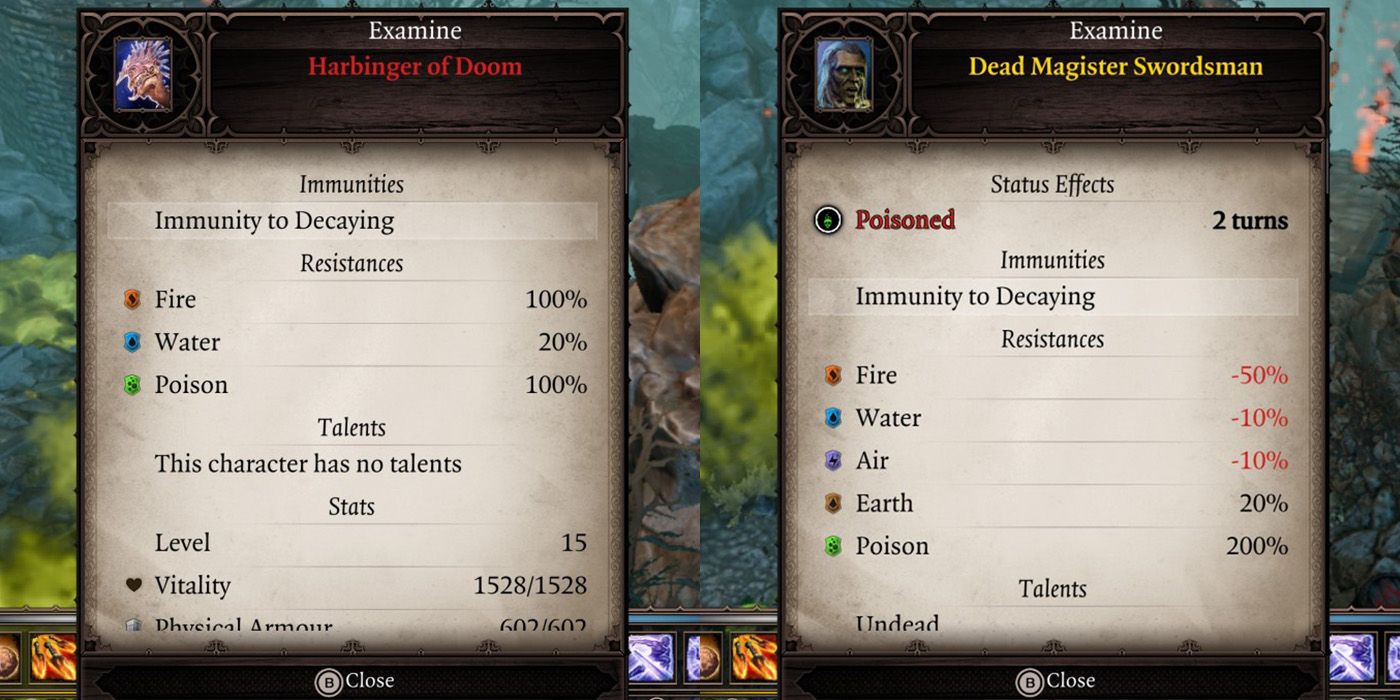
Players should take note of a handy feature called Examine that they can activate regardless of distance. A character with high-enough Lore can obtain a lot of insight from enemies. In this particular battle, the Dead Magister Inquisitors and Swordsman have 200-percent Resistance (can heal) from Poison, and 50-percent Weakness (extra damage) from Fire. Meanwhile, the Harbinger has 100-percent Resistance (immune) to Fire and Poison, 20-percent Water Resistance, and Immunity from Decaying.
These numbers mean that while the Harbinger and the Dead Magisters are immune from Poison, Magisters can still die from Fire. Meanwhile, despite the Harbinger’s high armor, it’s still vulnerable to physical attacks and non-Fire/Poison damage. Earth Damage, Warfare, and Scoundrel may shine in this regard.
8 Take Note Of Harbinger Attacks
Whatever the battleplan players decide on taking, they should try to allocate a Fighter or a Tank Archetype to take on the Harbinger while they set up more powerful attacks. However, their Tank should be able to take on damage, as the Harbinger’s abilities can become extremely deadly.
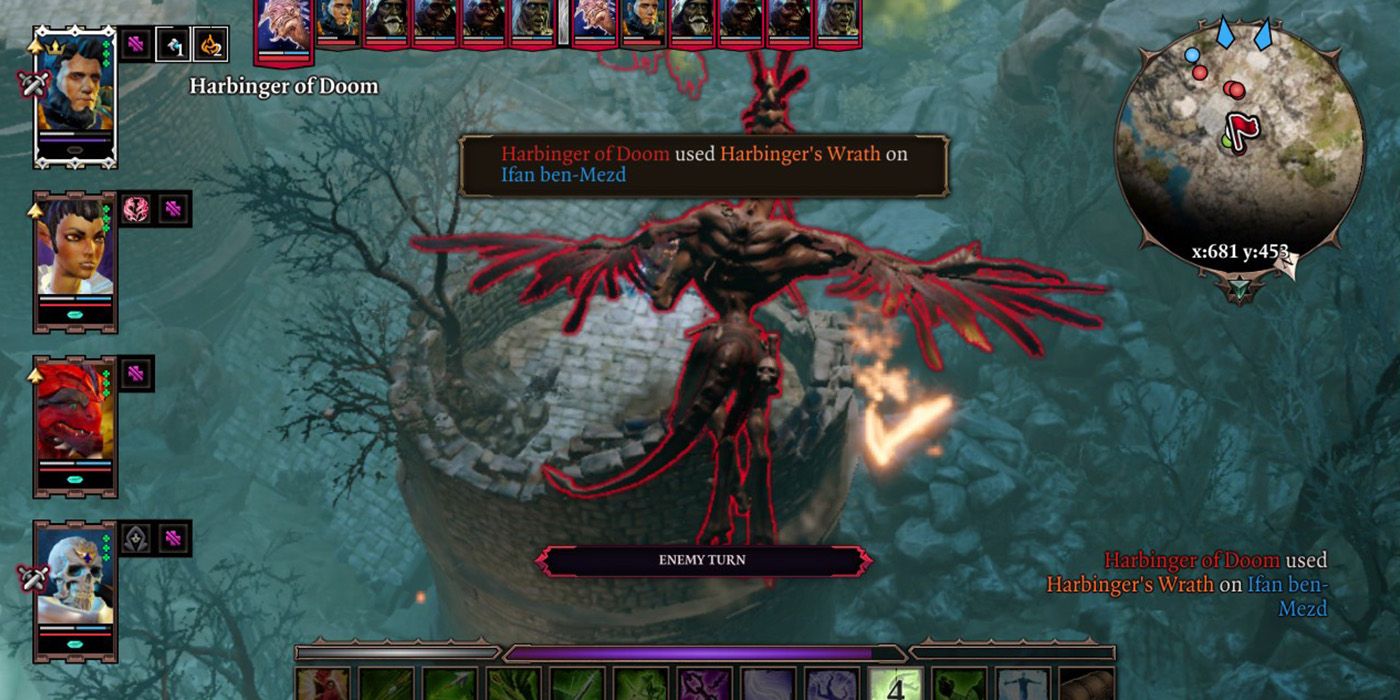
For instance, the Harbinger can use Source Vampirism to steal Source from players and then use it against them via Curse. Moreover, its Harbinger’s Wrath and Burning Blaze attacks can easily tear through Physical Armor and Magical Armor, respectively, and even eliminate characters, especially if the Harbinger uses this attack repeatedly.
7 Bombs Away With Poison Gas

Interestingly, players who fight the Harbinger focus too much on it and its minions that they forget all the useful things in the environment around them. For instance, the cliff the battle takes place has an abundance of corpses used for sacrifice and Green Noxious Bulbs that secrete poisonous gas.
Players can actually take the time to reposition the Green Nixious Bulbs near the Harbinger’s minions. At first glance, these actually constantly regenerate their health thanks to their poison gas. However, as the game teaches players, poison clouds tend to be extremely flammable. As such, players can use a long-ranged Pyrokinetic Skill to detonate the poison cloud. The impact will most likely eliminate multiple minions at once.
6 Stay True To Physical Attacks
The Harbinger proves that Scoundrel, Warfare, and Huntsman-based builds still work like a charm against seemingly-strong bosses. Aside from physical attacks working normally against the Harbinger’s Physical Armor, non-Fire/Poison attacks seem to pick off its Magical Armor as well.
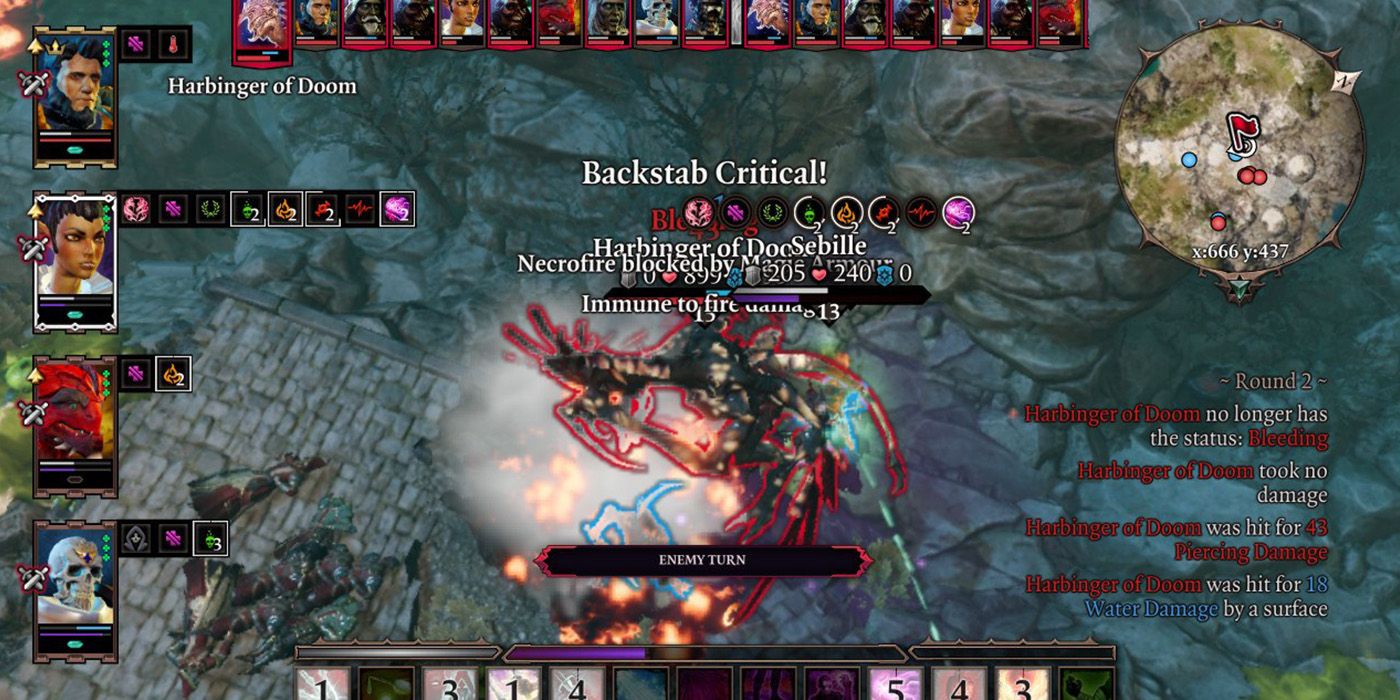
However, players who want to play it safe should probably stick to physical attacks. Granted, some elemental attacks affect the Harbinger – but most of them do minimal damage to its Magical Armor. Interestingly, Backstab-empowered attacks from a Scoundrel build can eliminate the Harbinger’s Physical Armor quickly thanks to its auto-Crit. Moreover, these physical attacks can even remove a bit of its HP before the round ends.
5 Stay Mobile And Teleporting
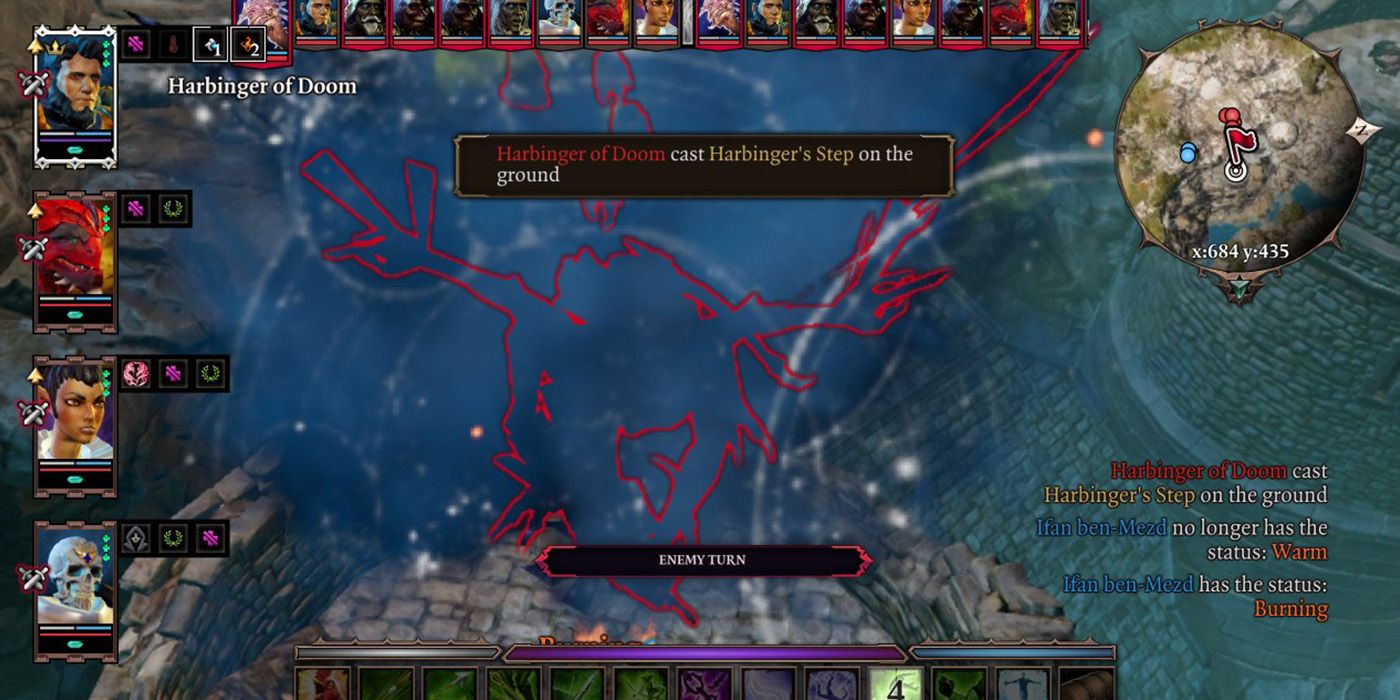
Another irritating aspect of the Harbinger is its ability to teleport to a distant part of the battlefield. With Harbinger’s Step, the Harbinger can teleport into one of the battlements or jump into one of the cliffs with relative ease. Unfortunately, the tricky range of these locations makes it difficult for players to hit the Harbinger with ranged spells.
Ideally, characters should have access to one mobility Skill and Teleportation (Aerotheurge) or a Teleportation Scroll. That way, they can try to chase the Harbinger and teleport it back on the ground whenever it tries to escape.
4 Try Not To Have Source

One tactic the Harbinger also uses would be stealing Source from a character via Source Vampirism and then redirecting it through Curse. Unfortunately, Cursed surfaces such as fire and poison can create Necrofire and Cursed Poison Clouds, both of which can take away Vitality and Physical Armor each turn. Unfortunately, this caveat can put the entire party at a disadvantage, as they become more vulnerable to the Harbinger’s fire-based attacks.
In turn, it’s recommended that players enter the battlefield without Source. That way, the Harbinger won’t be able to rely on its Source Vampirism and let players have one less thing to worry about. Of course, players who want to use Mass Corpse Explosion should be warier of their character who has Source.
3 Corpses Can Go Boom
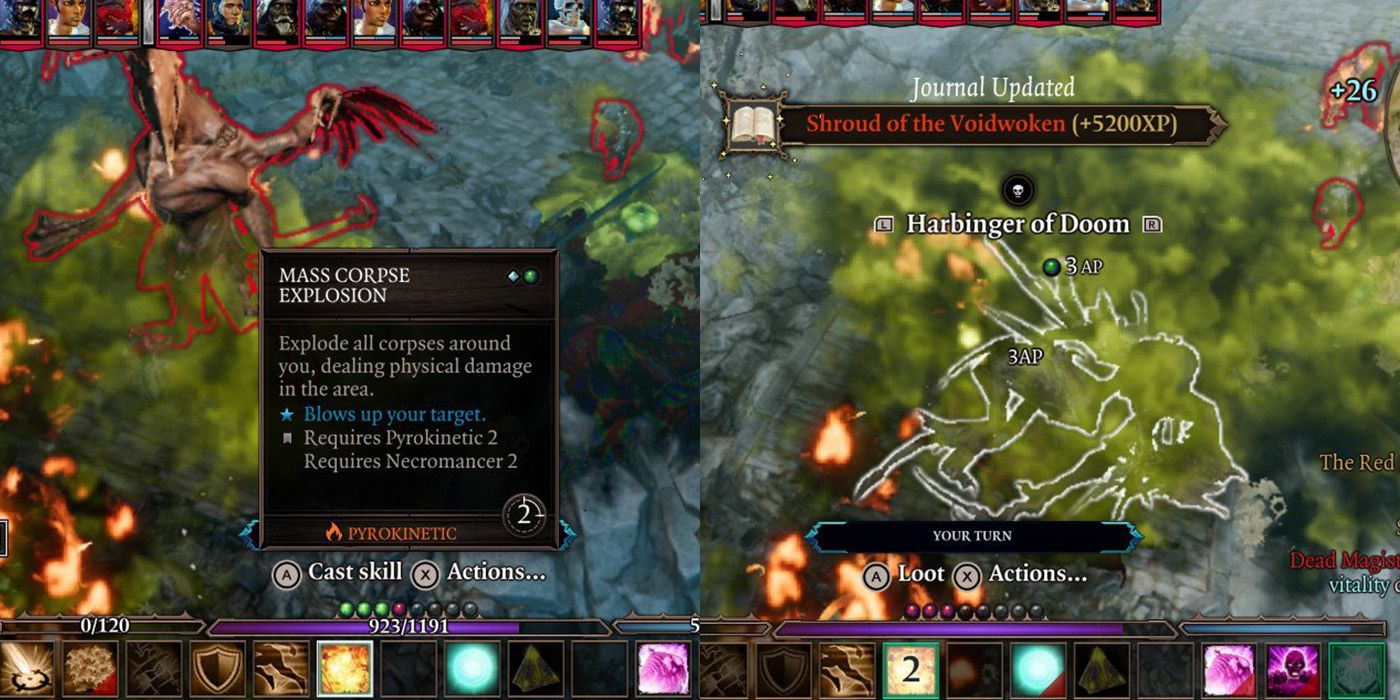
Players might notice the abundance of corpses along the cliff, adding to the air of dread that surrounds the deadly Harbinger. However, players with Mass Corpse Explosion (Pyrokinetic) can use this to their advantage. First, they should start teleporting corpses near the minions or to a singular place on the battlefield.
Next, they can either lure the Dead Magisters or teleport the Harbinger to the location of the corpses. Worm Tremor (Geomancer) can Entangle the Harbinger in place, or players can use this opportunity to trigger Mass Corpse Explosion to deal devastating damage. In fact, Mass Corpse Explosion may even one-shot the Harbinger.
If a character doesn’t have Mass Corpse Explosion, players can simply use a long-ranged Pyrokinetic Spell to detonate the poison cloud to tear through the Magisters.
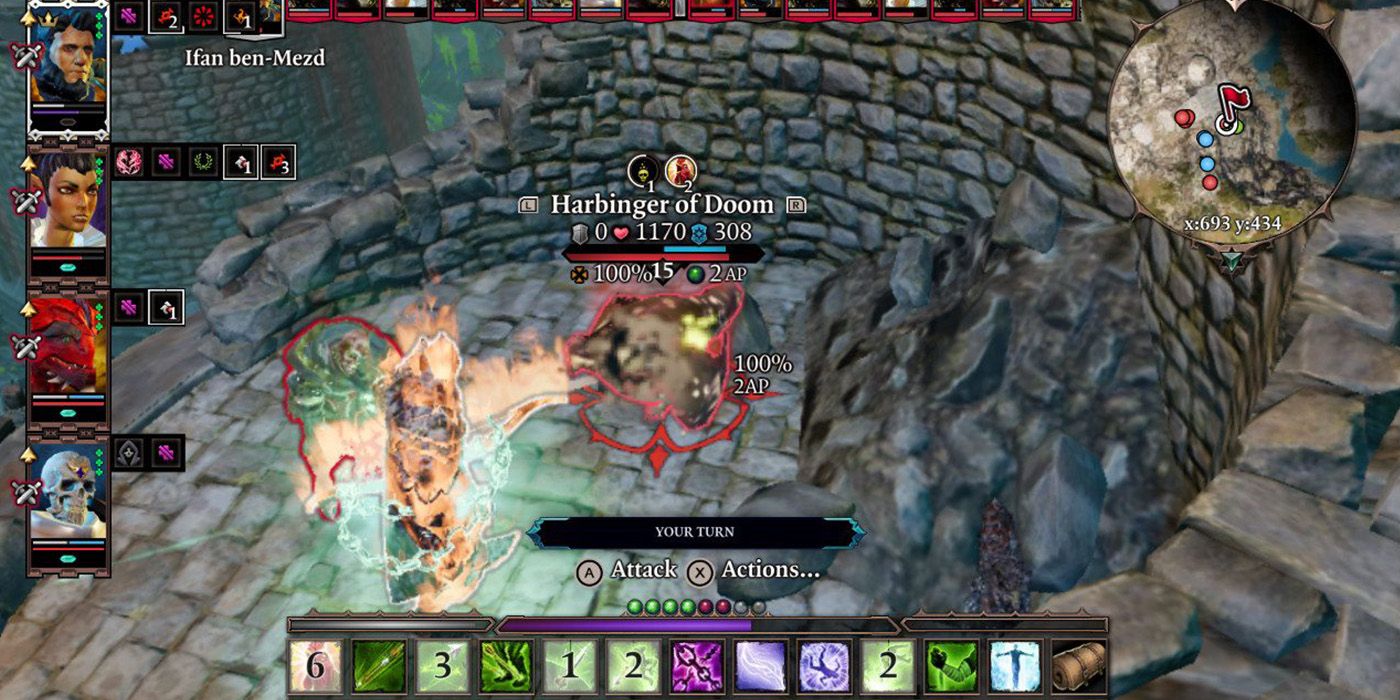
2 Do Everything Within The First Round
As players might notice, the Harbinger’s slate of attacks can kill a party member or even eliminate their defenses in a single turn. In turn, players should allocate the first round into eliminating the Harbinger’s defenses. That way, the Harbinger becomes an easy target for Status Effects such as Knocked Down or Entangled come the second round.
However, players need to stay wary of the Harbinger’s attacks once it gets its turn. If players don’t get to remove the Harbinger’s armor come the second round, they stand at serious risk of being party-wiped. Ideally, characters with a Talent like Glass Cannon can get more than enough AP to eliminate the Harbinger’s defenses early on. Meanwhile, Far Out Man can enable spellcasters to strike from a safe distance.
1 Trust In The Chicken Claw
Players who dabbled in the Polymorph Skill Tree might be surprised to see the Chicken Claw option. This Skill, if successful, will turn its target into a chicken for two turns. Interestingly, this Skill affects any target provided they lose its Physical Armor – yes, even mini-bosses like the Harbinger. Likewise, this Skill becomes an interesting addition to characters taking up a melee class.
Chicken Claw becomes useful under multiple circumstances. As the Harbinger’s chicken move will randomly move, it can trigger attacks of opportunity, area-based triggers (e.g., Huntsman – Reactive Shot), or damage-over-time (e.g., burning, poison). Meanwhile, this method also gives allies time to eliminate the Harbinger’s minions.
![]()
www.itsec.hk
www.itsec.vip
www.itseceu.uk
Leave a Reply