

Whether you’re a new player to Marvel’s Avengers or a returning player excited for improvements to the game and fresh content, there’s a lot to love about the Kate Bishop DLC.
The game has never been all that clear about the most efficient way to upgrade and max out your character, and it’s not always easy to figure out how to get the resources you need for boosting your loadout. Not including major artifacts, Upgrade Modules are needed for boosting all of your items to max level. This list will break down everything you need to know about Upgrade Modules and how to farm them.
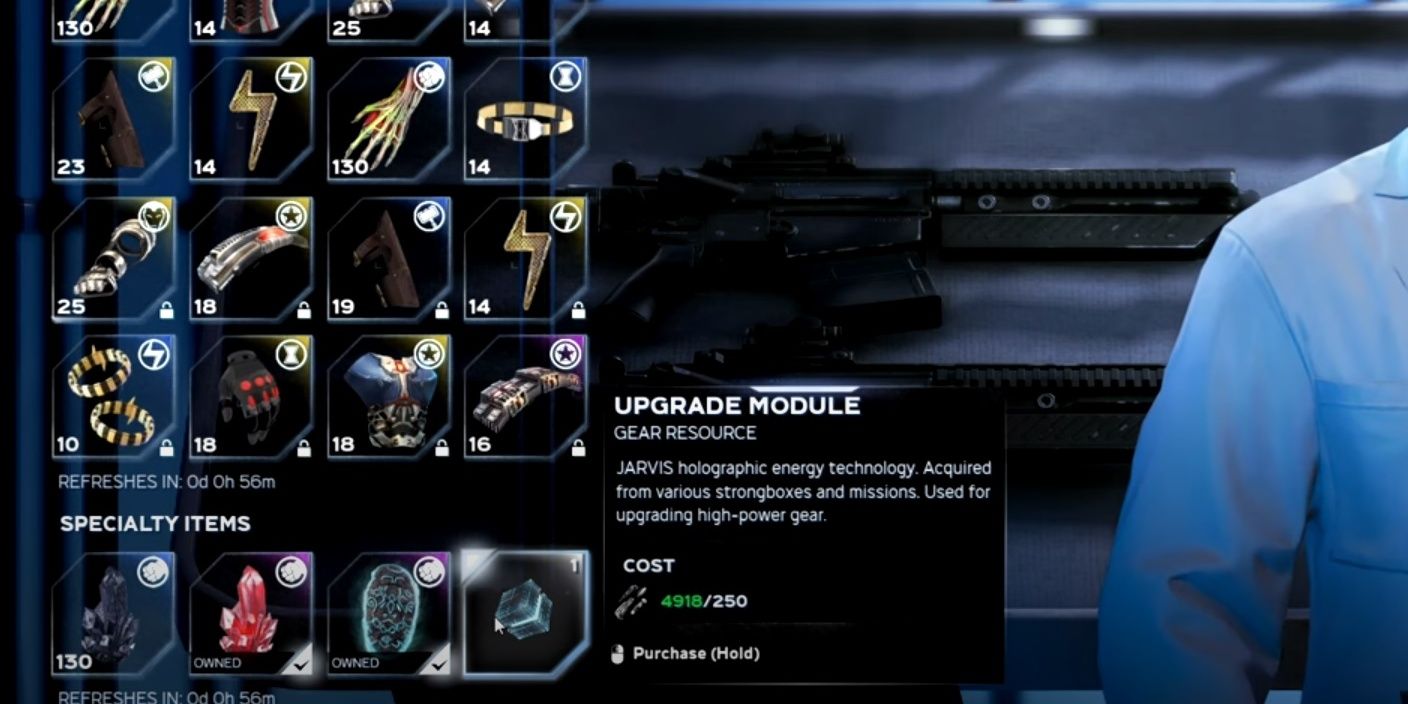
As stated above, Upgrade Modules are needed to boost all gear and minor artifacts to their highest level. This makes Upgrade Modules arguably the most important resource in the game.
At a minimum, it takes thirty Upgrade Modules, three per level for ten levels, to max-out any item depending on the item in question. When you’re looking at seven playable characters each with at least six items you need to max-out to hit power level 150, it’s easy to see why players want to stockpile this resource.
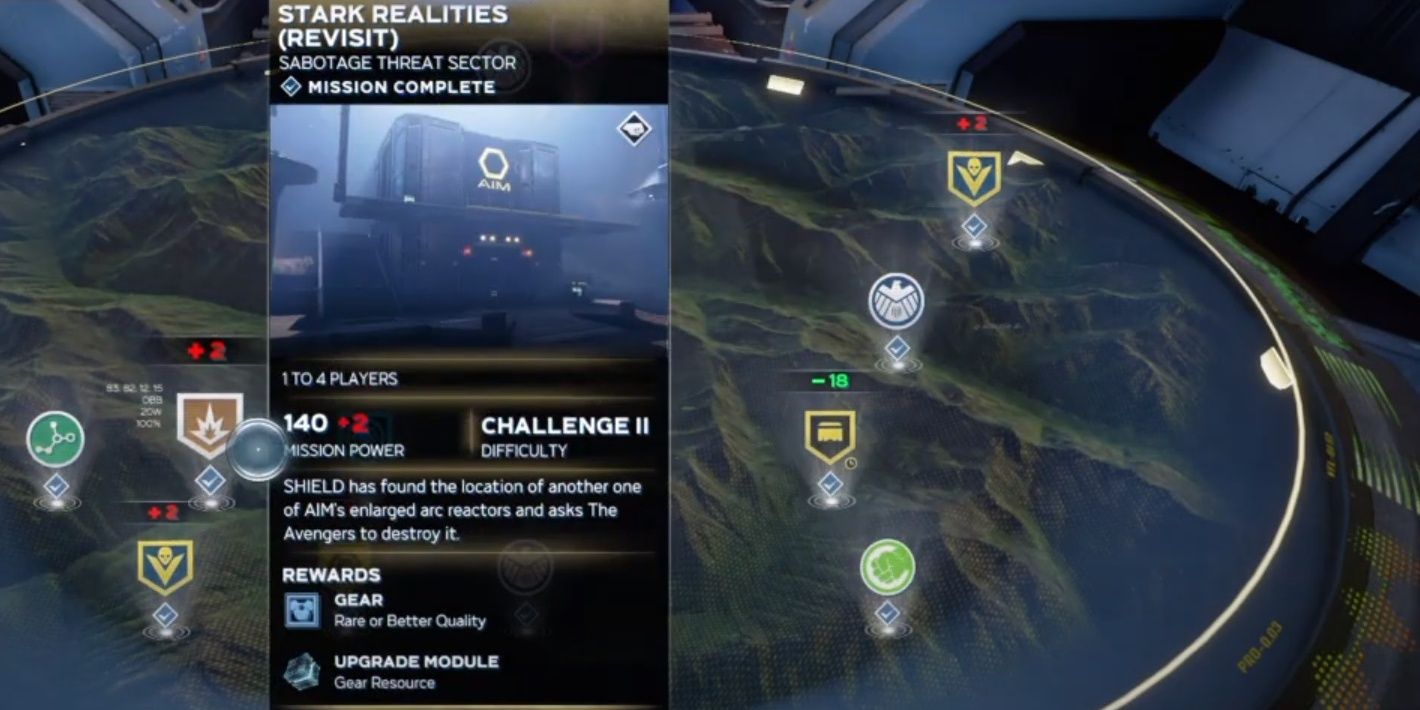
While this list will primarily focus on how to farm Upgrade Modules from Vaults, this isn’t the only way to gather the resource. If you’re looking to accomplish other challenges or objectives while collecting Upgrade Modules, look for missions that offer them as rewards.
You won’t get as many as you would get from a Vault, but this is just another way to collect some while also potentially accomplishing something else that you need to get done.
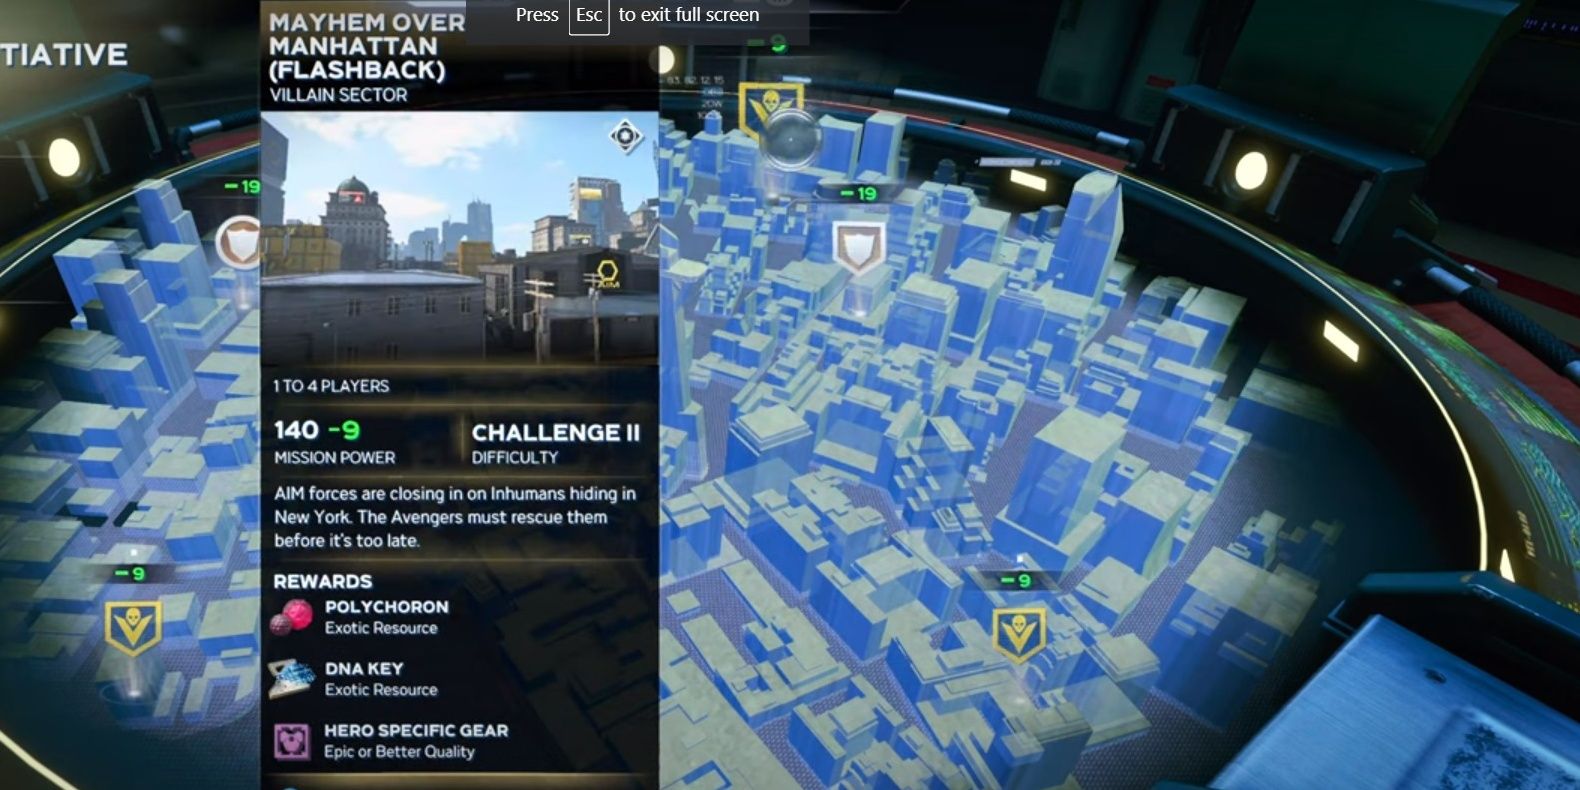
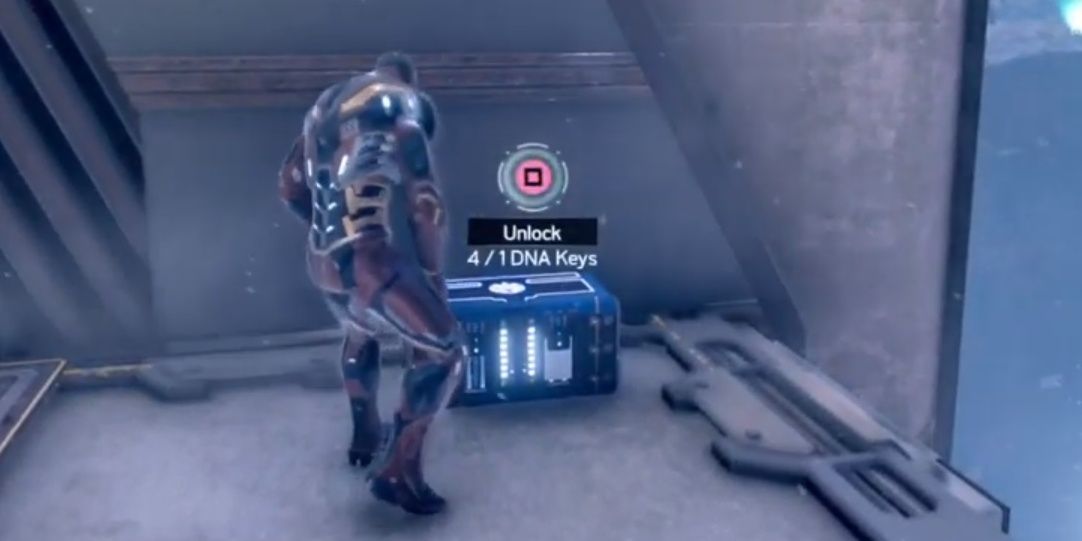
Entering into the Upgrade Module farming aspect of this list, something you’re going to need is a lot of DNA Keys. Upgrade Modules are looted from DNA Chests which require, you guessed it, DNA Keys to open.
The good news is that DNA Keys are dropped from Villain Sectors, which is also a great mission type for collecting good gear and Polychoron for boosting major artifacts. Gather eight or twelve, or more, DNA Keys and then move to the next list entry.
While DNA Chests do drop on standard Vault maps, we wouldn’t recommend farming Upgrade Modules from them. Running DNA Chests on Elite Vaults will yield you far better gear and resources from not just the chests, but the enemies you’ll have to fight as well.
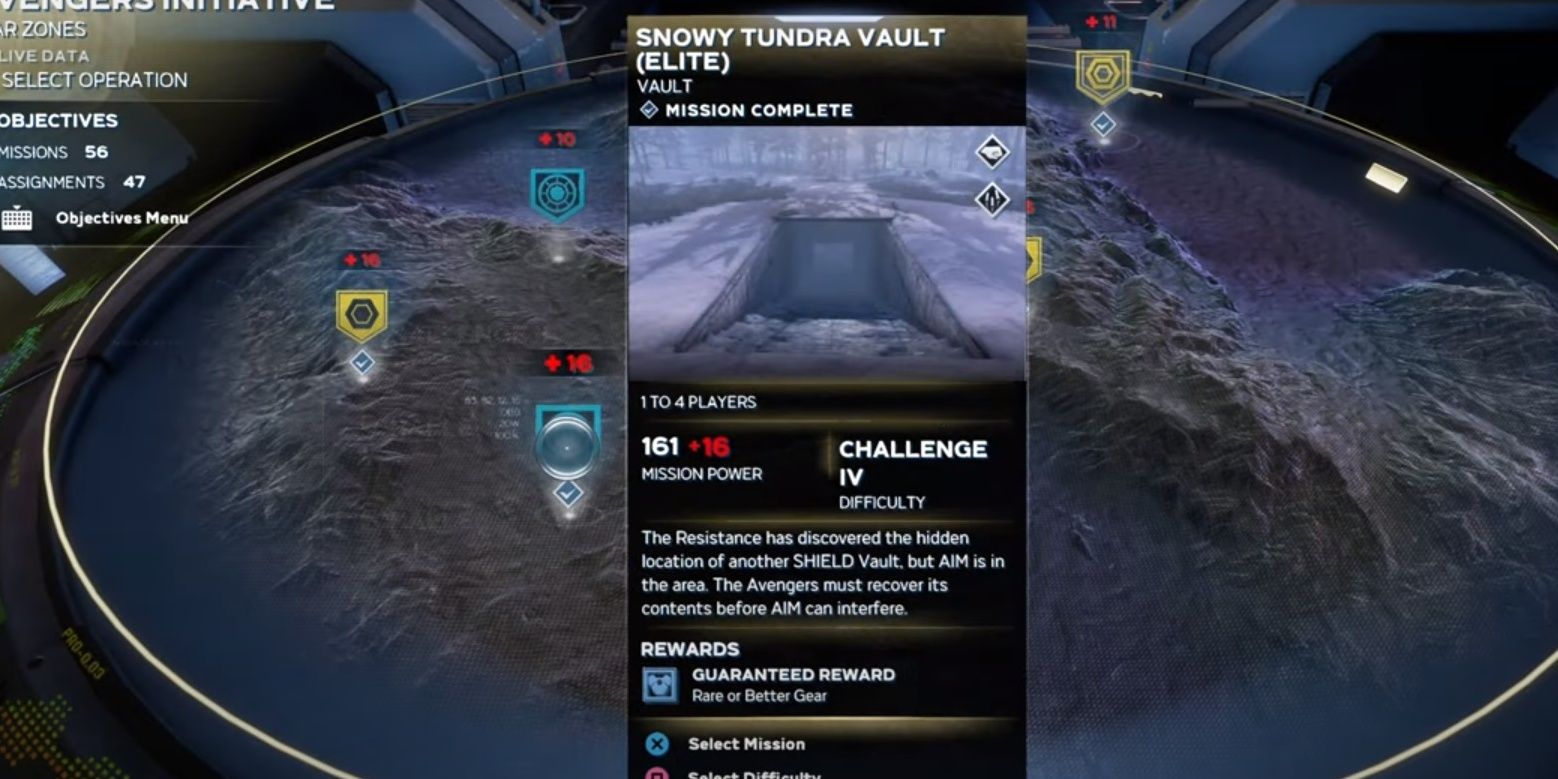
For the purposes of this list, we’ll be breaking down the Elite Snowy Tundra Vault, but it is possible to use this method on any other Elite Vault map that you may have a better handle on or just simply like playing more.
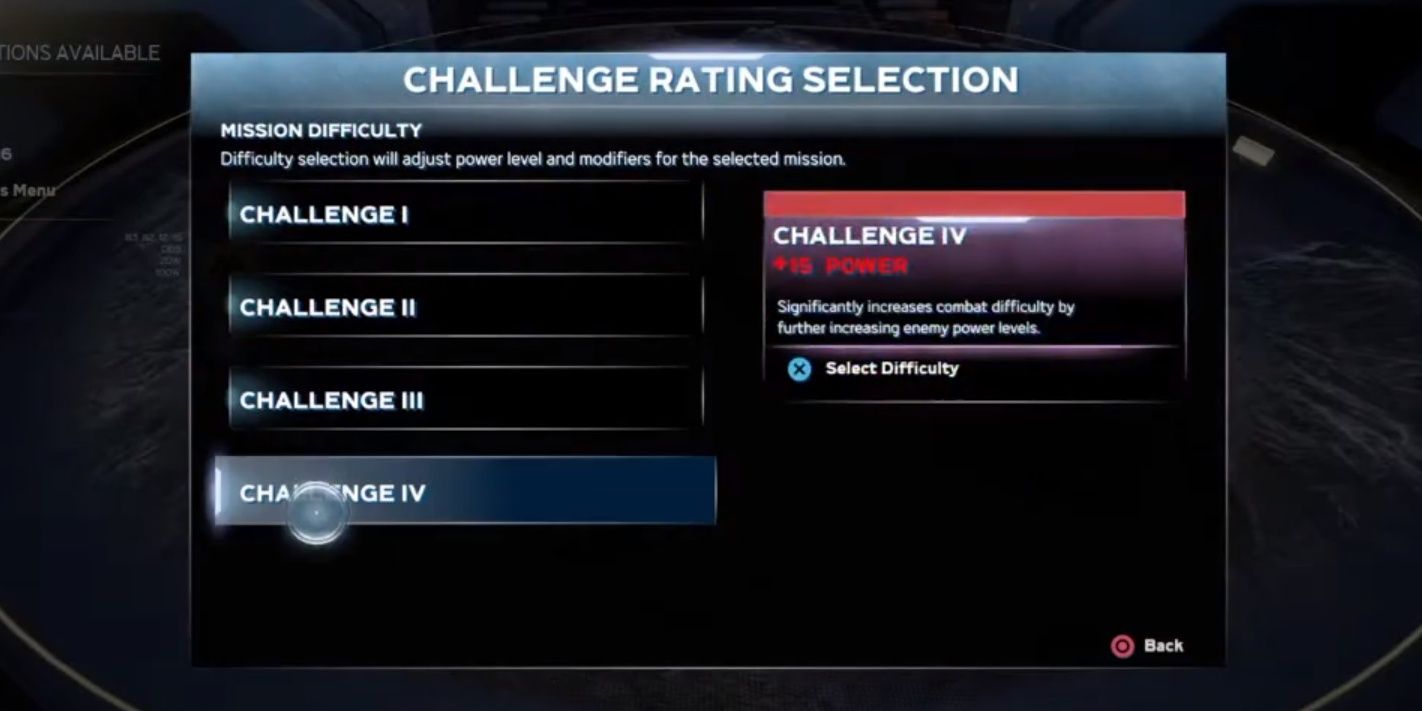
This is the most important step of the farming method. If you’re not playing on Challenge IV, then you will not be getting the higher Upgrade Module drops and will need to spend much more time farming.
Challenge IV will get you somewhere between ten and fifteen Upgrade Modules per DNA Chest. If you’re playing on Challenge II the DNA chests only drop about five, so it’s easy to see how important this is.
It’s preferable to use a flying character for farming DNA Chests, as you’ll be able to traverse the map much more efficiently than, say, having to run around as Captain America.
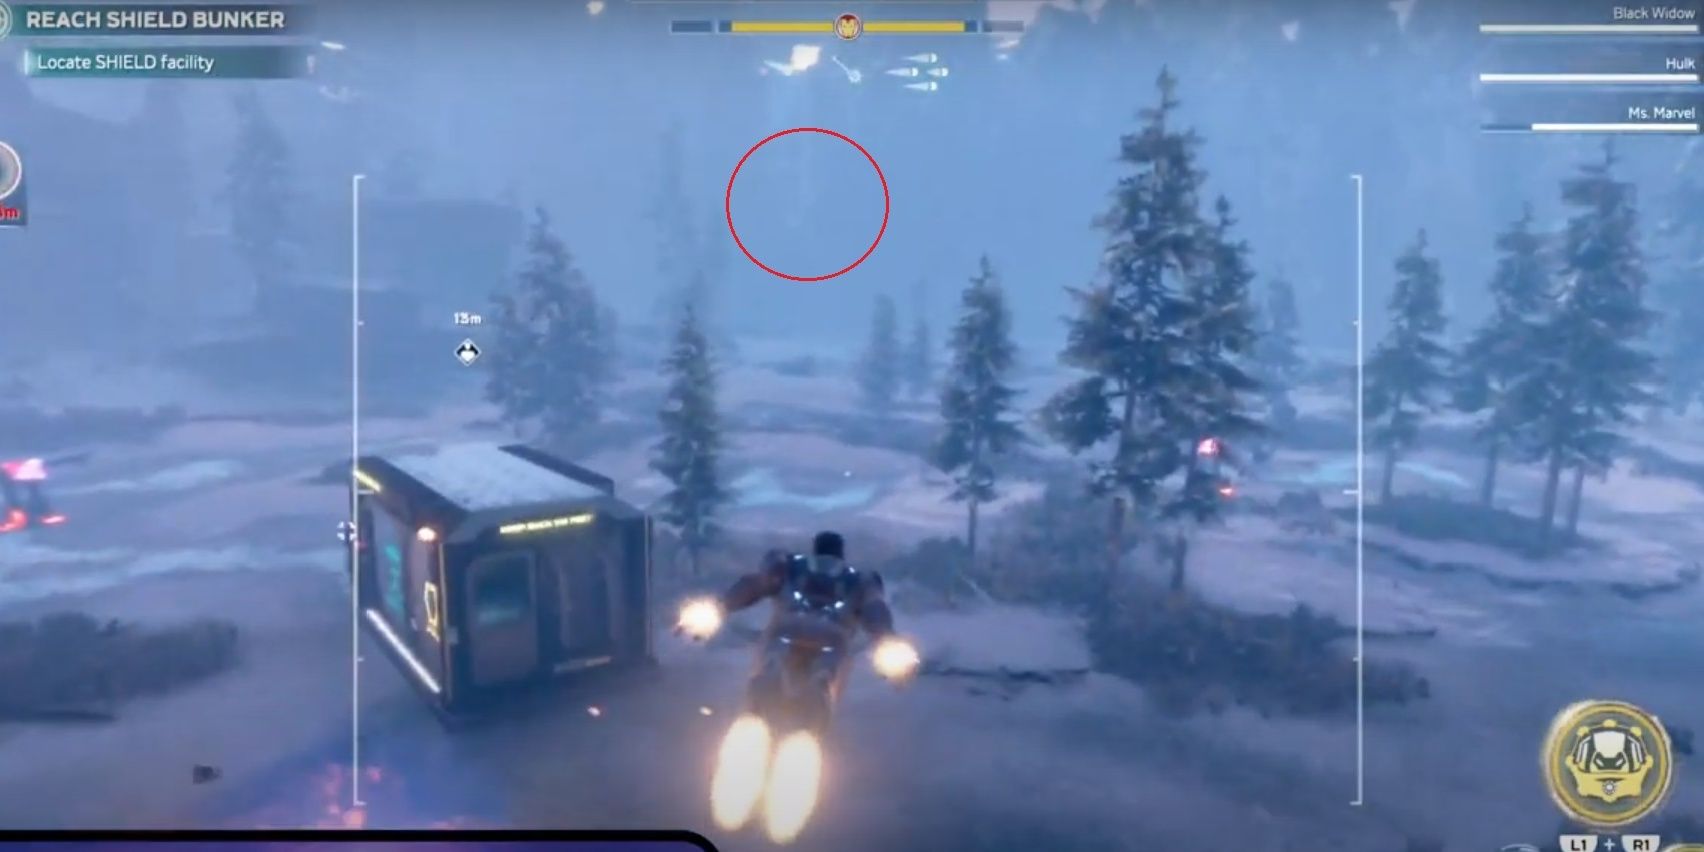
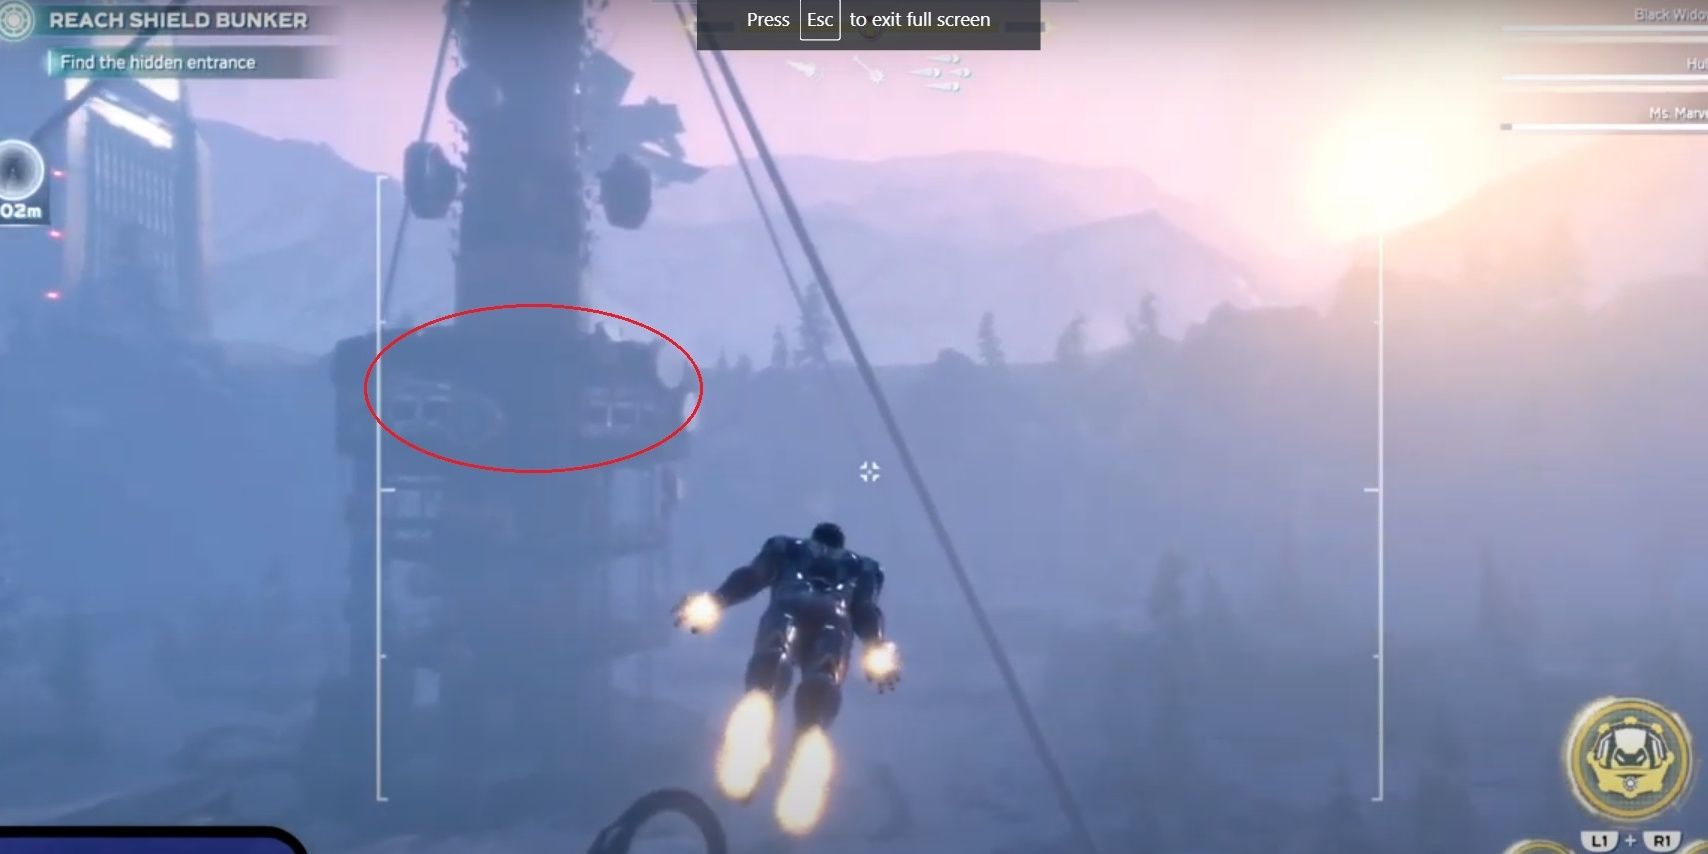
When you load into the map, travel through the small tunnel and then immediately head right towards the Hostage beacon on the map. Fly past the Hostage, towards the red circle in the above picture, and you’ll find a small AIM cliff base with a DNA chest waiting for you.
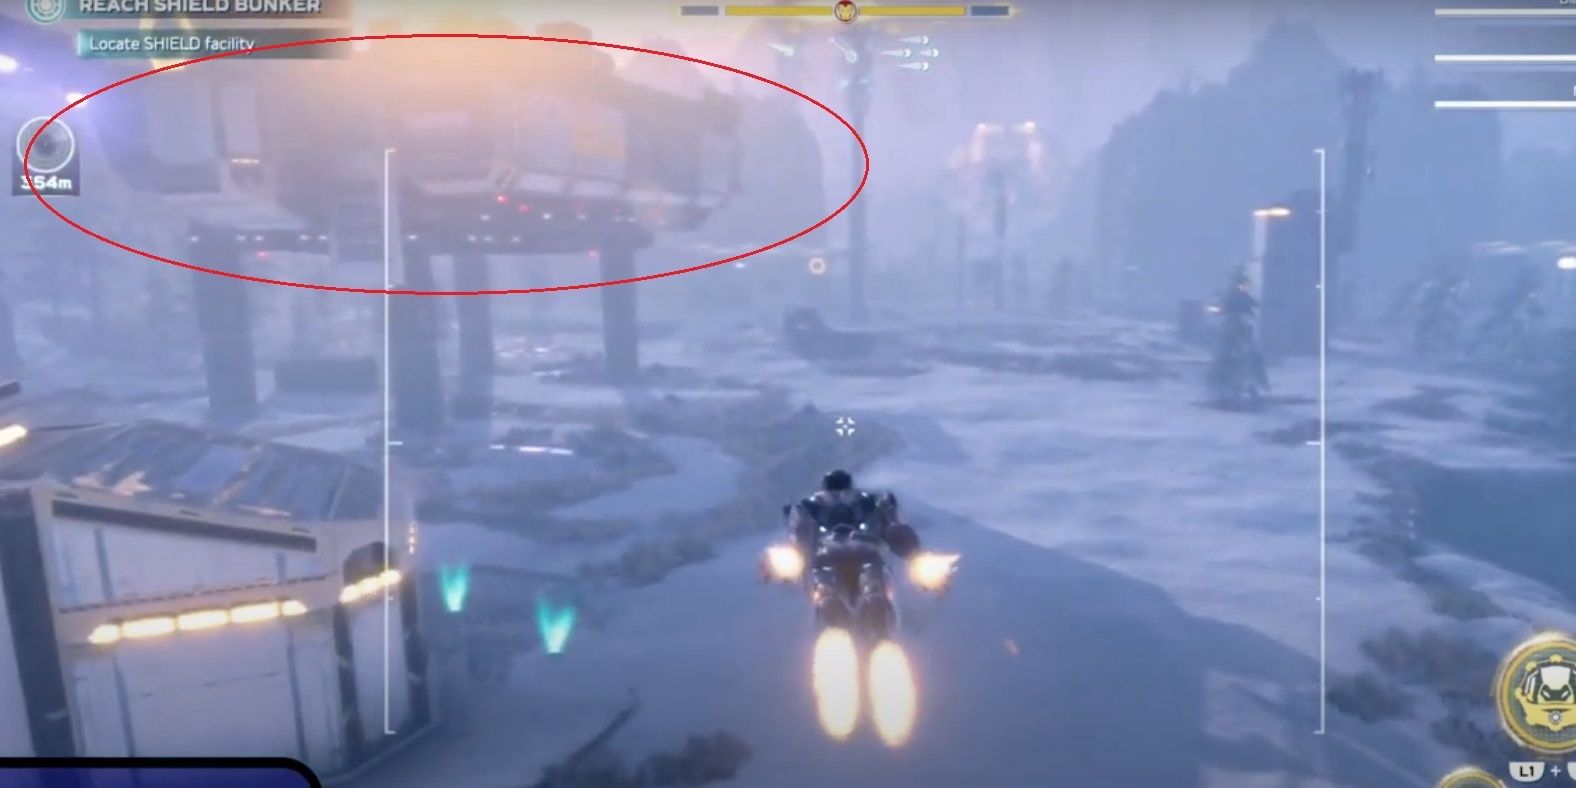
For the next DNA Chest, head back the way you came towards the tunnel you passed through initially. There’s a giant floating platform right around there that is pretty hard to miss.
On top of this floating platform, you’ll find your DNA Chest. No enemies spawn at this chest, so feel free to take your time and show off your favorite Iron Man costume.
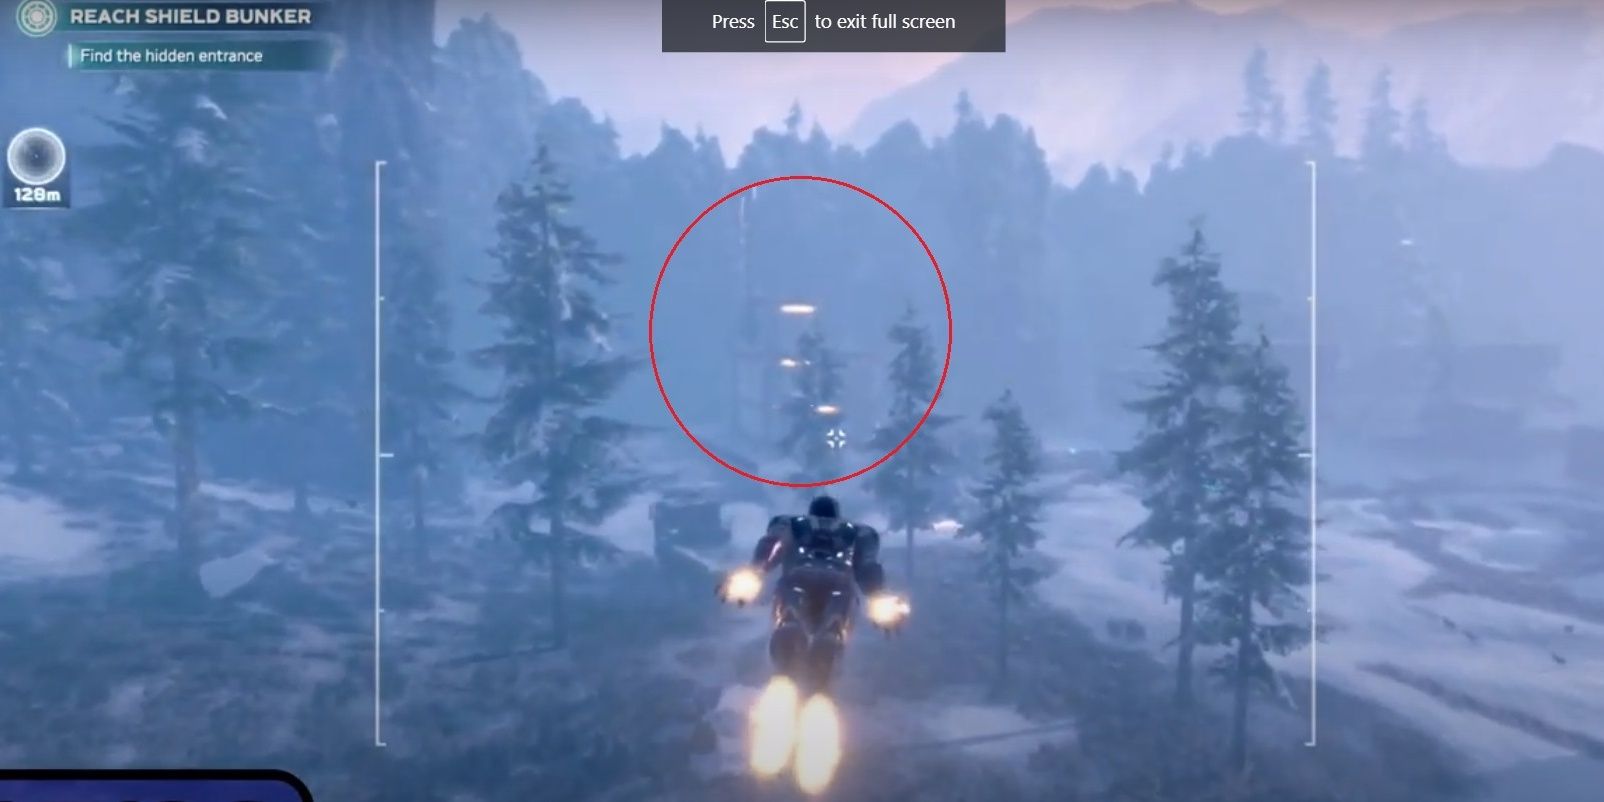
Leaving DNA Chest 2, follow the mountain wall directly next to the floating platform deeper into the map. Not too far away from the floating platform, still following the mountain wall, you’ll find an AIM base tucked into a corner.
This one shouldn’t be too hard to find because it has a Chest beacon with it. Pop a Heroic ability or two to take out the squadron of enemies here and then complete the door puzzle to find another DNA chest.
This DNA Chest is deep into the map, but it’s located at a colossal communication tower-like structure that sticks out like a sore thumb. If you’re playing with a flying character or teleporter like Kate, just travel straight to the top of the tower and loot the DNA chest waiting for you there.
At this point, you’ve hit all the DNA chests on the map and can continue looting normal chests or actually complete the Elite Vault if you so desire. When you’re ready to leave, scroll down to the next entry.
If you decided to finish the Vault, then ignore this step. For everyone else, press the start button and load back to the War Table. If you’re running Elite Vaults as we suggested, then you won’t need to get any Vault coordinates and can load directly back into the Elite Vault of your choice and harvest the DNA Chests again.
You’ll need plenty of Upgrade Modules to max-out every character, so get comfortable with running this cycle.
![]()
www.itsec.hk
www.itsec.vip
www.itseceu.uk
Leave a Reply