
Fans of tactical shooters will love Rainbow Six: Siege. This addicting game is entering its sixth year, and with it, many newcomers have arrived to get a taste of what this game offers. Rainbow Six: Siege is famous for, among other things, the wide variety of operators that are available to players. With at least one new operator arriving every season, it begs the question, who are some of the best operators for new players?
Operators are ranked from least to most difficult, with factors such as gadget strength, gadget difficulty, map knowledge requirements, and available weapons taken into account.
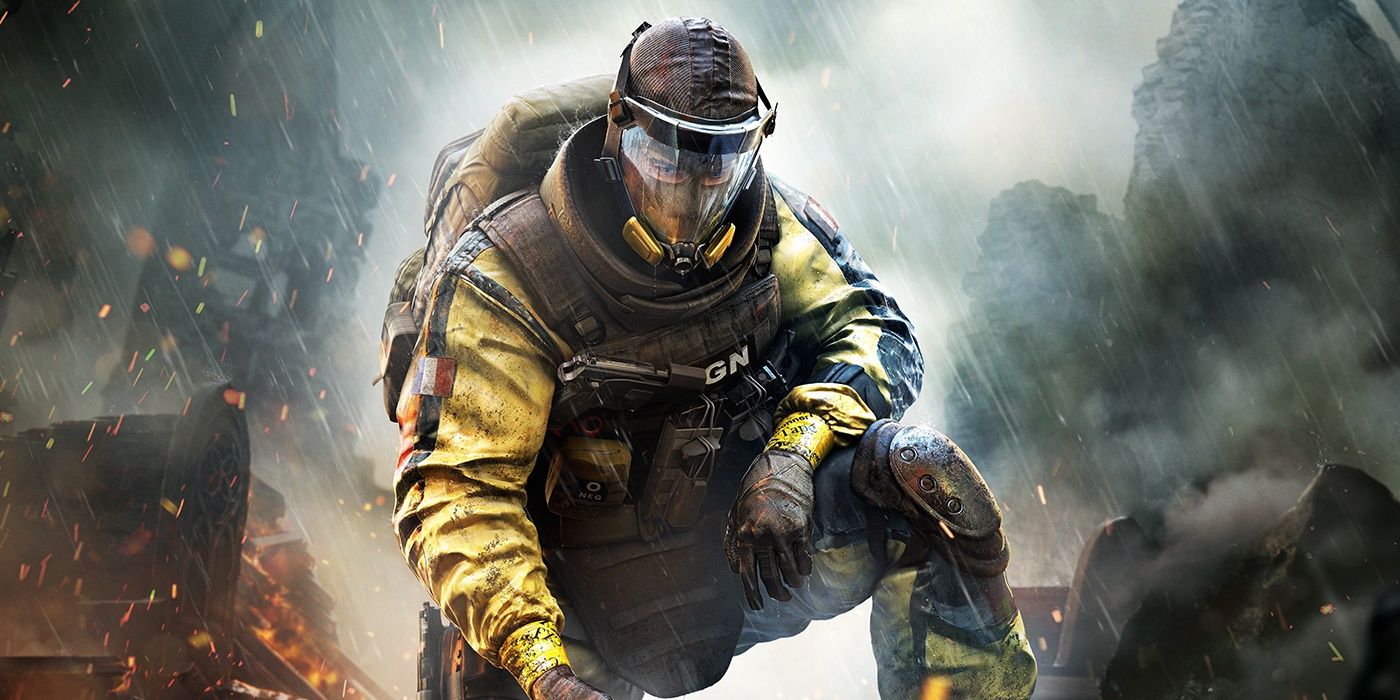
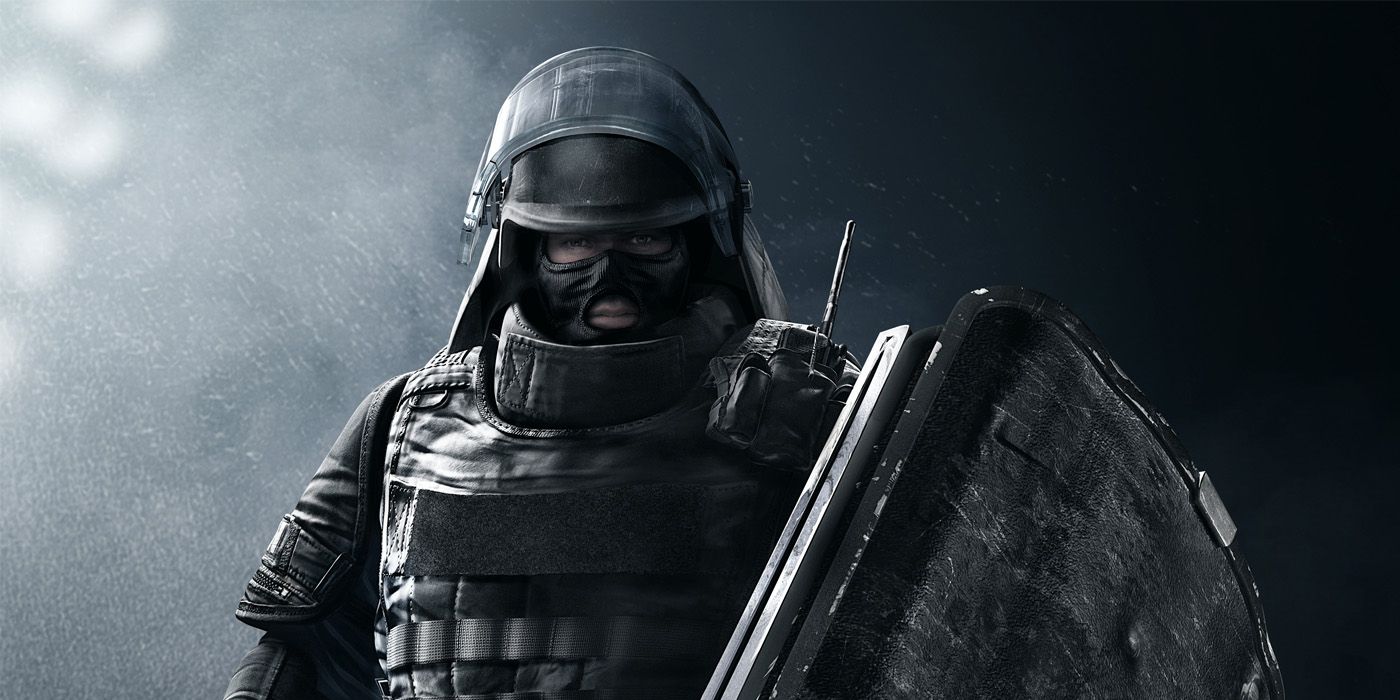
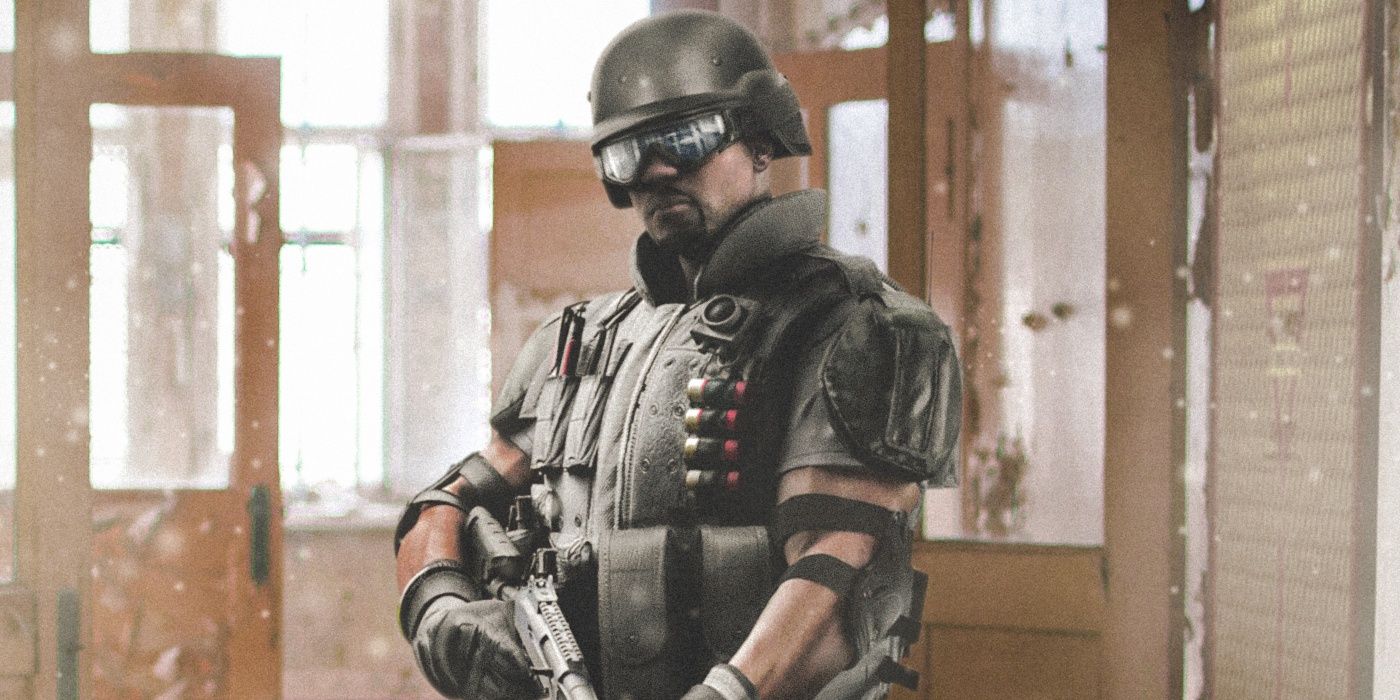
58 Blackbeard
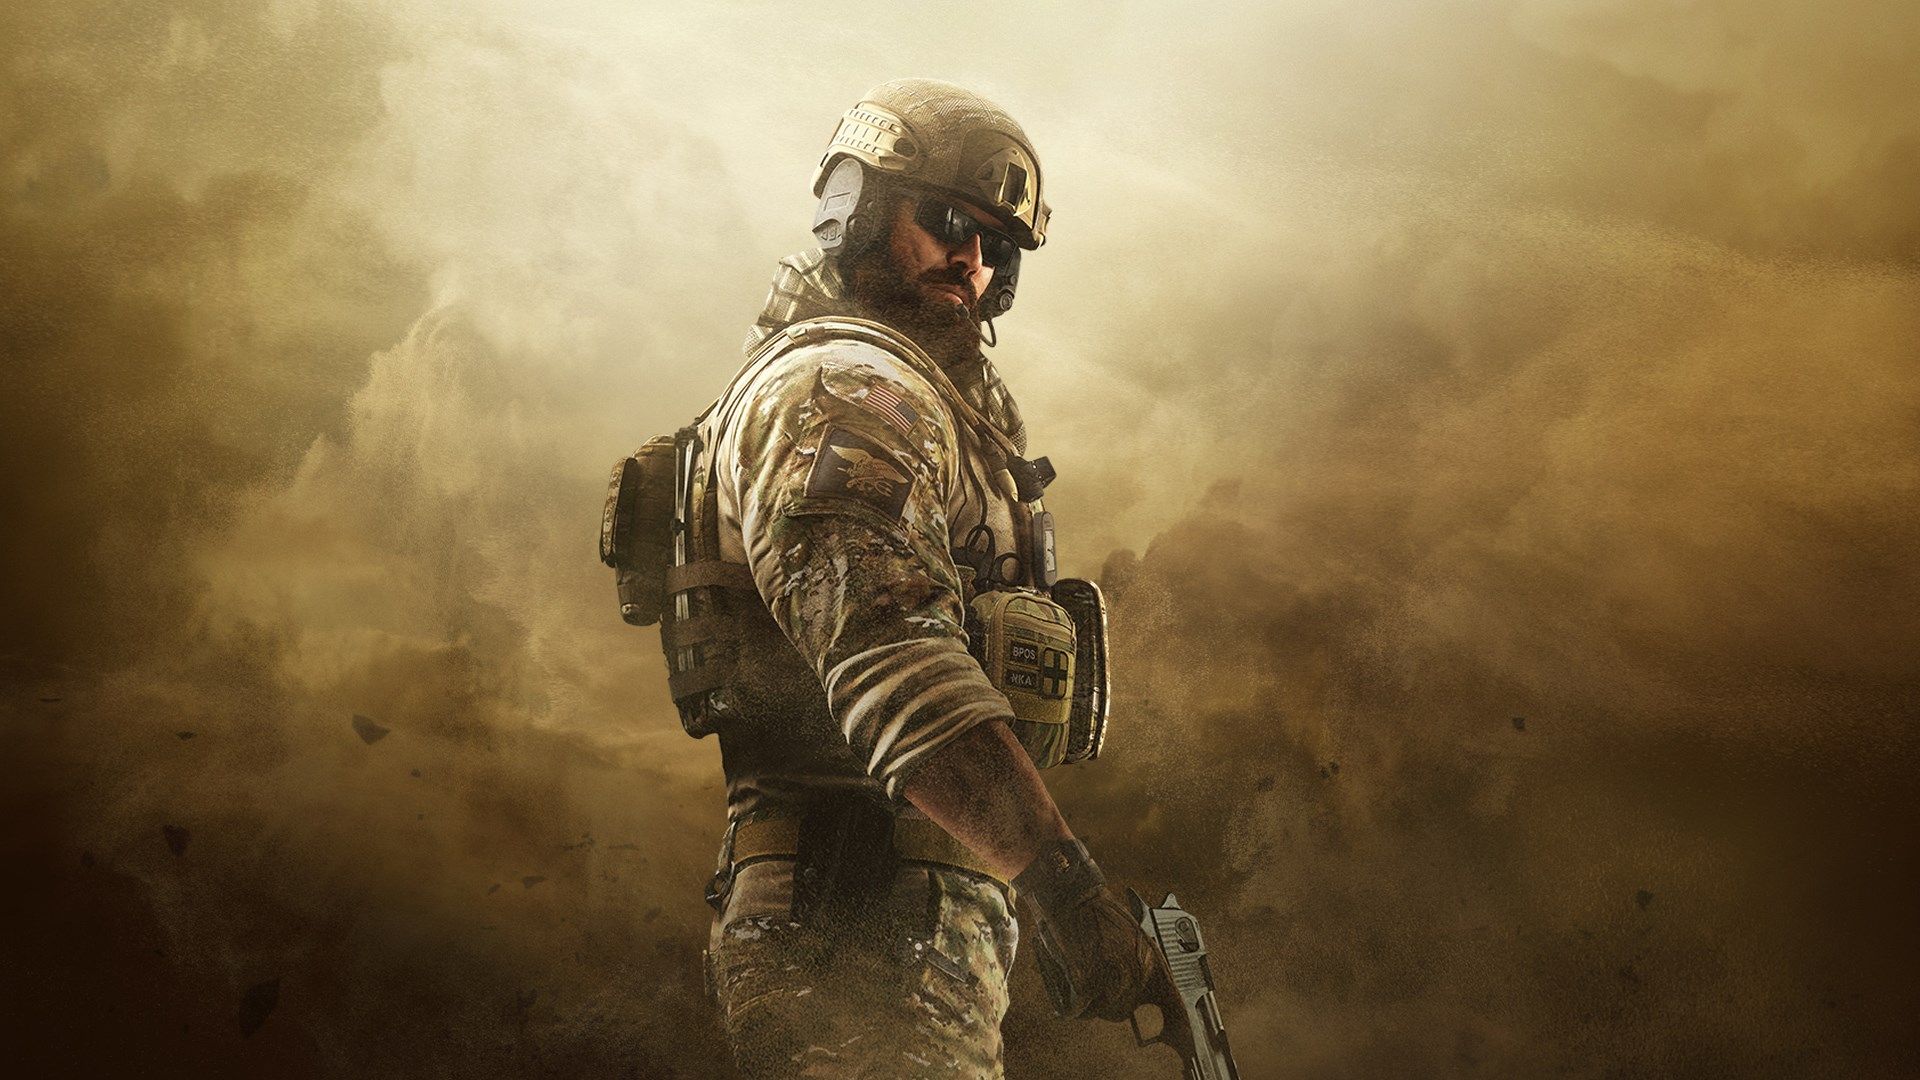
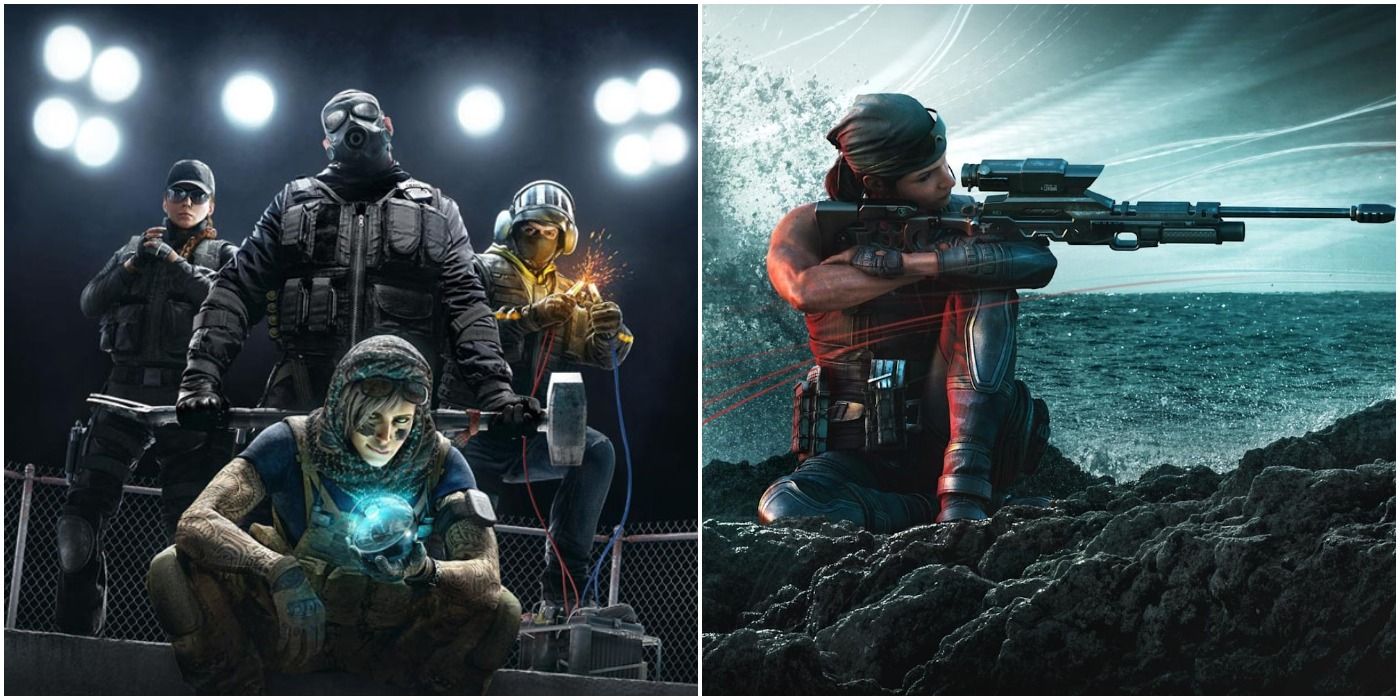
Blackbeard is by far the easiest operator for beginners, and while fans of the series will not learn anything gadget-wise by using him, his deployable gun-shield will make any gunfight easier to swing in the player’s favor. This allows them to learn the maps and intricacies of recoil control before moving on to more difficult operators.
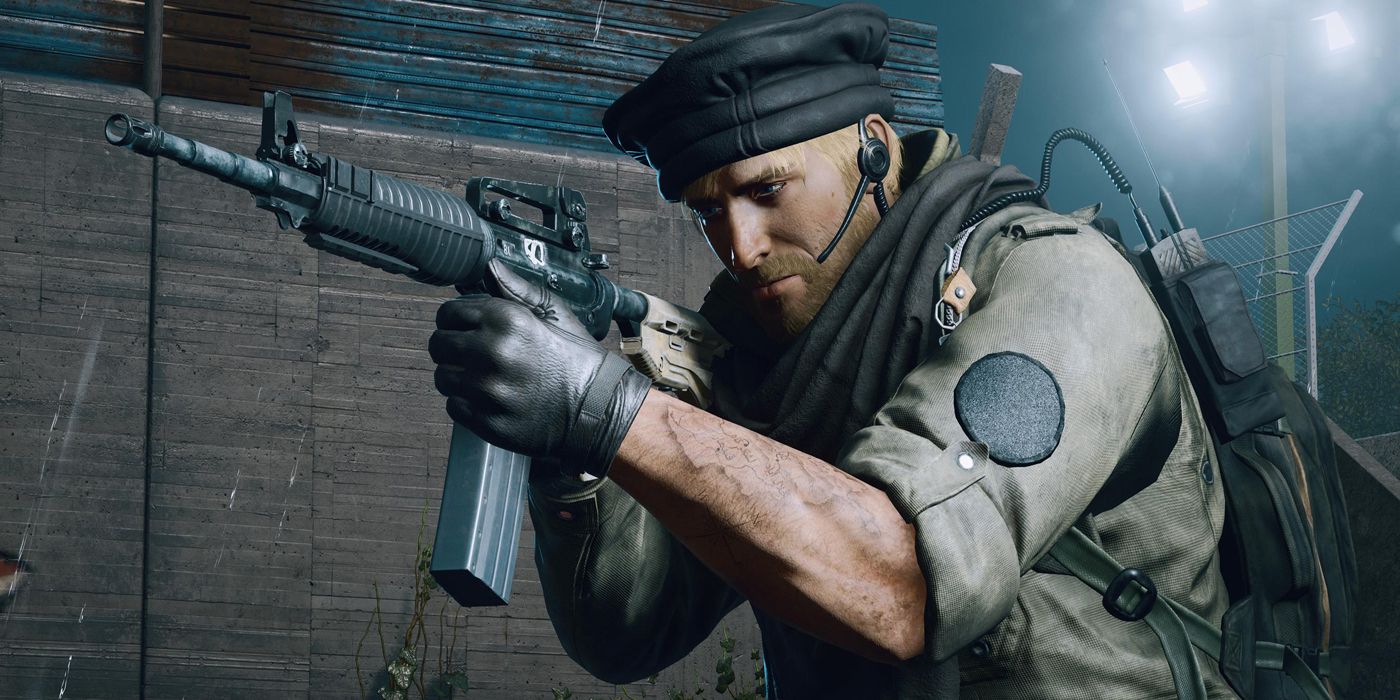
57 Ash
Ash is the first operator a new player may want to pick up. Her gadget is simple, her guns are solid, and she is easy for anyone to pick up and play. In addition to this, an Ash player can do many things with their gadget that others cannot, such as destroy ceilings to kill camping players.
56 Sledge
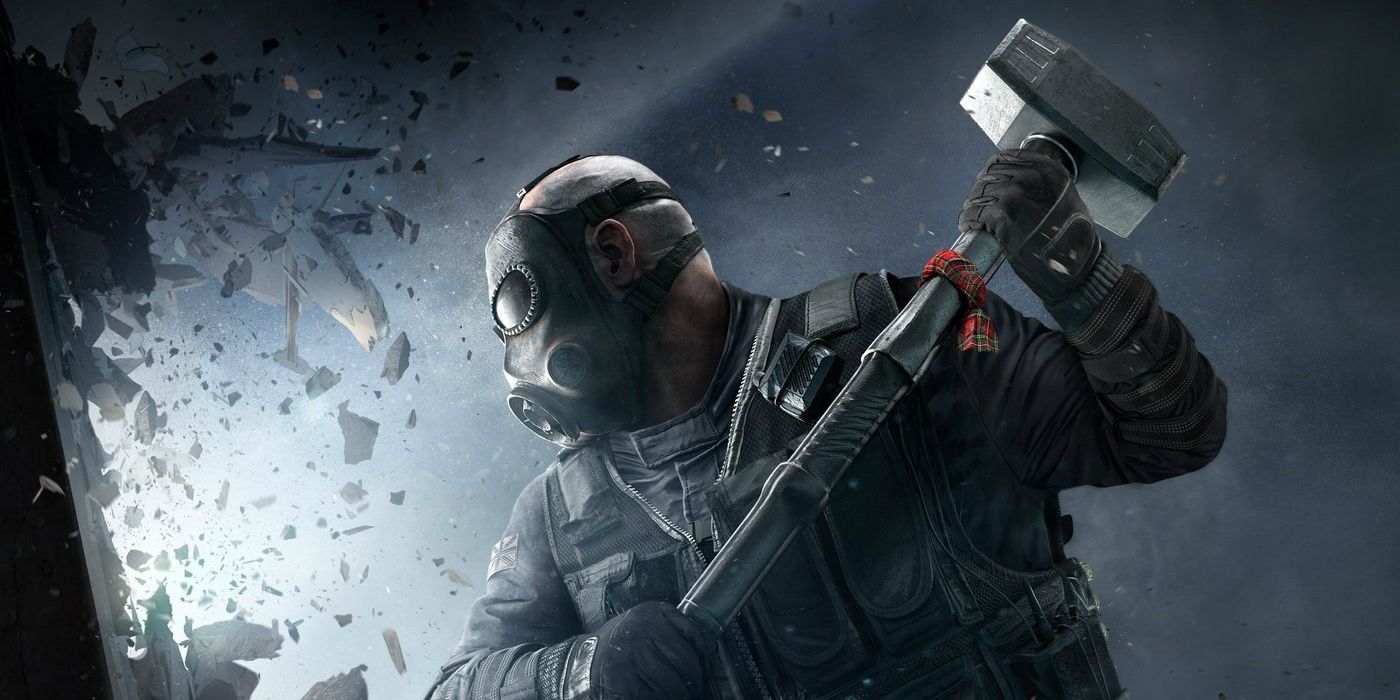
Sledge is similar to Ash in how he operates. His gadget is a sledgehammer, allowing him to break soft walls with ease, destroy hatches, and decimate floors above the objective. His game plan is simple but flexible and perfect for a new player to learn the ropes quickly and easily.
55 Rook
Rook is maybe the simplest defender available. His gadget is a pack of armor plates that increase the defensive capabilities of his allies. Place them down at the beginning of the round, and allies will pick them up to increase their effective hit points. He is a simple, effective, and efficient operator for any new player to learn.
54 Smoke
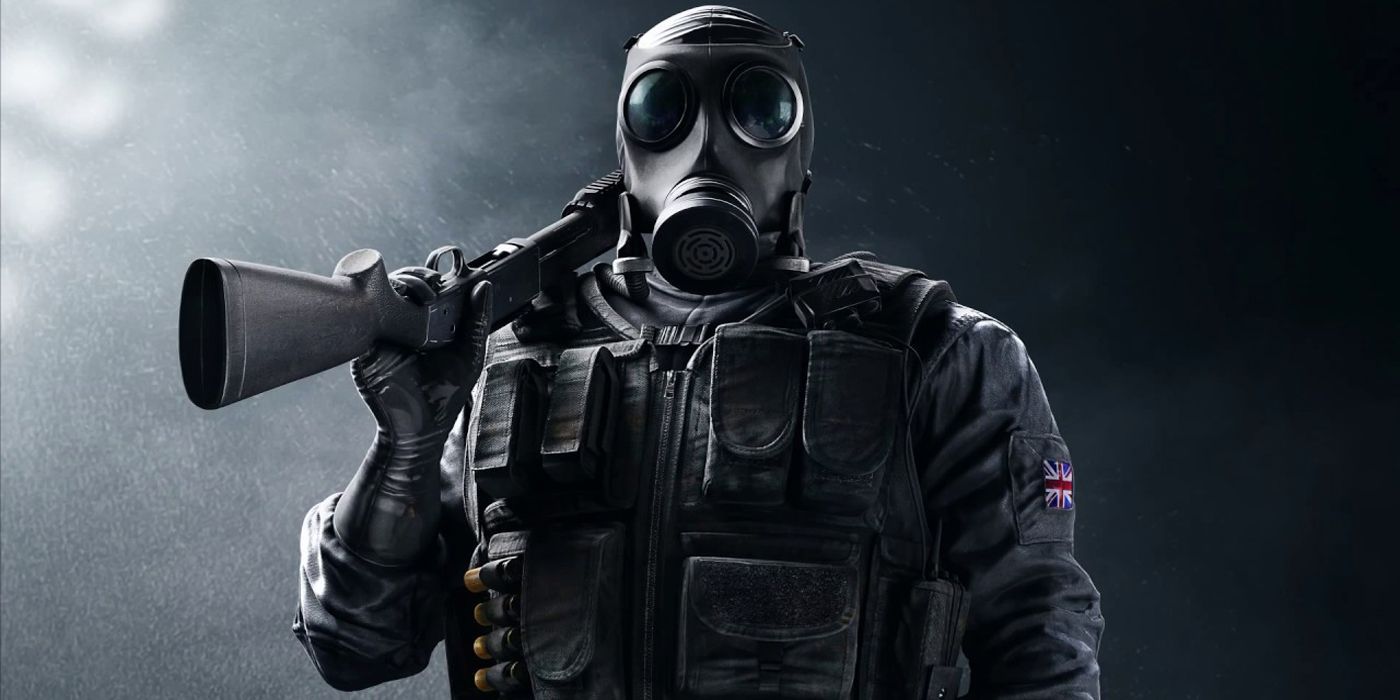
Smoke may seem to be a complicated operator, and his unusual loadout reinforces this idea. That being said, his gadget is a simple means of blocking chokepoints, and there are many tips and tricks that one can use to increase its effectiveness. He is the perfect easy-to-learn but hard-t0-master operator for a newcomer to experiment with.
53 Blitz
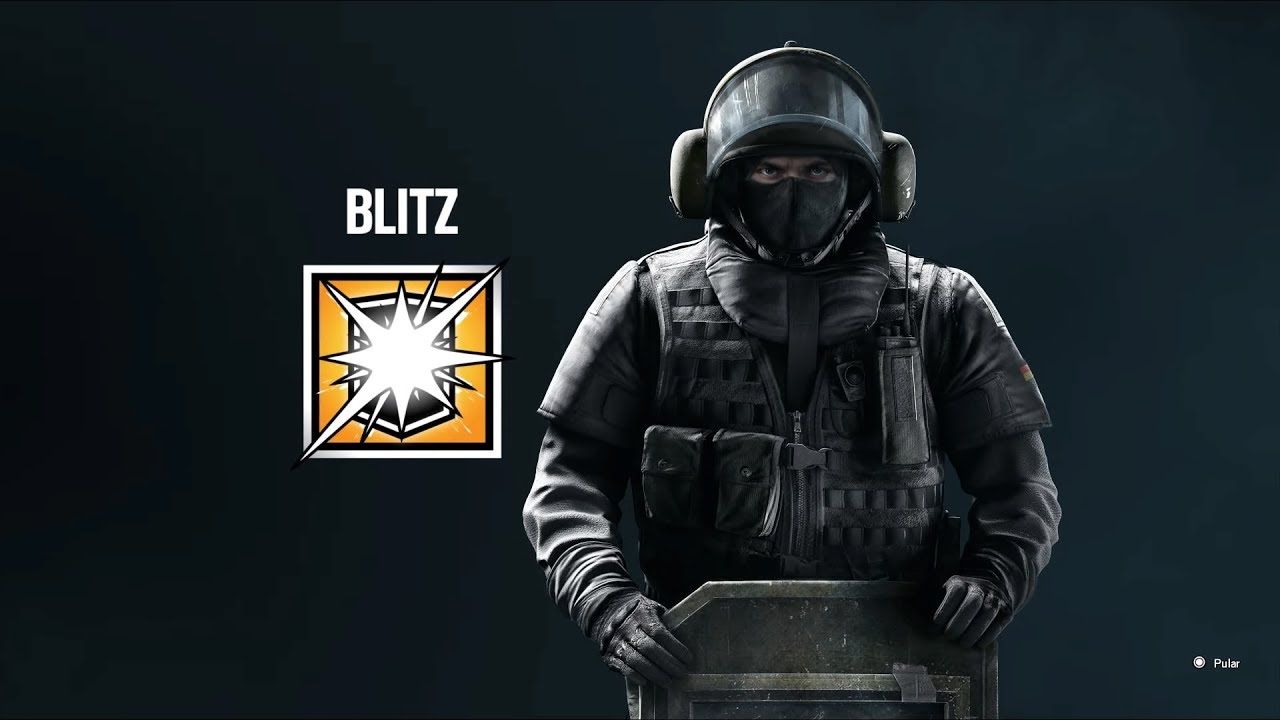
Blitz is the perfect operator for anyone looking to learn how to use shields. His objective is simple: get kills to progress the round. However, the way he does this is unique and a perfect opener for anyone who wants to take advantage of this unique style of gameplay. He is simple and satisfying.
52 Mira
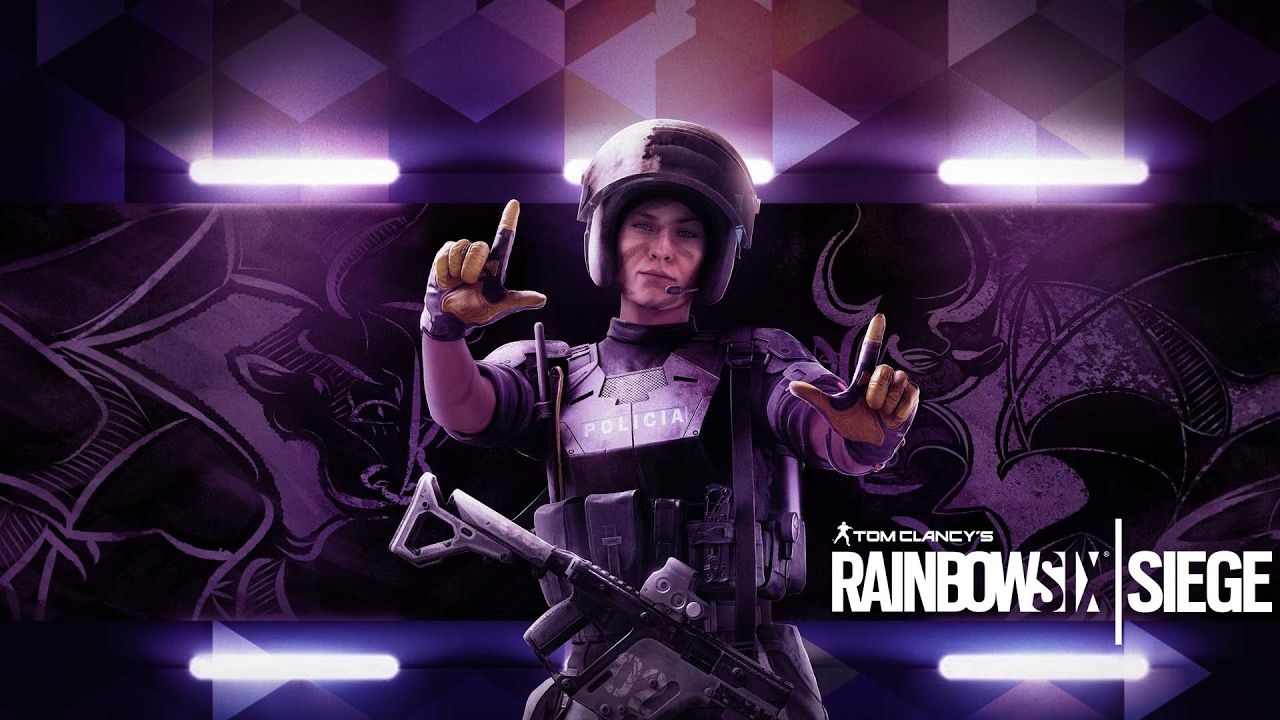
Mira is an odd case because she requires a large amount of map knowledge. However, after learning where to place her black mirrors, one can easily grasp her game plan and effectively use her gadget. After learning this, her position in the game is among the simplest and easiest to grasp for anyone.
51 Lesion
Lesion is an incredibly simple trap operator. He places mines that deal damage over time until pulled out. Throw them at key chokepoints and use audio cues to determine the location of enemies. Take advantage of your mines to block pushes, and his incredible SMG to push enemies yourself. Either way, Lesion is among the simplest and most effective operators in the entire game.
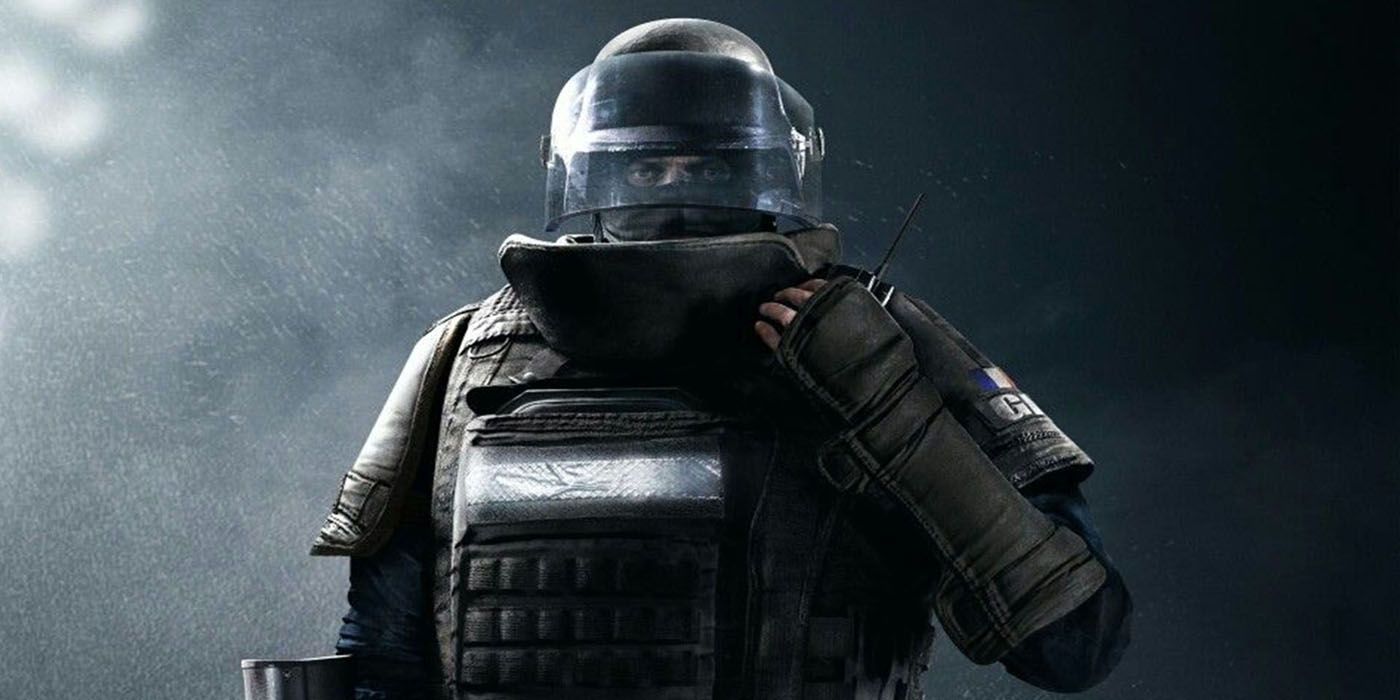
50 Doc
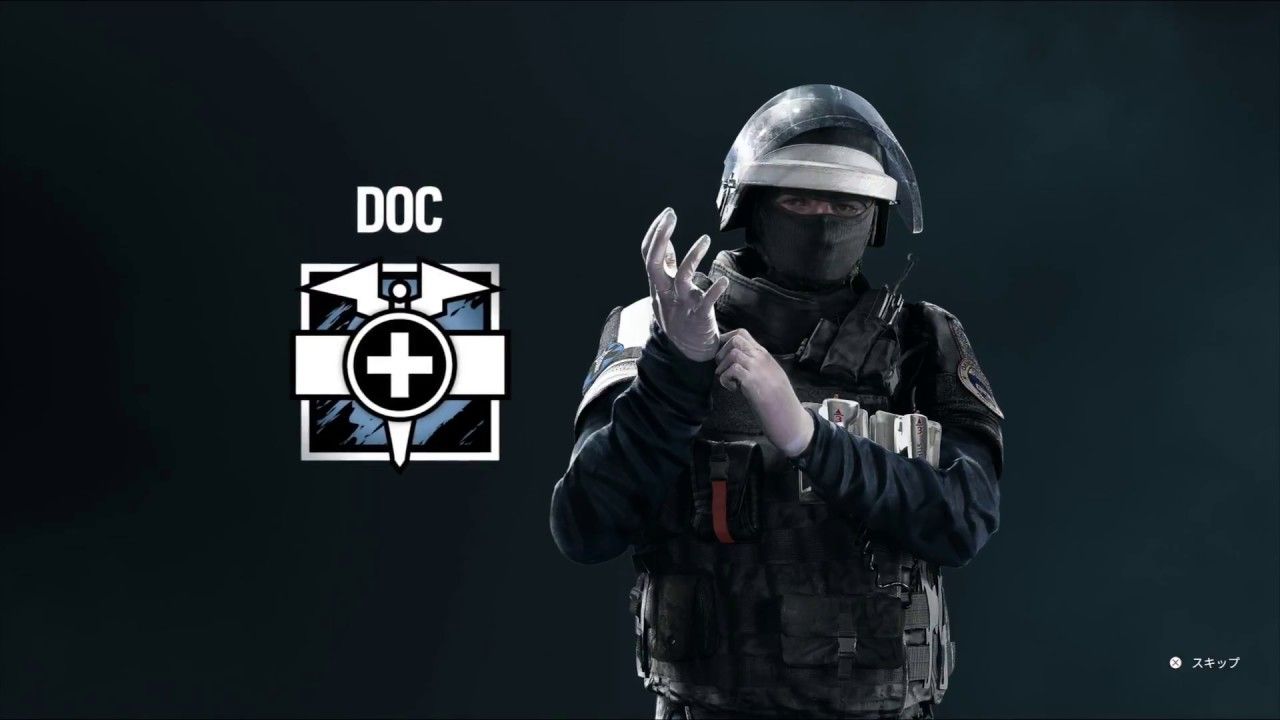
Doc is a simple, strategically important, and potent duelist operator that can perform multiple roles. However, his primary role is as an anchor, an operator who protects the point against enemy advances. This makes him the perfect operator for anyone looking to perfect such a vital role on the team.
49 Jager
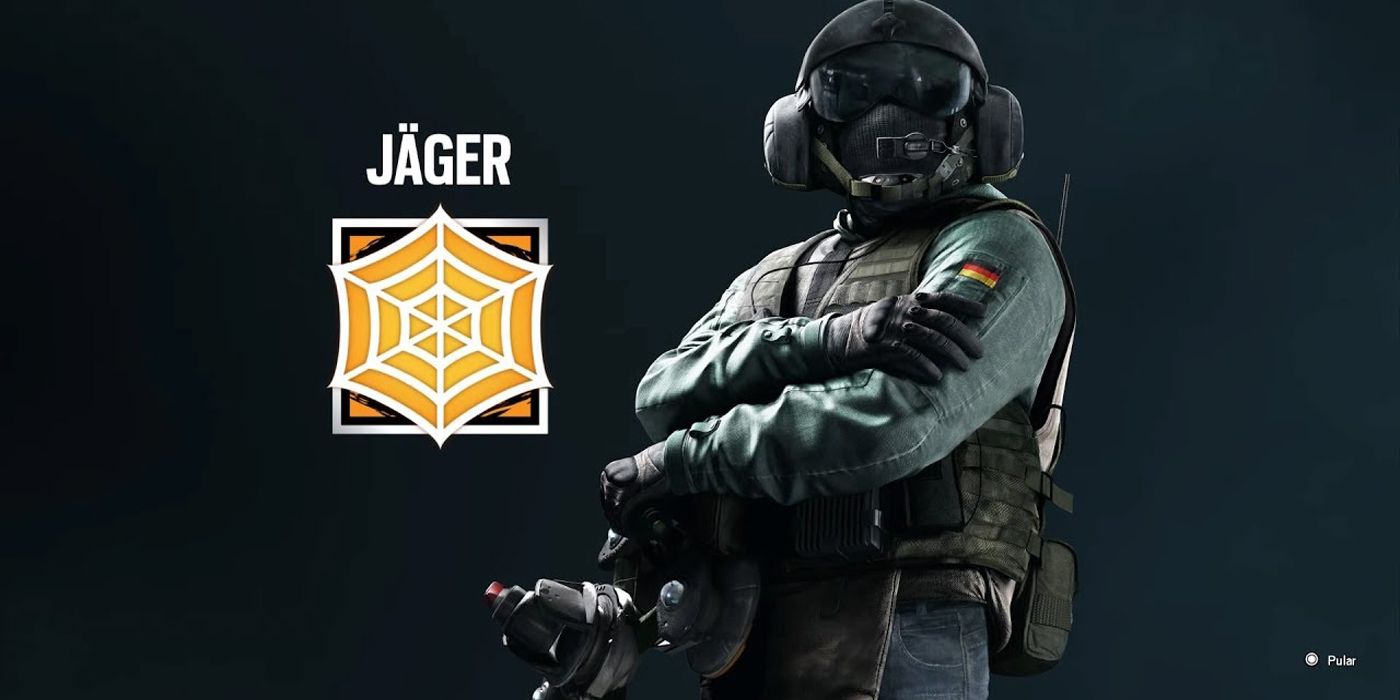
Jager is the quintessential roamer. Roamers are operators that attempt to flank, out-maneuver, and otherwise catch enemies off guard. They do this by using their speed and quality weapons. Jager’s gun is a joy to use, and his simple gadget can be placed early and then forgotten about, providing a measure of passive utility. All-in-all, the perfect introductory roamer.
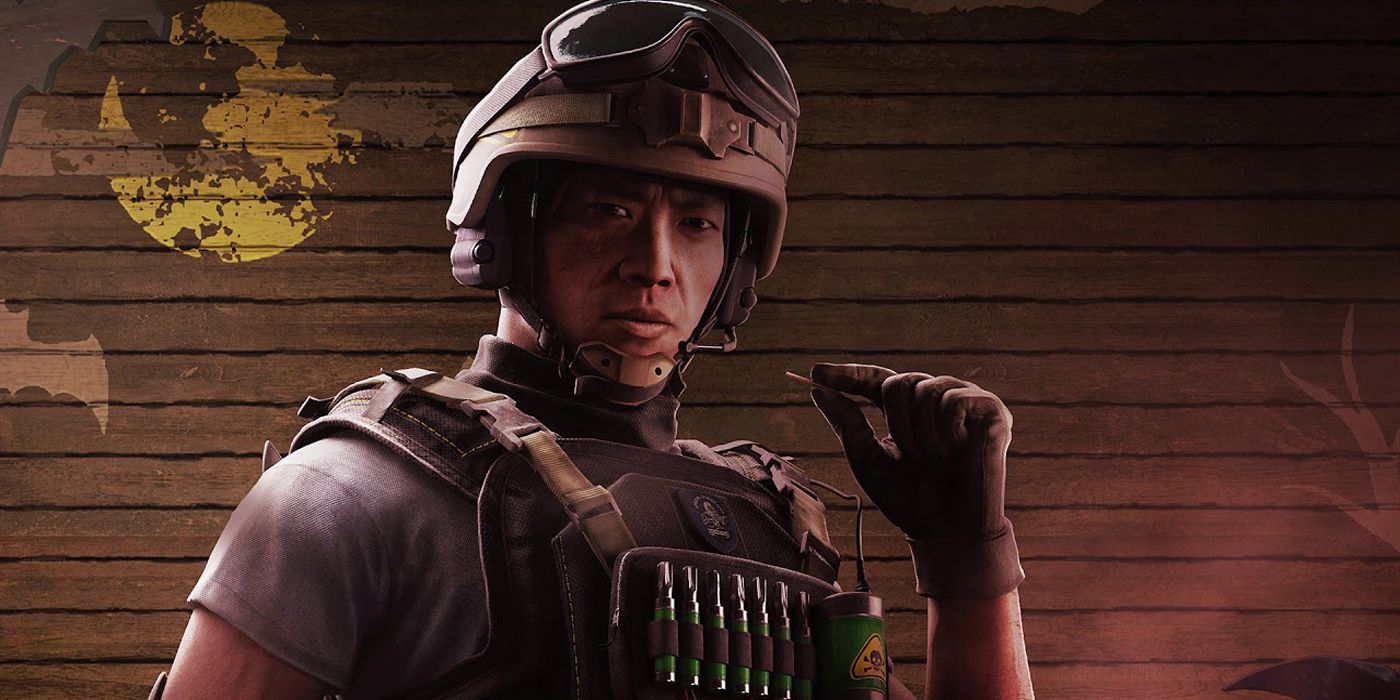
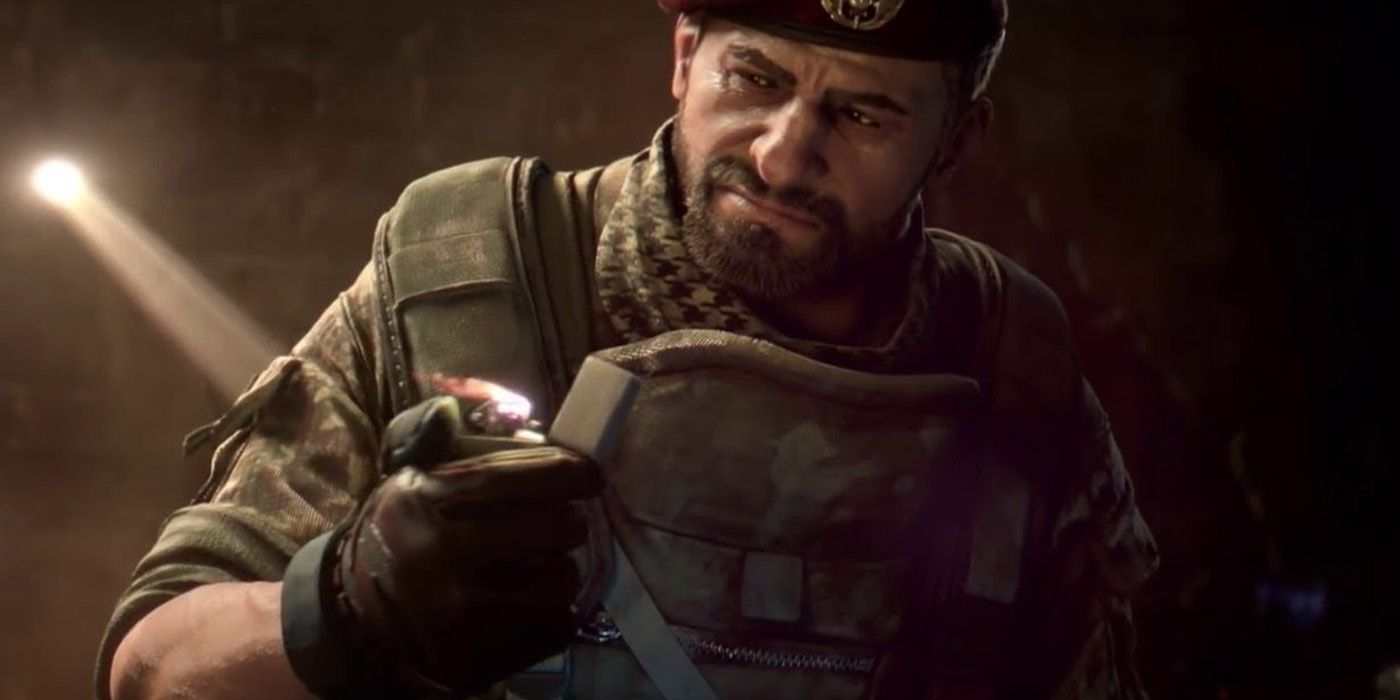
48 Kapkan
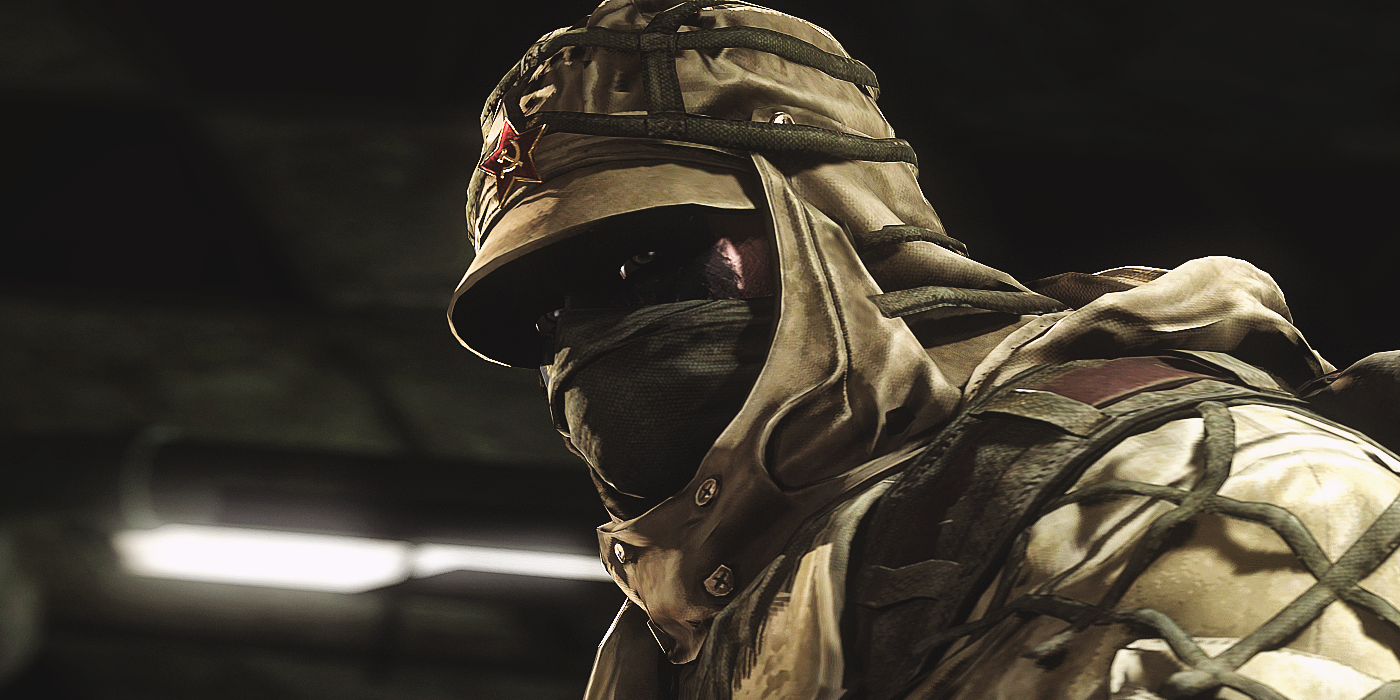
Kapkan serves an important role as a trap operator, adding traps to doorways that the enemy might otherwise use to attack the objective. Kapkan’s gadget is flexible, effective, and most of all, simple. His best contribution to the team is making attackers think twice about entering doors, giving the team ample time to respond to pushes.
47 Melusi
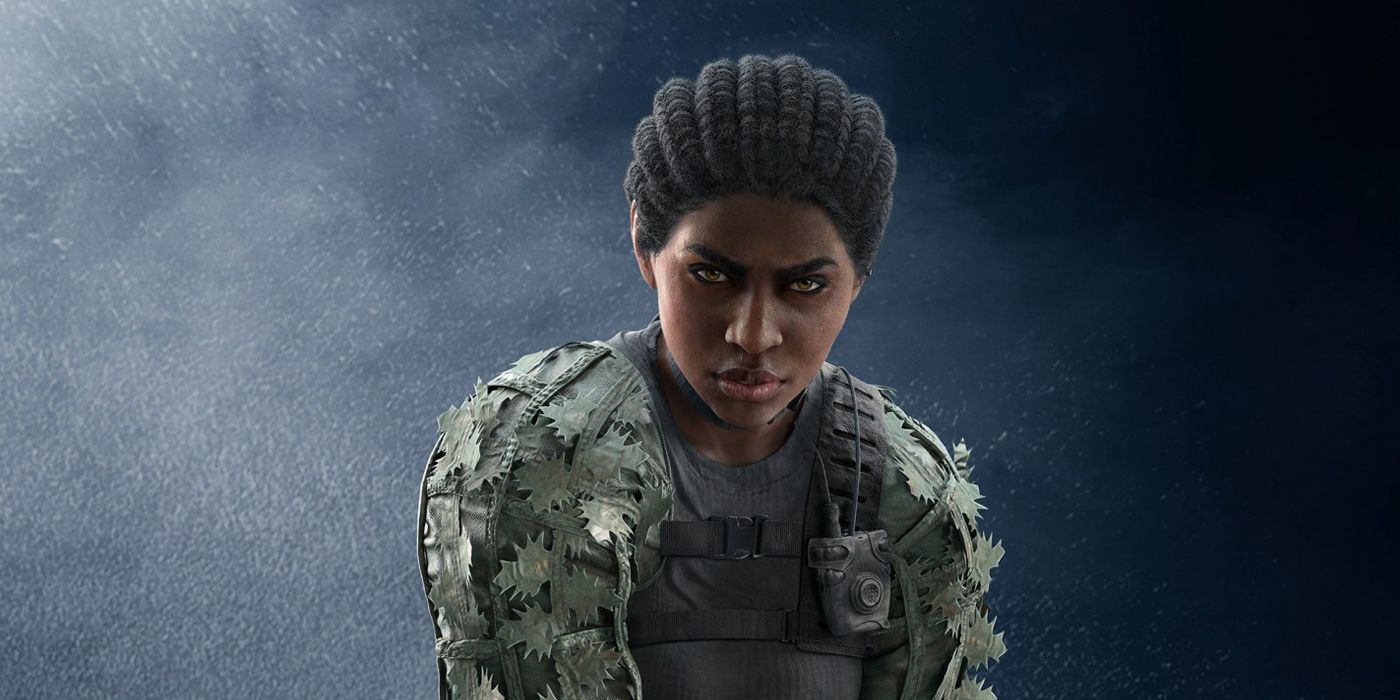
Melusi is a recent operator, that requires many tips to play, but ask any experienced player and they will tell you her gadget and playstyle is extremely annoying for the opposing team. The most relevant use for her gadget is to block off multiple chokepoints, alerting a new player’s team to any incoming pushes. This gives her team time to respond, and her guns are just icing on the cake.
46 Wamai
Wamai is an interesting case of adapting another operator’s gadget, giving it both flexibility and ease-of-use. He is both fun to play with and a pain to fight against. A skilled Wamai can provide much useful utility to his team while being an independent threat on his own.
45 Vigil
Vigil is a roaming operator, but his gadget is simple and, once a new player gets used to drones, can make or break a gunfight. Vigil’s most important asset is his low recoil weaponry, which can make a new player comfortable with the idea of roaming and fast-paced, sudden, battles.
44 Caveira
Caveira is another standard roamer, combining a lack of audio cues with above-average weaponry and a unique playstyle. She has the best attributes of many roamers but lacks utility and so Caveira players must balance that with the potential to remove enemy players from the map.
43 Lion
Lion’s gadget is all about timing and forces enemy players to stand still or be spotted. This is horrible for enemy roamers and forces them to play by the rules, so to speak. Despite the hatred of the community for the longest time, Lion is not the menace he once was, but can still be effective at the right time.
42 Warden

Warden is not a particularly good operator, but against the right enemy team, he can negate many advantages that players rely on. Blitz, Ying, and other flashbang users will find themselves shut down by Warden’s gadget. He is situational, but in the right hands can be exceptional.
41 Buck

Buck has a simple gameplan that relies on some map knowledge, but not overly so. He goes above the objective, blows out the ceiling, and uses his exceptional but high recoil guns to get kills. He is a terrific operator, as long as the enemy roamer doesn’t find you staring down at their team.
40 Maestro
Maestro is a strange case, being easy-to-learn but hard-to-master. His gadget can make or break games based on how it is used, but the actual gadget isn’t hard to use or difficult to get kills with. It is a tool of denial, stopping plants and other enemy activities before they turn the tide of the game.
39 Frost
Frost is another trap operator and relies on her welcome mats to make up for her sub-par guns. She is fast, but not as fast as some, and effective, but not as effective as some. She is a jack of all trades and provides some utility while not being something the team relies on.
38 Thatcher
Thatcher’s gadget may seem simple. Just throw a few onto the objective to negate utility and your team will benefit, but this is by far his least likely role, as he is perfect for removing Bandit batteries and Kaid claws that block your hard breachers from moving forward, one of the best combos in all of Rainbow Six: Siege. He serves an important role, but his guns also make him a potent threat on his own.
37 Montagne
Montagne’s playstyle reflects his gadget. He is a reconnaissance player, moving forward, calling out positions, and otherwise making the enemies suffer. He is annoying to fight and is the purest shield operator on the roster. In addition to this, he has enough kill potential to make himself known, whether the enemies like it or not.
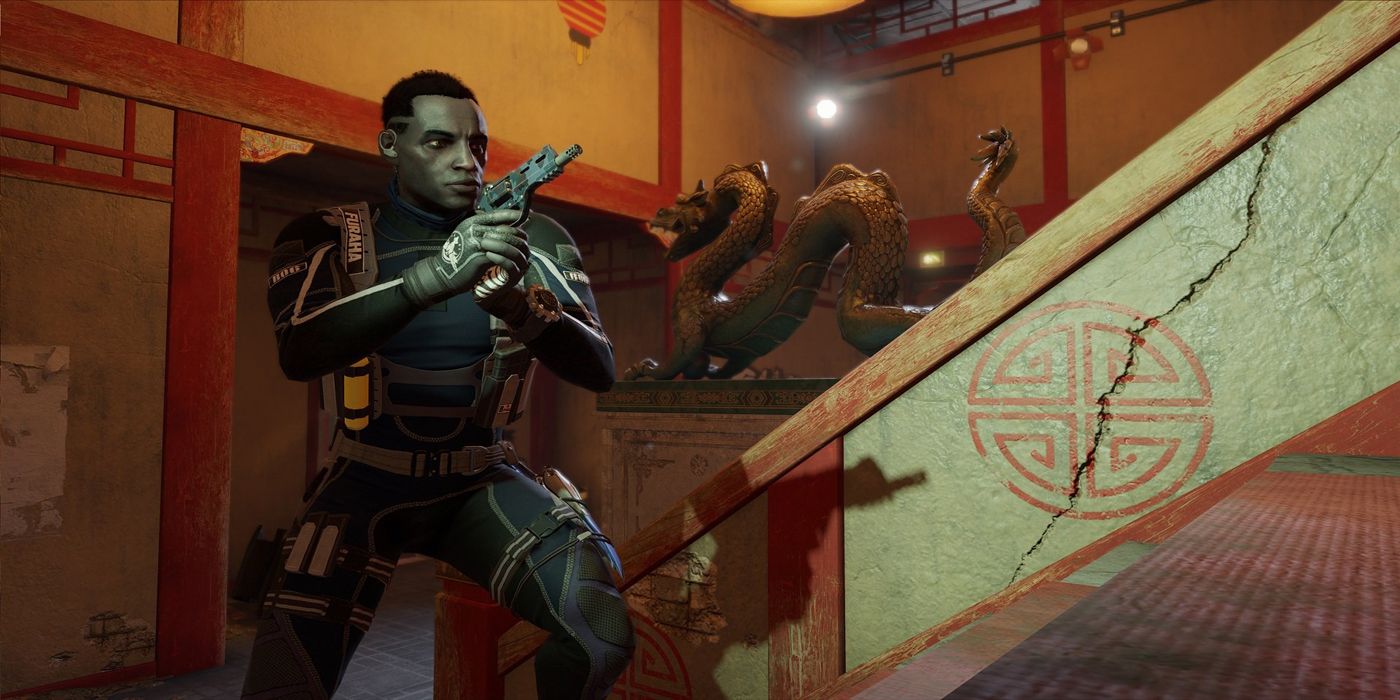
36 Mozzie
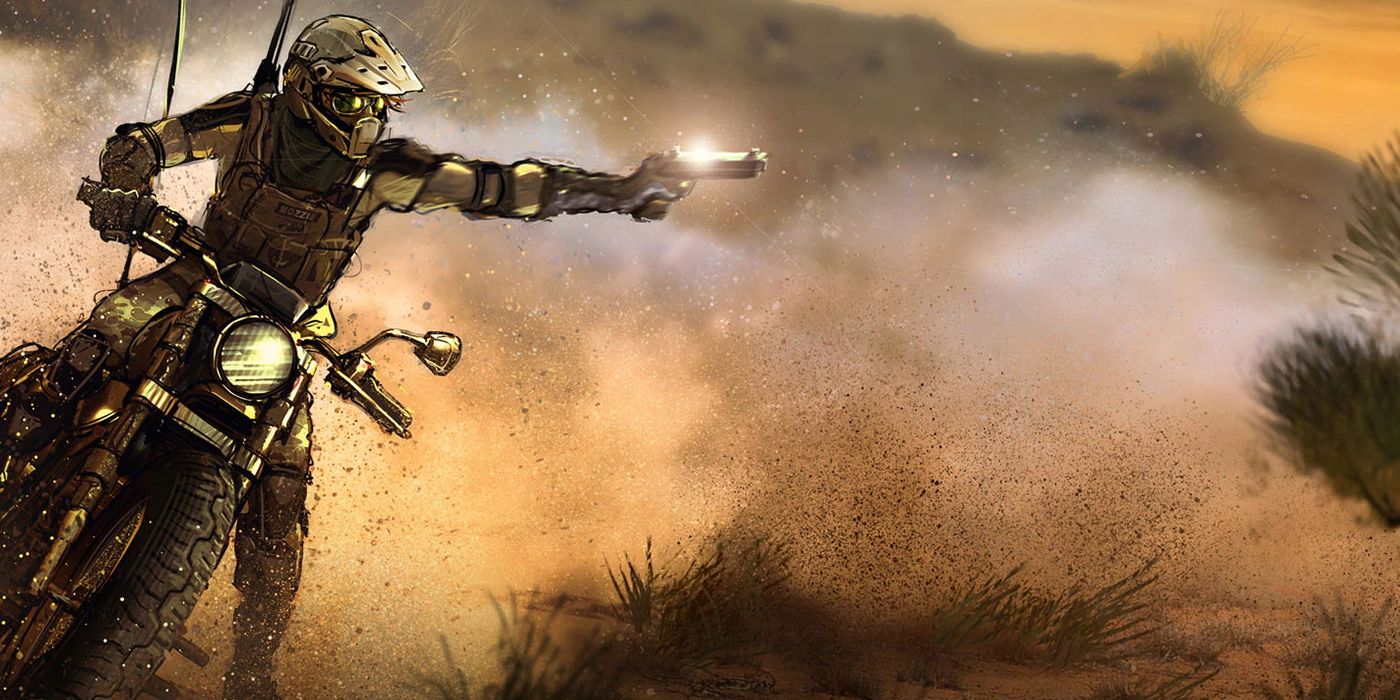
Mozzie is a roaming operator with a strange playstyle. He can take over enemy drones in order to gather intel, but also can roam with his low armor, high speed, and great weapons. Playing Mozzie is playing a balancing act between these styles of play, and a player who does this well will go far with him.
35 Twitch

Twitch has a unique, but easy playstyle that relies on droning. She has special drones that can shock enemies and remove utility. They can even pop Mira’s black shields, making for easy sight onto the objective. Players should resist the temptation to shock players and go for important gadgets, allowing their team to push forward unobstructed.
34 Fuze
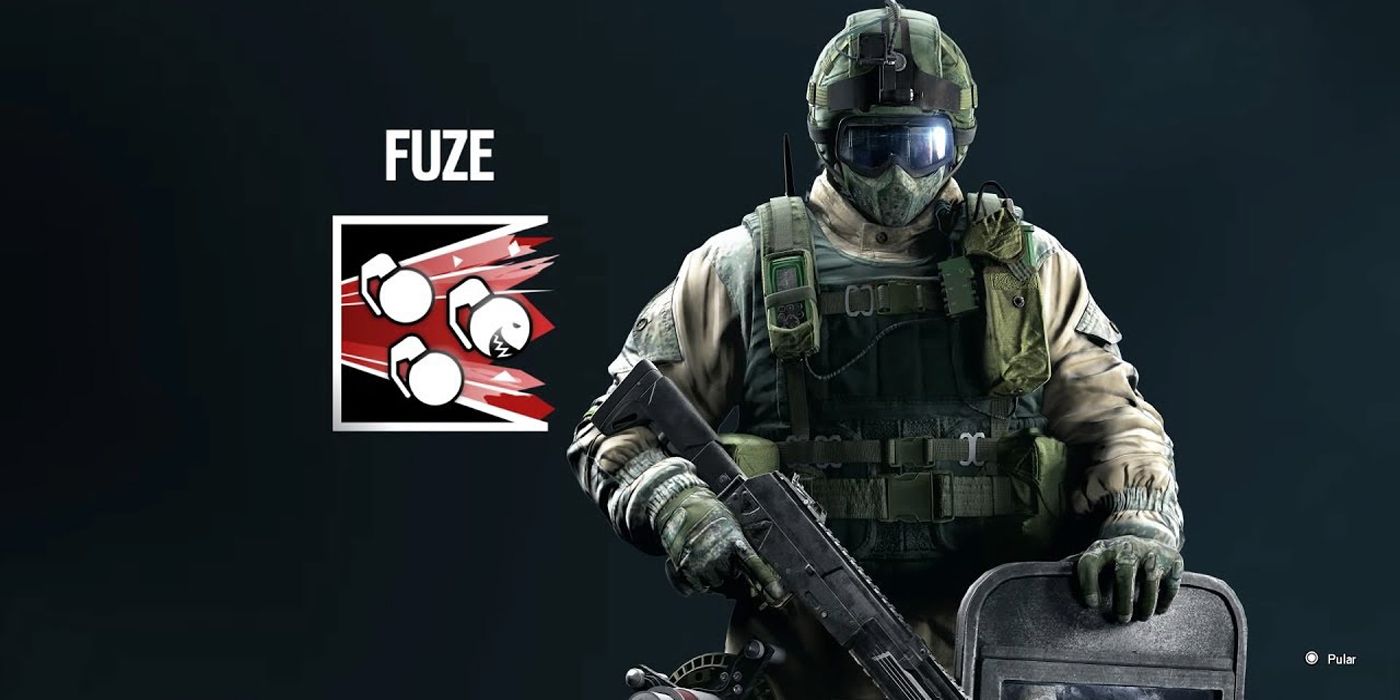
Fuze is a strange case where, on specific modes, he is utterly useless due to his ability to kill the hostage. However, on certain maps and modes, he can be a terrifying force. He can remove utility, kill players, and cause chaos with his charges. Players who learn Fuze will not be disappointed with him or his weaponry.
33 Aruni

Aruni’s gadget is a unique one, serving to stop enemy gadgets or players by blocking off specific doorways. She requires a skilled hand to play but is also rewarding and flexible in her approach. New players may want to avoid her, but those who do play her won’t find her lacking in utility or kill pressure.
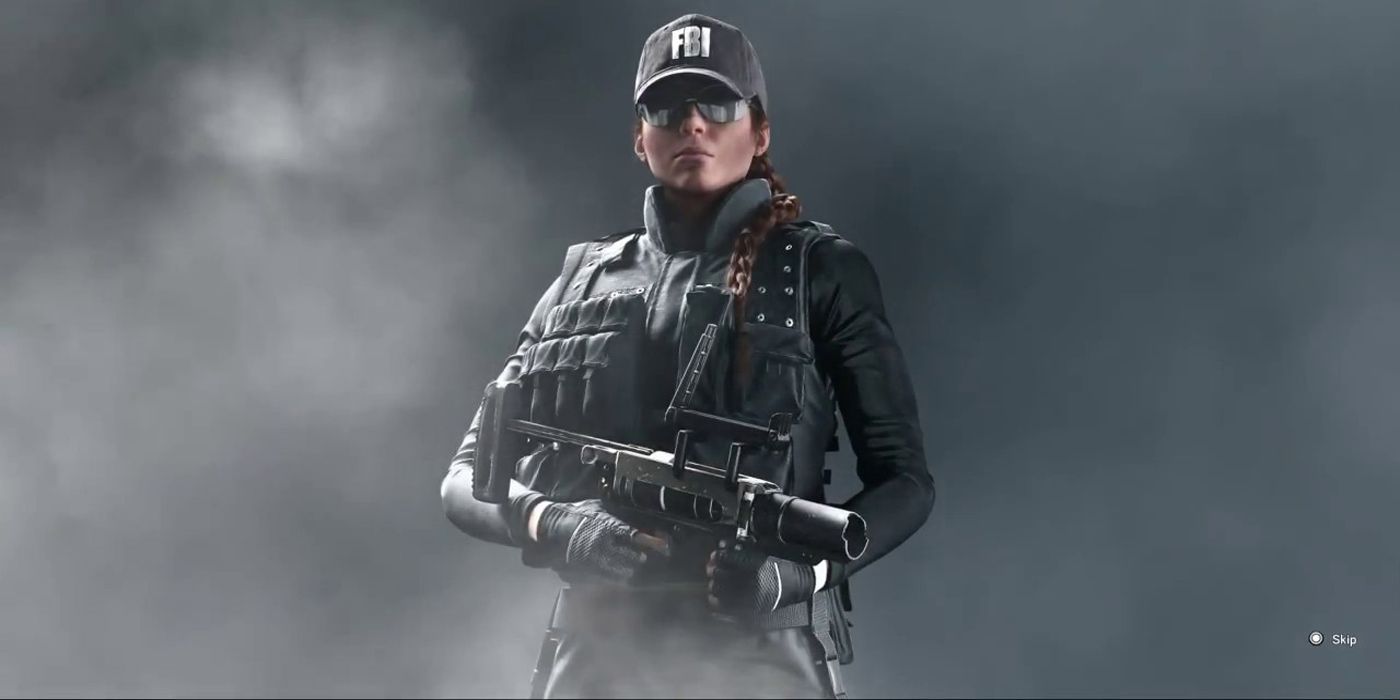
32 Finka
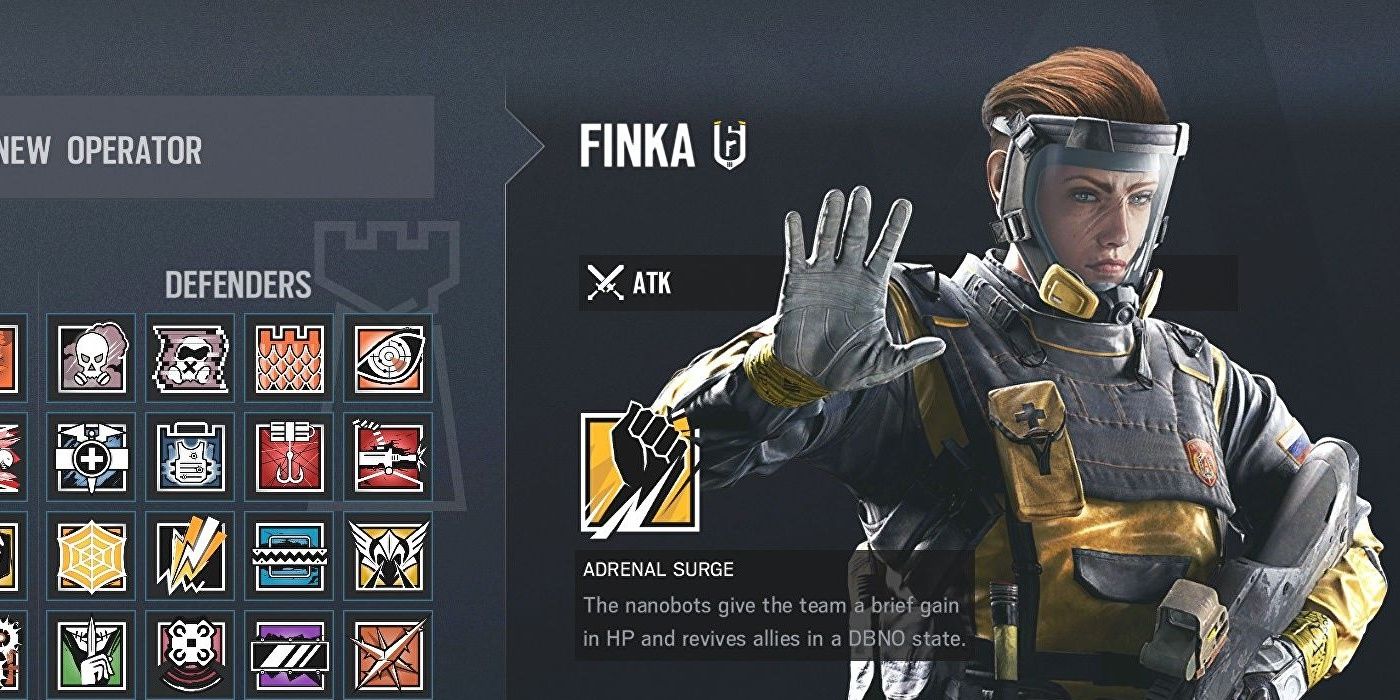
Finka is the medic equivalent for attackers, giving players greater control over their weapons and reviving downed allies from anywhere on the map. She is situational for sure, but also relatively easy to play as her applicable situations are few and far between. Her guns are unusual but rewarding to use and provide players with a lot of kill pressure.
31 Zofia
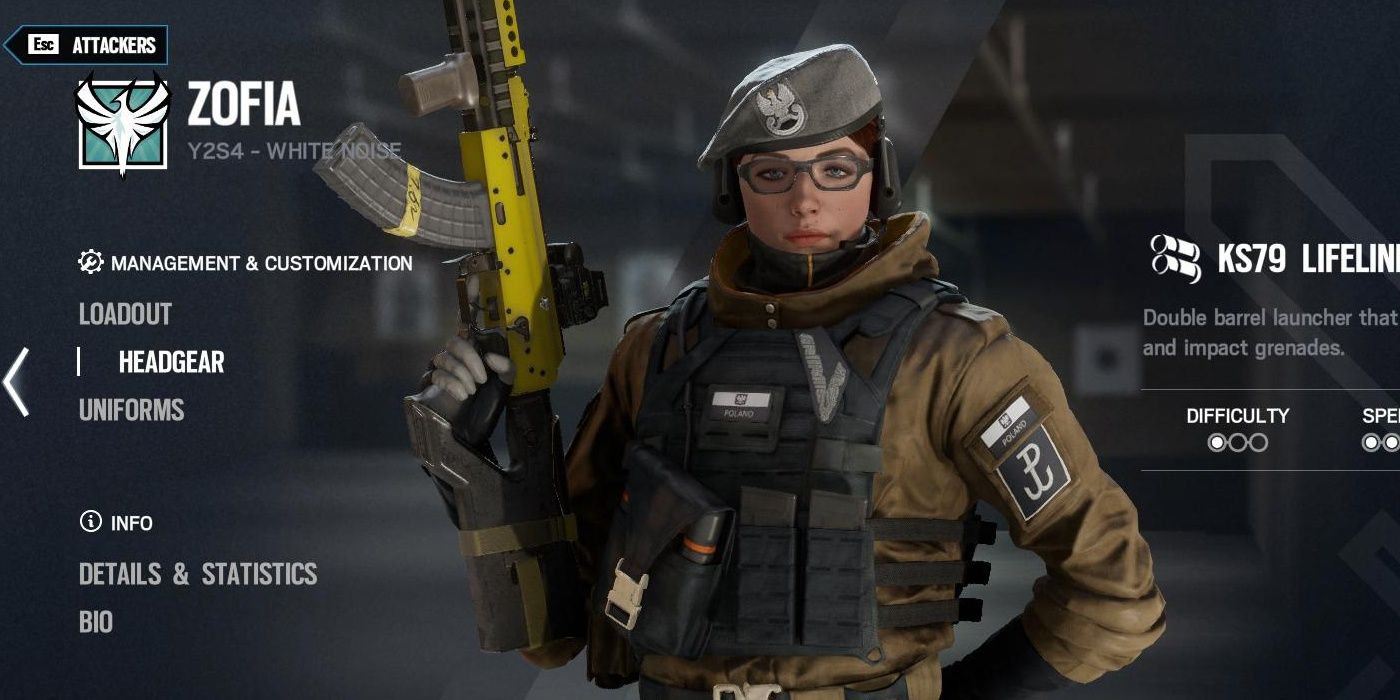
Zofia’s withstand may have been removed, but her gadget is still incredible and flexible. While it can destroy soft walls, it can also open up chokepoints by stunning enemy players. She is among the best for getting kills and preparing the objective for a big push. Her guns and gadget set her up for success, but it is still up to the player to take advantage of them.
30 Ela

Ela’s mines can be used either as traps or as grenades for setting up favorable fights. She is fast, small, and has a fast-firing weapon that will make attackers quiver in their boots. She is a flexible roamer and an incredible operator for anyone looking for this playstyle, and will not disappoint any player in search of reliability.
29 Jackal
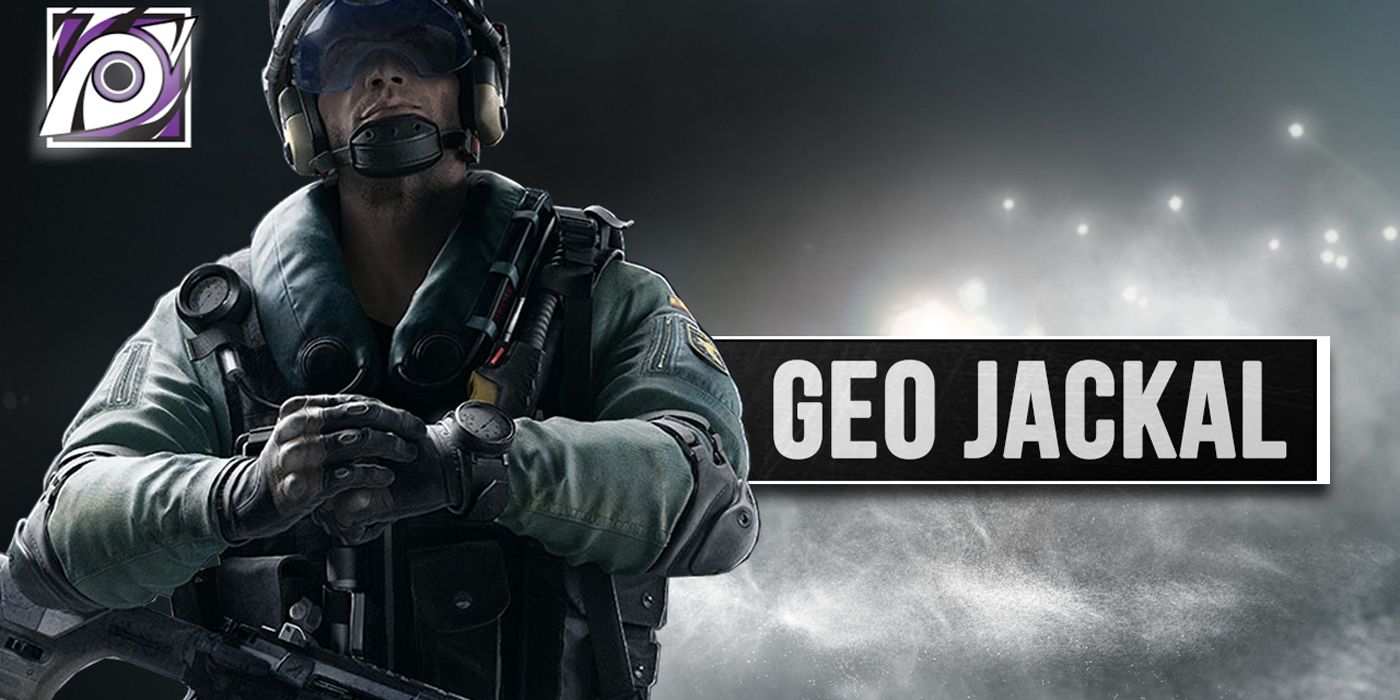
Jackal’s scanner can track players through walls who have wandered through the area, making him a potent threat for countering roamers on the move. Although he is a controversial operator with a high ban rate, he is also exceptionally fun, and with multiple great primary guns as an added bonus.
28 Ying
While Ying is not the most played operator because of the presence of Warden, she is an incredible addition to any team that needs kills or is looking to rush. Her flashbangs are both powerful and situational, and while she struggles to provide any other useful utility, she is a great flex pick for anyone looking to provide a little of everything to the team.
27 Goyo
Goyo’s exploding shields will make anyone think twice about crossing through an area, and coupled with a large number of regular shields will significantly slow down an enemy push. Despite this, his guns can be hard to use, and his gadget can also hurt teammates. Players should be careful, play smart, and Goyo will take them where they want to go.
26 Echo
Echo requires map knowledge, and a lot of it to make his drones work. However, if one has this he will make a great operator. His drones provide valuable intelligence, and can even interrupt plants on the bomb game mode, as well as disorient enemy operators. He is a highly effective operator if a little difficult.
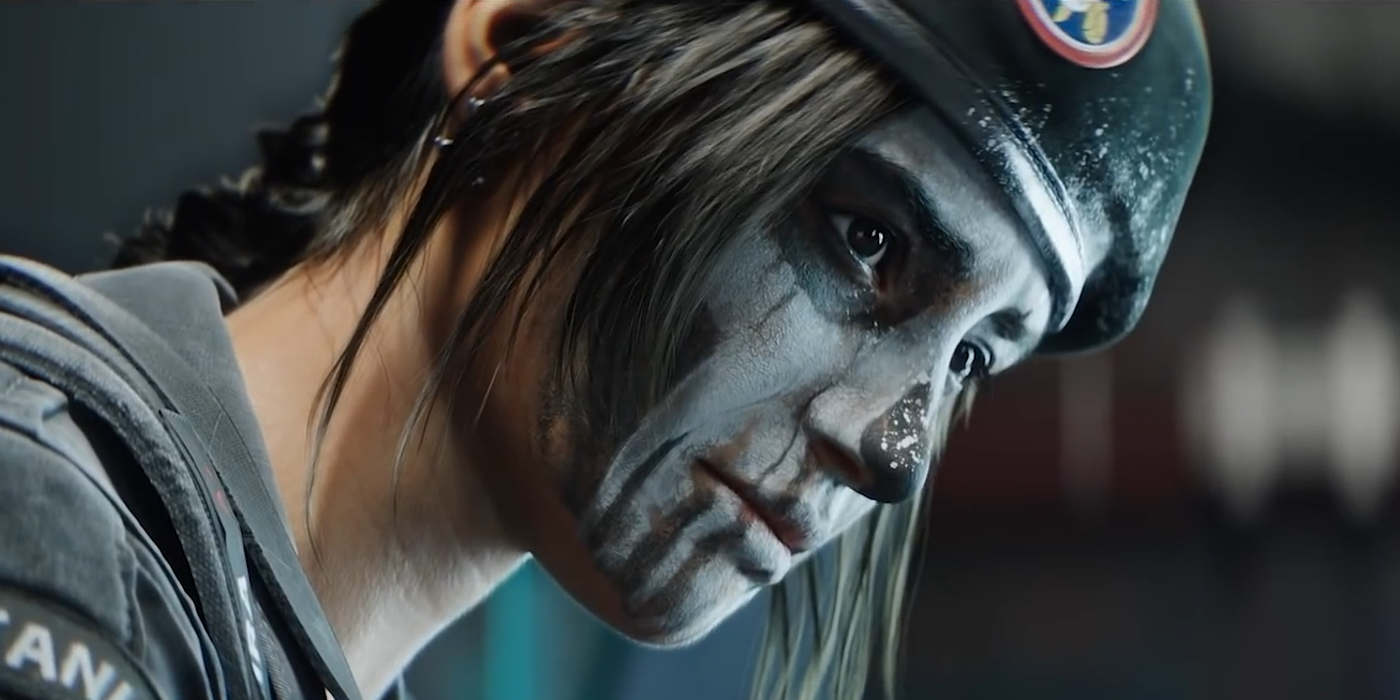
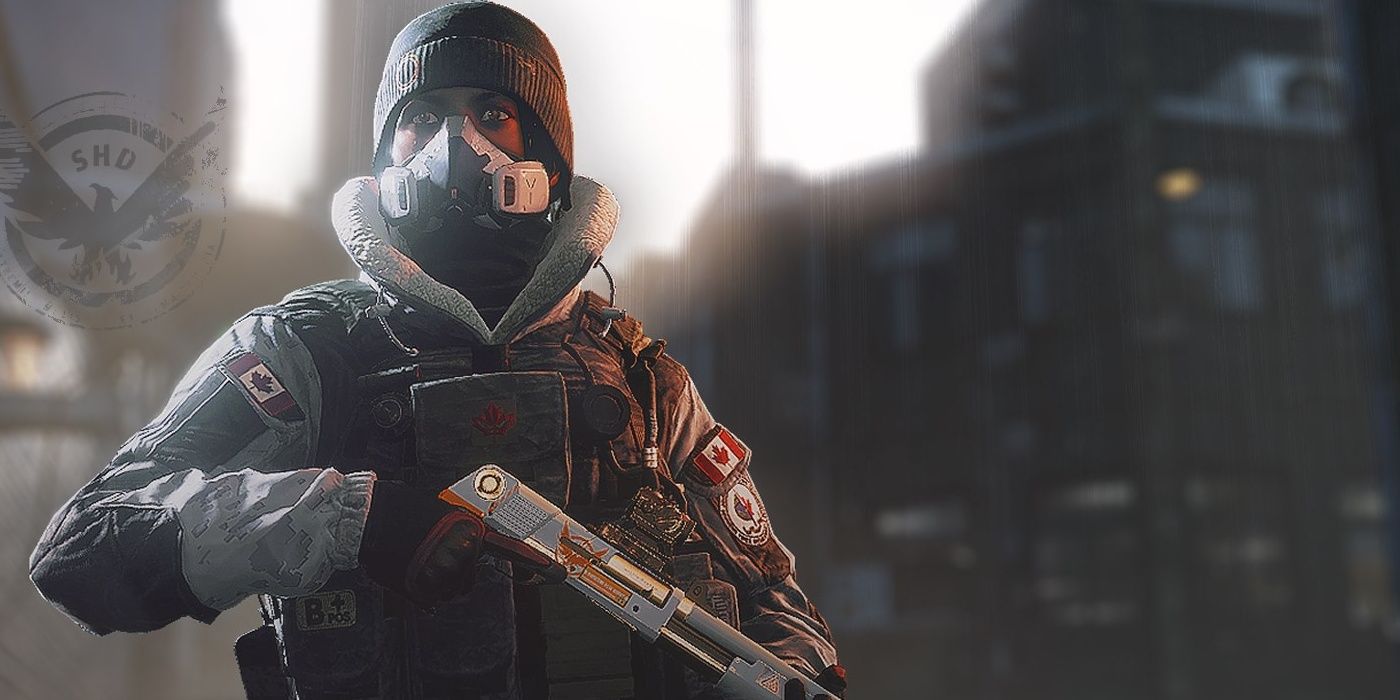
25 Nomad
Air jabs may not be the most flexible projectiles, but for guarding against spawn peeks and runouts, there is no better gadget. If players are having trouble fighting against these strategies, picking up Nomad may be the solution they need. Her guns are slow-firing but powerful, and this combined with her gadget makes her a force to be reckoned with.
24 Thermite
The hard breachers all serve basically the same purpose, with some slight differences in playstyle. For his part, Thermite is the most basic and easy-t0-use. He places a thermite charge on reinforced walls that allow him to open up sightlines to the objective. They are destroyed by electricity and can be shot, making them vulnerable while still important to any successful team.
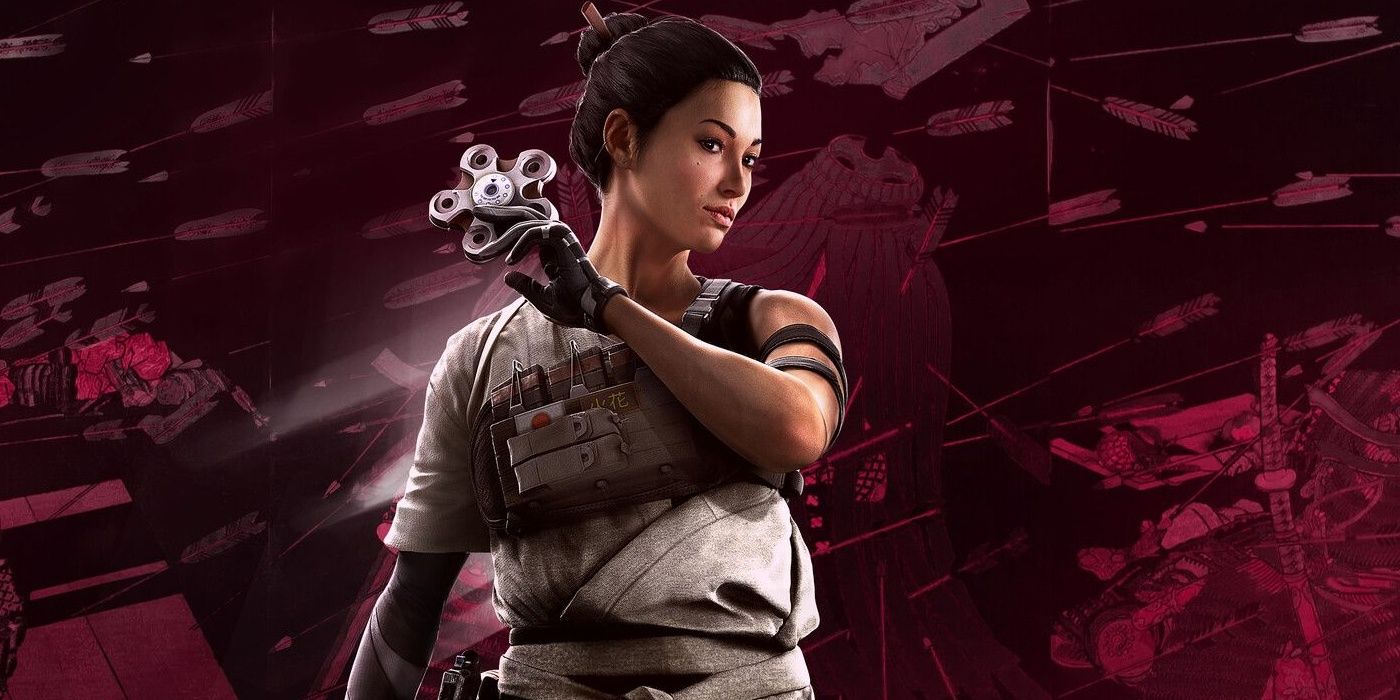
23 Ace
Ace is the middle-ground of hard breachers, but more important than his gadget Ace gets the all-important AK-12. The AK-12 is without a doubt one of the best guns in the game, and this makes for an incredible combo of hard breach utility and kill potential. Players should never be afraid to play Ace, as the team will almost always get utility out of him, even if he requires map knowledge and tips from experienced players to properly take advantage of him.
22 Hibana
Hibana is the ranged equivalent of Ace and Thermite, and her powerful gadget allows her to open up sightlines that no one else can. Unfortunately, she also opens up the least amount of wall in terms of area. Her guns are powerful with a low bullet count, but skilled players learn to take advantage of the other perks of the gun to make their pushes deadly and powerful.
21 Mute
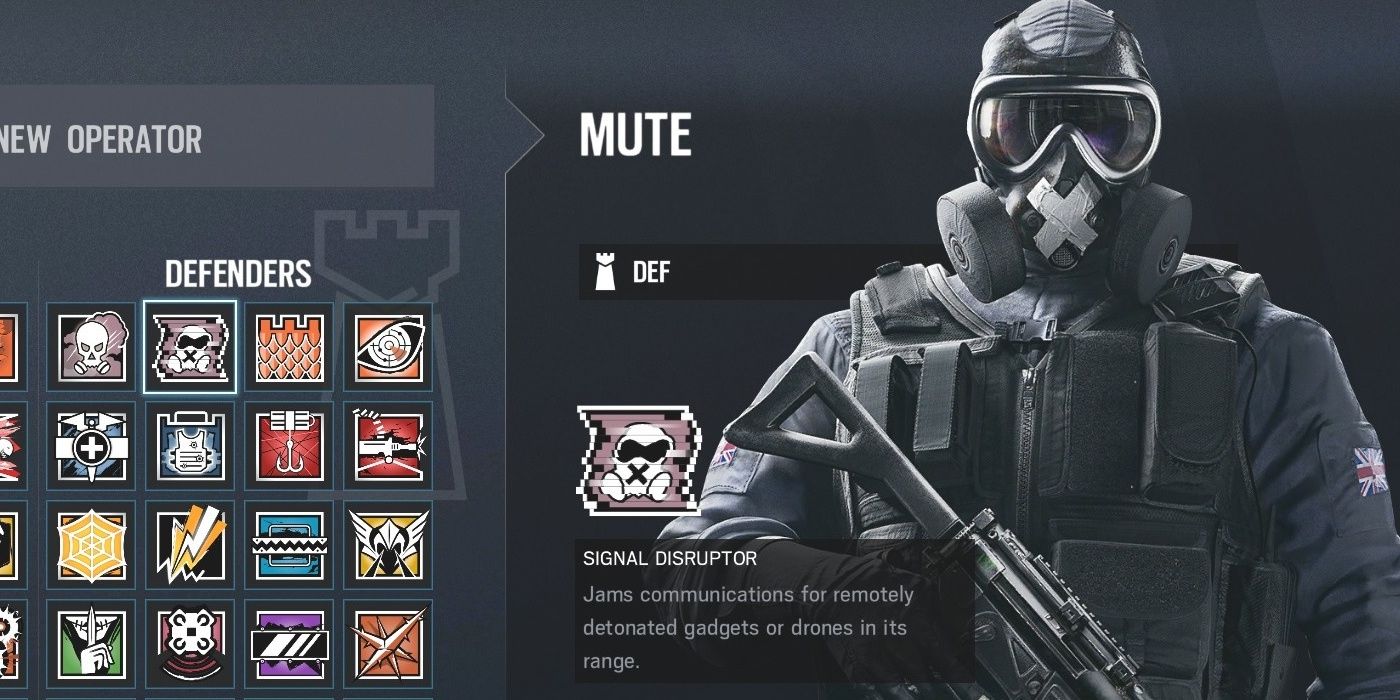
Mute has a relatively simple gadget, but this is a veneer that covers up his complex nature. He can stop hard breachers with it, kill drones, stop certain gadgets, and all-around create opportunities for his team. Players will also find themselves placing utility from the beginning of the preparation phase until the end, meaning that hesitation will kill any budding Mute players.
20 Oryx
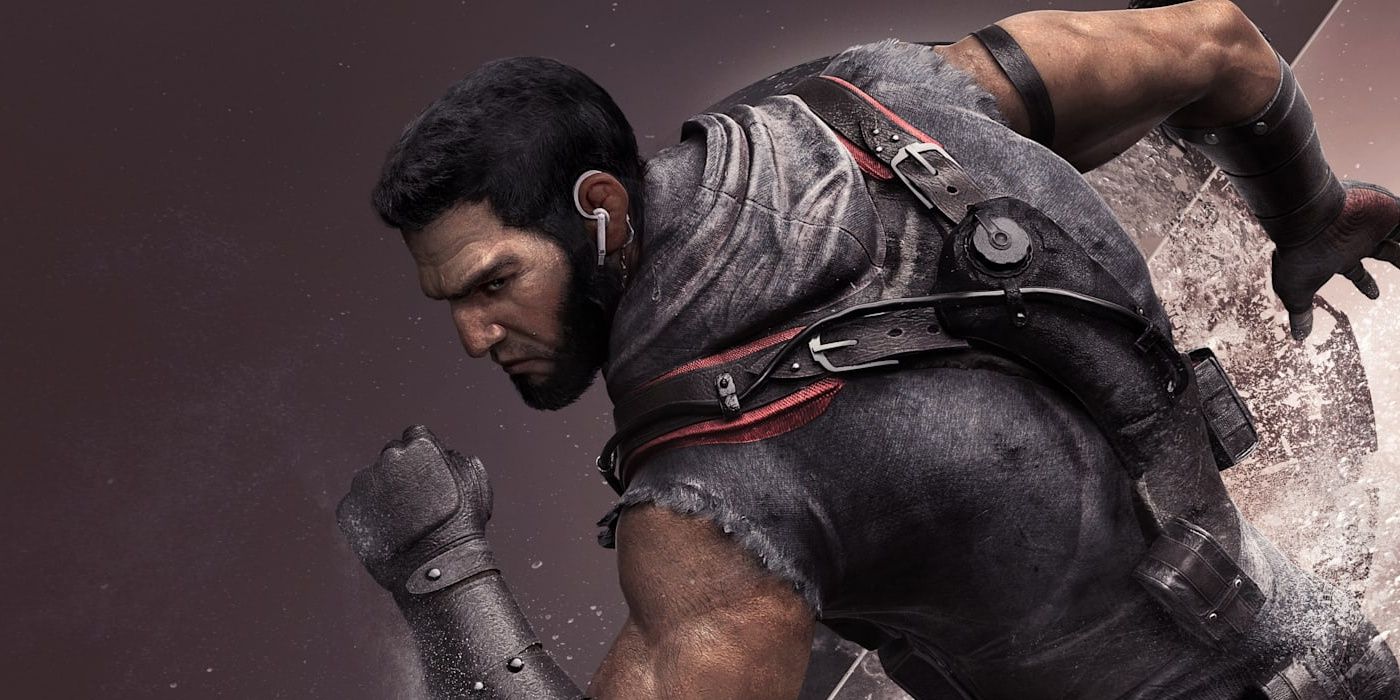
Oryx’s gadget is mobility, meaning he can go from one end of the map to the other in less time than anyone else. He can break through walls, climb up hatches, and knockdown enemies. Despite all this, he is vulnerable while doing this, and noisy too, meaning a perceptive and knowledgable player will counter him easily.
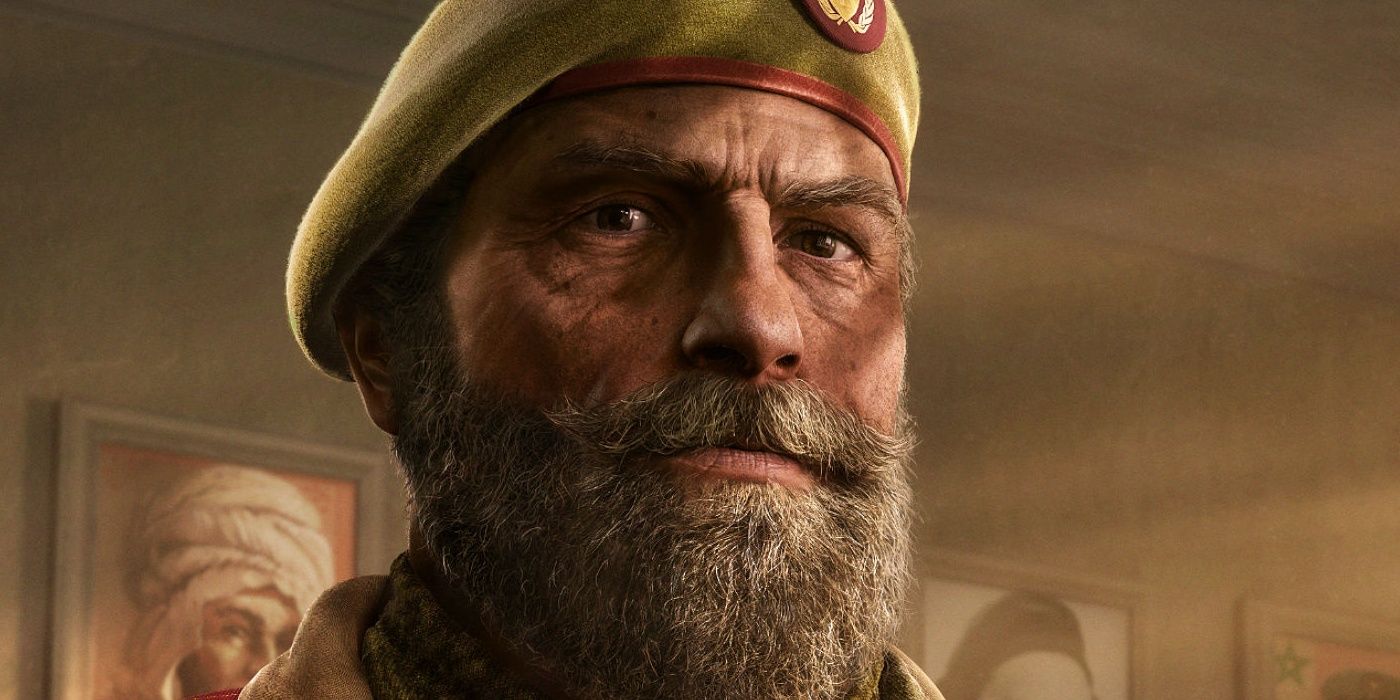
19 Tachanka
Tachanka recently received Rainbow Six: Siege‘s first full rework, and it was both helpful and not helpful enough. His machine gun may be the worst part of his kit, and players have realized that his SMG is significantly better. While this is true, his grenade launcher is useful for the same reason as Smoke’s gas grenades, blocking off choke points and destroying pushes easily.
18 Alibi
Alibi’s gadget, her holograms, are not useful other than to get the occasional kill, but her gun is both fast firing and low recoil, making her a truly terrifying roamer in the right hands. Another useful addition from Alibi is the uncertainty of shooting an Alibi hologram, making any shots against her potentially a huge mistake.
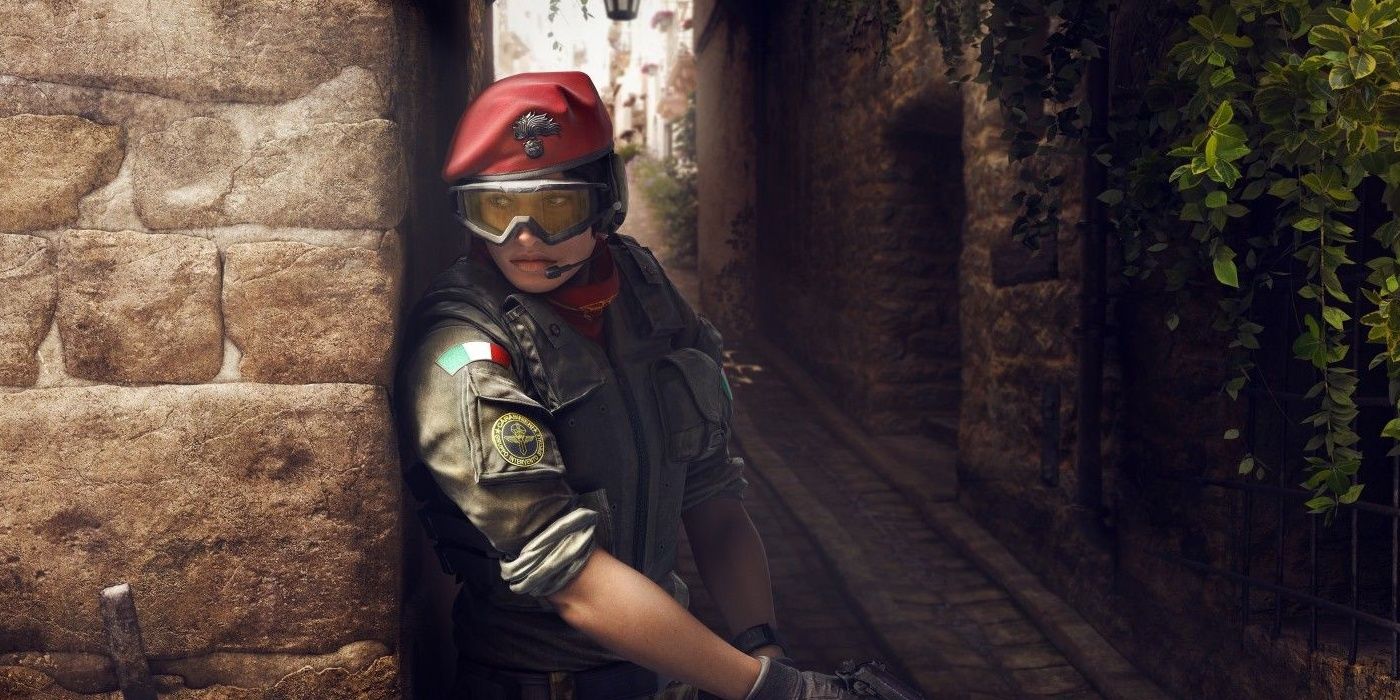
17 Amaru
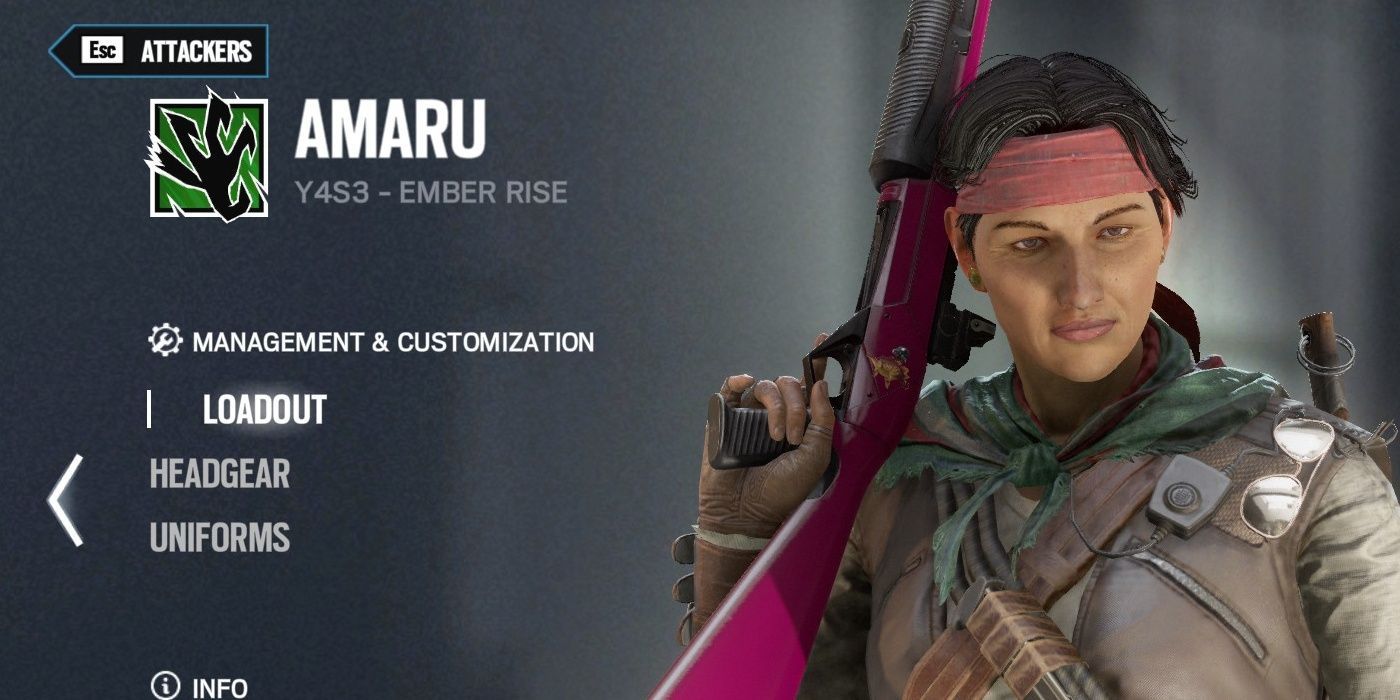
Amaru’s zipline is dangerous for rushes, but without a skilled player, the zipline can become more of a hindrance than a help. Skilled players tend to use Amaru’s zipline like Oryx on attack, aiding in mobility so as to make enemies always guess where you are. Despite the normal problems with rush operators, Amaru can be quite useful at the right time.
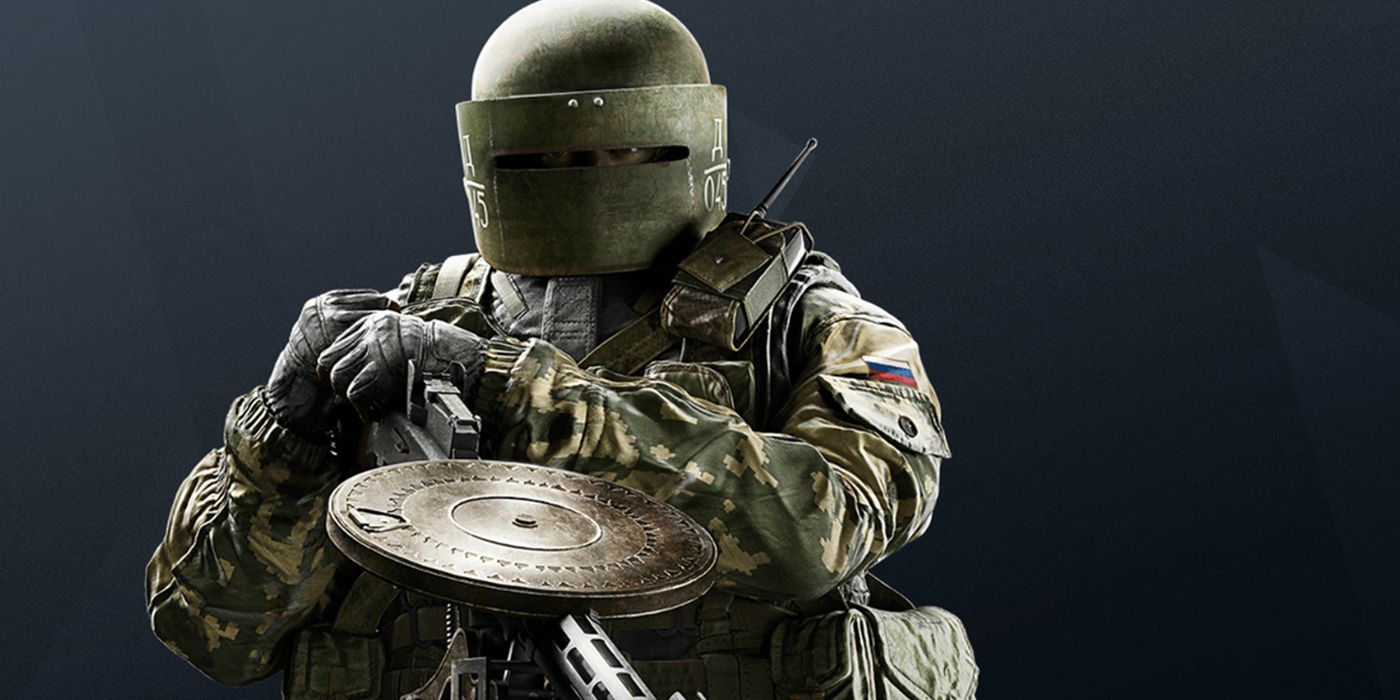
16 Kaid
Kaid has the disadvantage of being both 3 armor and having a DMR shotgun as a primary weapon. He is both slow and cumbersome but makes up for it with his excellent gadget that can deny hatch destruction for an entire round. He is a potent defender if a little inflexible.
15 Valkyrie
Valkyrie is one of the hardest operators in the game in terms of gadget use. Her black eyes are extremely flexible and hard to see, as well as highly dependent on map knowledge to make work. Just remember, if players have a Valkyrie on their team, they should be sure not to ping using her cameras as that gives away their location.
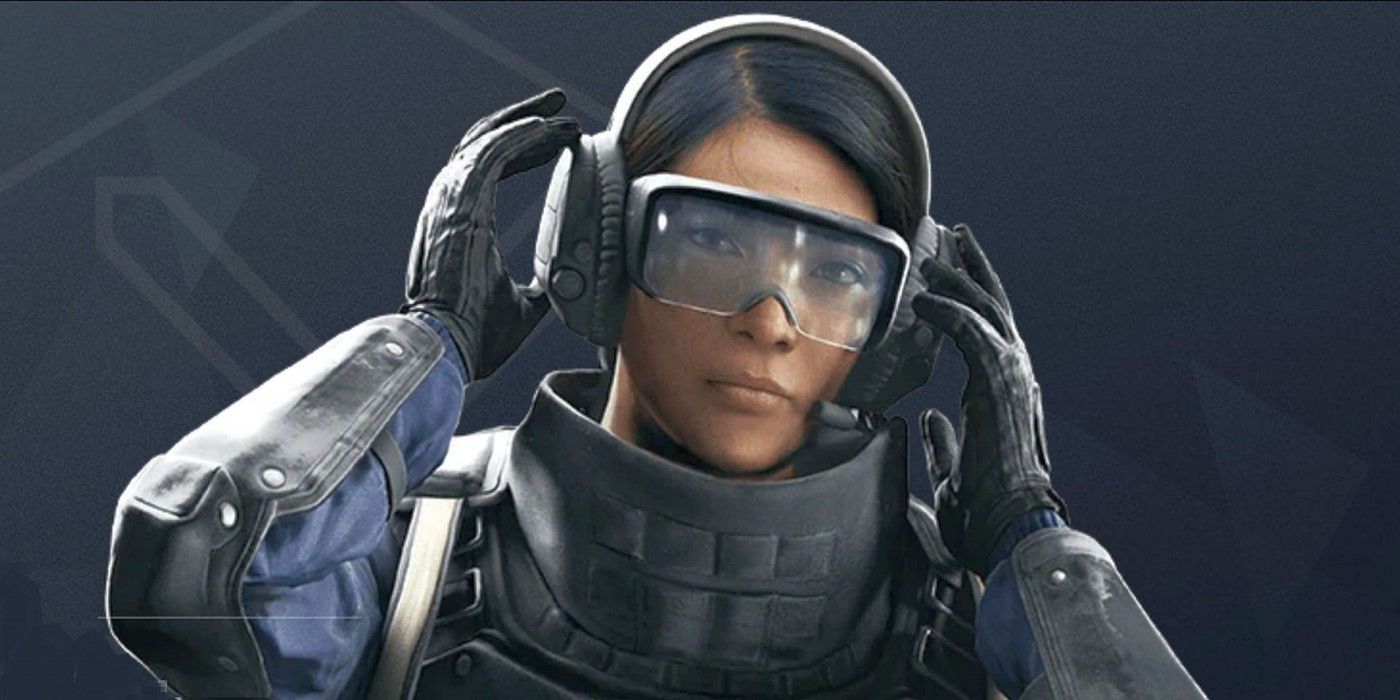
14 Dokkaebi
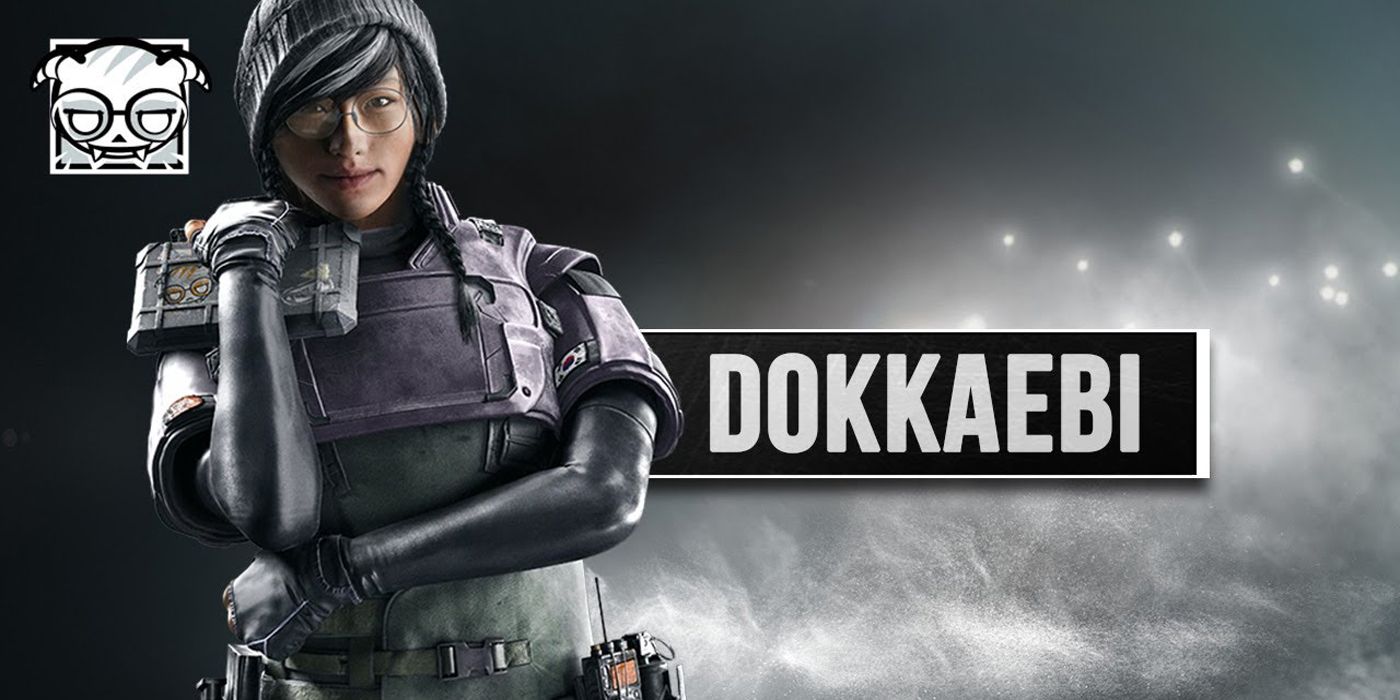
Dokkaebi is an incredibly useful operator in the right hands, as her gadget affects every enemy in the game regardless of position. This makes them susceptible to players who use audio cues. Despite her poor weaponry, she is a valuable addition to any team, but players should be wary of using her if they are new.
13 Gridlock
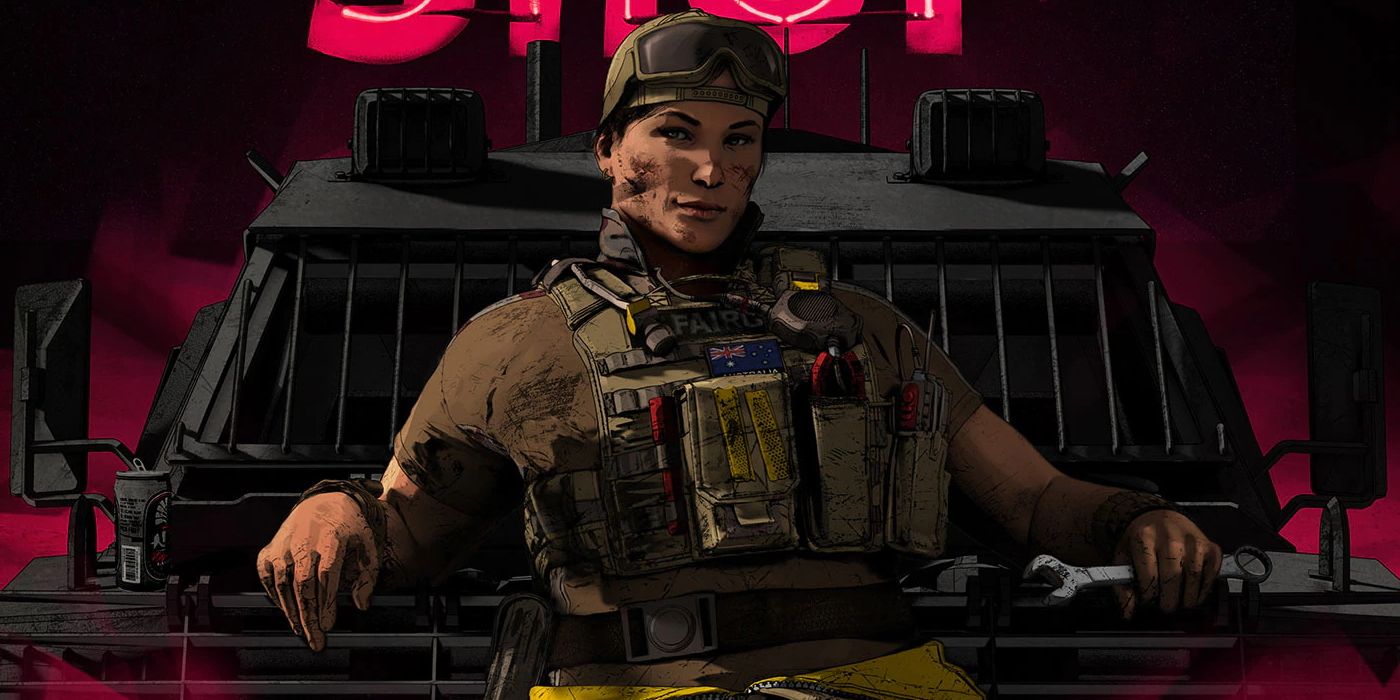
Gridlock has the distinct disadvantage of being extremely slow and easy to hear, which when she is an attacker is a big deal. Her gadget relies on audio cues but can be used without them to a lesser effect. Players should be sure not to sprint as much as they normally would, as this easily gives away her position.
12 Glaz
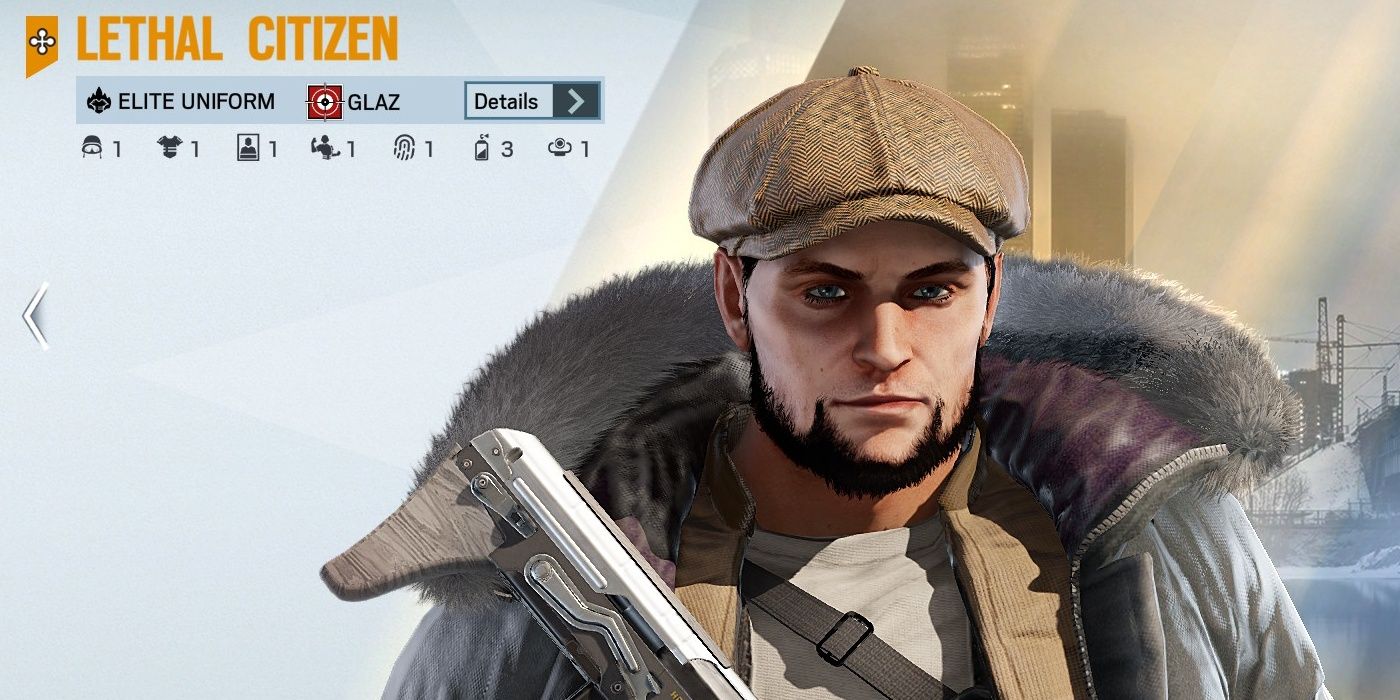
Glaz is one of two sniper operators in Rainbow Six: Siege. He is extremely useful on the right map, but knowing what map that is and how to use him properly can be tough for new players. His scope gadget is highly dependent on the skill, aim, and map knowledge of the player. He is both slow and clunky at short range, so be sure to avoid this at all costs.
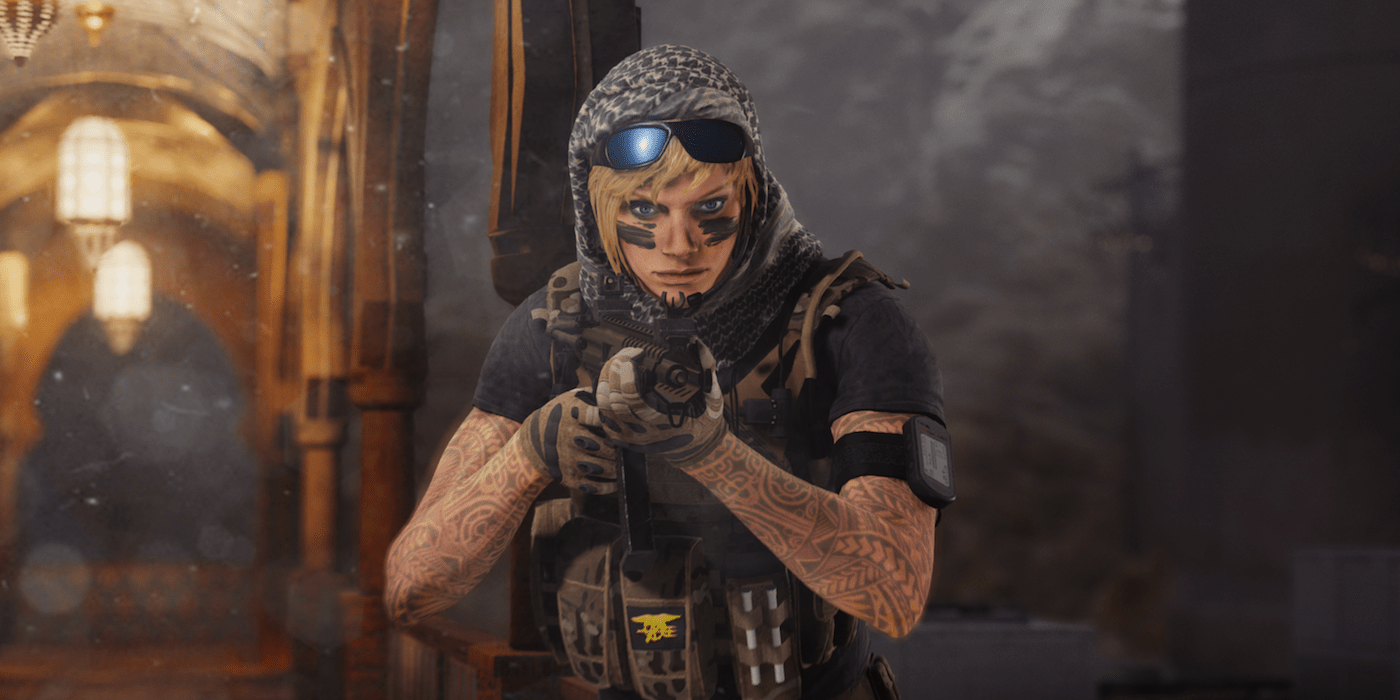
11 Nøkk
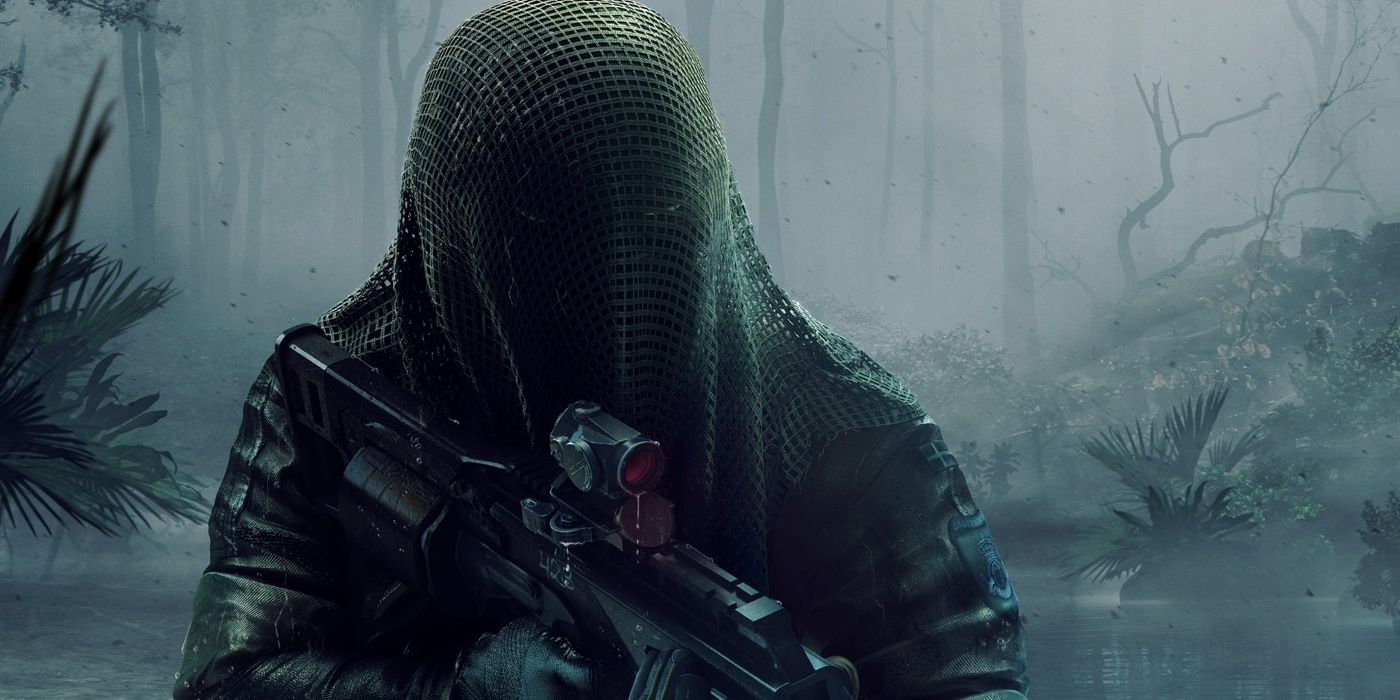
Nøkk is the equivalent of Caveira for attackers. She is silent, highly stealthy, and players are often surprised when they are killed by her in an odd position. All of these attributes mean that when she is caught, she is often killed. In the hands of a skilled player, she can excel, but new players should avoid her at all costs.
10 Zero
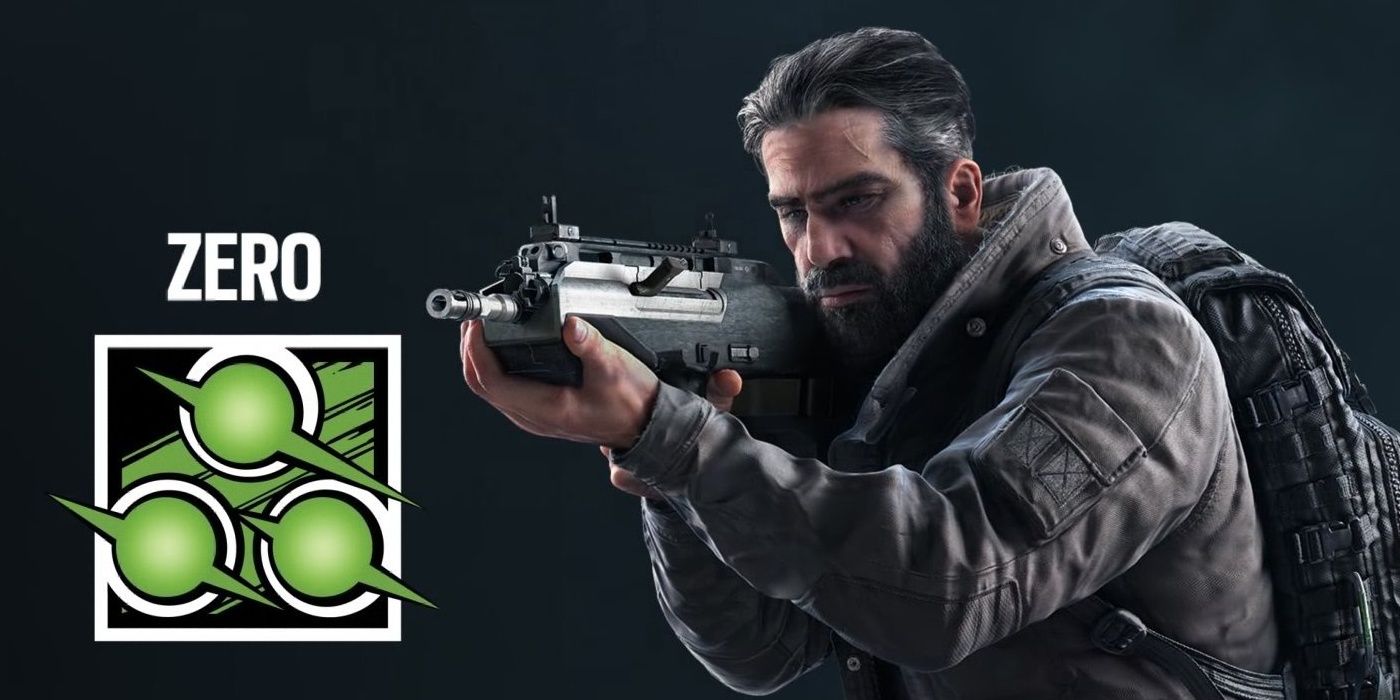
Zero’s cameras are good for specific situations, and these situations are many, but Zero generally should be avoided by new players, even if he is one of the newest operators. He is perfect for gathering intel of strange places, including the objective, and he can relay this to his team to catch the enemy team unaware. But, in general, he is best saved for someone who has the map knowledge to make him work.
9 Pulse
Pulse’s gadget may seem simple at first. Players can see opponents through walls, and it’s not difficult to see why that is useful. However, his applications are few as his loadout isn’t particularly good for the role, and the tricks and map knowledge it takes to make him work aren’t very easy to learn without a lot of experience.
8 Iana
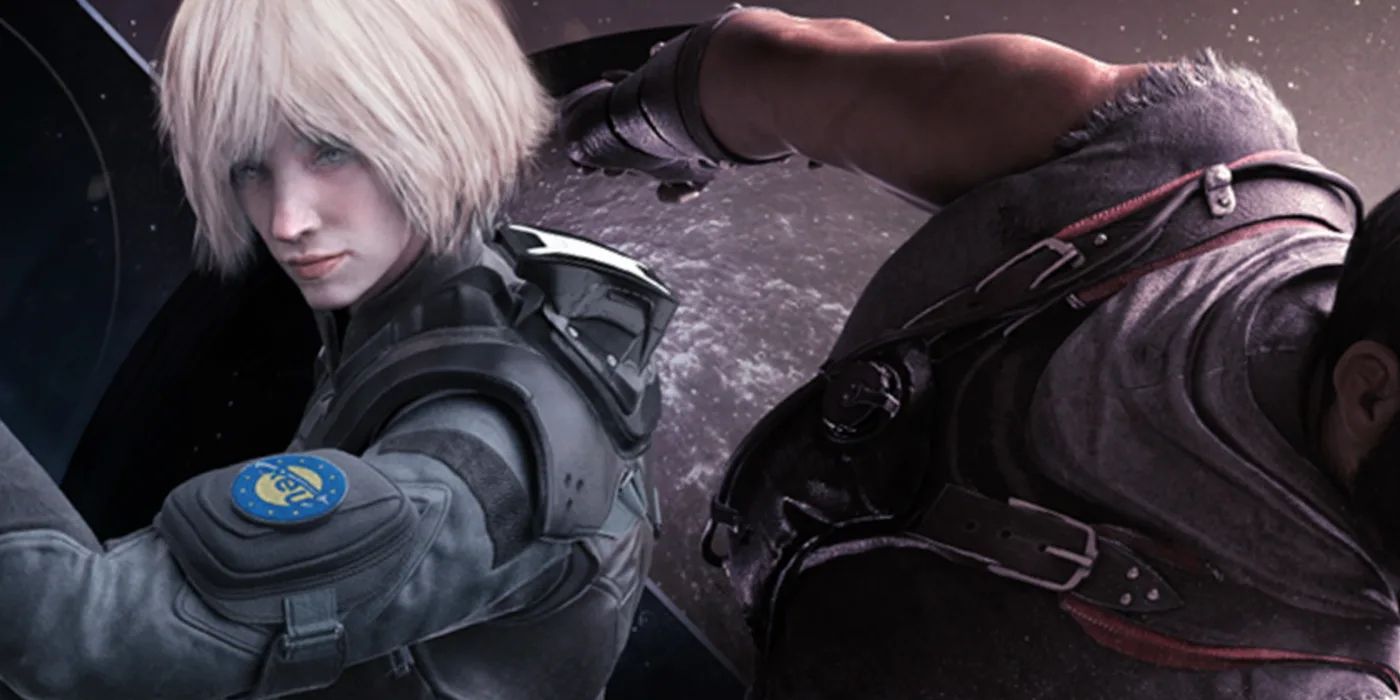
Iana’s gadget is like a secondary drone, a clone of herself that can go places drones cannot. But, the downside of this is that while she can gather intel it also leaves her vulnerable and makes it plain where she is coming from. In other words, Iana’s clone can be more of a hindrance than a help. New players should generally avoid her for this reason.
7 Clash
While Clash is extremely fun to get a few kills with, she suffers from too many counters, not enough ways to work around them, and a big target on her head from anywhere she isn’t currently facing. New players who aren’t shield aficionados should avoid her if they don’t have experience.
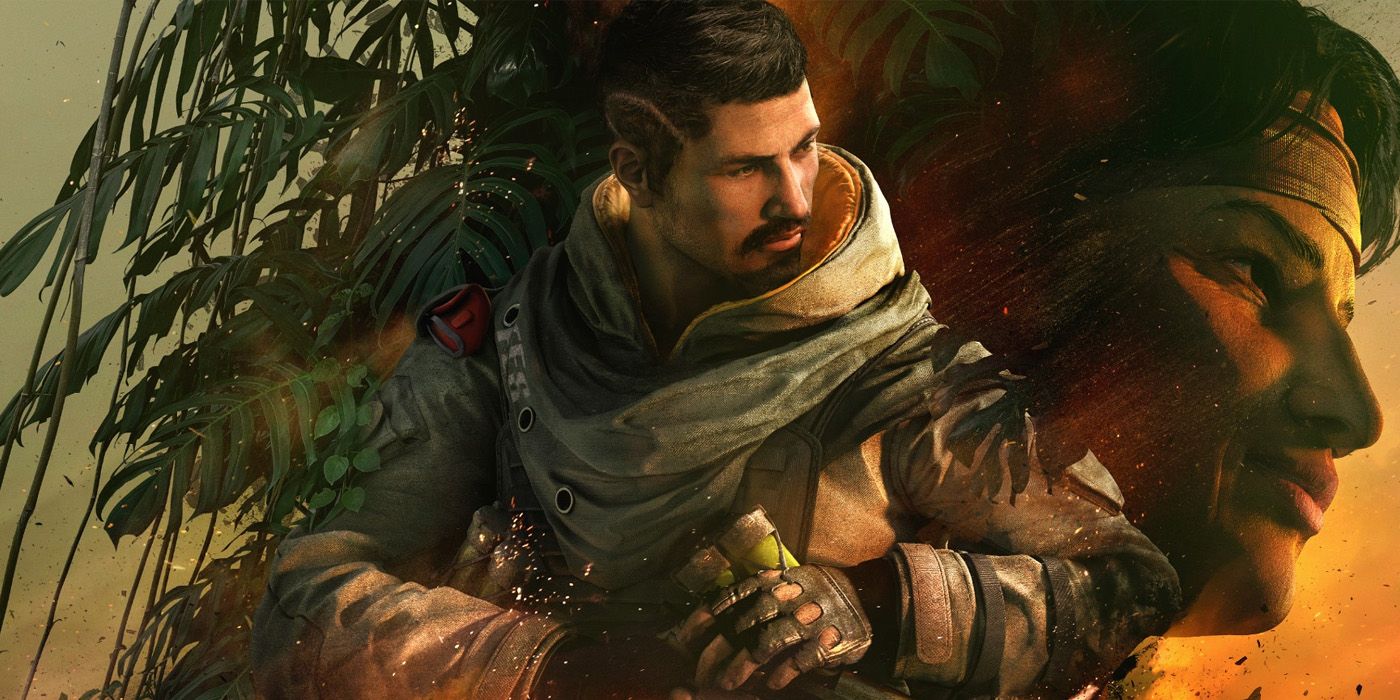
6 Capitão
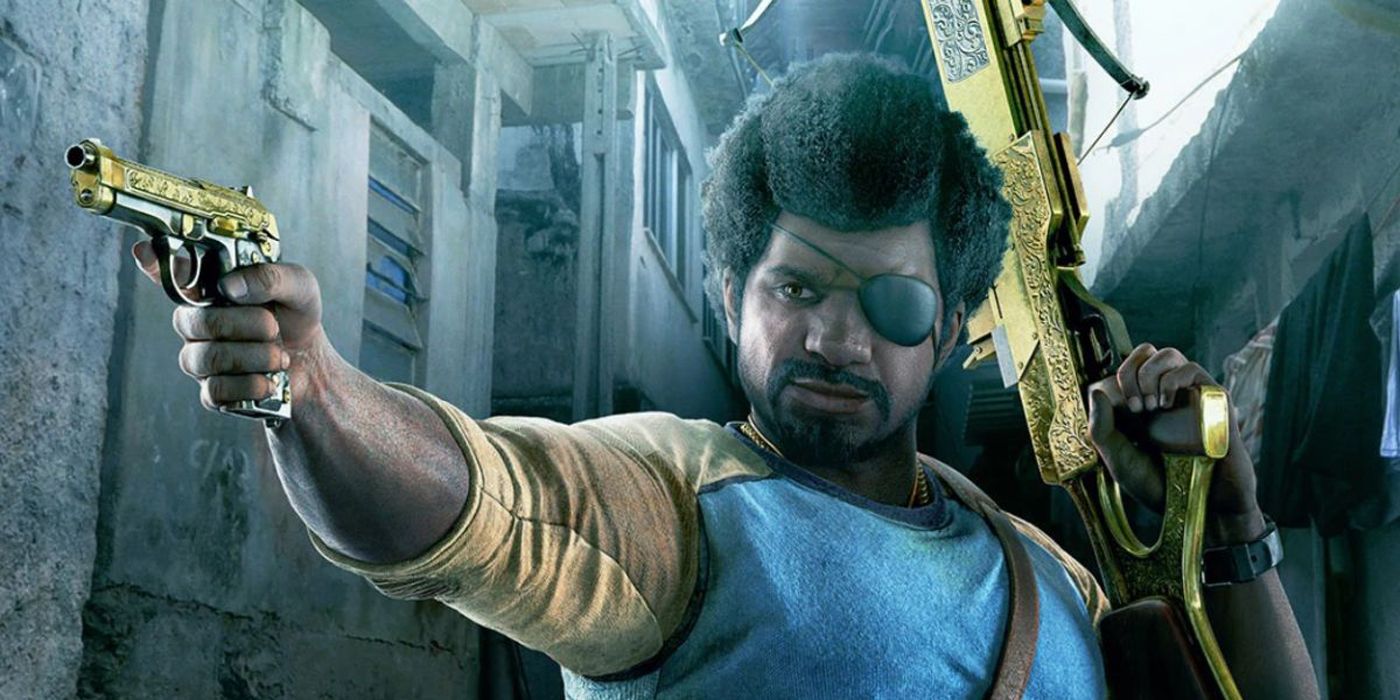
Capitão’s crossbow is very flexible, and this is where he shines. He is a mobile, useful operator with some good weapons, but he does suffer from a lack of intuitive options. Essentially, throwing your smokes down on point can help to get a plant down, but other than that using them is situational at best, and the same is true of his damaging bolts.
5 Kali
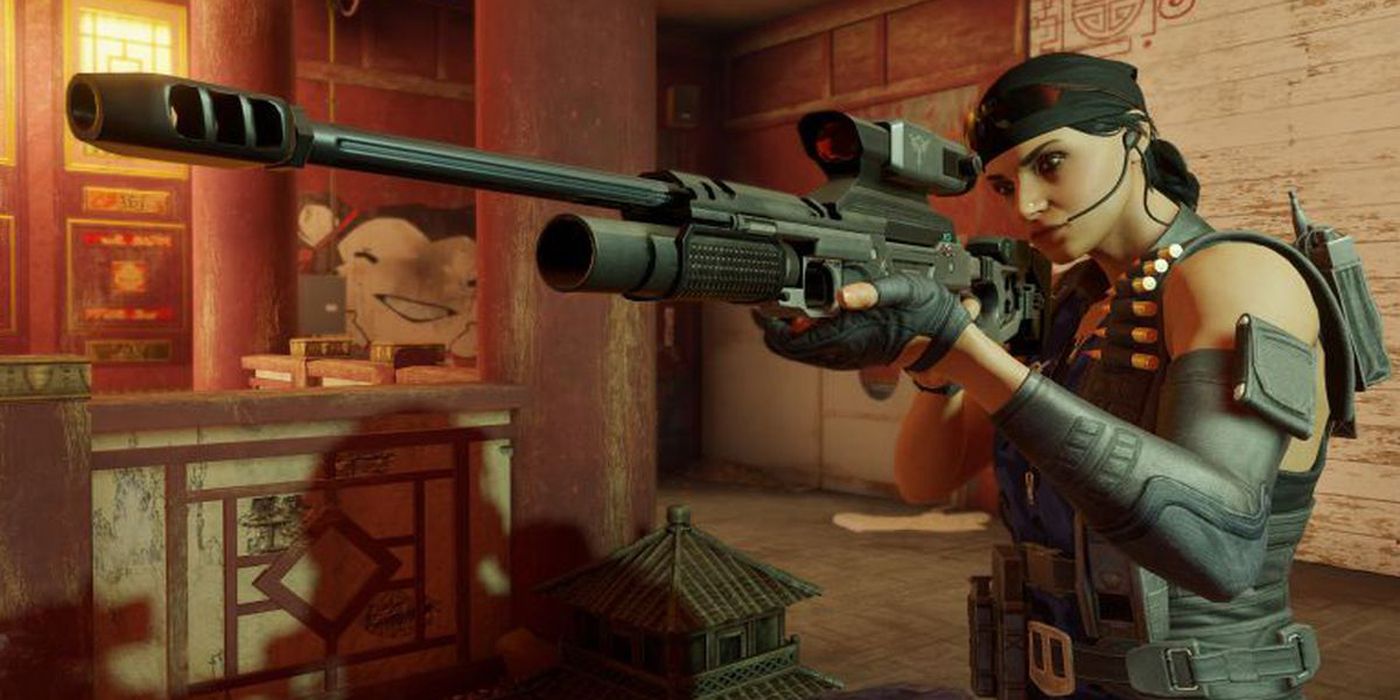
Kali is the most recent sniper operator added to Rainbow Six: Siege. She is a long-range monster, easily destroying barricades, breaking through soft walls, and downing opponents, all at a safe range. She is, however, highly reliant on aim for a majority of her playstyle. Map knowledge and knowledge of her gadget are also especially helpful to learn for Kali, so new players should generally stay away.
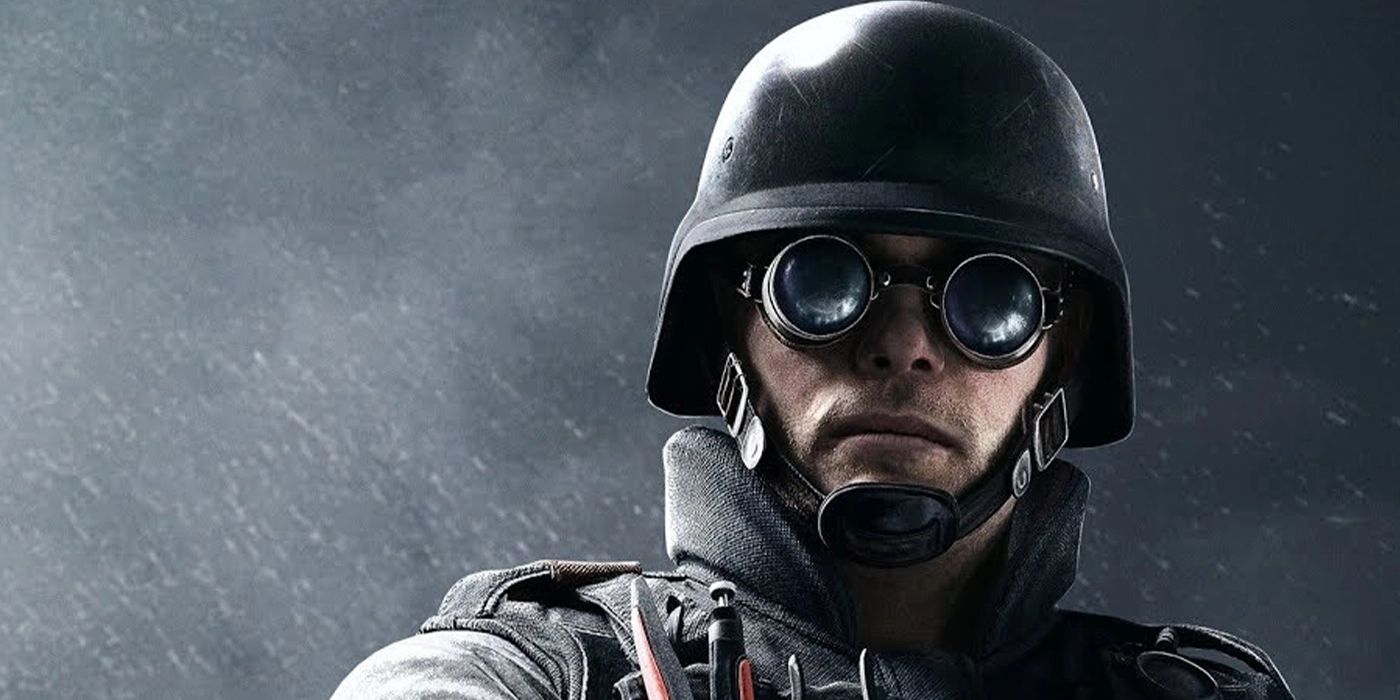
4 Bandit
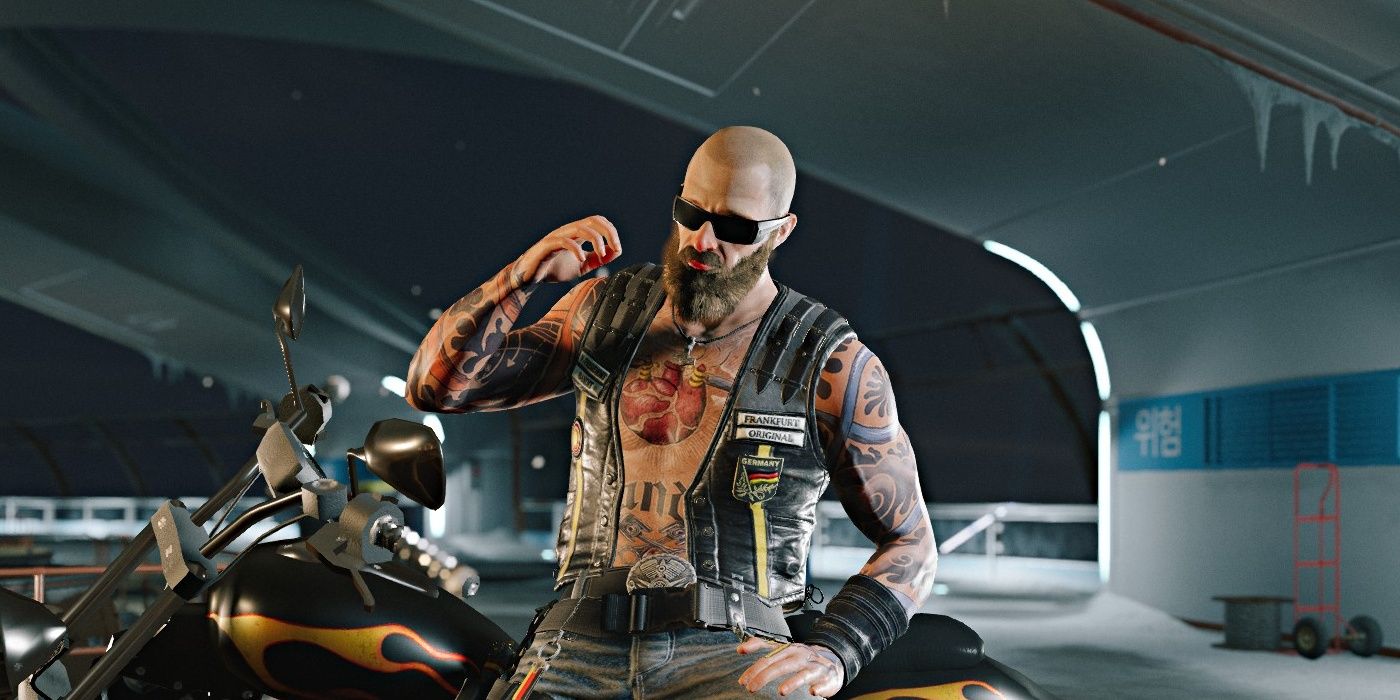
Bandit is, theoretically, very simple. He has car batteries to electrify walls. There are, however, strategies to mitigate the effect of hard breachers using these batteries, known commonly as Bandit Tricking. Unless a new player has committed this strategy to heart, playing Bandit is a fool’s errand and should be avoided.
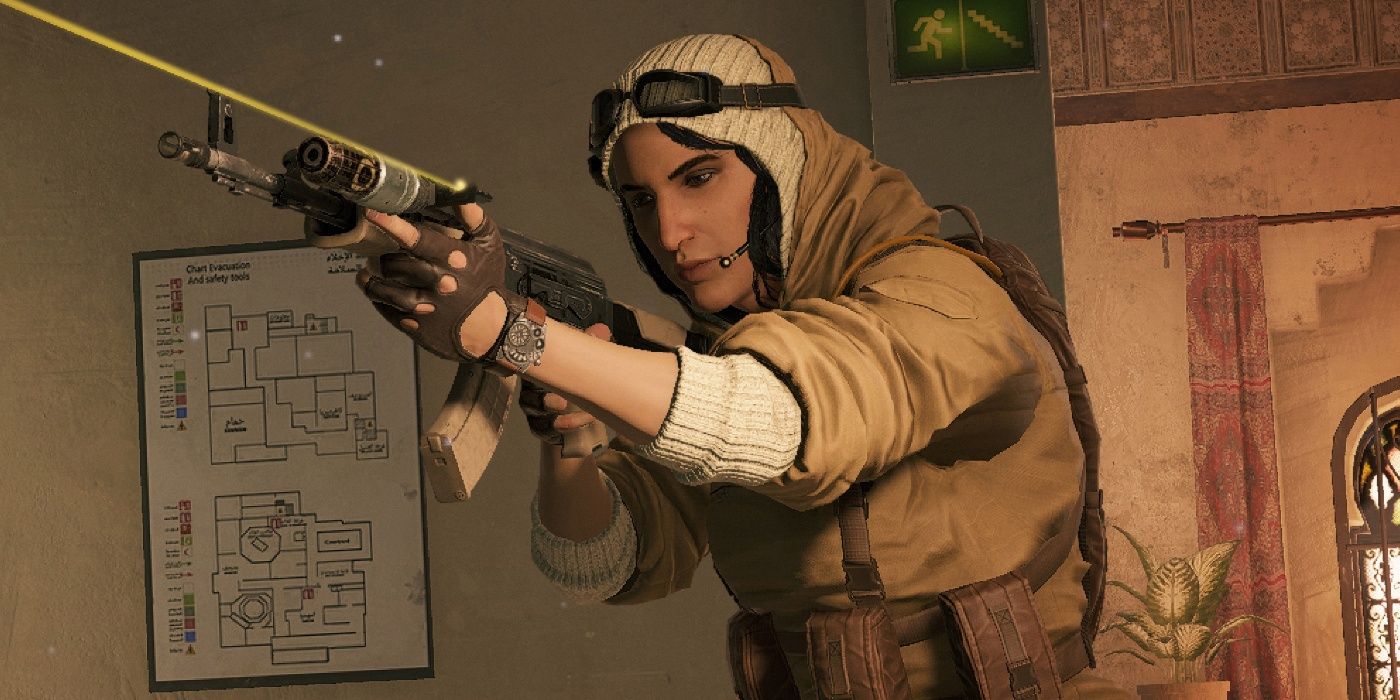
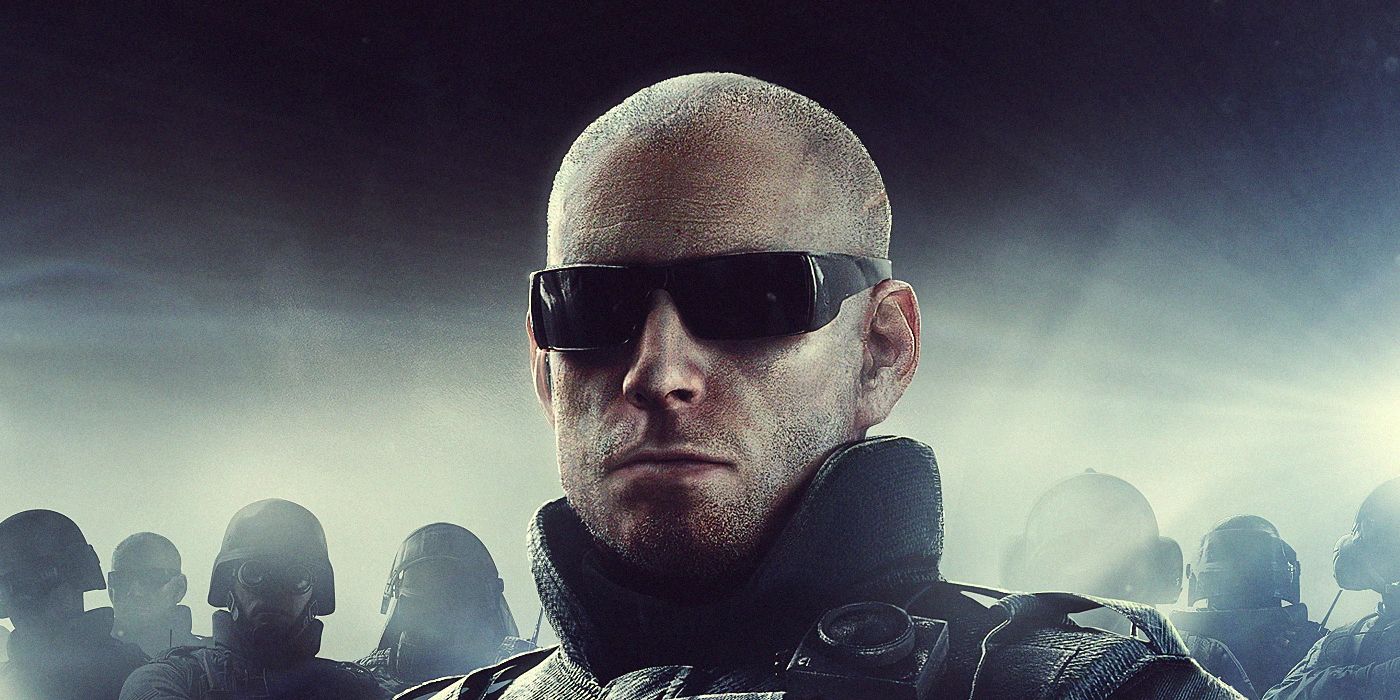
3 IQ
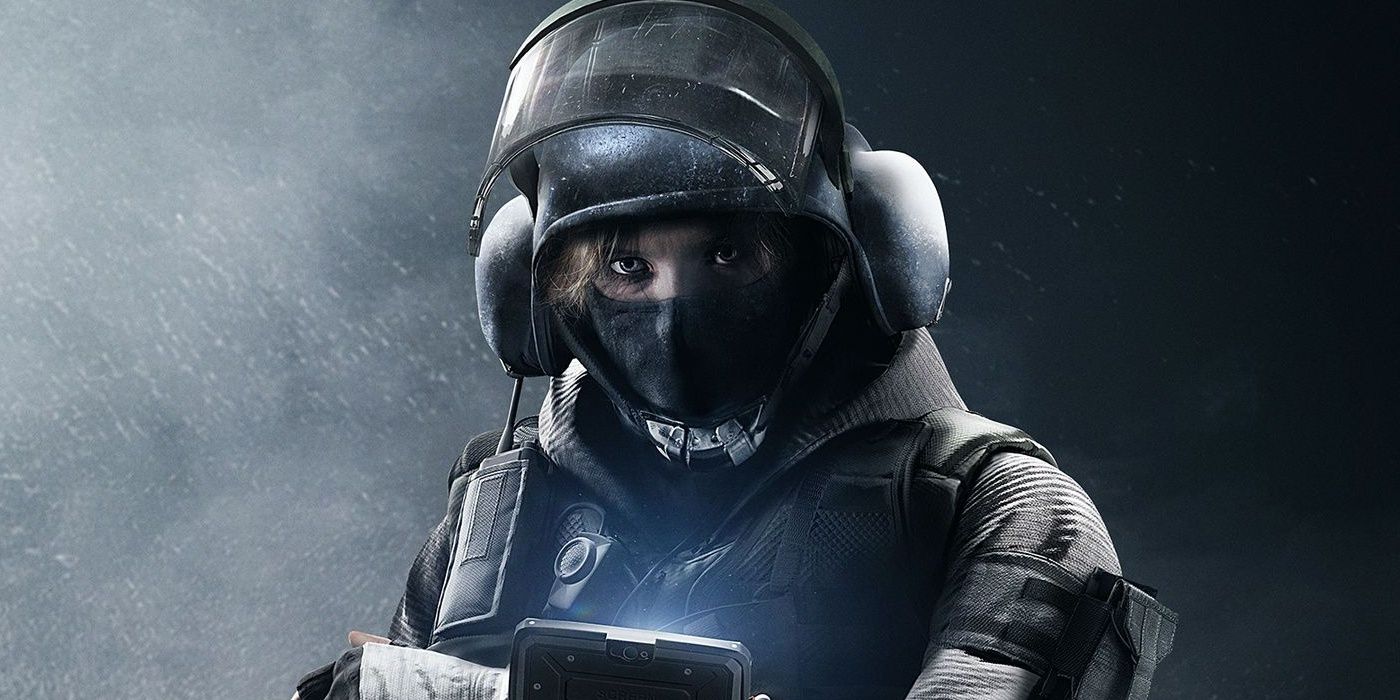
IQ’s sensor will pick up traces of electronics, which is useful for determining specific things such as the location of Lesion’s mines, Maestro cameras, and other such intel-gathering devices. However, her gadget has only a few niche uses, and while her weapons are great, that isn’t enough to make up for a lack of useful utility.
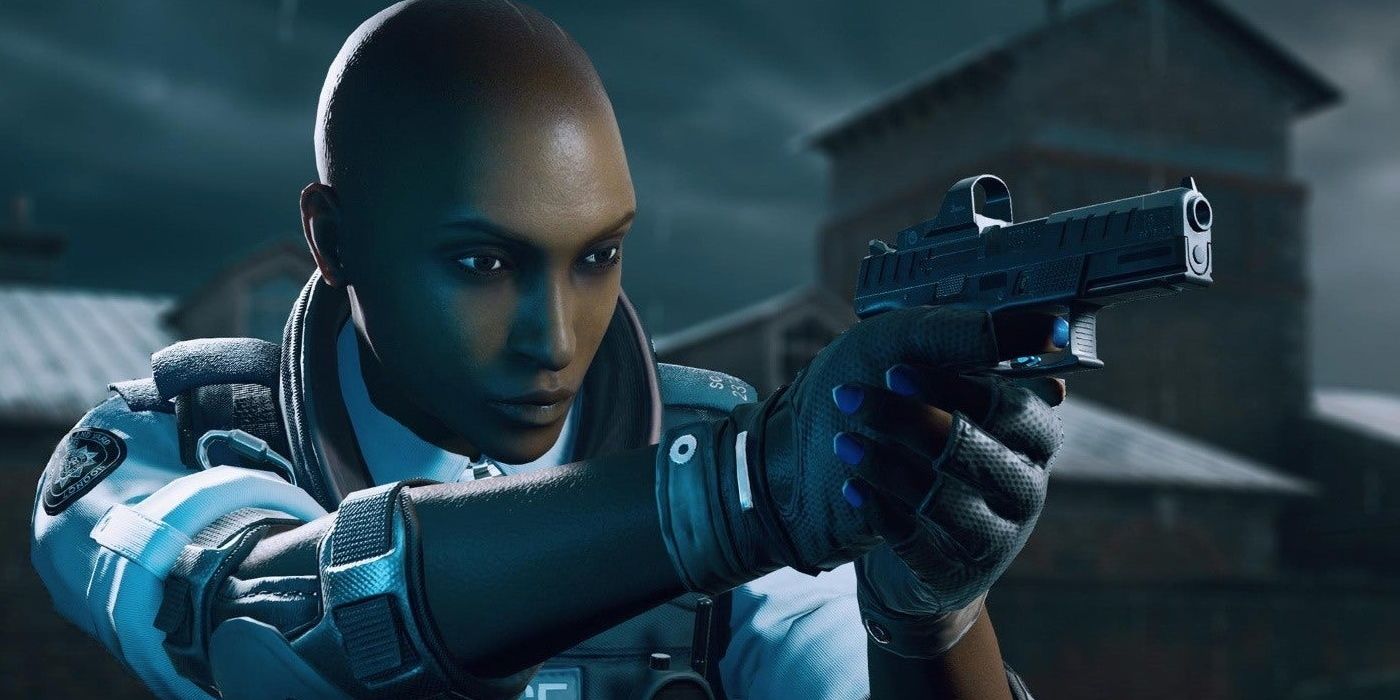
2 Castle
Castle is highly reliant on map knowledge, his barricades are easily blown open, and his guns aren’t particularly good. The addition of a secondary shotgun has helped him significantly, but not enough to say that he’s not still extremely difficult. He is, to put it lightly, highly meta dependent for his gadget, and not knowing where to place them can often spell the end of an otherwise great defense round.
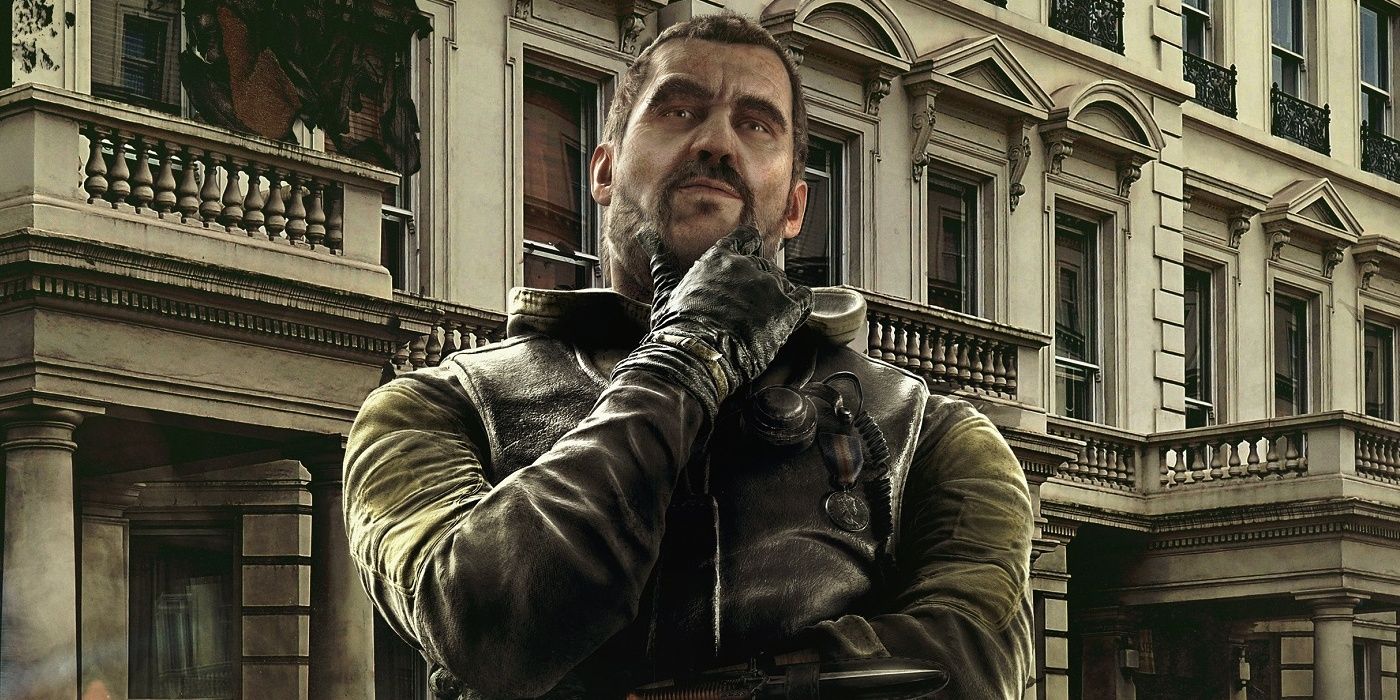
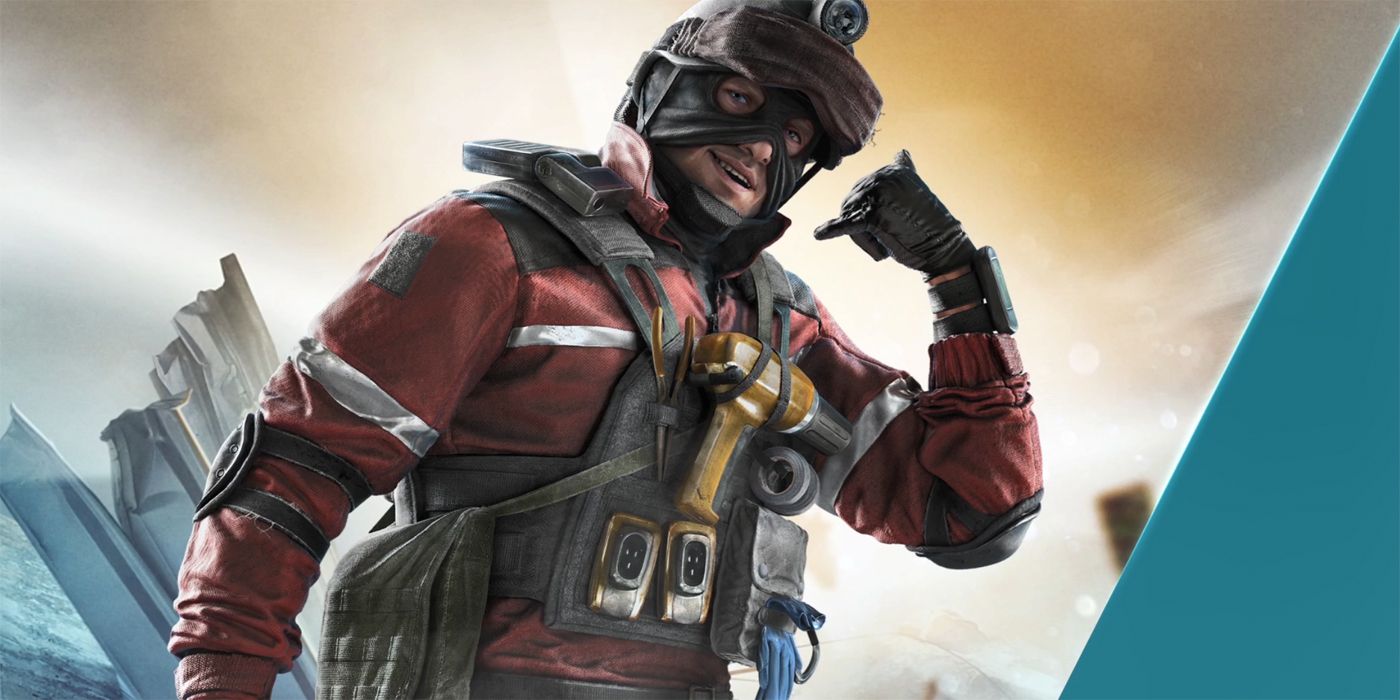
1 Maverick
Maverick at a glance isn’t difficult, his torch goes through reinforced walls and that’s basically it. But, knowing where to set up sightlines, how not to die upon opening up walls, and using his high recoil guns all contribute to him being one of the most difficult operators. He is flexible, but excels at only a few things that make him stand out. New players should watch out for skilled Maverick’s as they can be true terrors.
Find A Teacher Form:
https://docs.google.com/forms/d/1vREBnX5n262umf4wU5U2pyTwvk9O-JrAgblA-wH9GFQ/viewform?edit_requested=true#responses
Email:
public1989two@gmail.com
www.itsec.hk
www.itsec.vip
www.itseceu.uk
Leave a Reply