

The first dungeon endgame activity in Destiny 2, The Shattered Throne, has had its loot pool updated with reprised weapons and armor as part of the huge Season of the Chosen seasonal update. The Shattered Throne was added to Destiny 2 in its first major expansion, Forsaken, back in 2018, but lacked any real incentive for players to keep returning to the dungeon a few months after its launch.
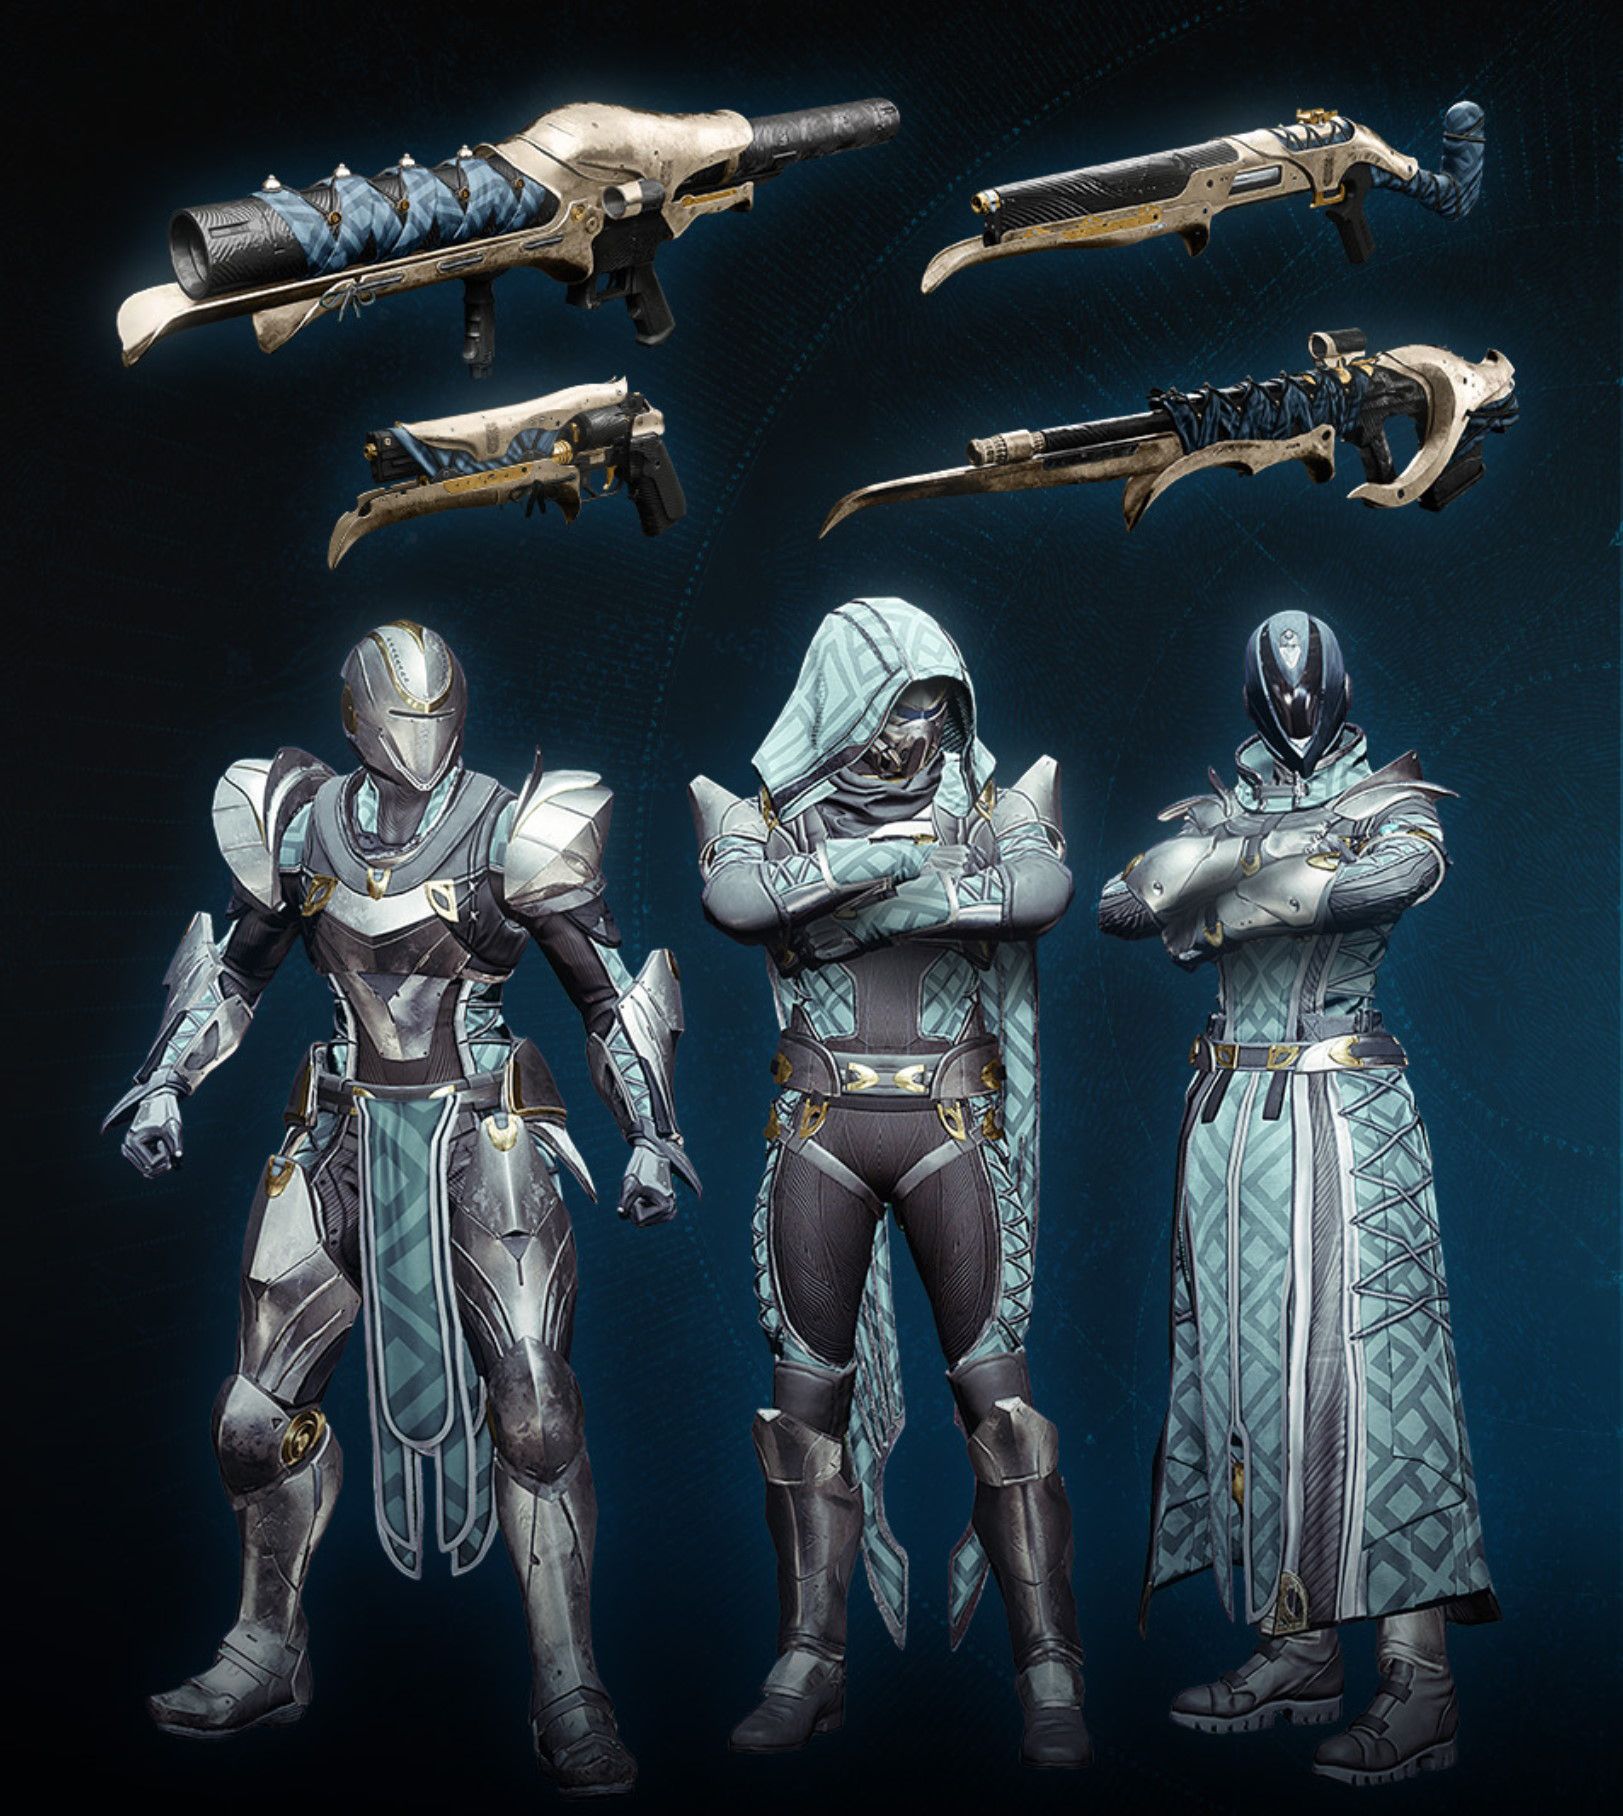
Now players can earn reissued Dreaming City Reverie Dawn armor with high stat rolls comparable to that of raid armor, so any players that can not or do not want to run a raid, can simply team up with two other players and run the dungeon for good loot. Additionally, some Dreaming City weapons, including the Waking Vigil hand cannon and Retold Tale slug shotgun, have been brought back with new perks that can only be obtained through the Shattered Throne.
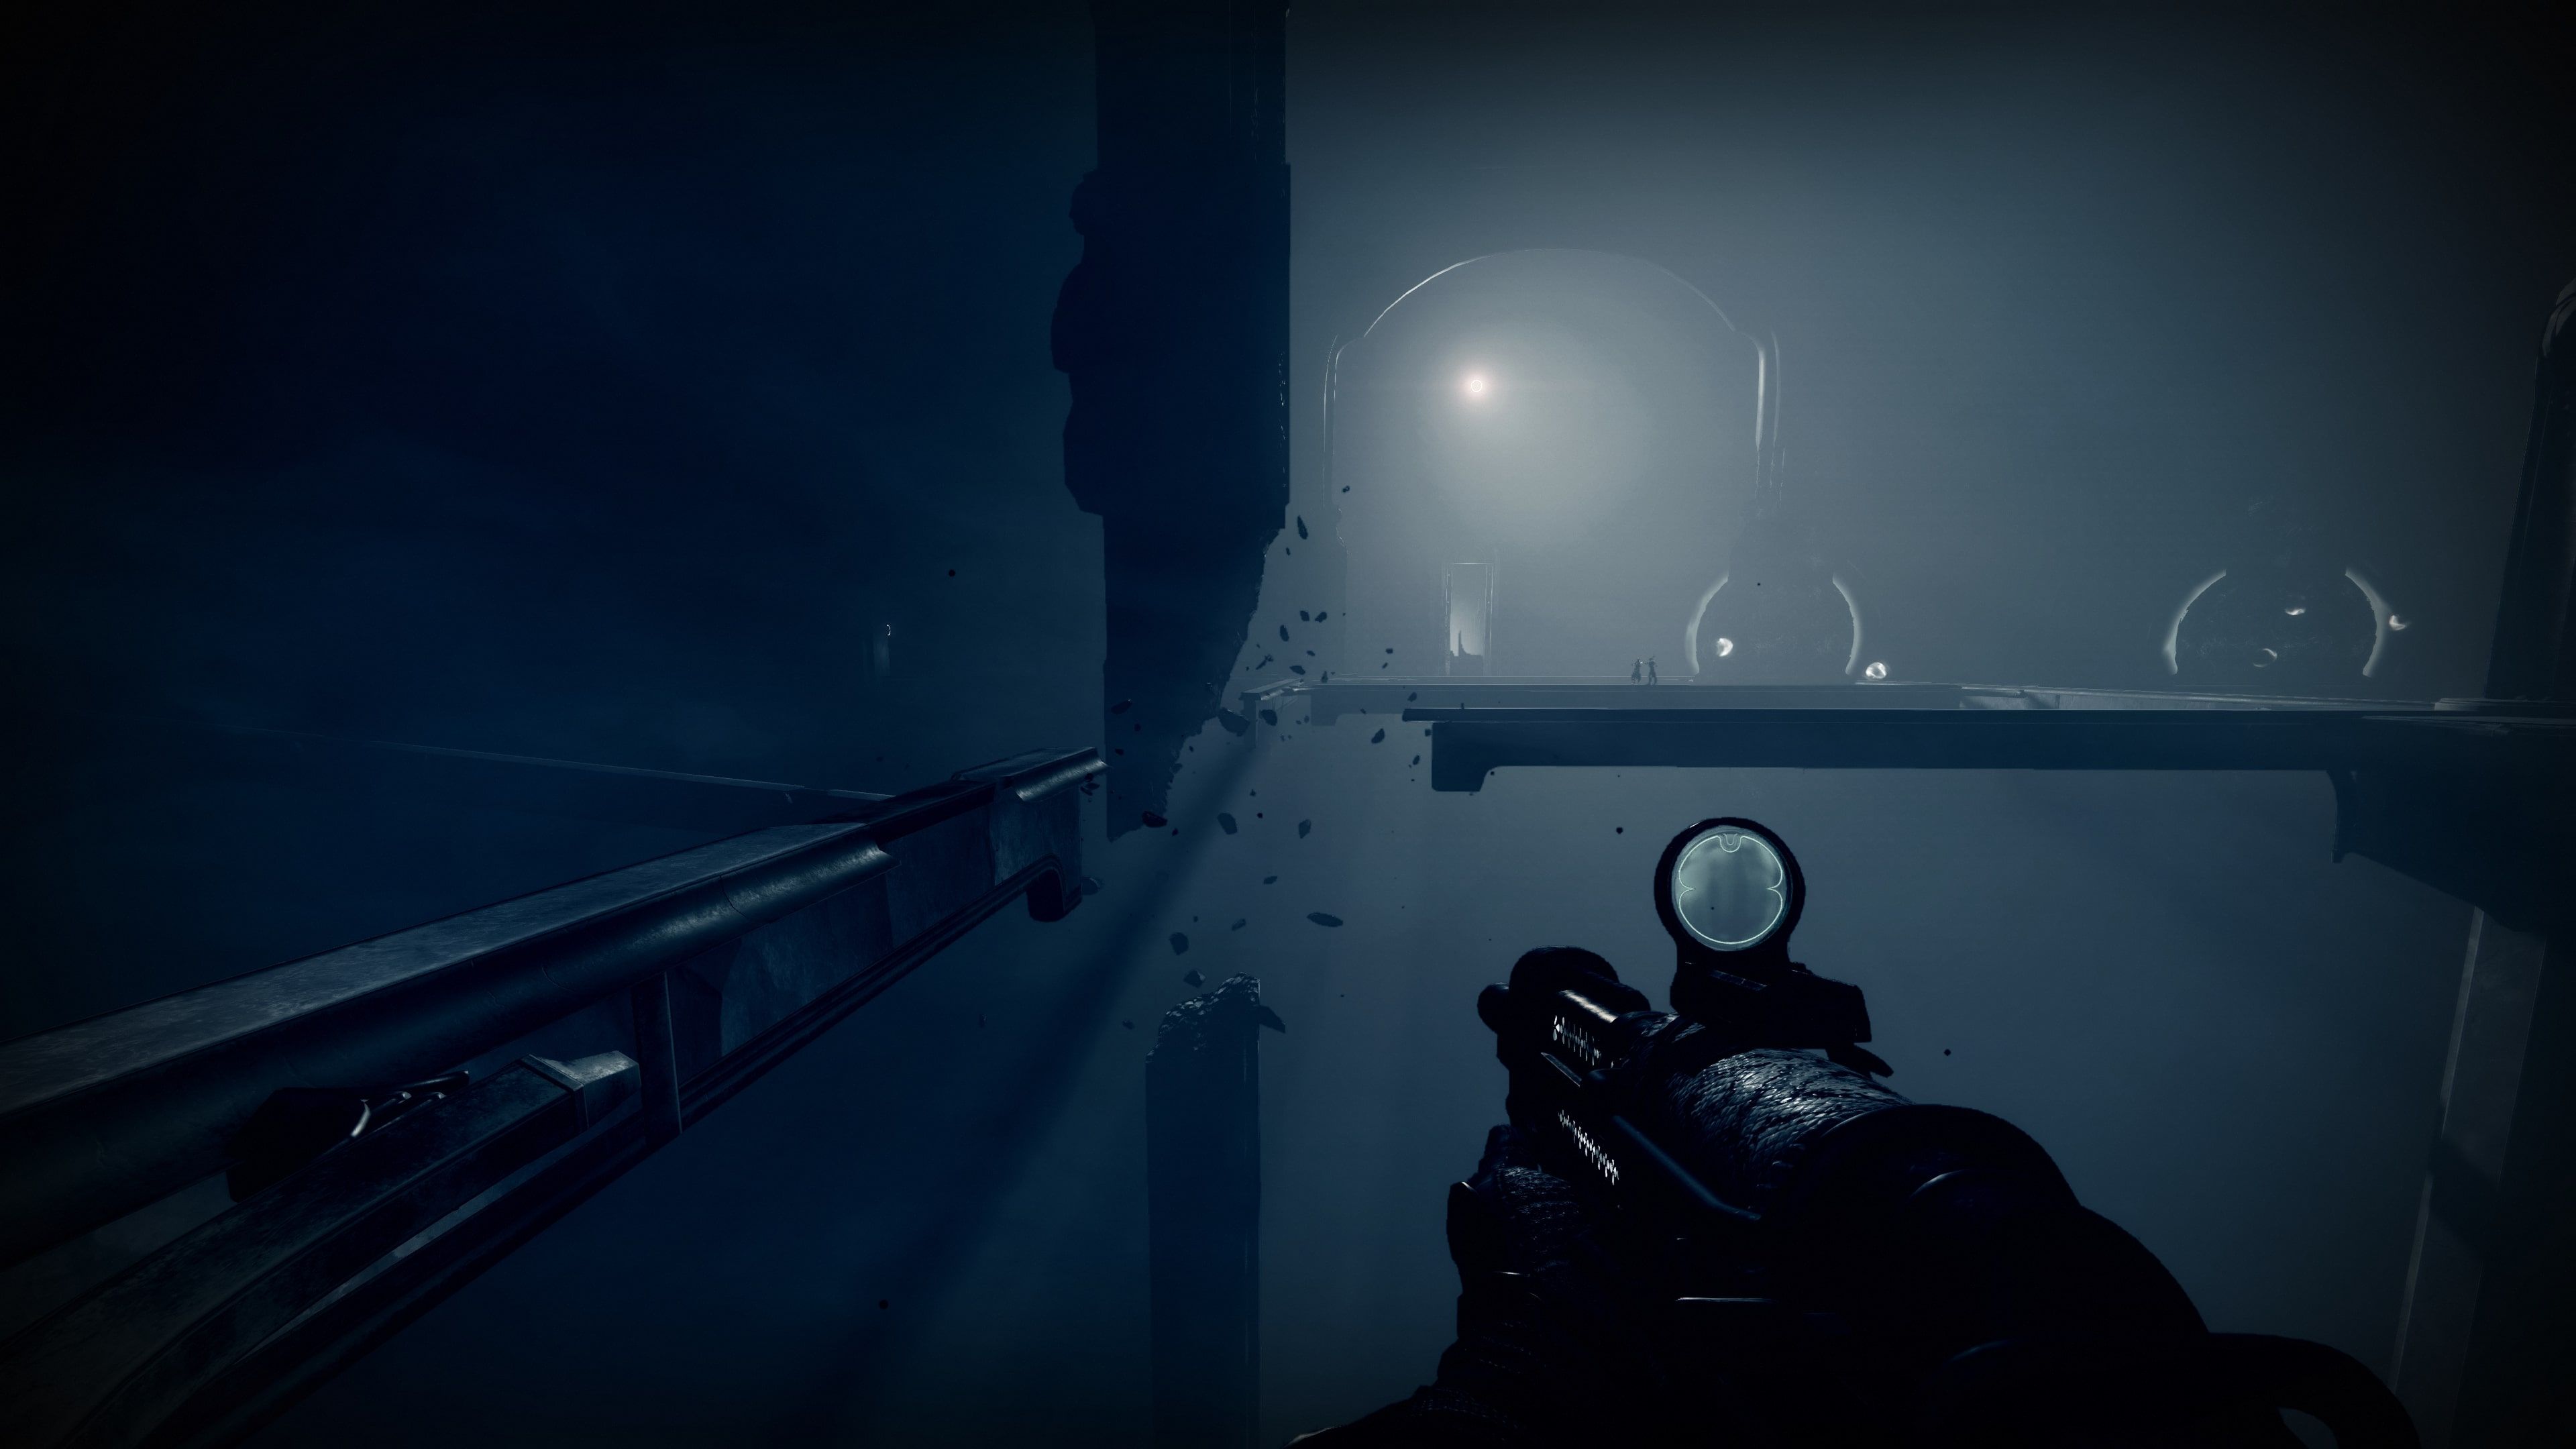
To be in with a chance at scoring some high-stat armor or some new perk rolls on classic Destiny 2 weapons, players will need to know how to navigate through the dark and deadly Shattered Throne dungeon. This activity is not hugely challenging, especially not for a full three-person fireteam, but will require some communication and care during platforming and combat to get through each encounter quickly and smoothly. Also, every minor enemy in this dungeon is Taken, so players should equip any Last Wish Taken armor mods if they have them.
Players can load up the Shattered Throne by selecting the dungeon icon on the Dreaming City map page. When players spawn in, they need to keep walk forward along the broken bridges and jump from platform to platform until they eventually reach a large temple structure.
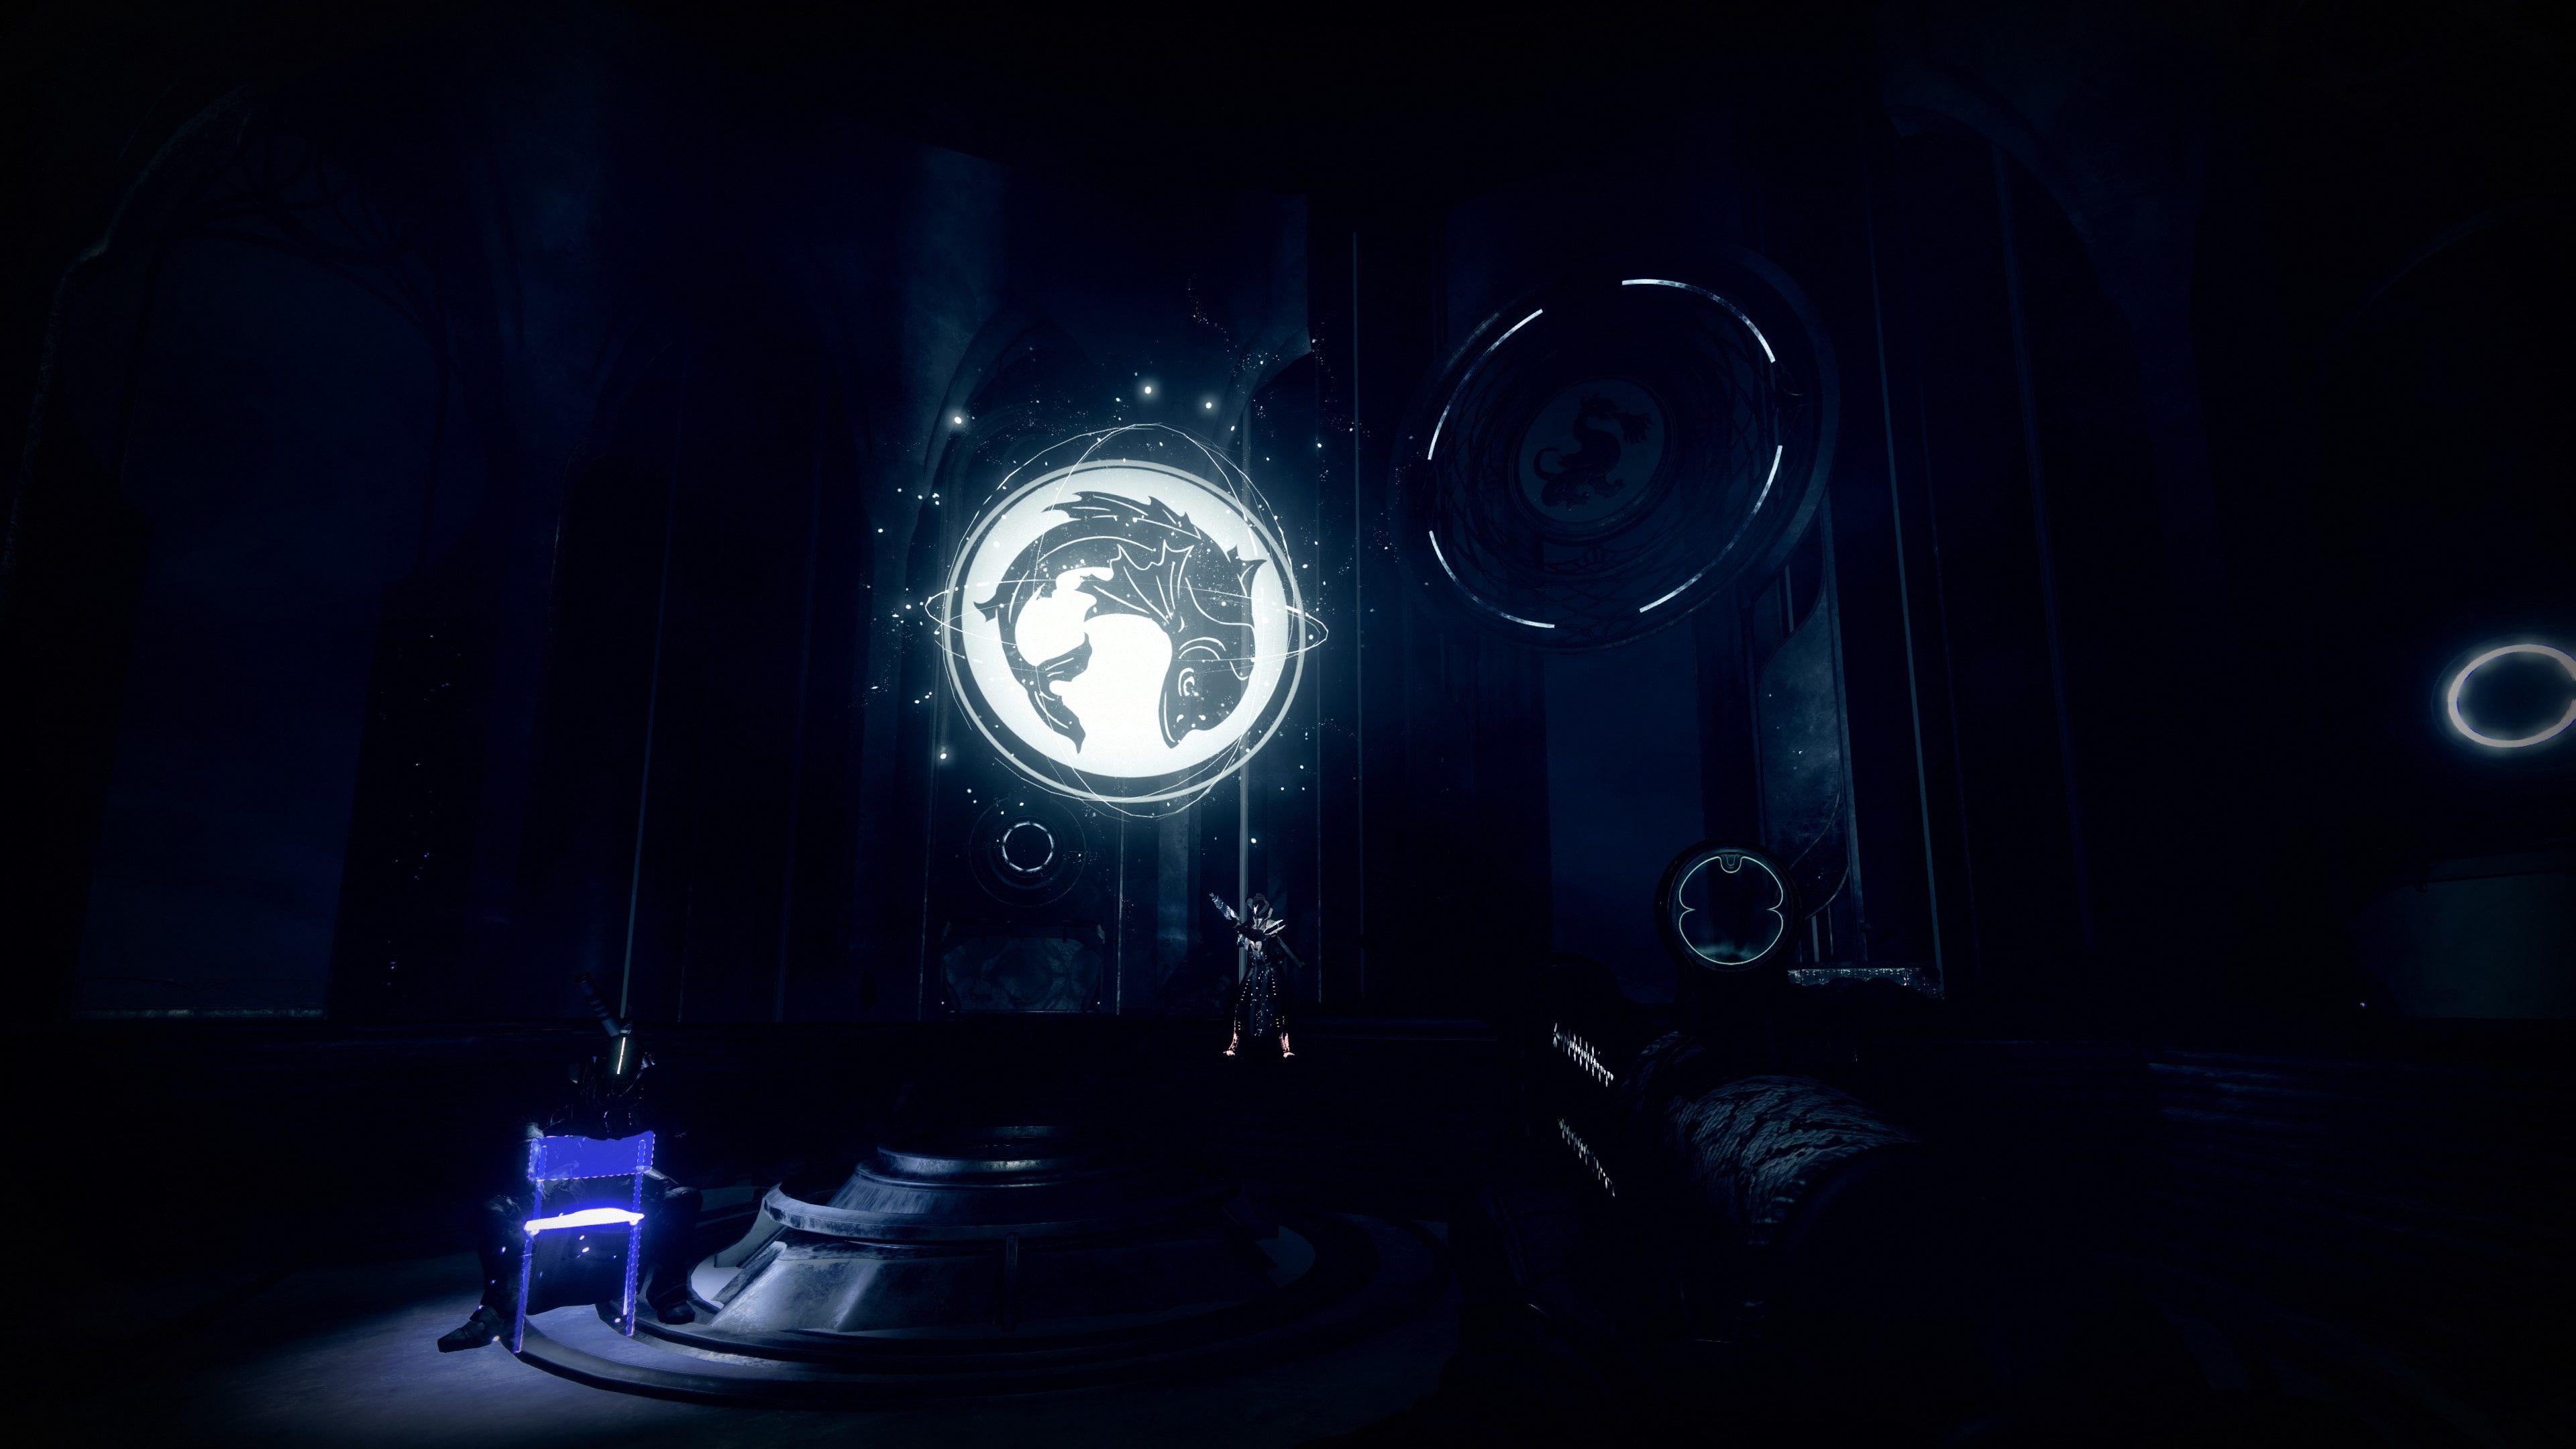
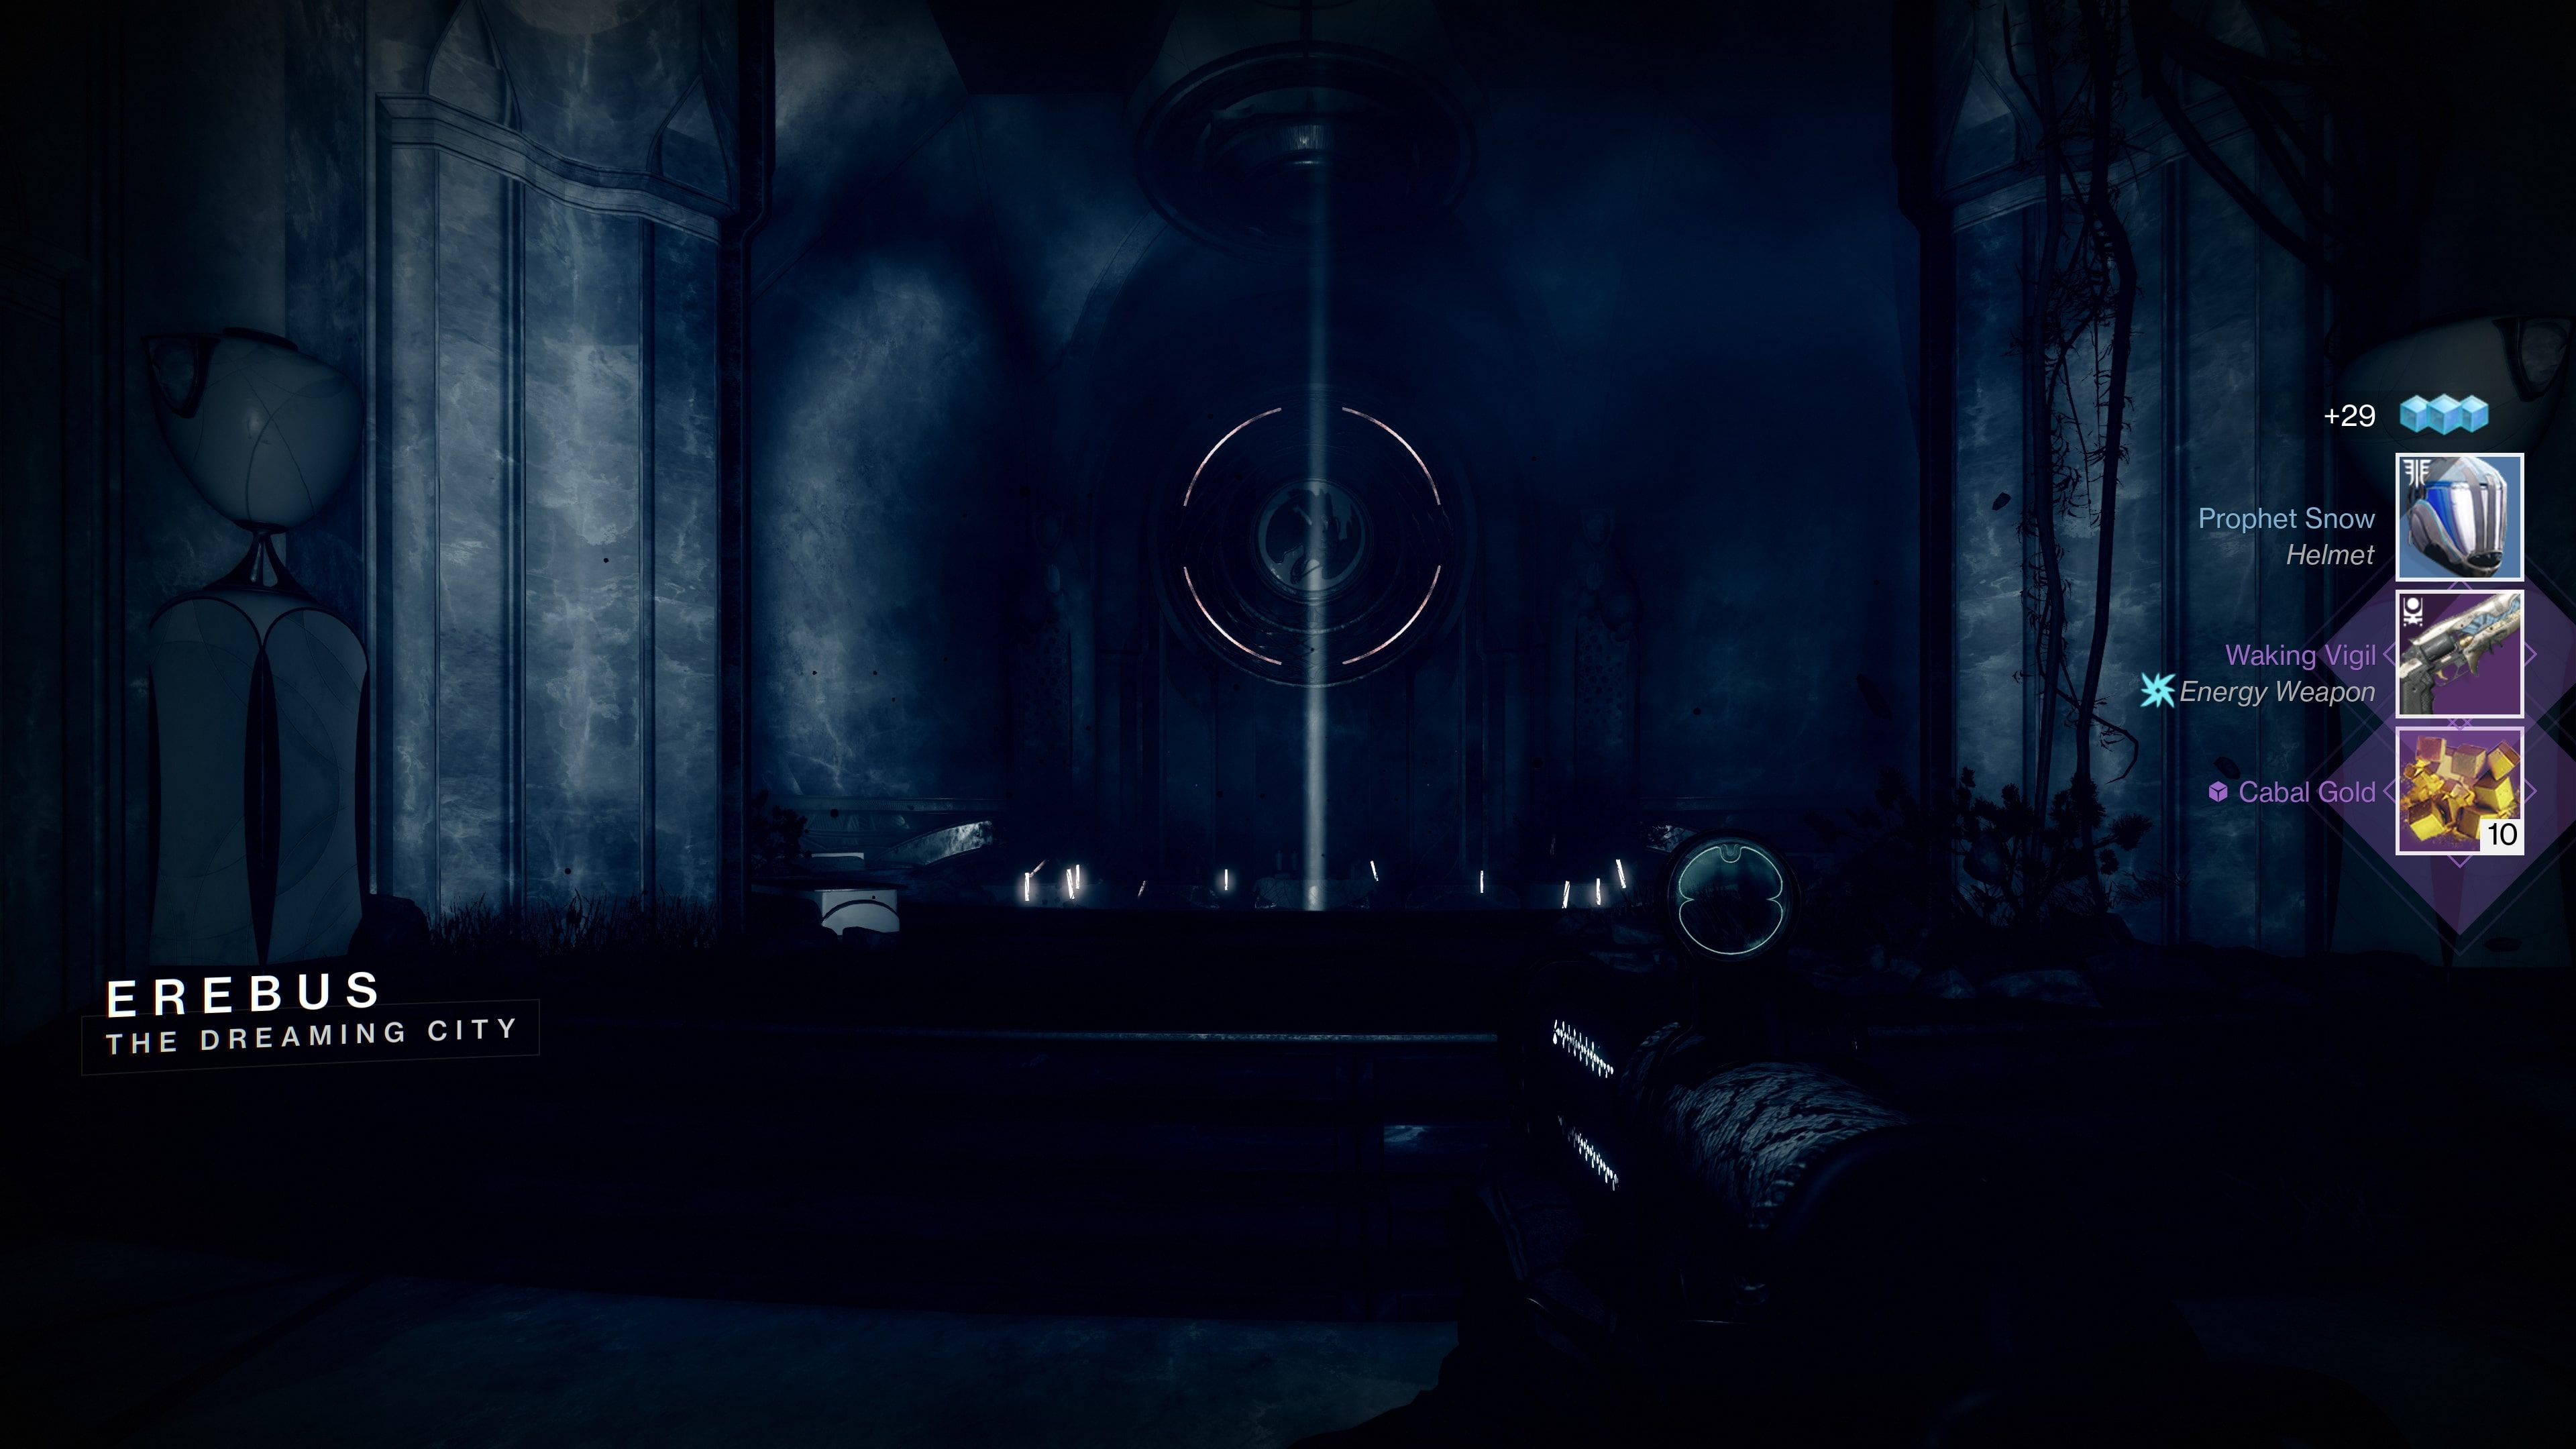
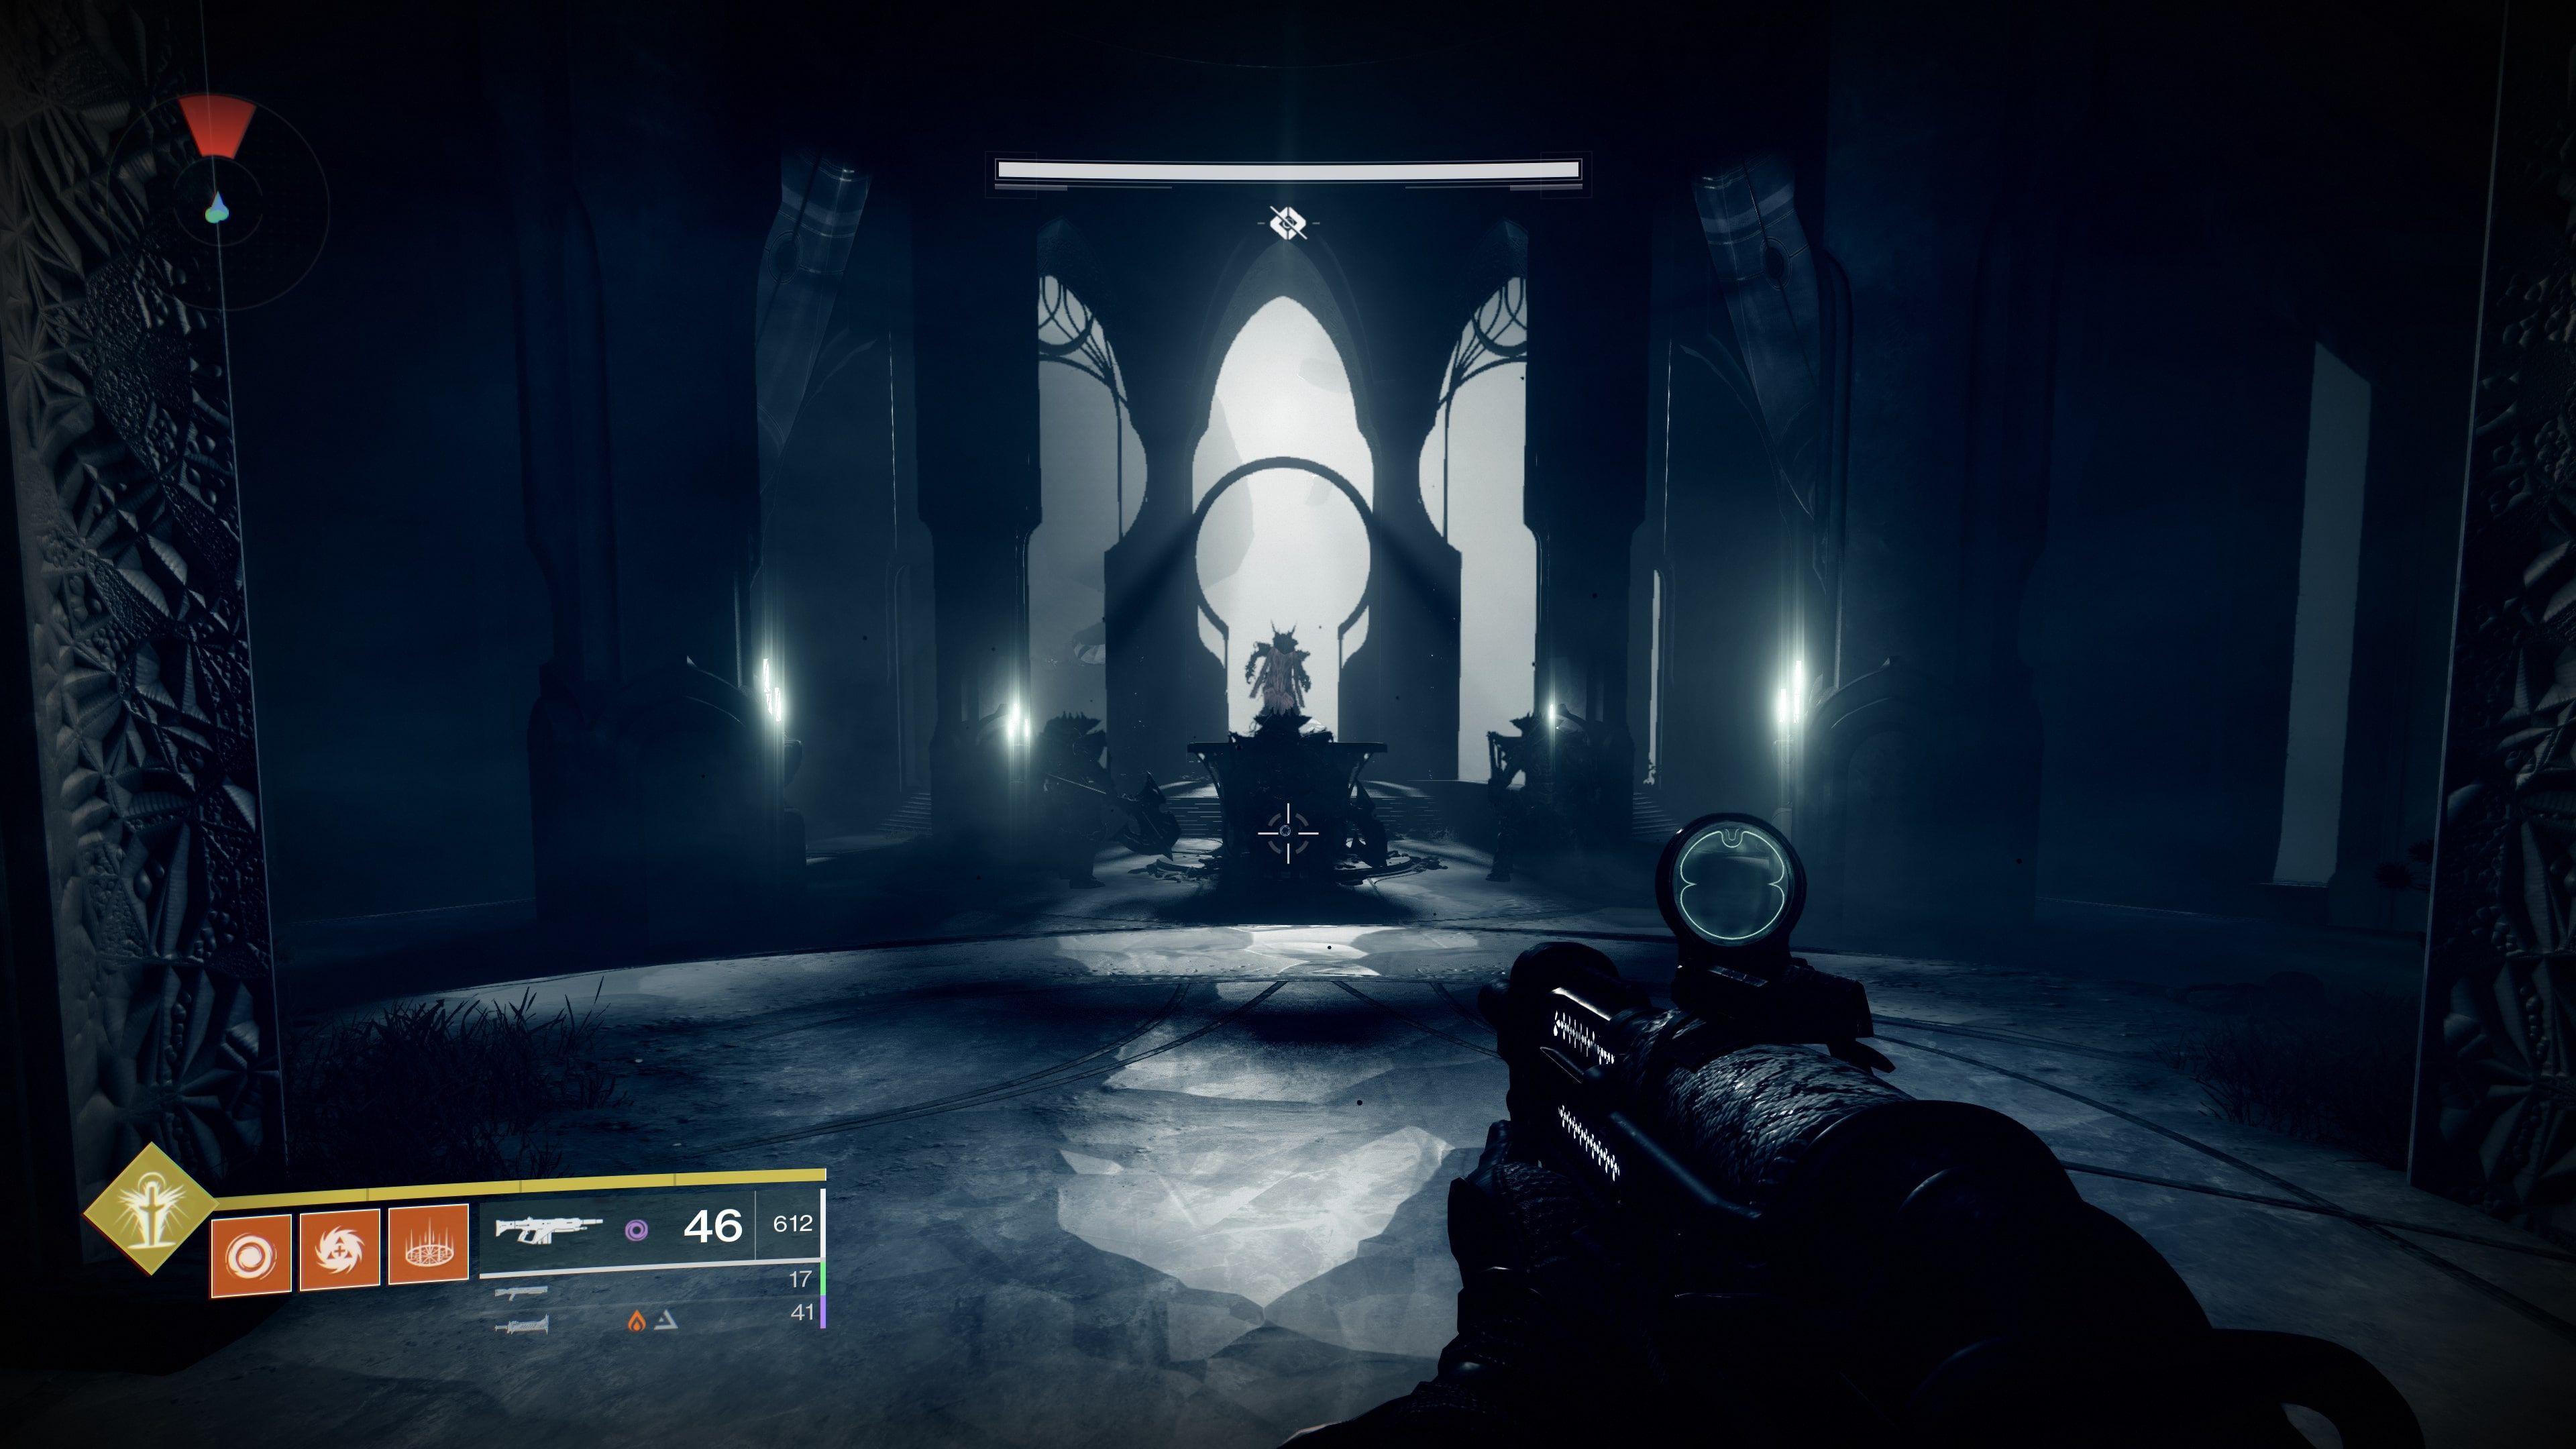
Players should make their way down to the front of the temple, where a group of Acolytes and a Knight mini-boss will be guarding a sealed doorway. Killing the mini-boss will open the doorway which leads to a maze-like area called Erebus, but more importantly, it will also reveal a symbol.
Within the Erebus area are several smaller areas each represented by a symbol. Players will need to navigate Erebus, by going from area to area using the symbols. This map, courtesy of Reddit user osujds, shows the entire Erebus location and where each symbol can be found.
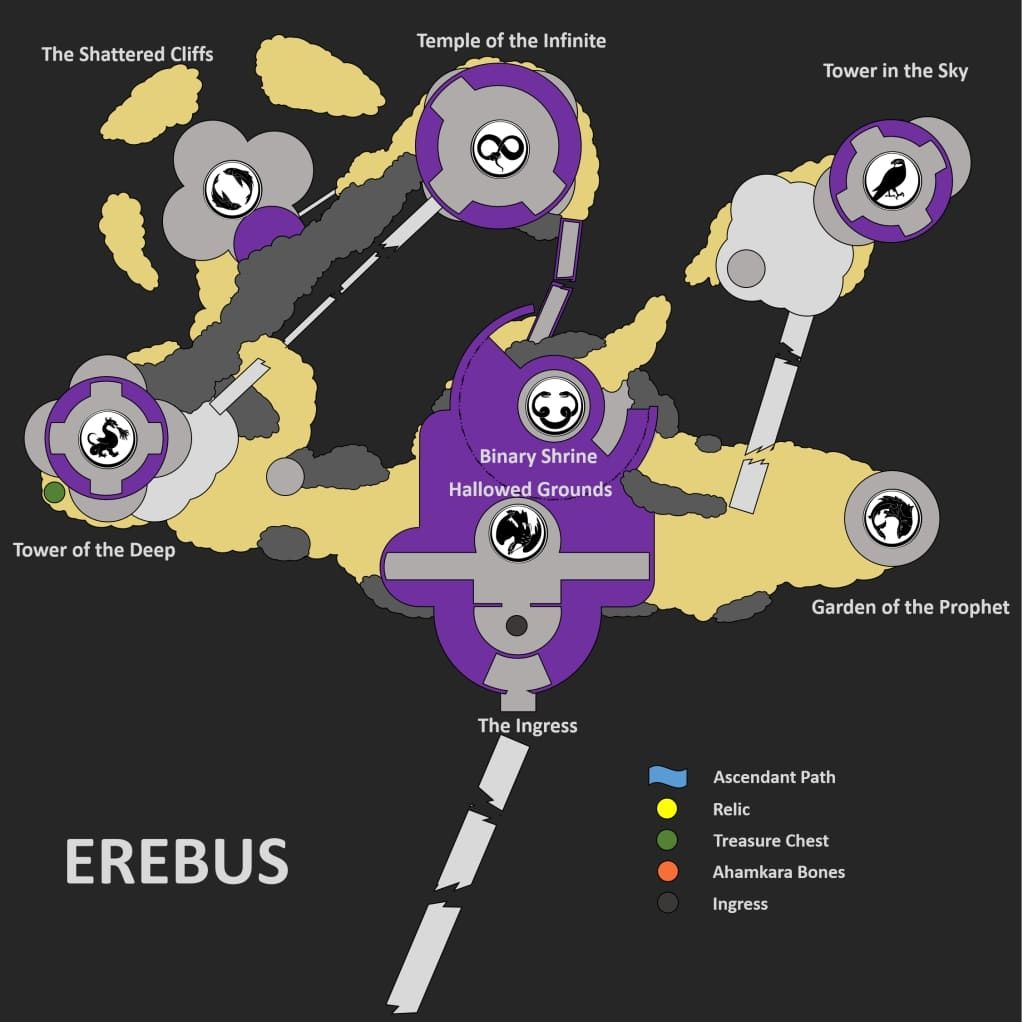
After killing the first Knight, looking at the symbol, and traveling to the corresponding area, players will need to kill the mini-boss to reveal another symbol, and so on until all the mini-bosses in Erebus are dead. Players should be aware of swarms of Thralls and the occasional Captain spawning in the paths between the sections. Some of the taller buildings will also have Hobgoblins on them, so a sniper rifle, bow, or scout rifle will be useful for this encounter. Each mini-boss is also quite weak, so any special and heavy weapons will be enough to kill them.
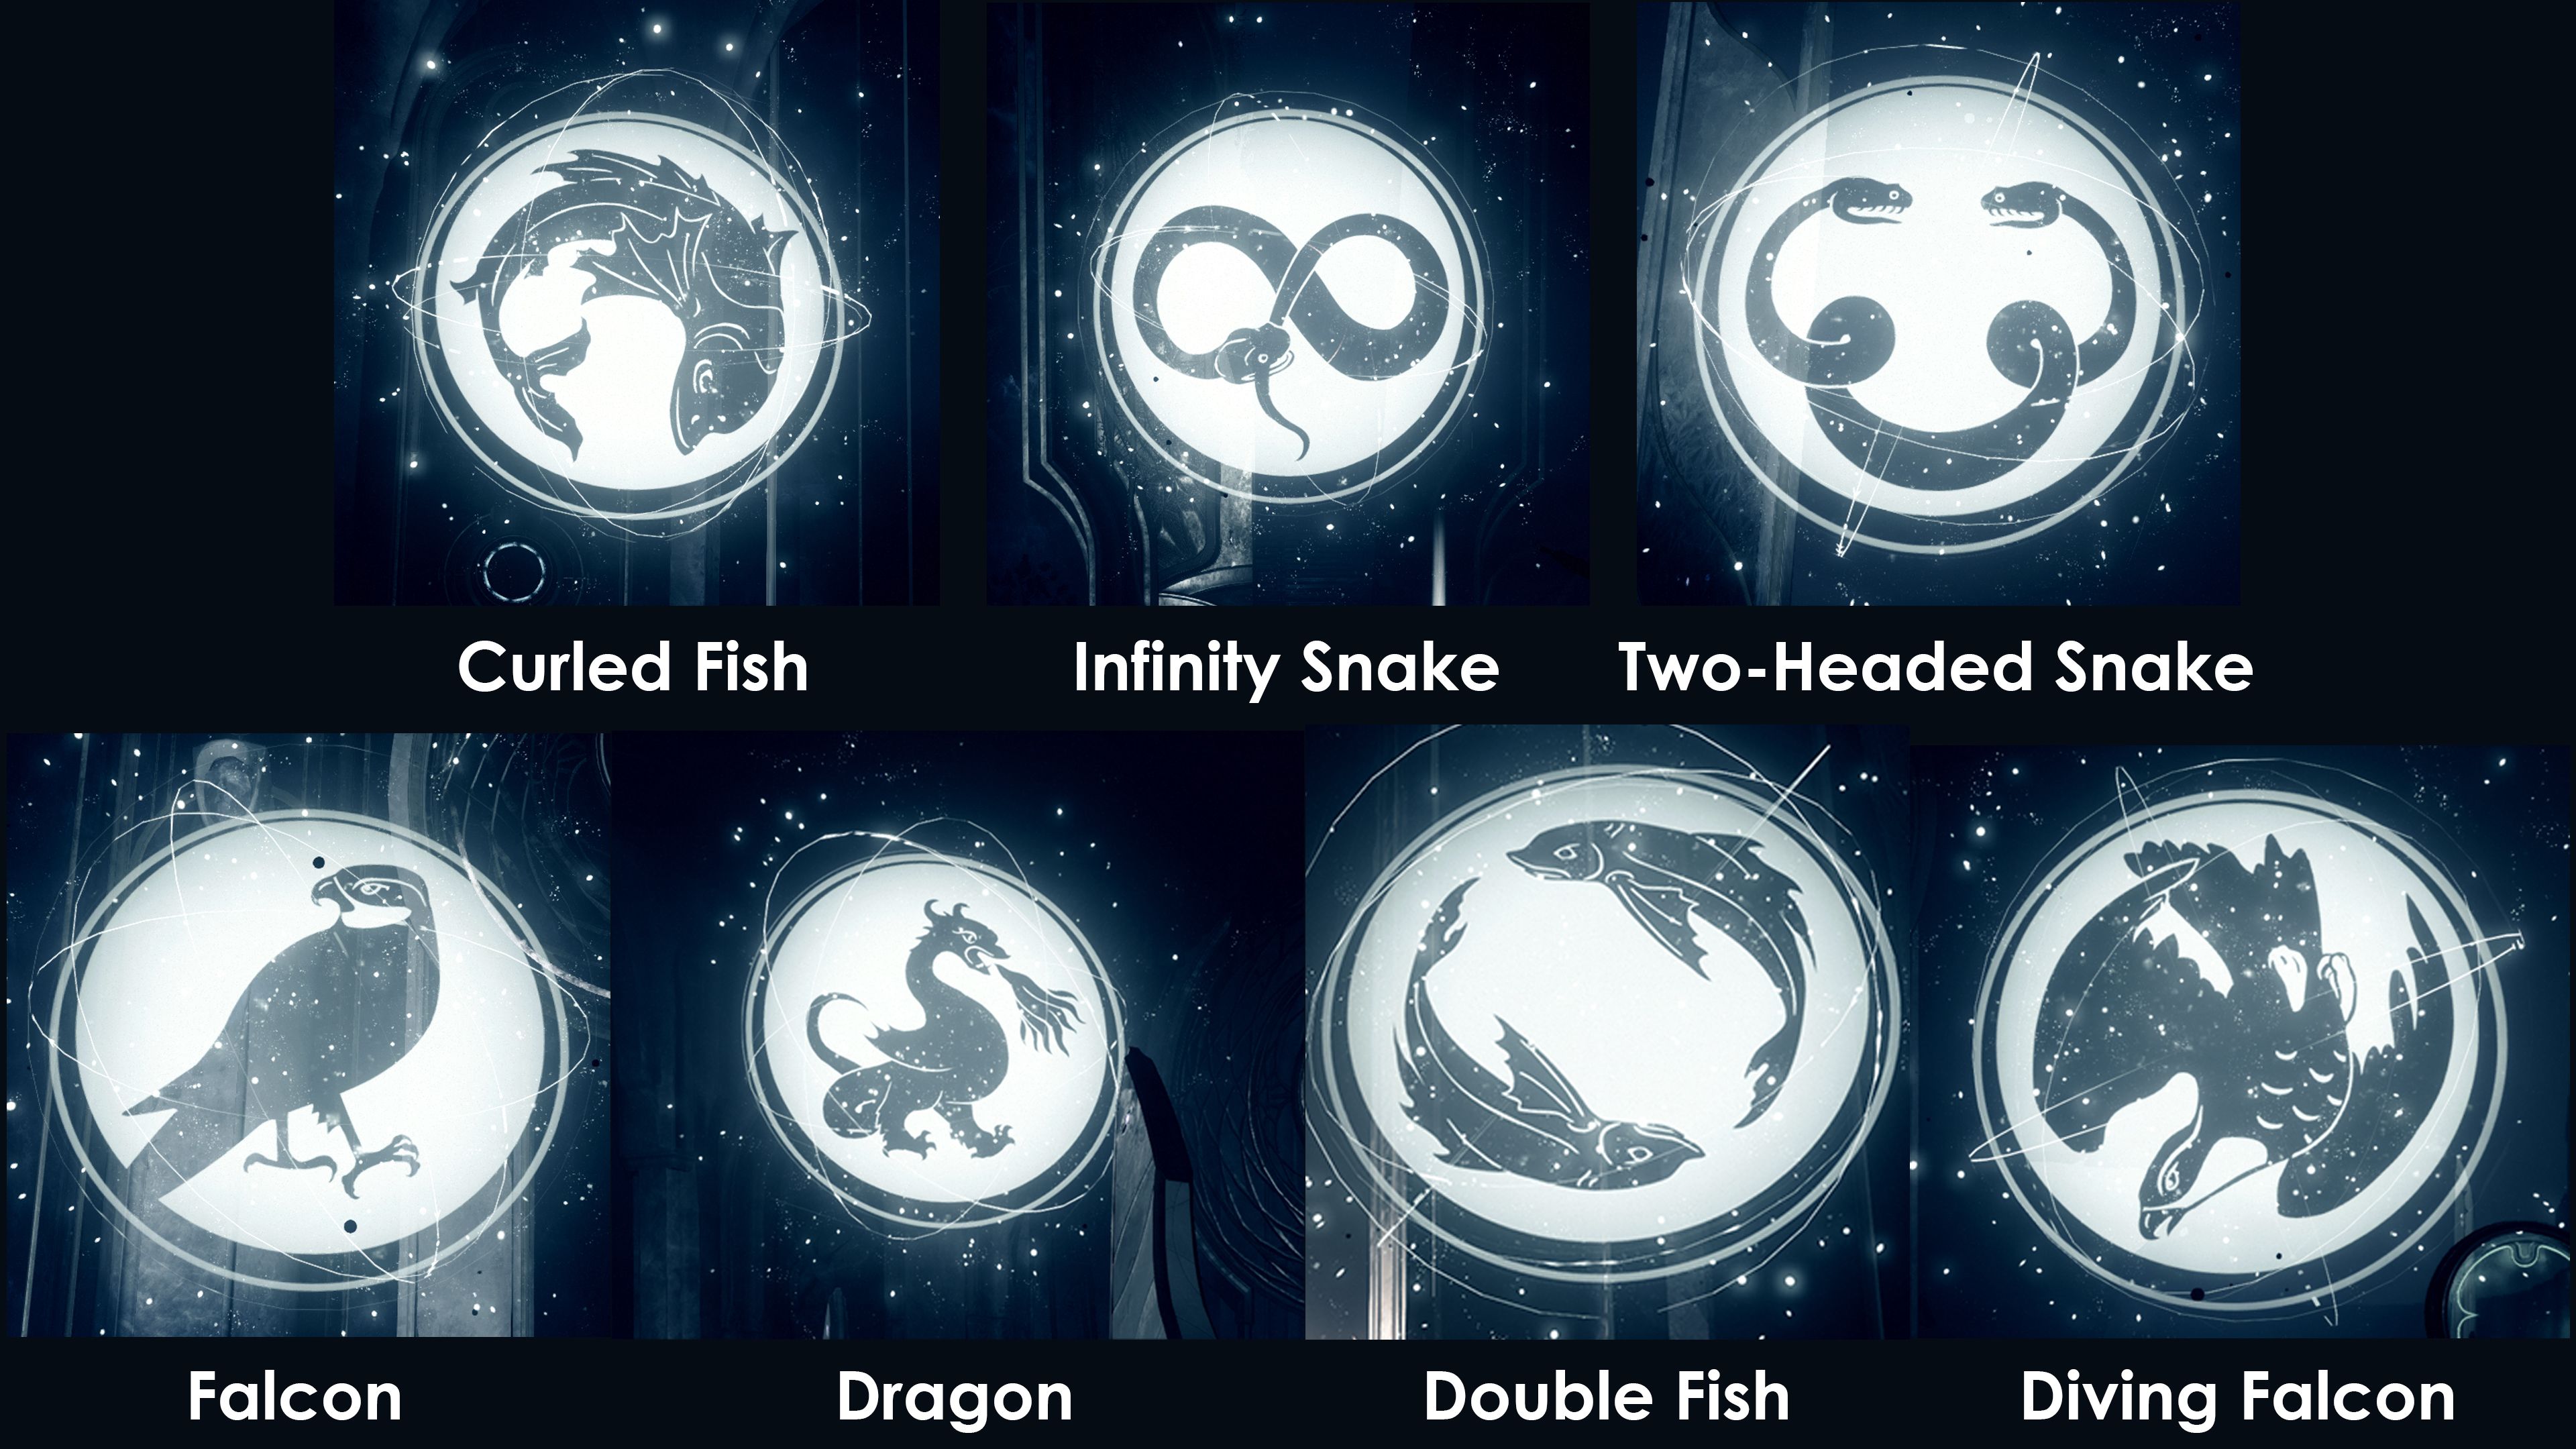
There are seven mini-bosses to defeat and therefore seven symbols to know. Fireteams can come up with their own names to describe each symbol but here are some examples:
- Curled Fish
- Infinity Snake
- Two-Headed Snake
- Falcon
- Dragon
- Double Fish
- Diving Falcon
As an example, players may have the Dragon symbol after defeating the first Knight mini-boss. They should head left to the Tower of the Deep – which can be seen on the provided map and is where the Dragon symbol will always be – and defeat the mini-boss there. Once the Dragon mini-boss has been defeated, players may see the Curled Fish symbol and so they should head to the Garden of Prophet area, defeat the mini-boss, and so on.
It is important to note that the symbols representing each area of Erebus never change. However, the order in which the symbols are shown to players is different every time, except for the final symbol, which is always the Diving Falcon as this is where the Erebus exit is found. After defeating the final miniboss, players will be rewarded with their first loot drop, and a large floor plate will open in a nearby room, reveal a large bright tunnel. Jump down the tunnel to progress to the next area.
The next few parts of the Shattered Throne dungeon are not proper encounters, but more obstacles that lead to the second encounter. The first obstacle is The Descent. After jumping down the tunnel, players will need to keep running along the main path until they reach a staircase that leads down. Players should stand on the staircase, turn left, and look down. There will be some large platforms down below with Acolytes and Minotaurs on them.
Players need to jump down and follow the path and stairs to climb up the large structure. Along the way, players will need to deal with more Minotaurs and Acolytes, along with Vandals and Phalanxes. Once they reach the top of this structure, a Captain mini-boss will be waiting. Simply kill this Captain to open the door to the next area.
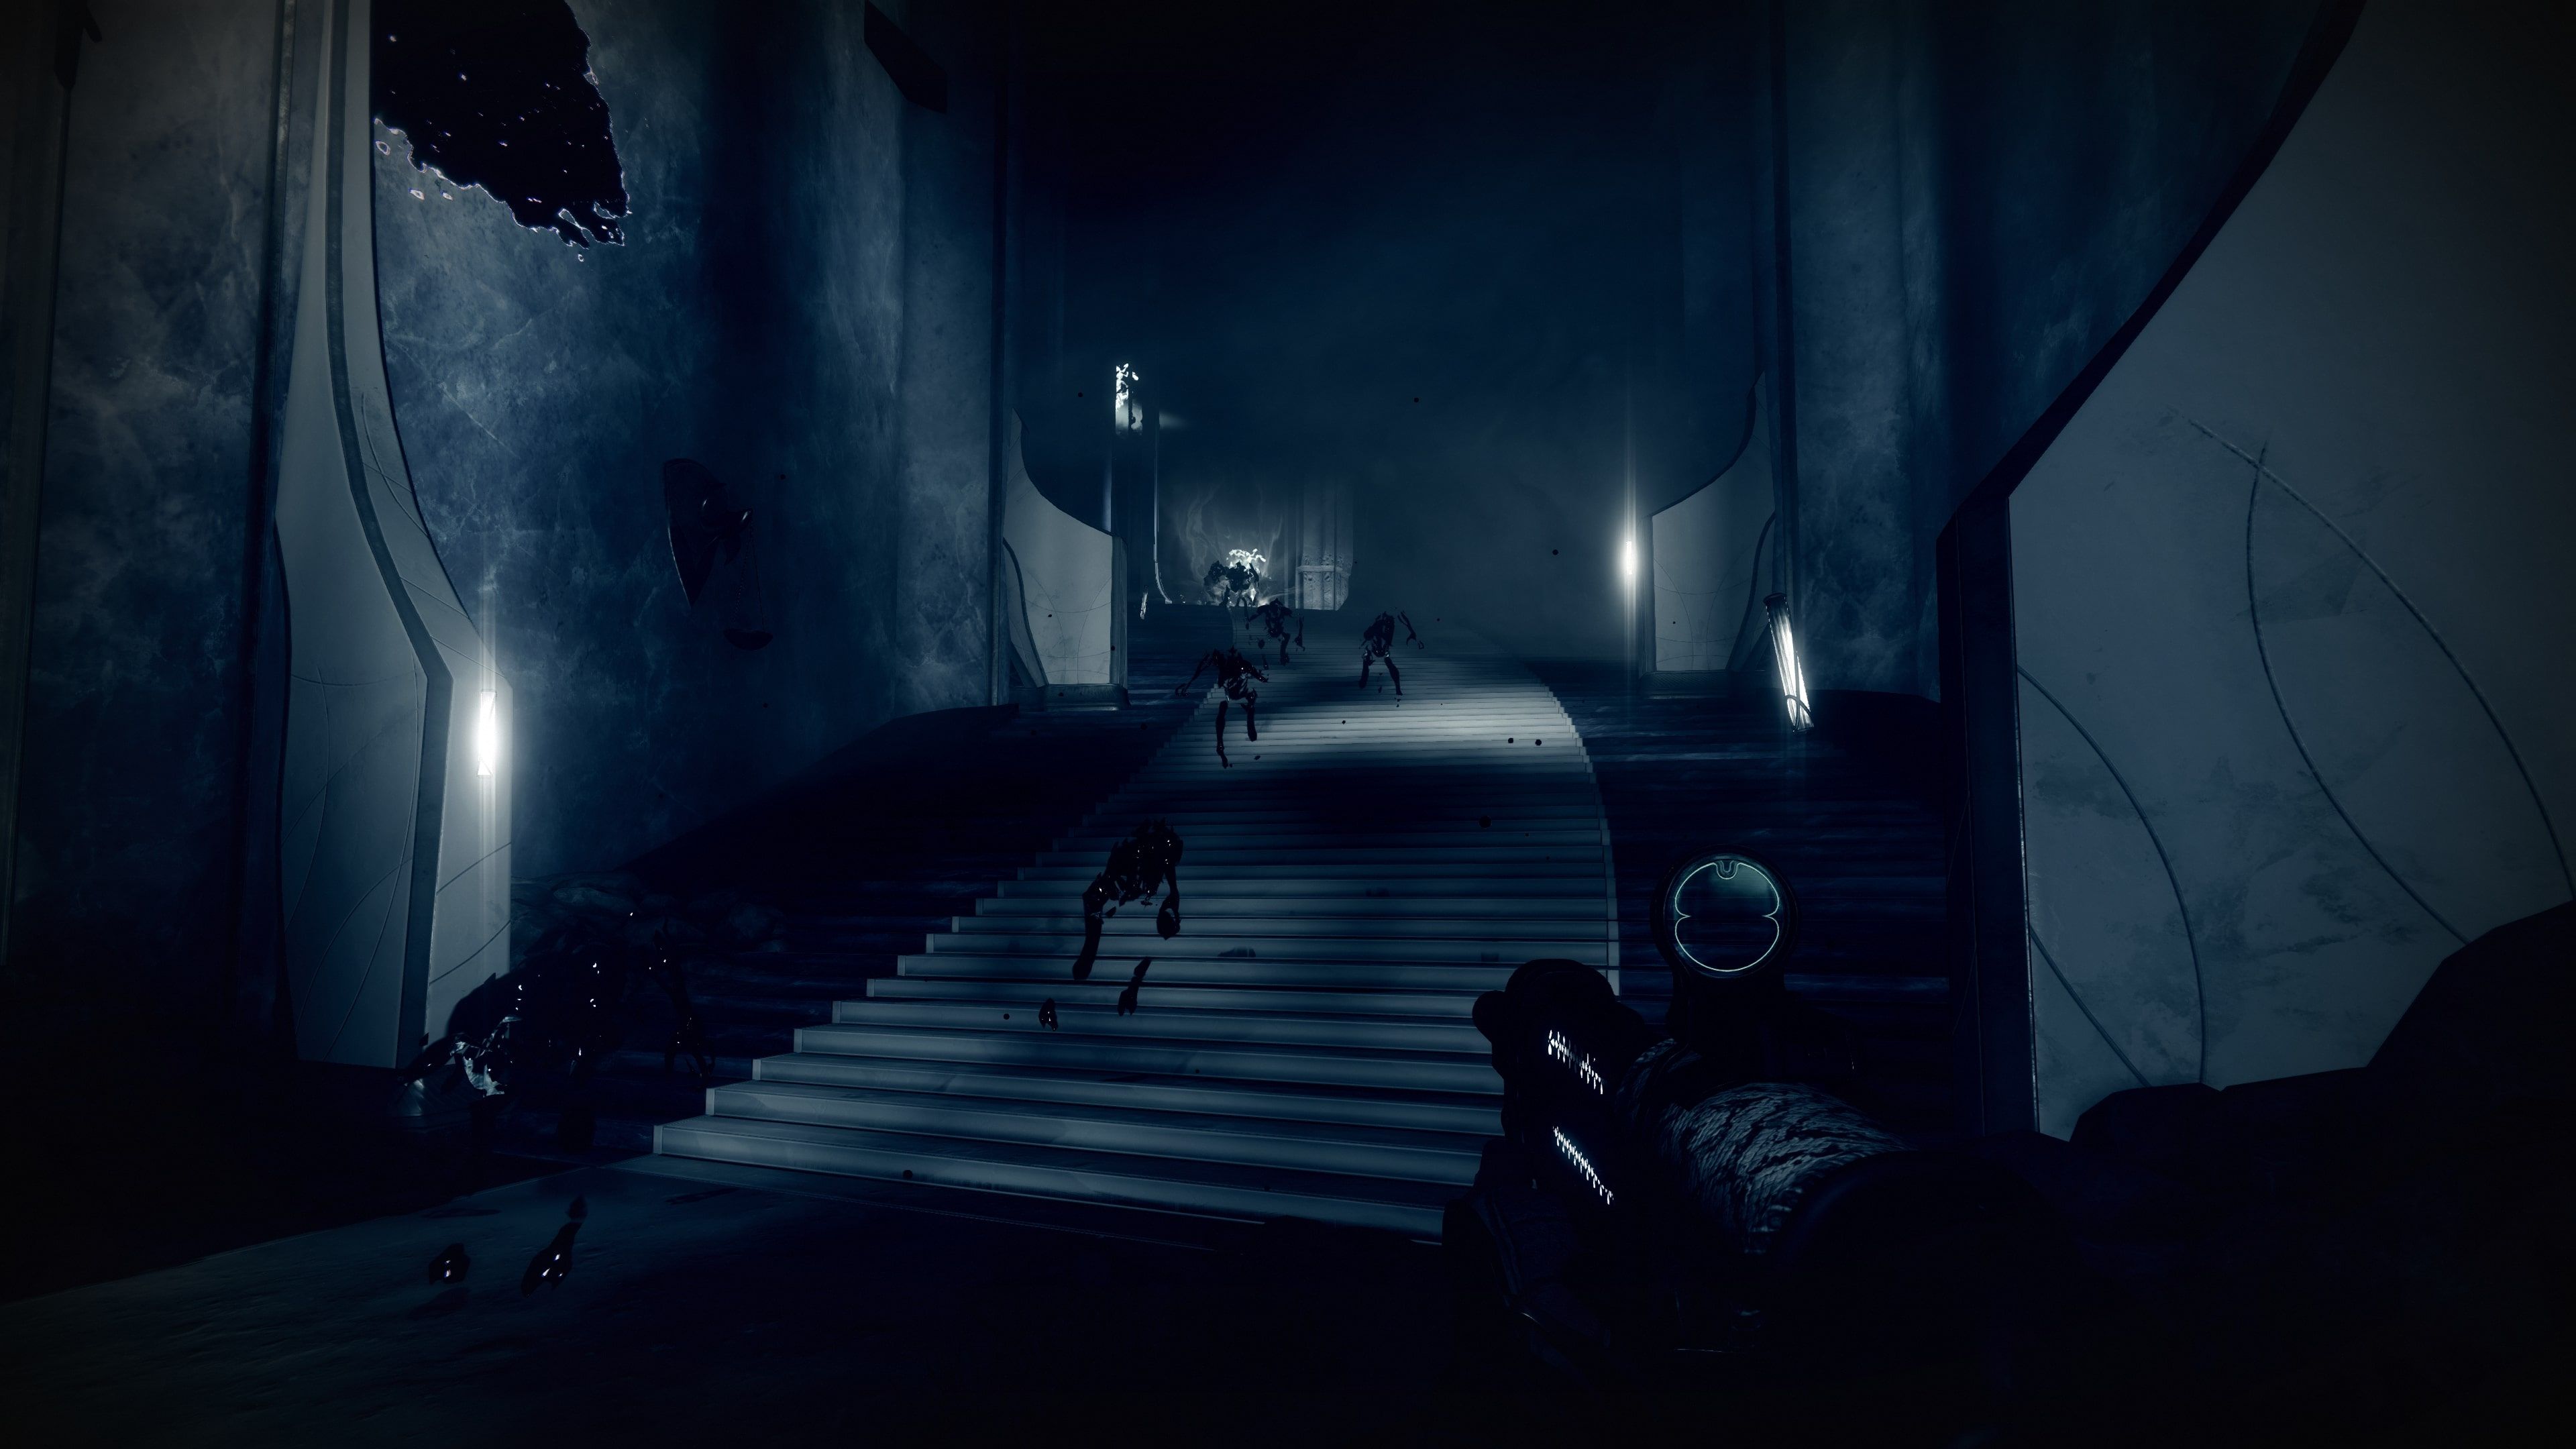
The next room is an extremely long hallway with a long but broken bridge spanning the length of the room. On either side of the bridge, there are narrow ledges with Knights and Hobgoblins on them. Meanwhile, Phalanxes will be on the bridge itself to block the path.
To get through this room, players just need to cross the entire bridge and run up the left staircase at the end of the room. To make the bridge less dangerous, players should focus on killing the Knights and Hobgoblins as quickly as possible. This will make crossing the bridge and dealing with the Phalanxes far easier. Again, long-range weapons are crucial for clearing this room without any trouble.
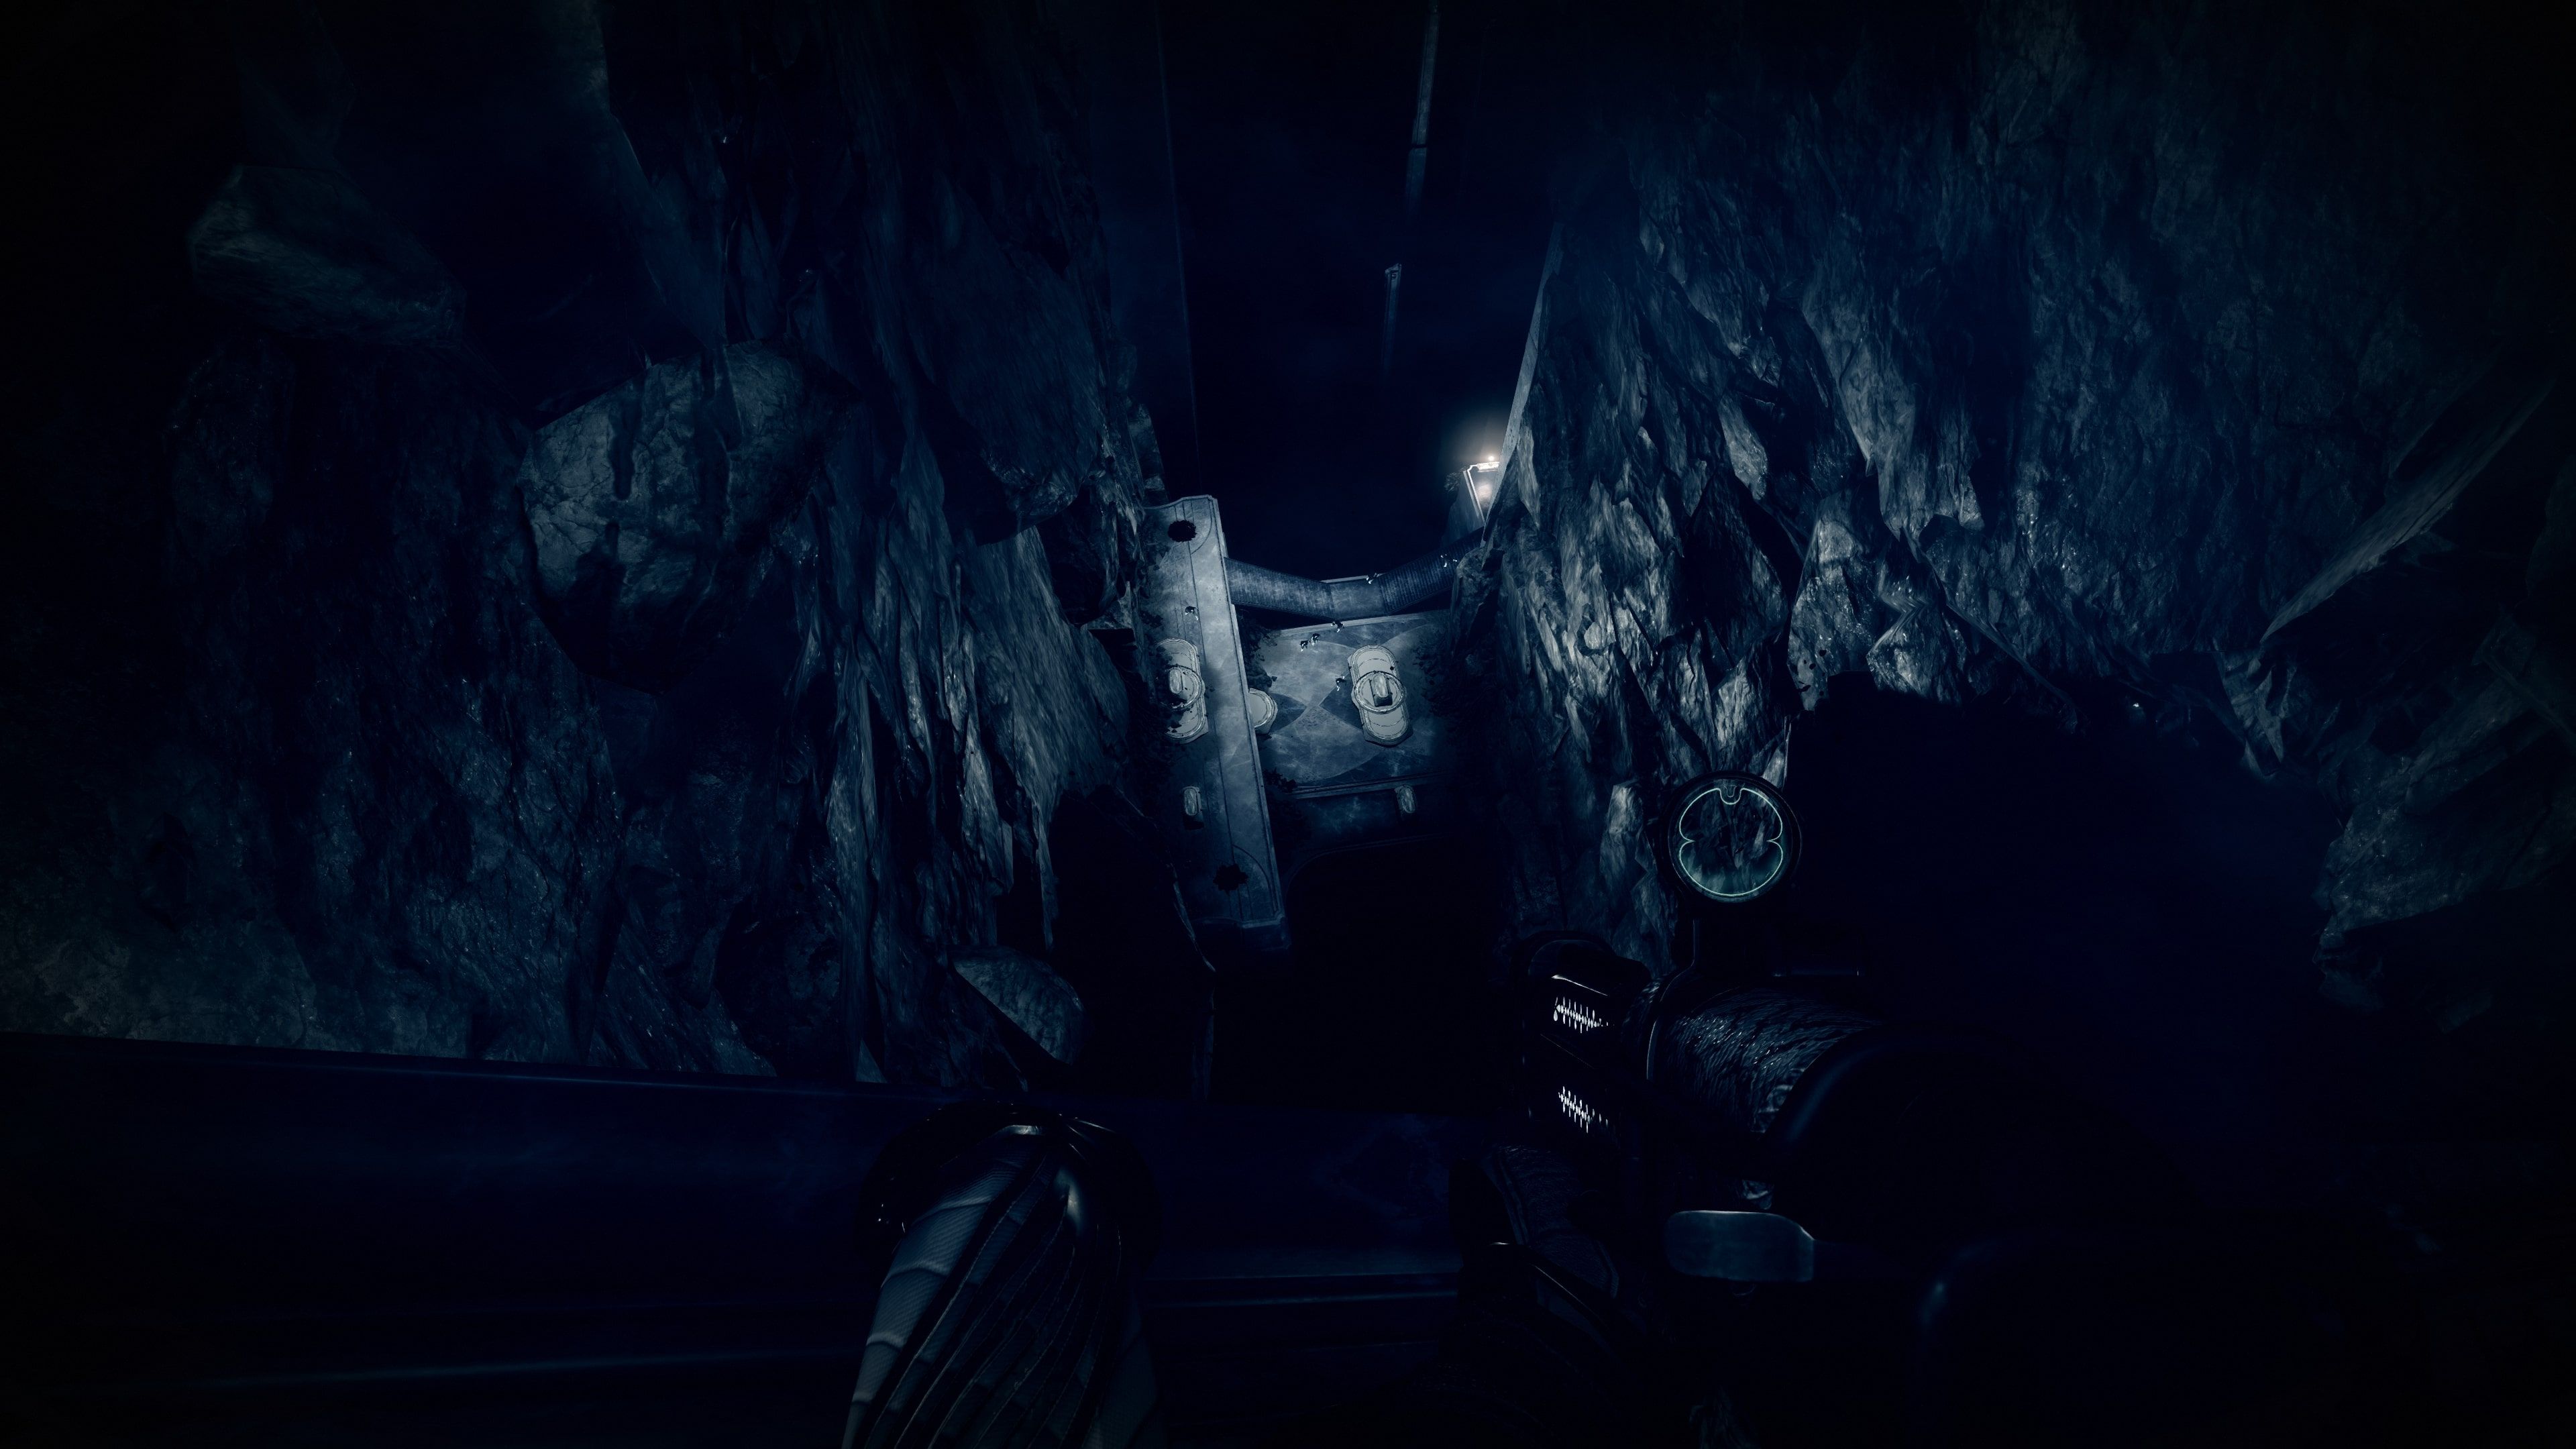
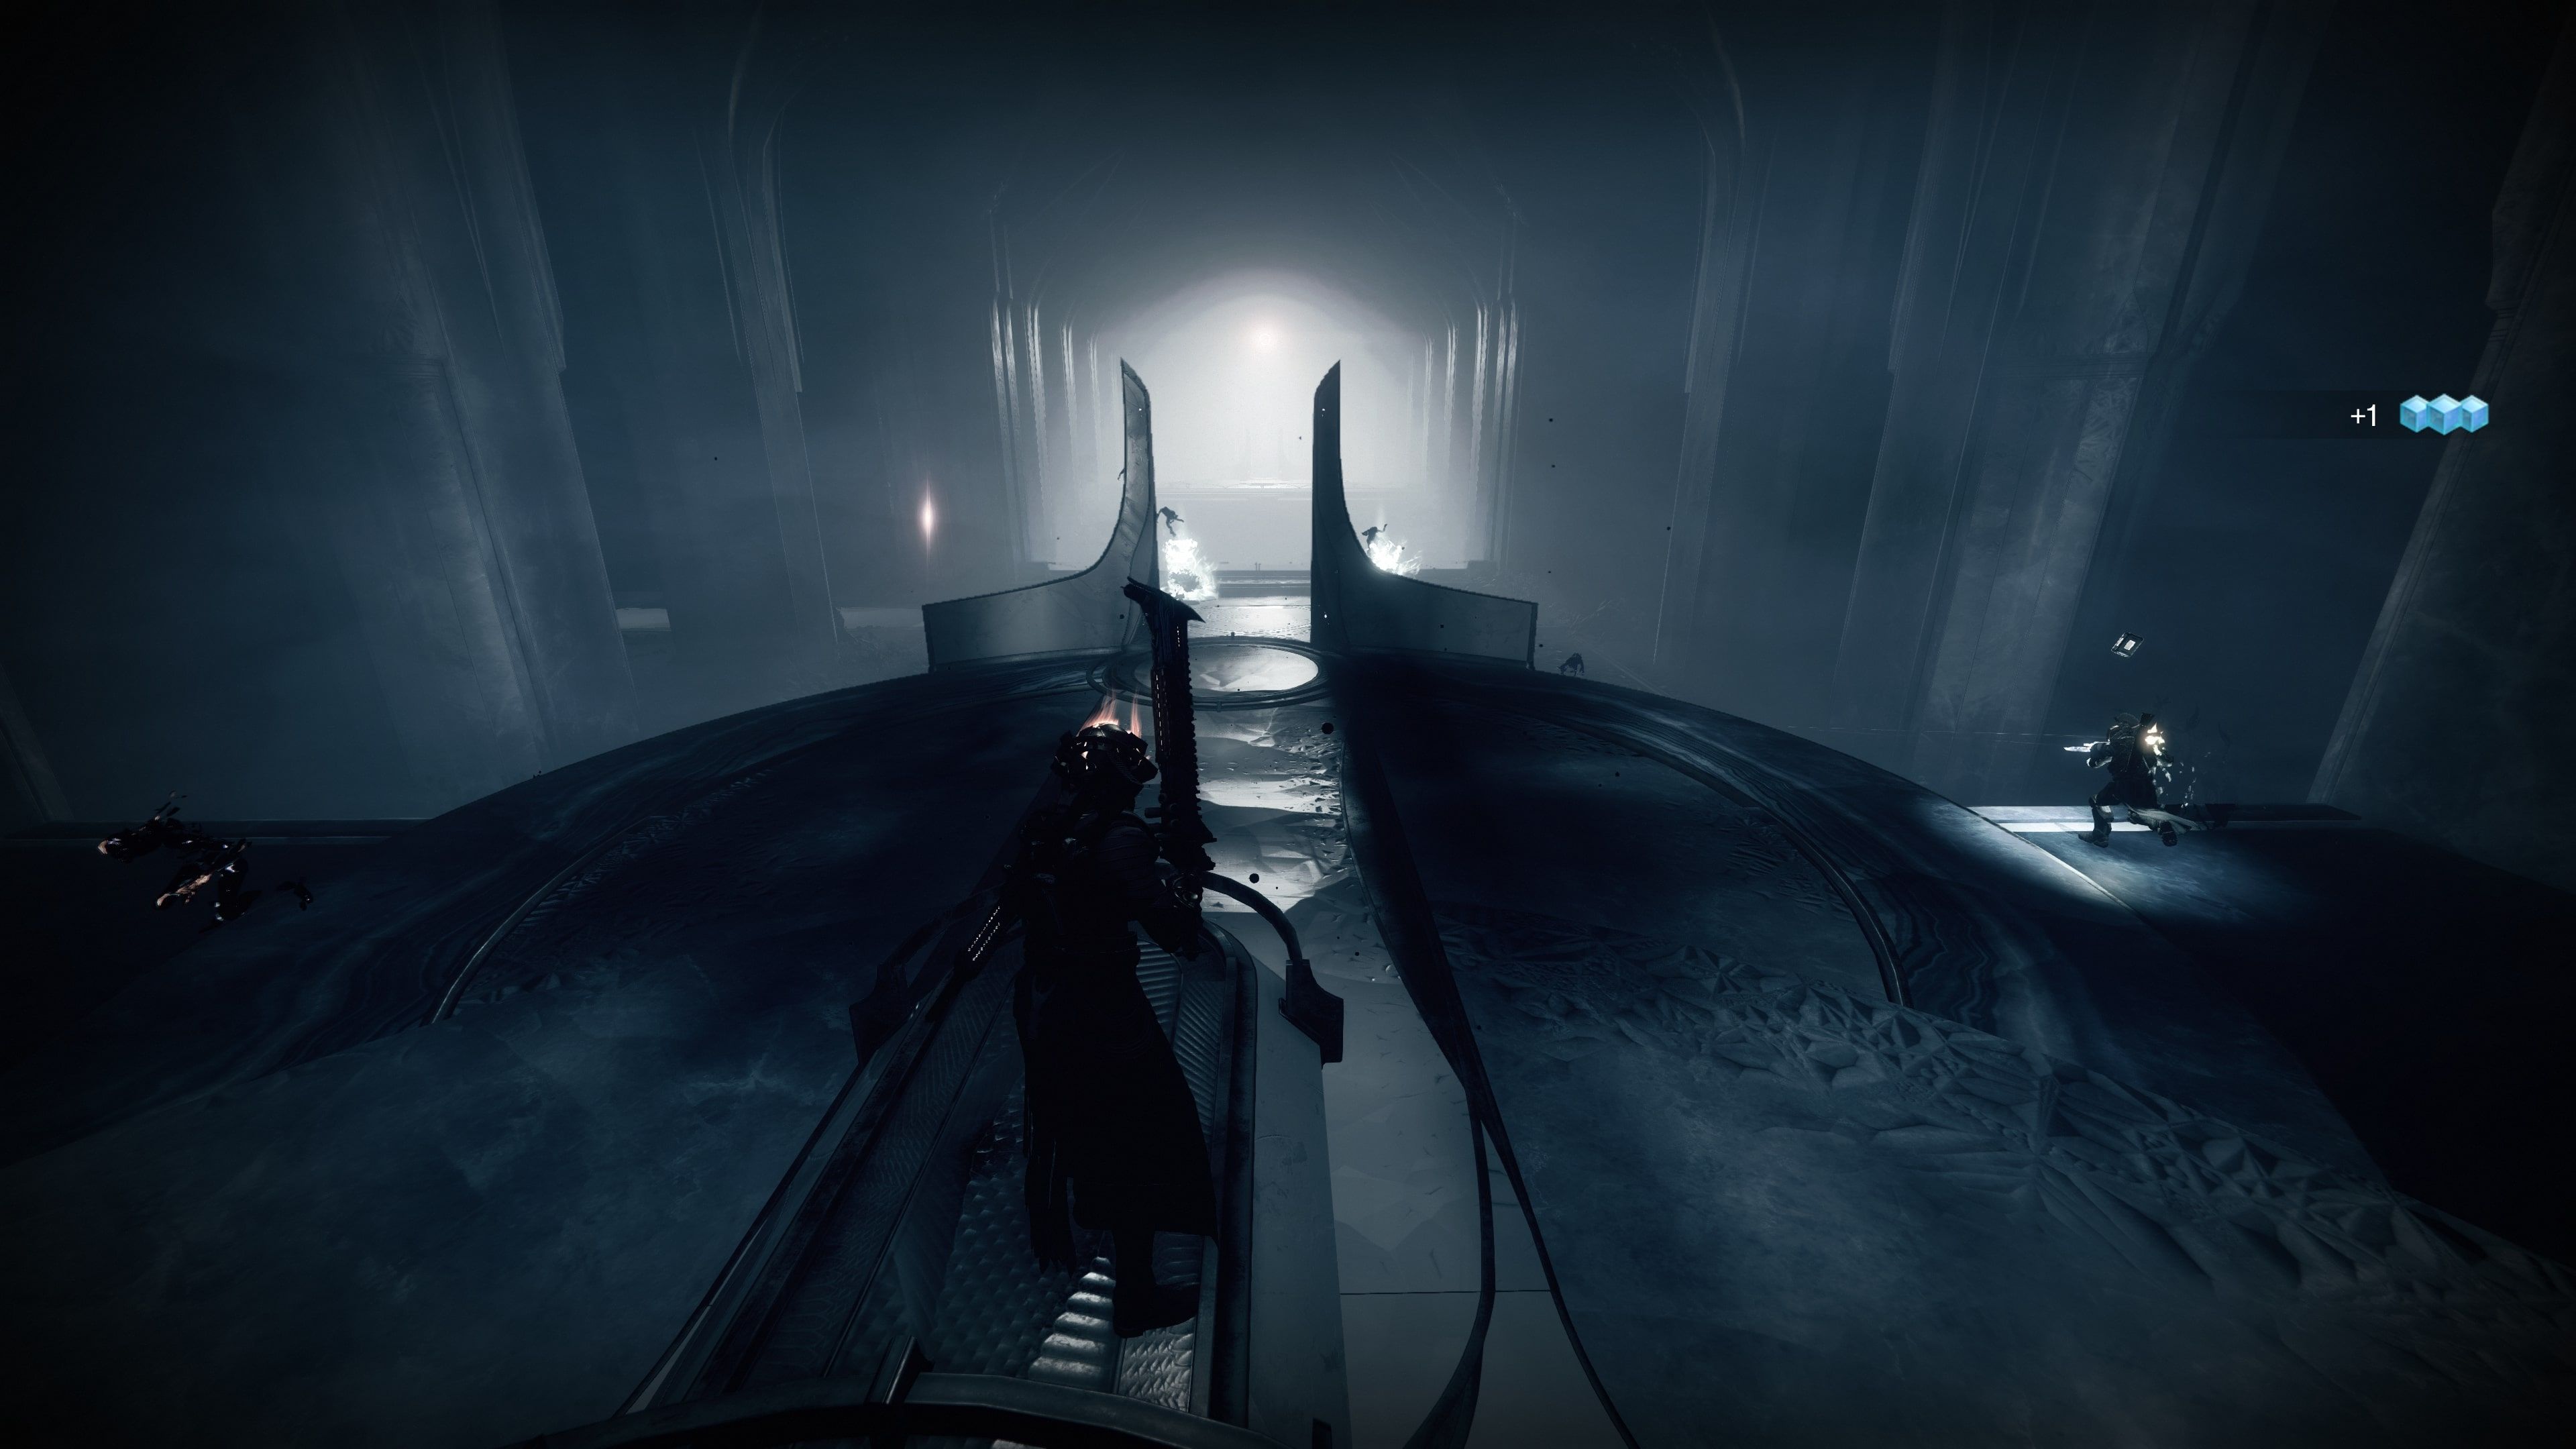
The next obstacle is yet another gigantic room, except this one is full of long, narrow beams arranged in a grid pattern. From the starting area of this room, the exit is to the left where the bright, white light is. Players can easily navigate across the beams, so long as they are careful not to fall off.
It is important to mention that reaching certain areas of this room will cause Ogres to spawn, which will easily kill careless Guardians as their projectiles will knock players off the narrow beams. If players move through this room too quickly, they can cause multiple Ogres to spawn. Take this part slowly and as soon as an Ogre spawns in retreat to a slightly safer spot and snipe the Ogre. Players should continue progressing in this way until they reach the end of the room. Once players reach the point where there are no more beams, cross the gap and go through the doorway.
Named the Thrallway by the Destiny 2 community, this next area is a winding hallway with infinitely spawning Shadow Thralls. As soon as players cross the doorway from the Ogre room to the Thrallway, they will cross a threshold that gives them a slowing debuff that prevents them from sprinting and using their jump abilities.
During this encounter, it is crucial that no players attack the Shadow Thralls at any point. The Thralls generally spawn near the players, so, provided the players are always moving forward, the Thralls are usually chasing the players. Stopping to kill any Thralls not only wastes time but also causes more to spawn further ahead, which allows them to easily surround the players and kill them. Players should clear out any particularly dangerous Thrall swarms with a grenade, but only as a last resort.
Players should focus on constantly moving through the area and dodging the Shadow Thralls to avoid getting swarmed. While the Thrallway path is quite linear, holding a sword can be useful as the third-person view gives players a wider area to see which can help when looking for the right direction to head in.
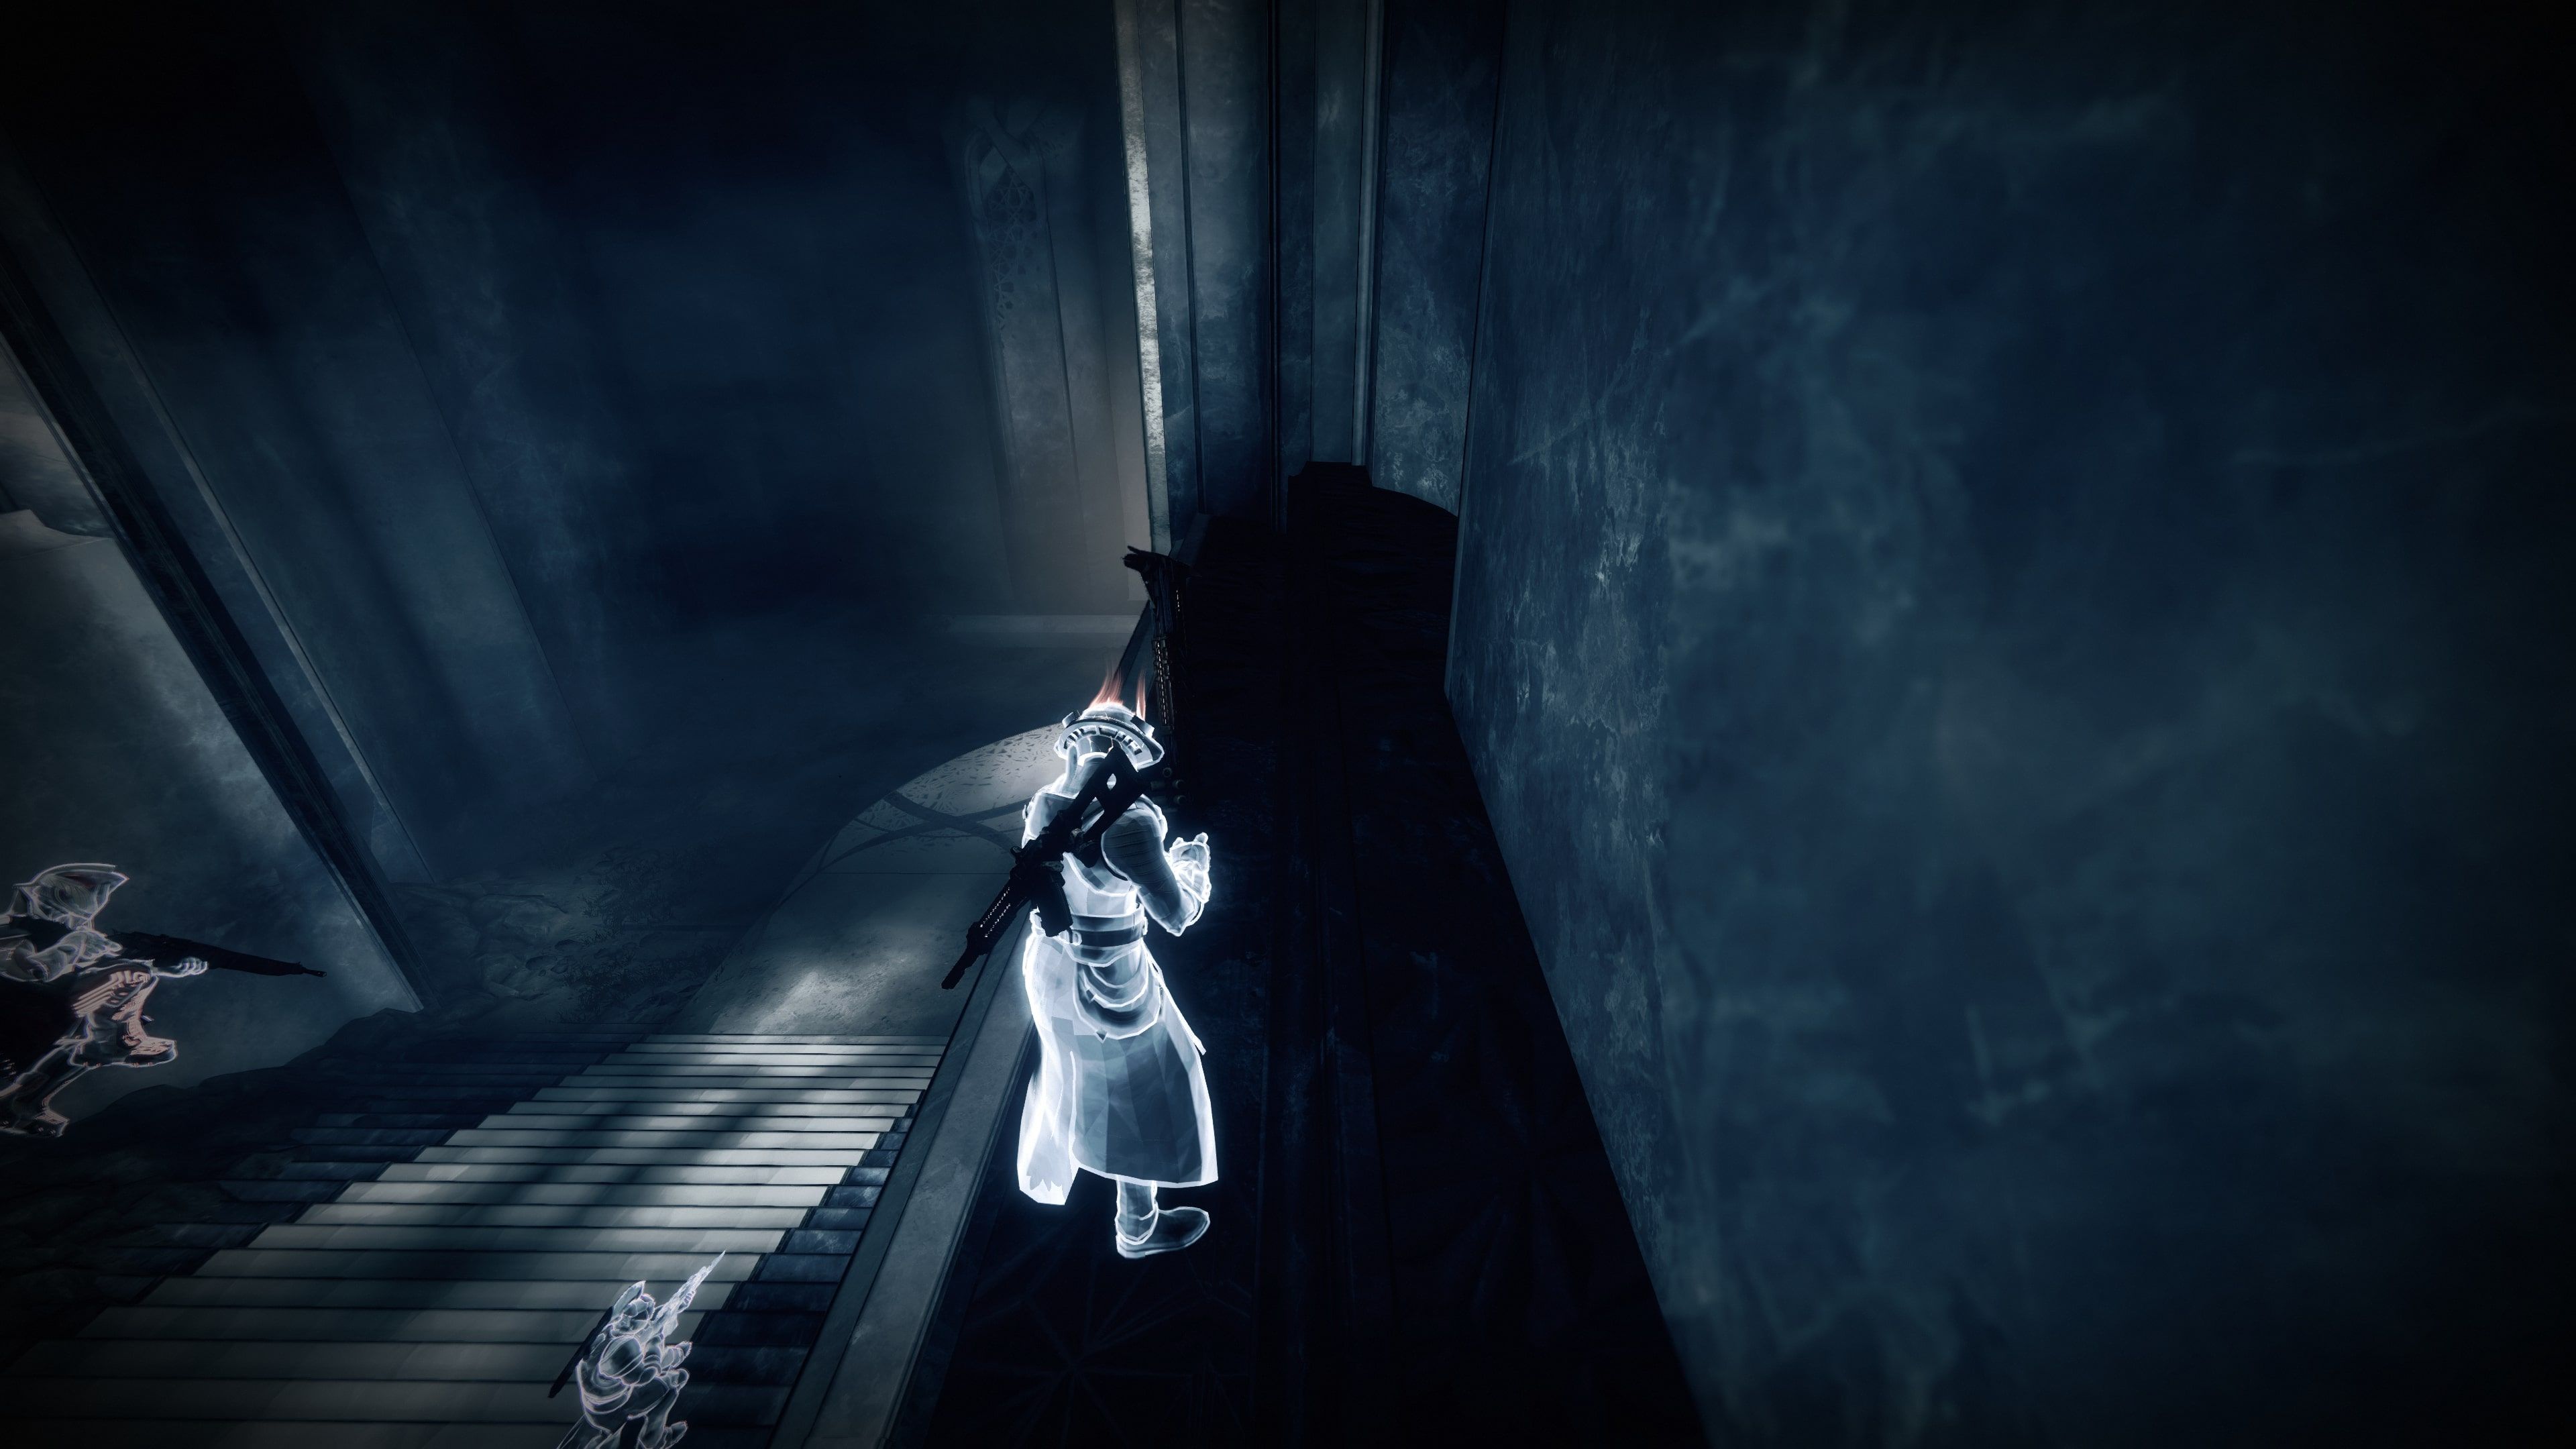
Furthermore, the short stairways in the Thrallway have raised ledges on either side that the Shadow Thralls cannot climb. Players can run along these short ledges to create a bit of space and jump over any Thralls that might have spawned ahead.
Players will have reached the end of the Thrallway when they need to jump through another threshold. This removes the slowing debuff, allowing players to jump and sprint again.
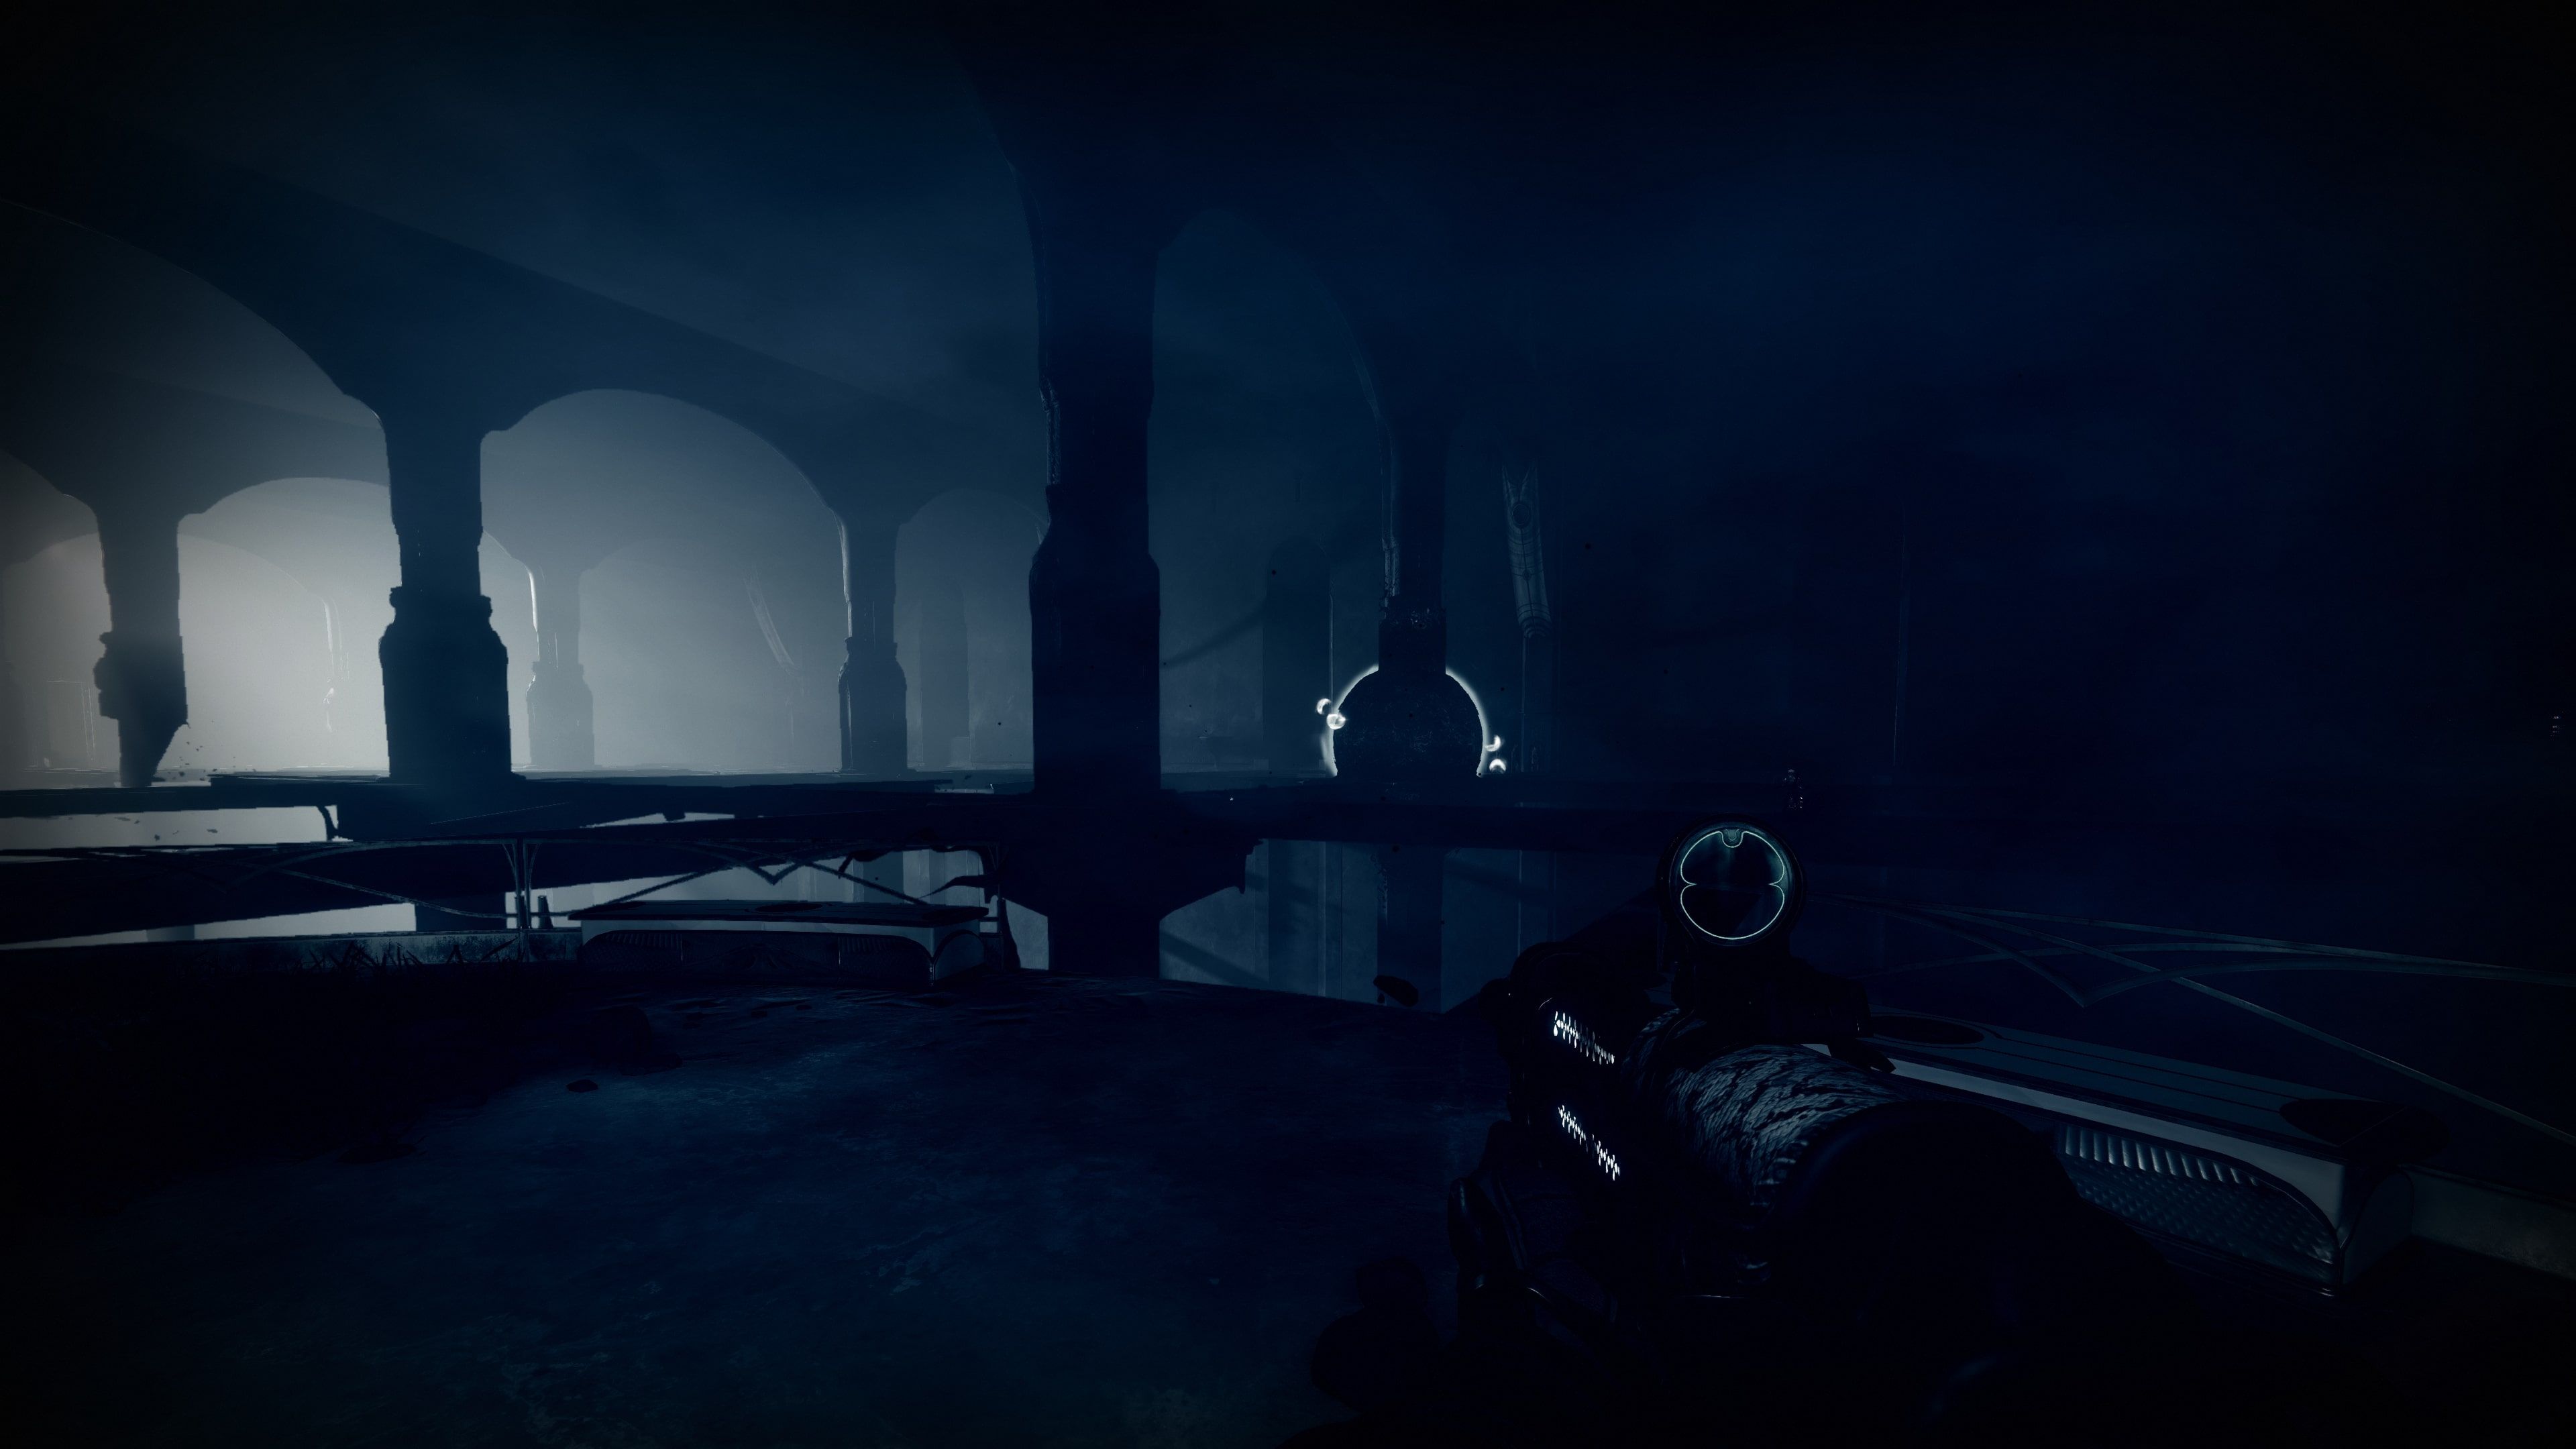
After jumping out the Thrallway and landing on the ground, players need to continue forward into the next area and cross a broken bridge. Once on the other side, players should turn right and head towards the large temple building across the chasm.

There are two possible routes for crossing this area. The first is by running forward and turning left into a hallway with black sludge on the floor. Players on this route essentially need to play a game of The Floor Is Lava to cross the hallway alive.
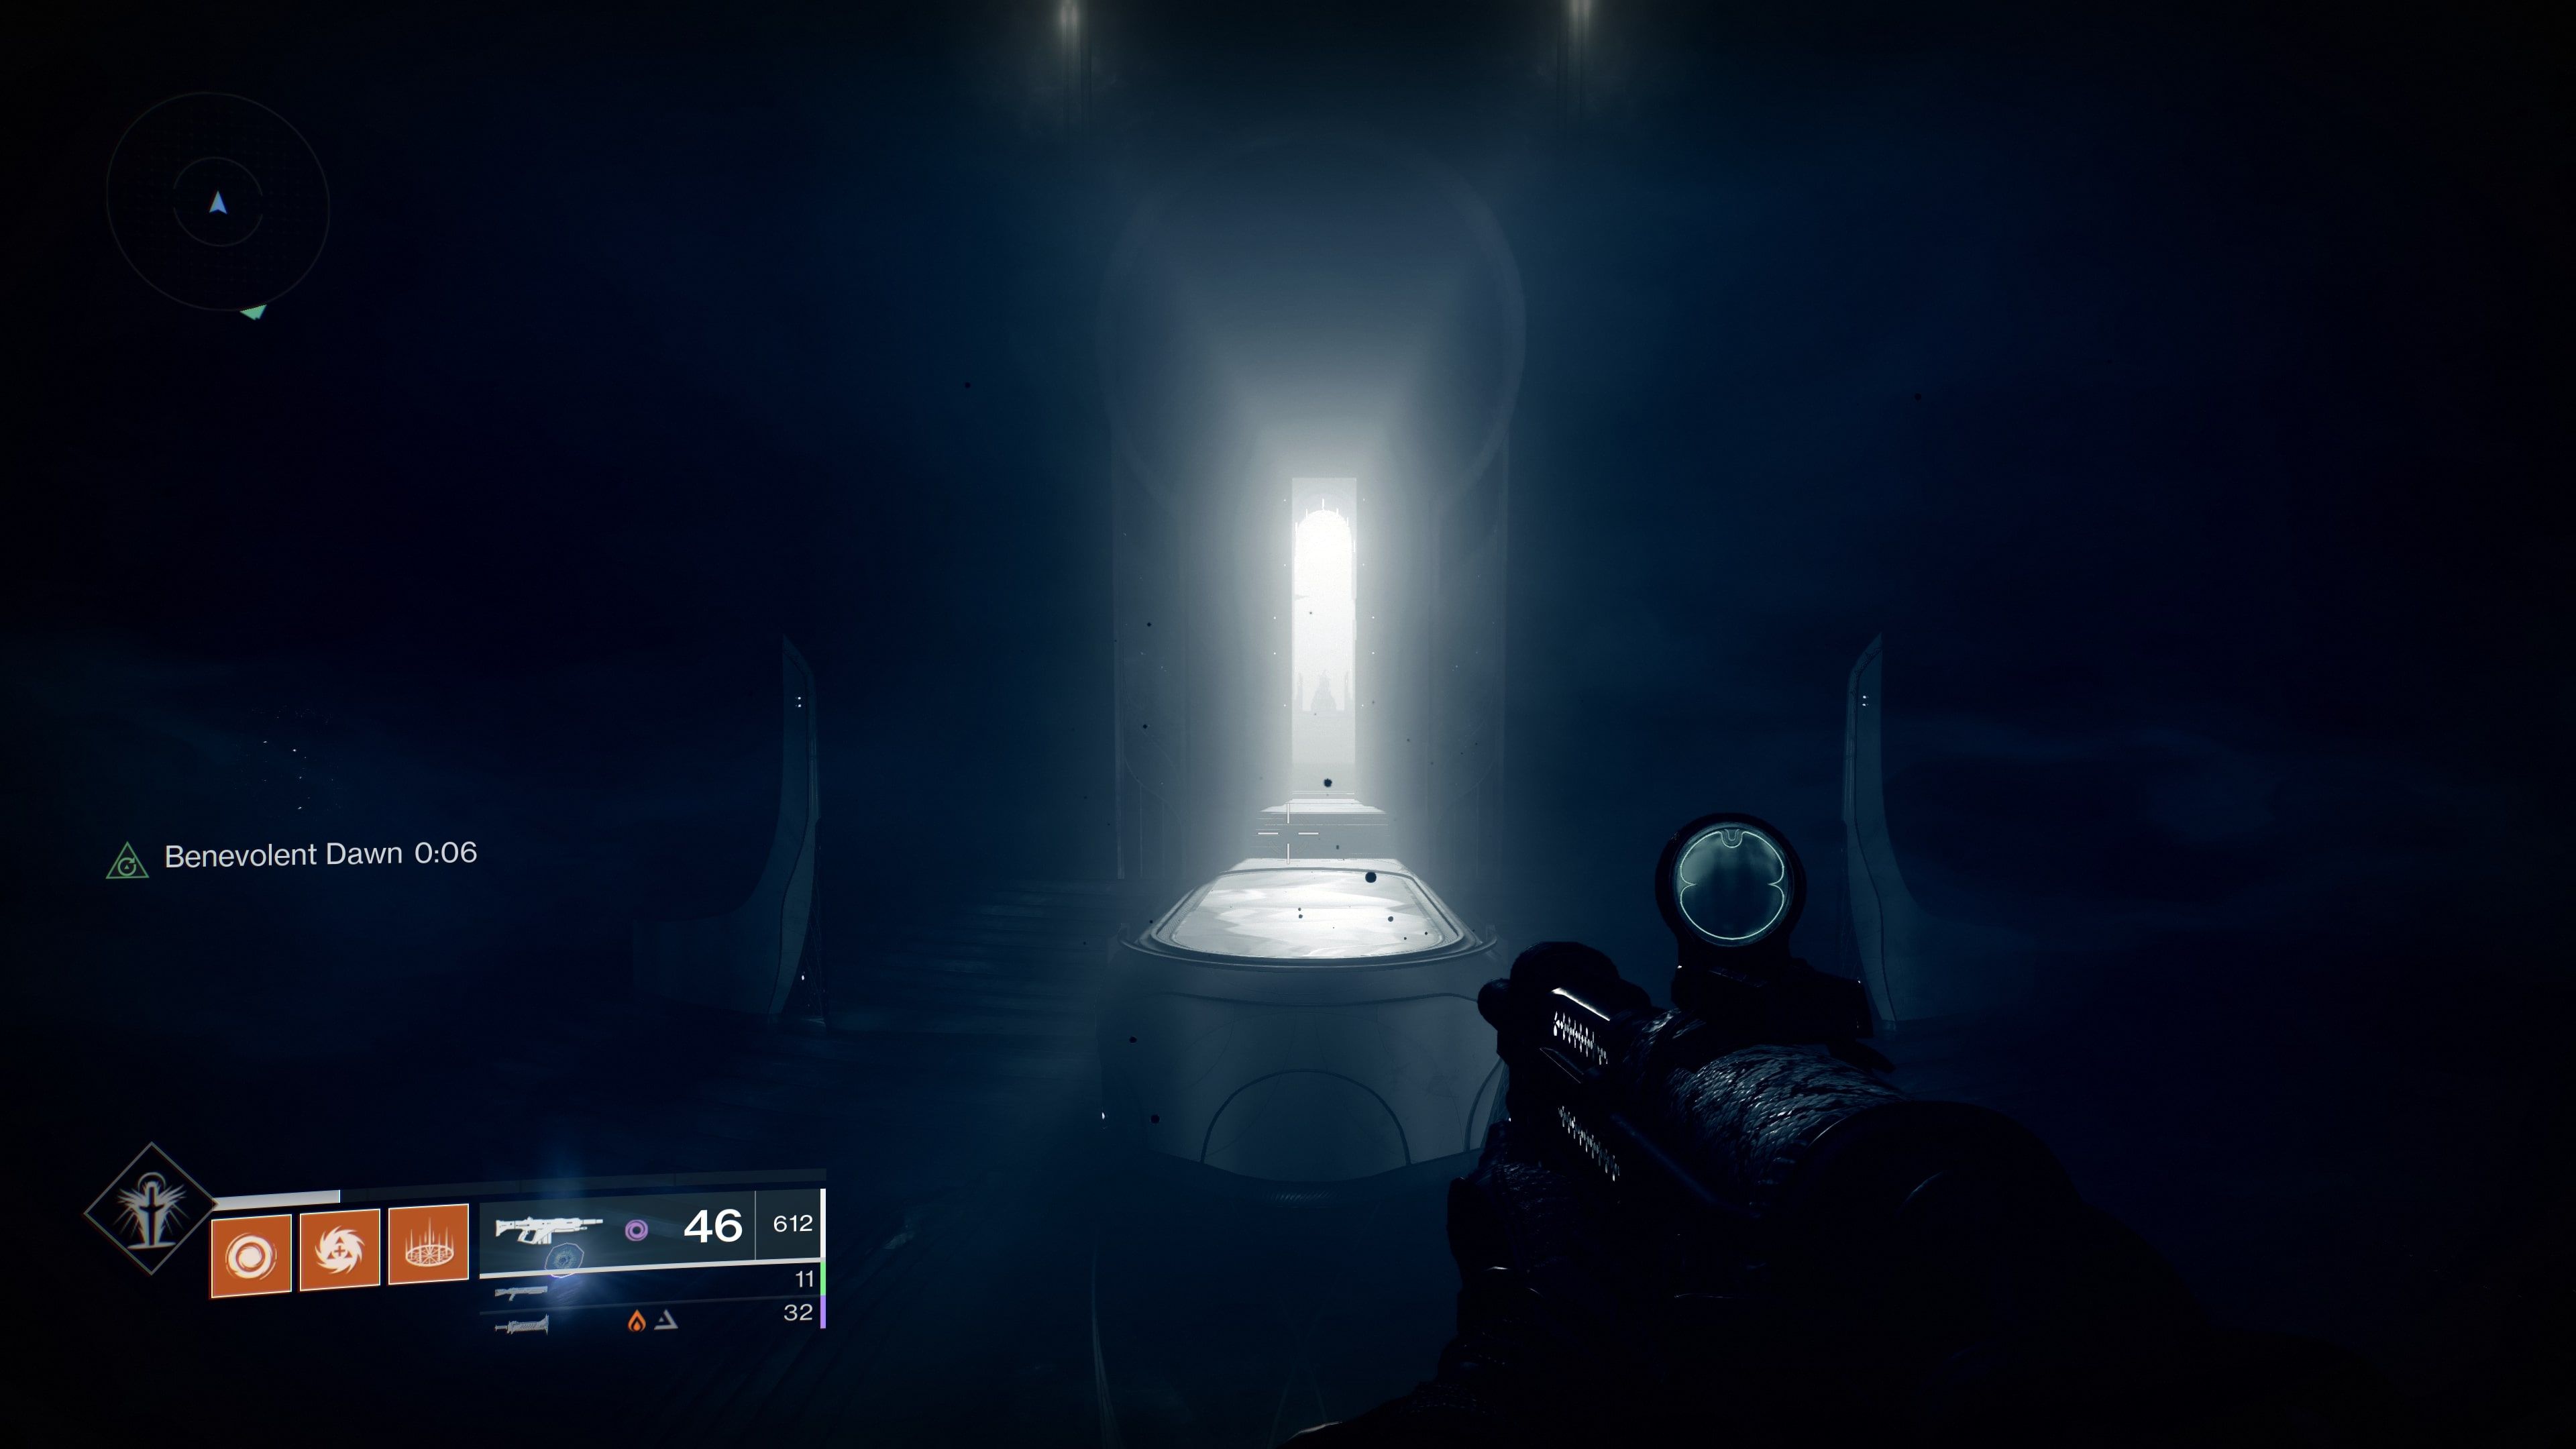
The second option is to jump up onto a series of rocky ledges. This route is very simple but is full of Taken wall blasts that will shoot players away from the ledges if they are caught in the blast. Once players have reached the entrance to the temple building, clear the area of enemies and head inside. Eventually, they will reach a doorway with a small balcony and nothing to see. Players should jump off the balcony to begin the second encounter.
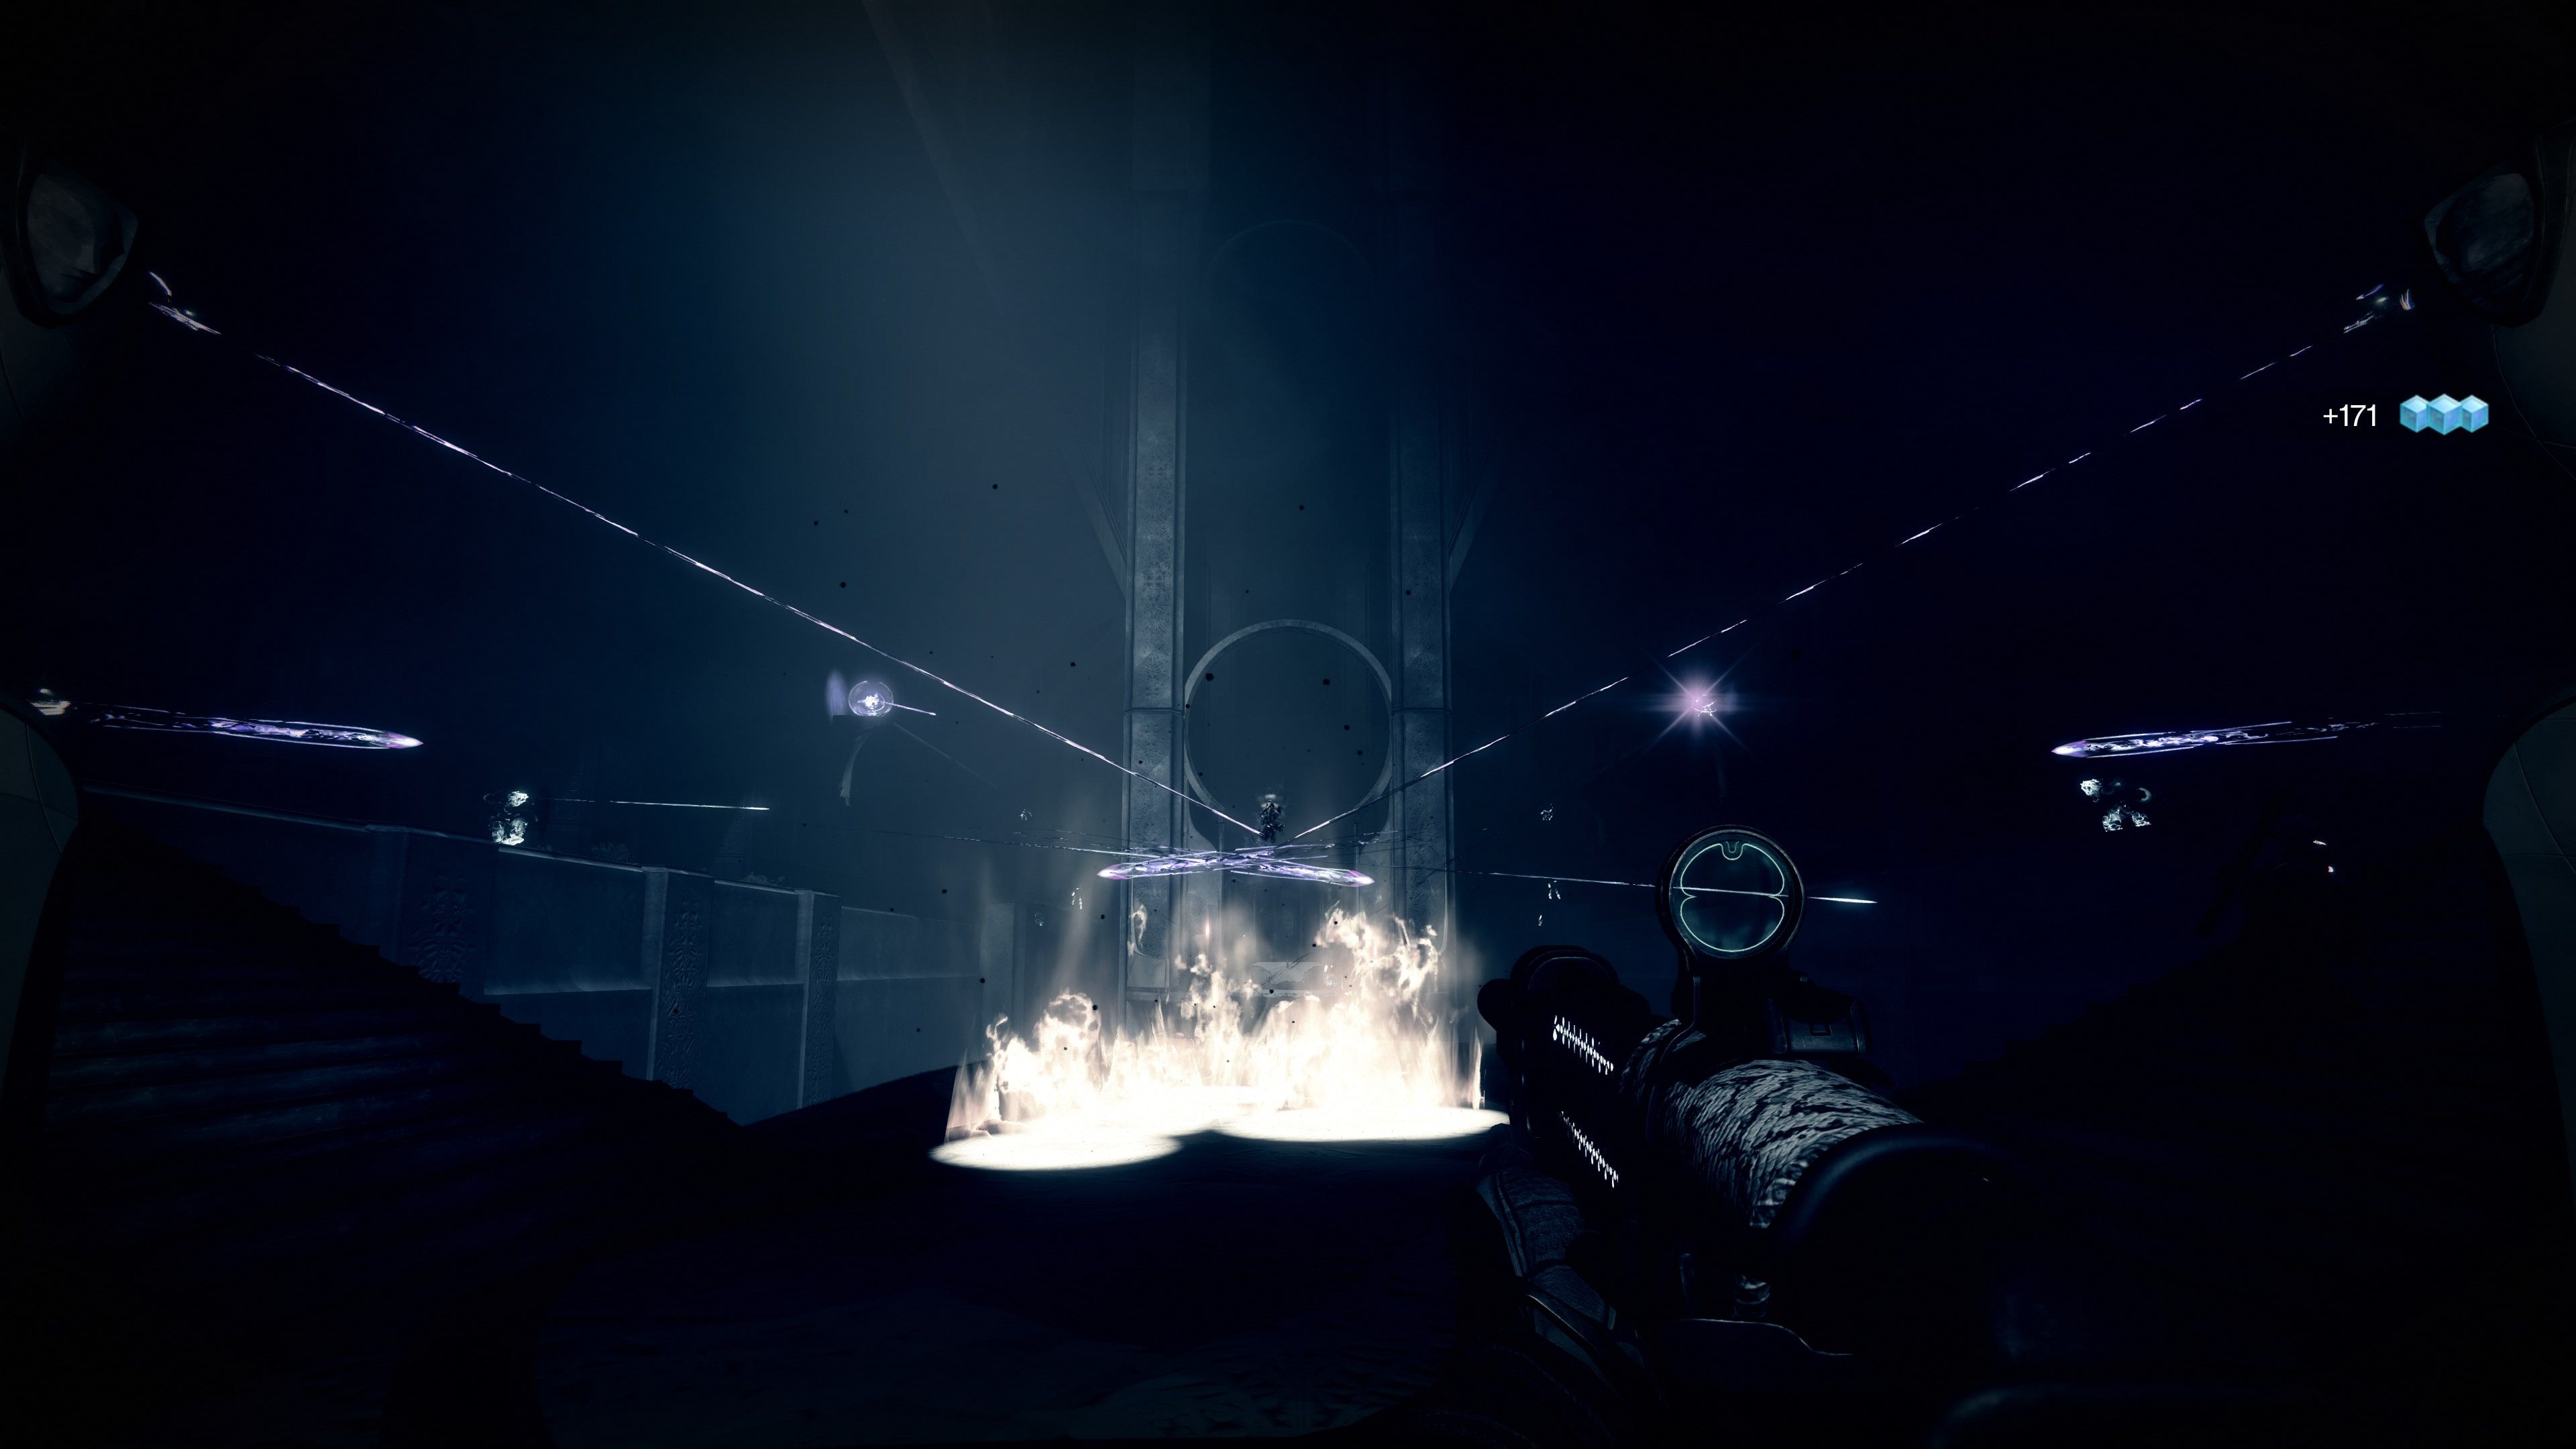
Vorgeth is the first boss and second major encounter of the Shattered Throne dungeon. It is a gigantic Taken Ogre which is always surrounded by a shield, making it immune to damage. To complete this encounter, players need to take down Vorgeth’s shield and damage it until it dies.
Vorgeth’s arena is shaped like a large square, where Vorgeth is in the middle. Once players land in the arena, four groups of enemies will spawn on each side of the arena. Each group of enemies consists of two Vandals, two Goblins, and one Wizard known as a Keeper of Petitions.
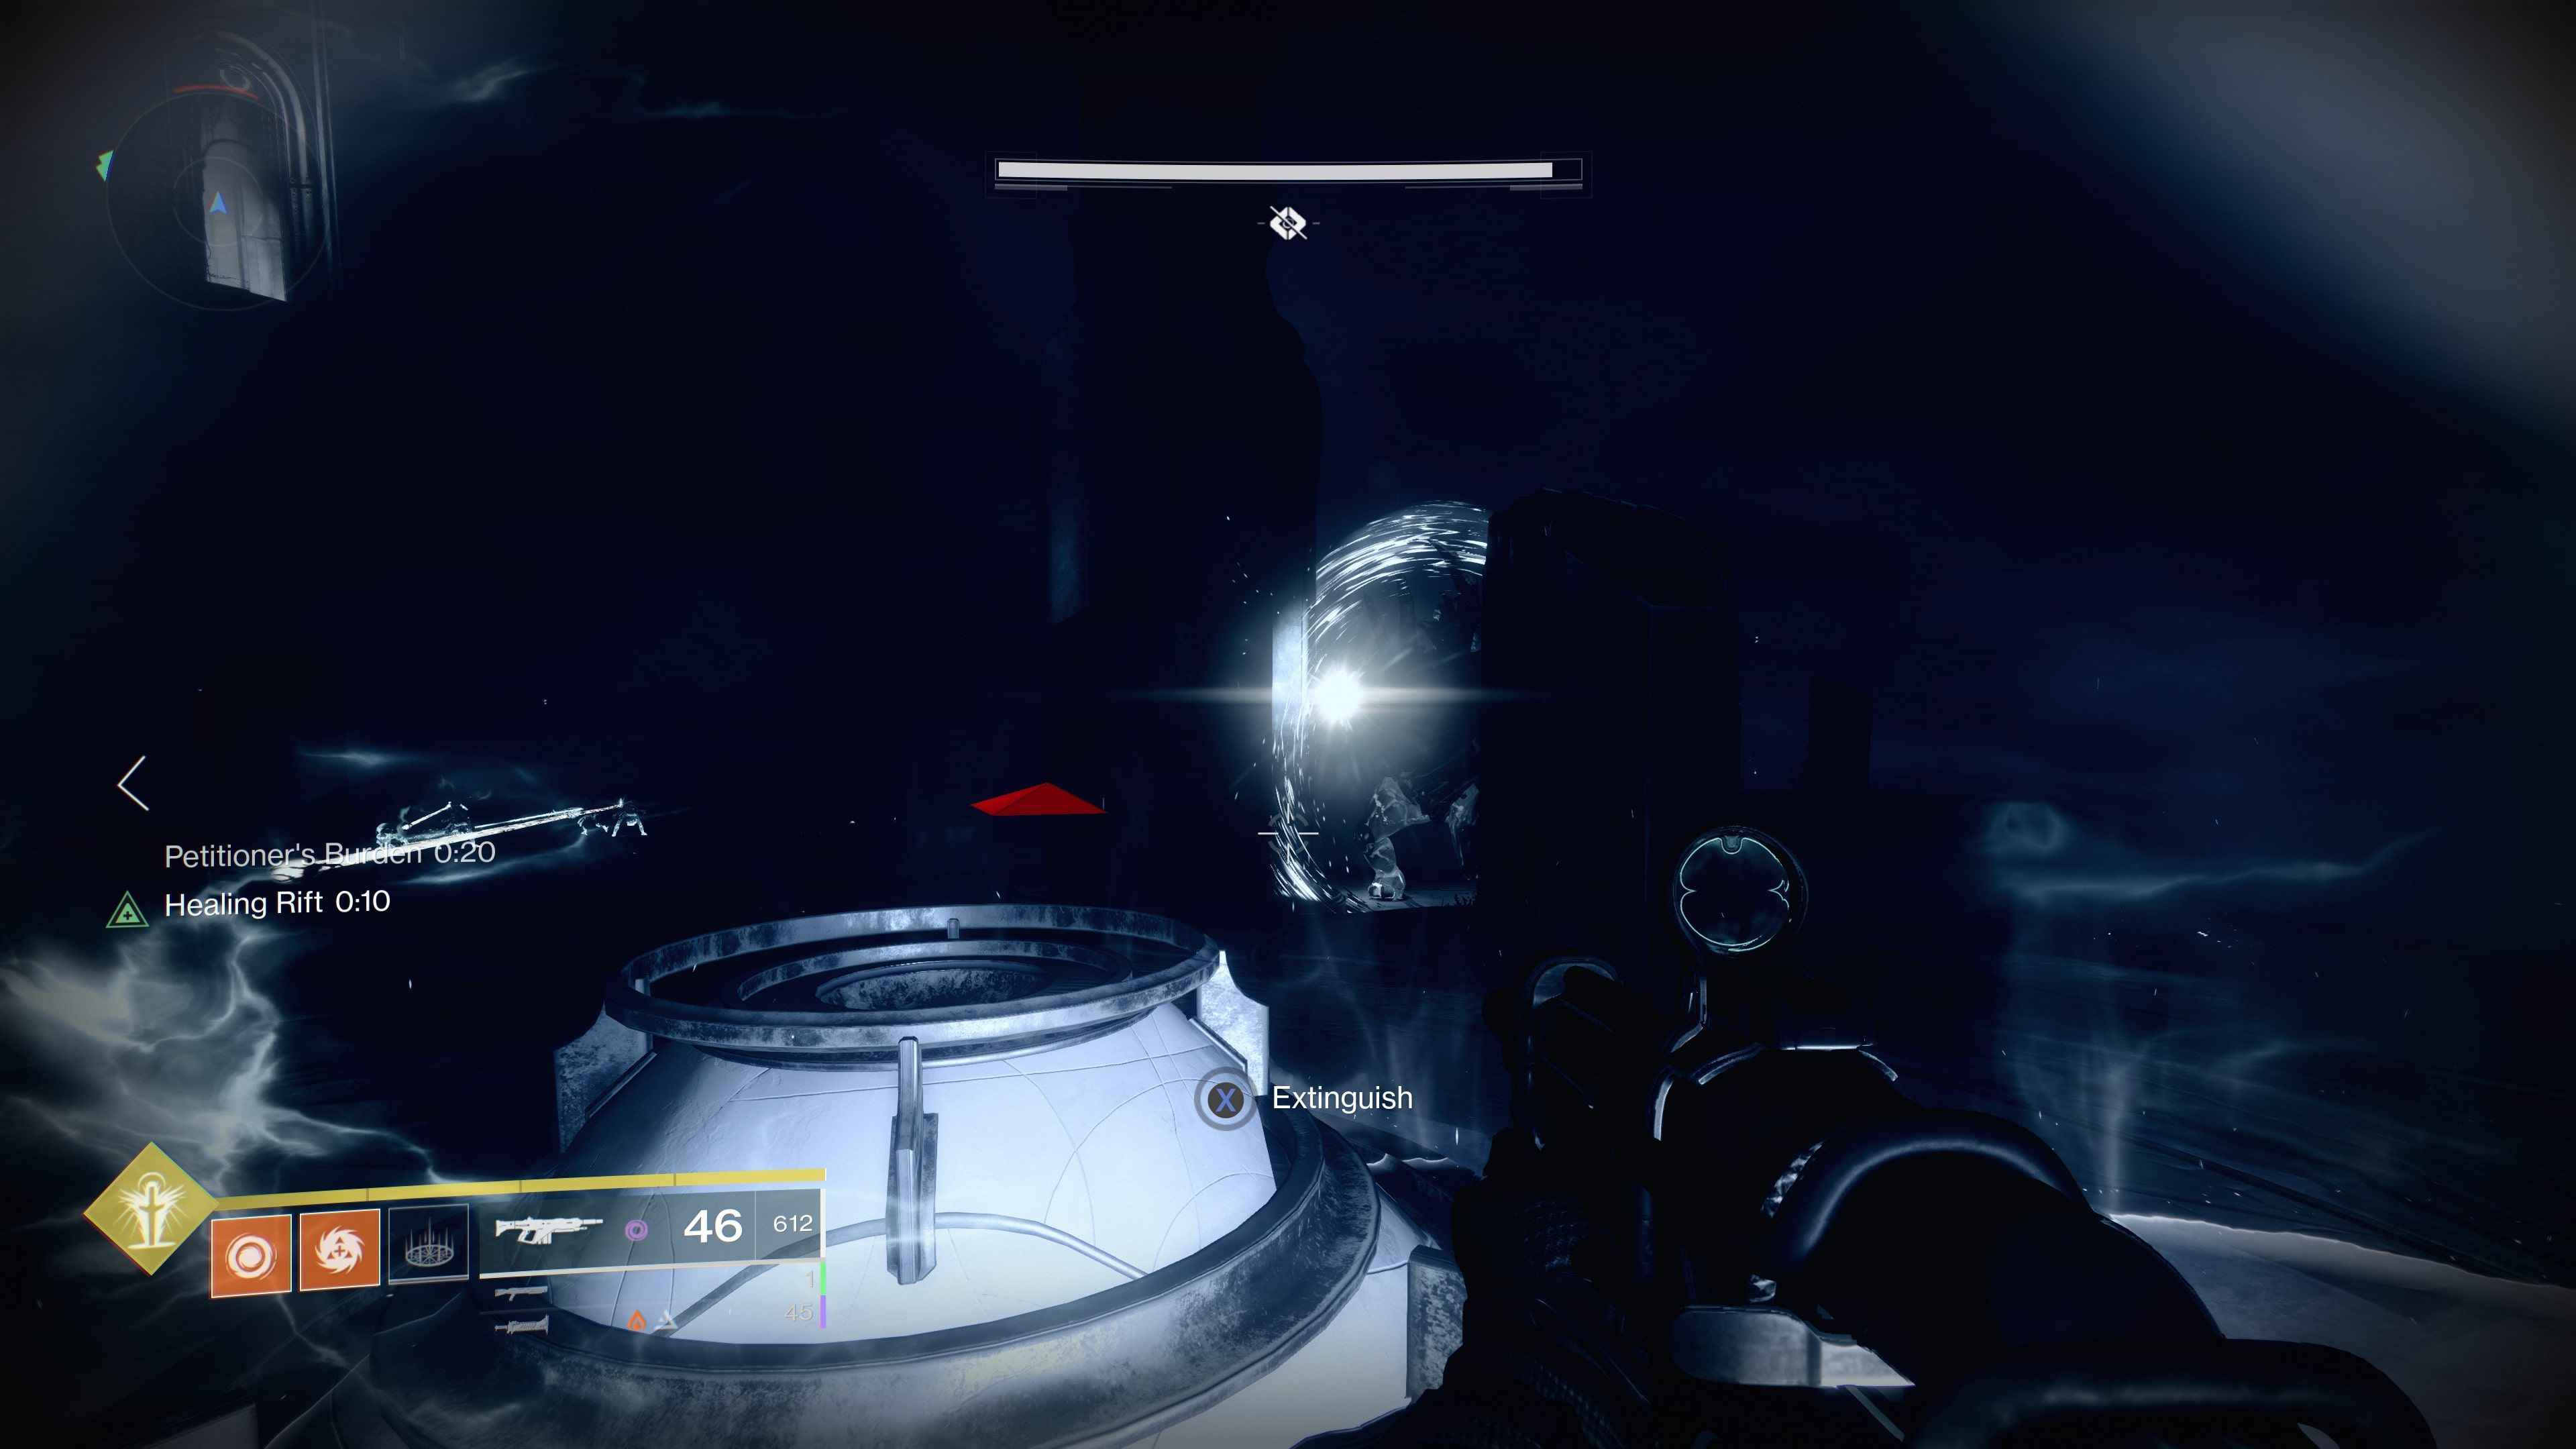
Players need to kill the four Wizards and run through the glowing purple orbs that they drop. Doing this will give all players the Petitioner’s Mark buff which has a 45-second timer. Players will die if the timer runs out; however, the timer will be refreshed every time another Petitioner’s Mark buff is picked up.
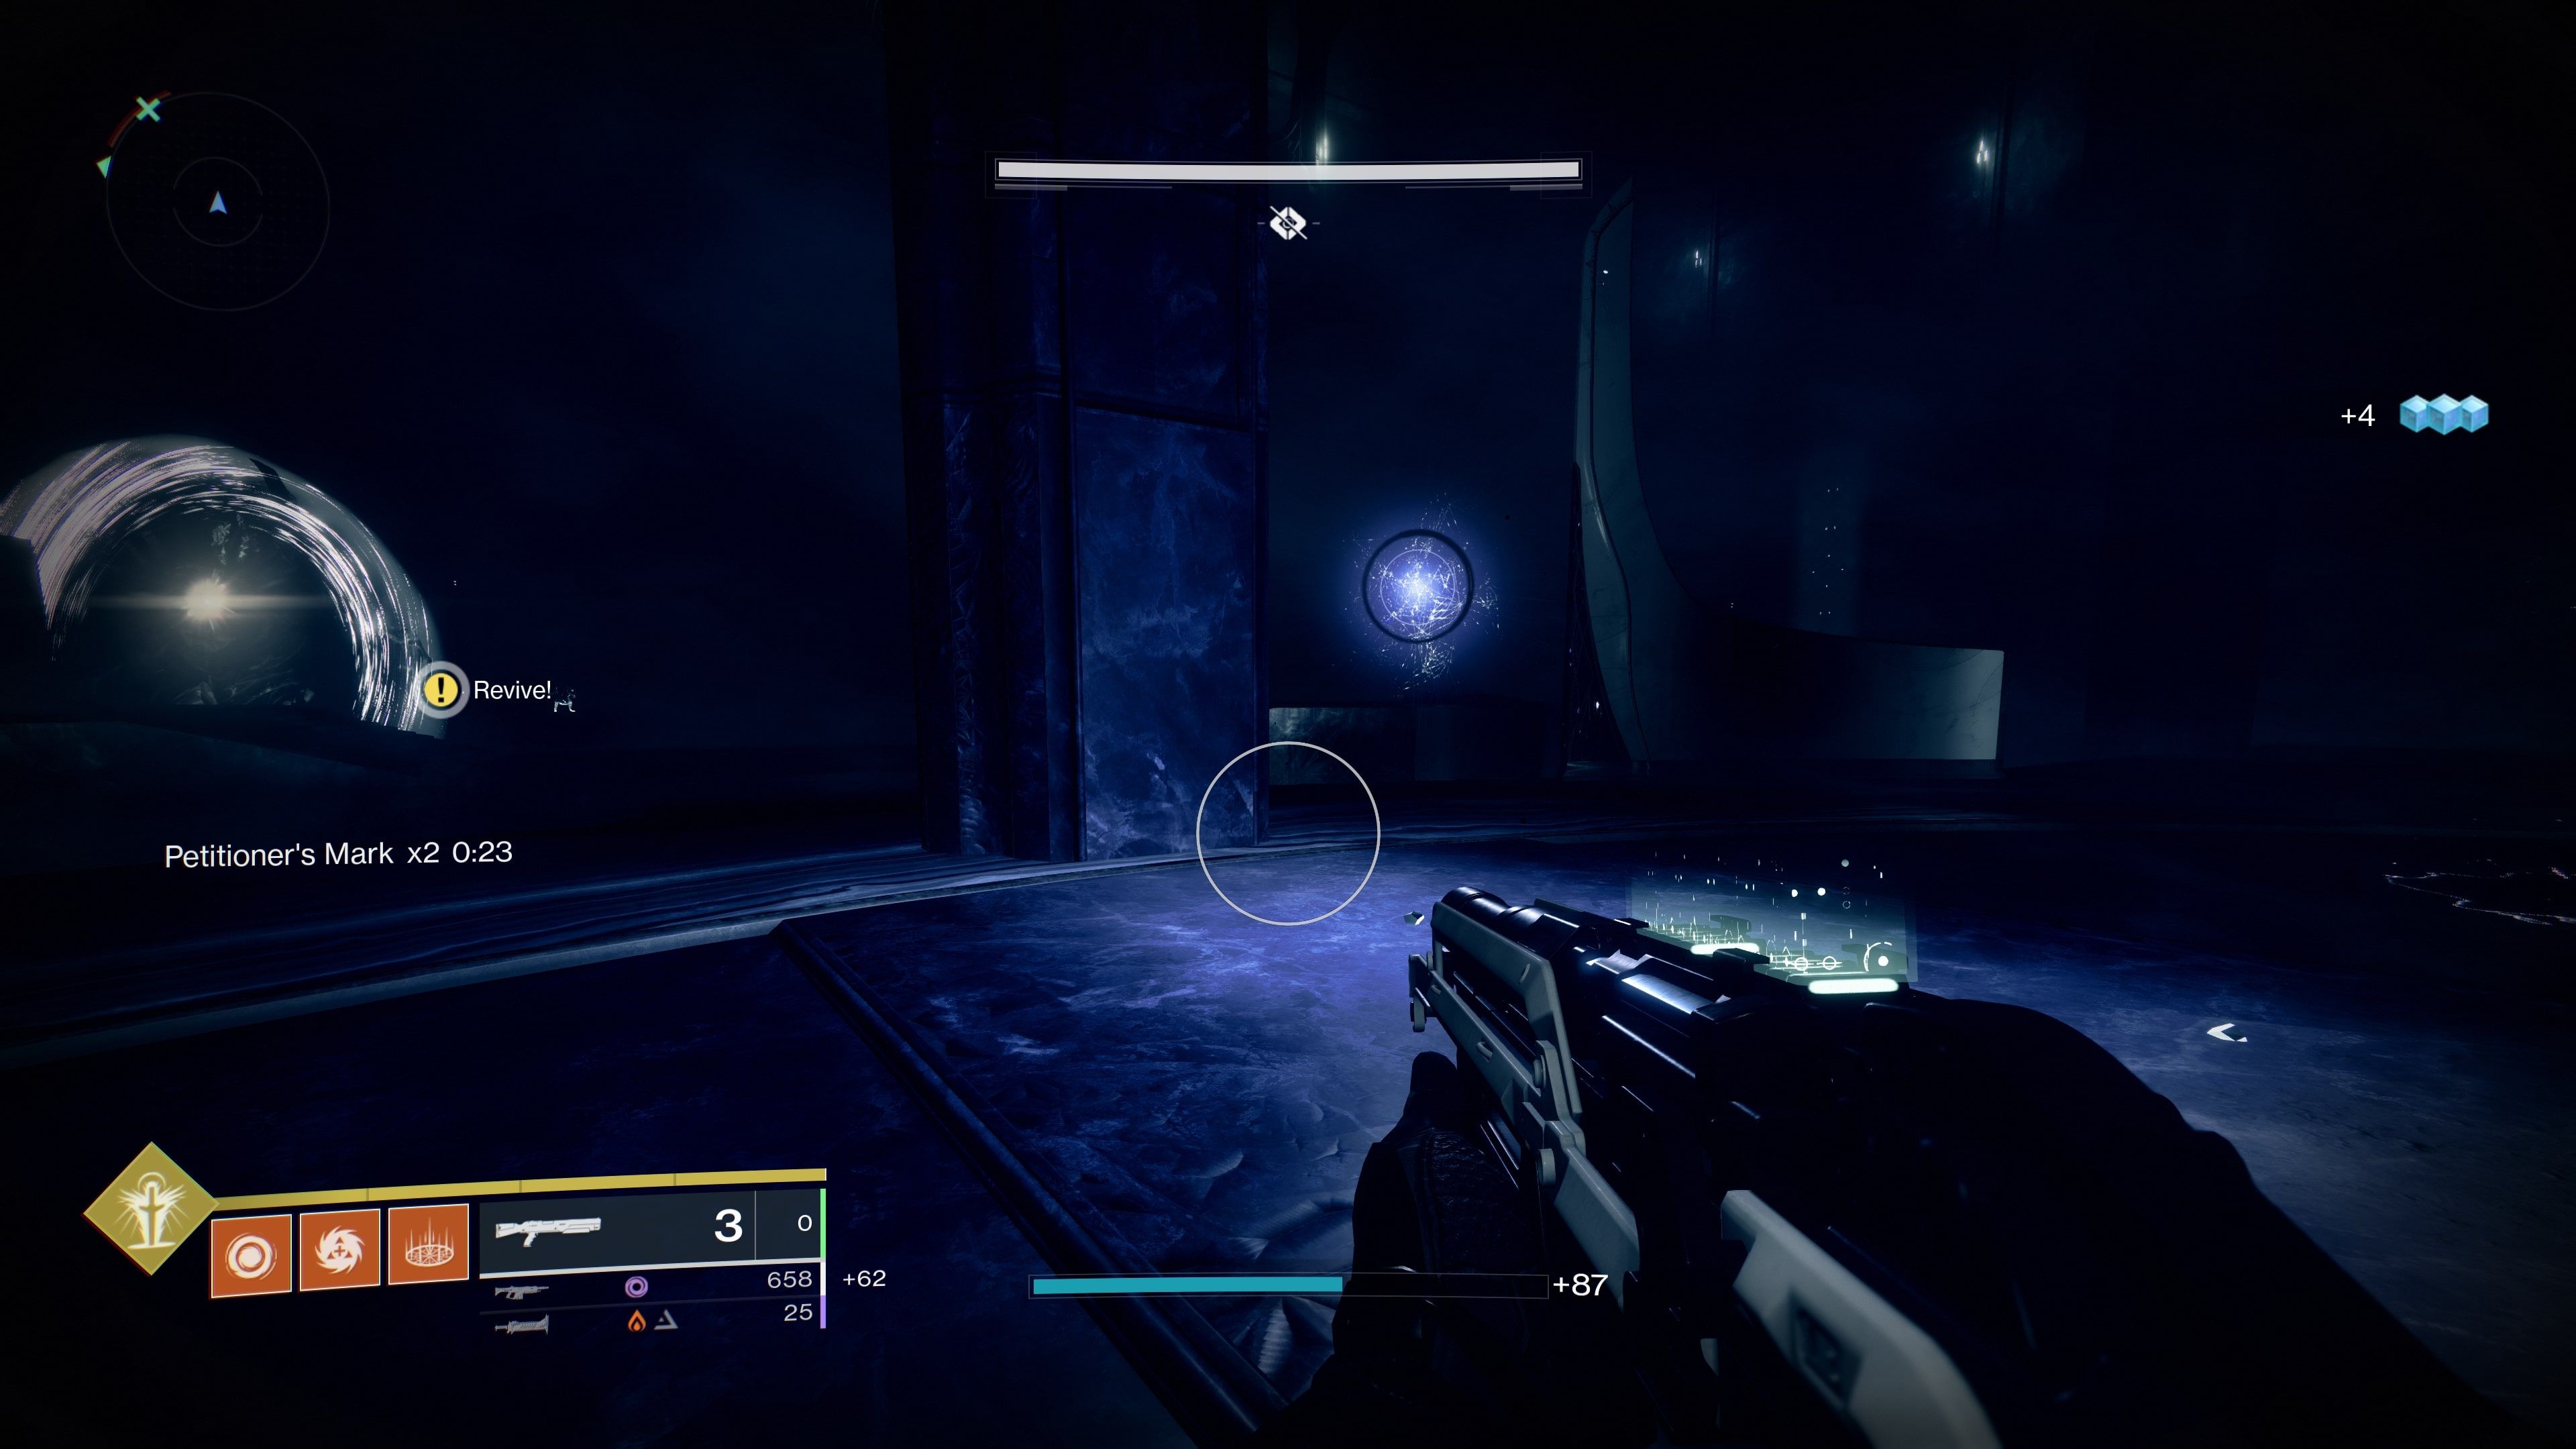
This buff does nothing until all four Petitioner’s Marks have been picked up, at which point the buff will change to Petitioner’s Burden, which also has a 45-second timer. In terms of strategy for this phase of the boss fight, players can either focus on killing all the additional enemies in the arena, leaving just the four Wizards to kill, or they can tackle each group one by one until all the Wizards are dead. The latter method obviously requires players to act quickly, otherwise, they will die if the buff times out before they pick up the next one.
Once a player has the Petitioner’s Burden buff, they need to run to one of the four raised platforms that surround Vorgeth and go to the little brazier. The player will be prompted to ‘extinguish’ the brazier which will deposit the buff and remove Vorgeth’s shield.
Now that its shield is down, players just need to do all the damage they can to kill Vorgeth. During this phase, Vorgeth will attack by firing many tracking darts out of its back, which can easily kill a Guardian if too many hit them. Ward of Dawn and Well of Radiance are great supers for negating this damage and buffing damage to Vorgeth.
Nova Bomb, Blade Barrage, and even Thundercrash with the right exotic armor and mods, are all great supers to use quickly for massive damage. In terms of weapons, any good boss-killing weapons such as Anarchy and Witherhoard paired with a slug shotgun will work well. Swords, especially Falling Guillotine and Lament, will probably be the best choice when paired with a Ward of Dawn or Well of Radiance.
If players are not able to defeat Vorgeth in one damage phase, its shield will come back and more enemies and Wizards will spawn. Simply repeat the previous steps to take down Vorgeth’s shield. If players fail to defeat Vorgeth after they have extinguished the fourth brazier, they will die and must start again.
Once Vorgeth is defeated, players will get their second set of rewards and a large bright doorway will open. Continue through the doorway and prepare to climb the tower to reach the final boss.
This next part is quite straightforward as it just requires players to keep running through Awoken ruins to find gravity lifts that shoot them up to more Awoken ruins. At one point, there is a mini Thrallway section where there will be a long staircase that curves up and to the left. Players need to run up the stairs and turn right just after they reach the top. There will be an archway that they can run through.
After that, players need to keep running forward until they reach a cliff edge and then turn right. There will be a series of narrow ledges running along a large wall. Players need to run and jump their way across these ledges, avoiding getting shot into the abyss by Taken wall blasts and getting killed by Hobgoblins.
Next, players need to keep heading along the main path and go up a few gravity lifts. Eventually, they will go up the final lift and arrive at the final boss arena to face off against Dûl Incaru.
When players arrive at the arena, Dûl Incaru the giant Hive Wizard, and three massive, heavily-armored Hive Knights will be standing around. Much like the Vorgeth fight, Dûl Incaru is immune to damage until the three Knights have been killed and players have picked up a special buff. As with Vorgeth’s Wizards, Dûl Incaru’s Knights also drop a buff – this one is called Finite Thought – which also has a 45-second timer; however, the timer does not refresh after another buff is picked up.
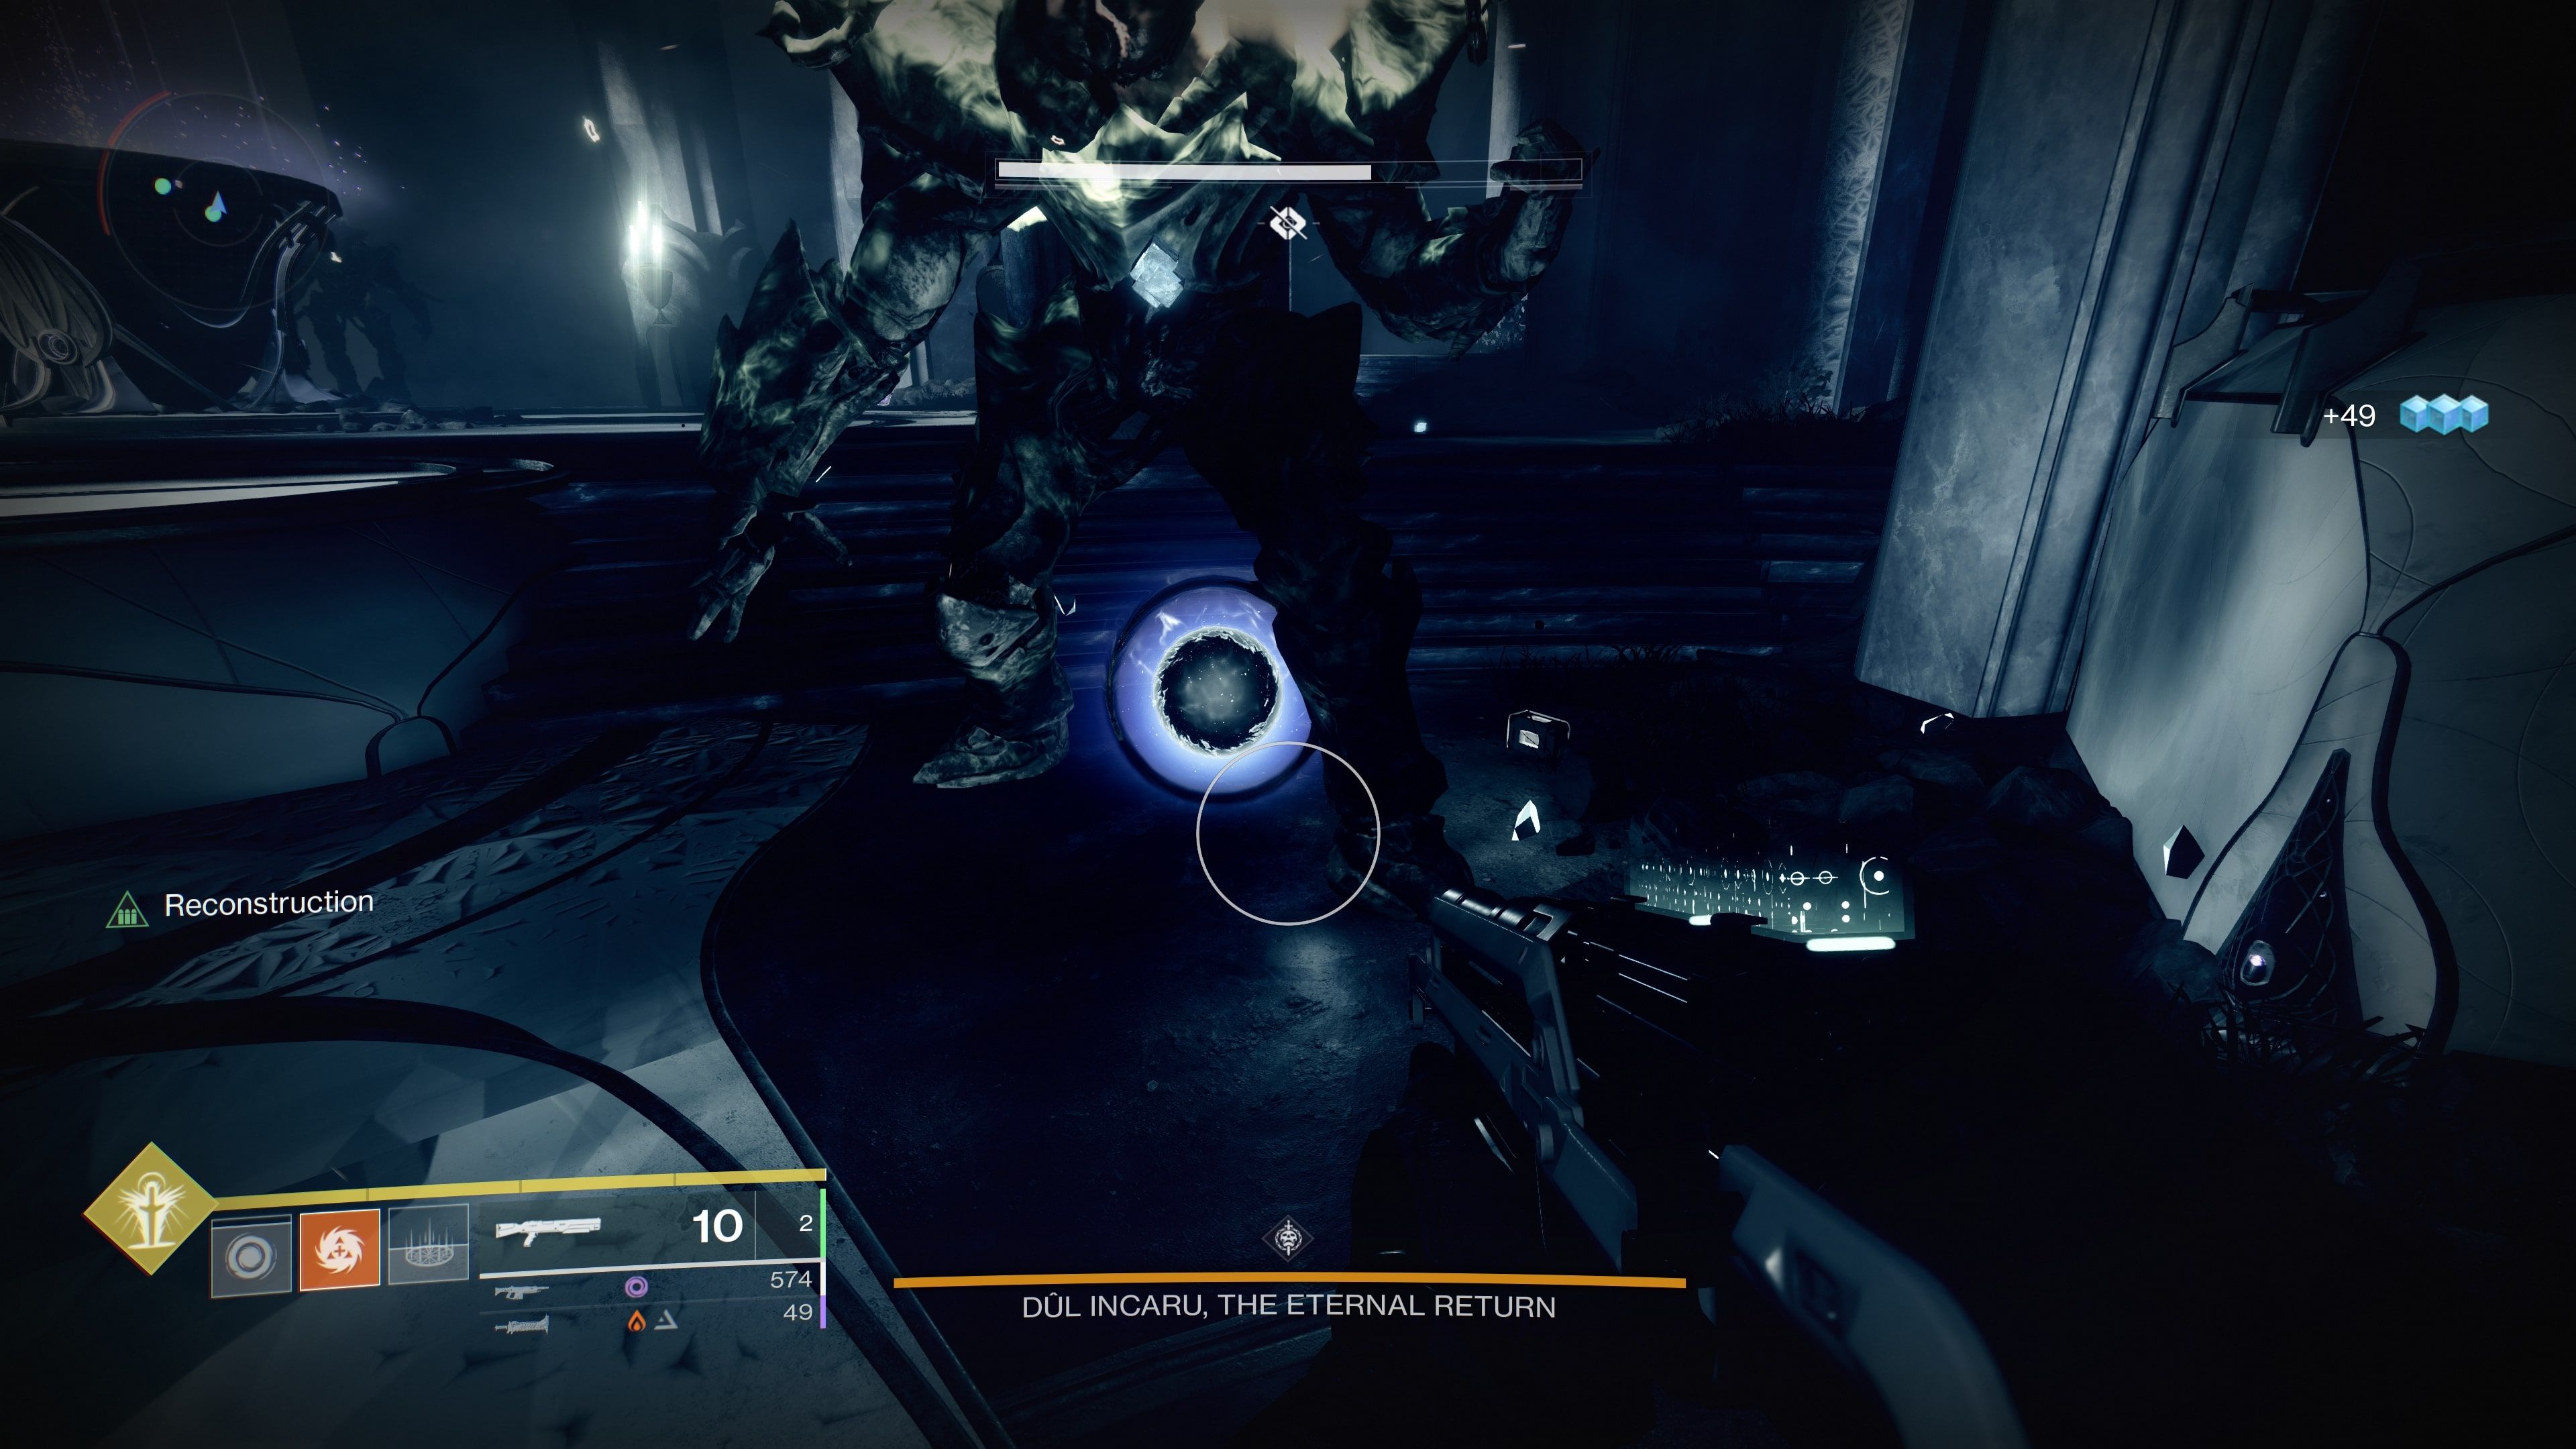
At the start of the fight, Dûl Incaru will also summon two groups of Taken Psions on either side of the arena. Players should immediately head to the areas that the Psions spawn in and kill them to prevent them from multiplying more and causing problems later in the fight.
As soon as they are dead, players need to then work on damaging the Knights an equal amount so that they always have roughly the same amount of health. These Knights walk very slowly but can easily kill players in one hit with their axes, so it is best to keep a bit of distance from them. They will also teleport in and out of the fight and will enter a berserk mode when their health gets really low.
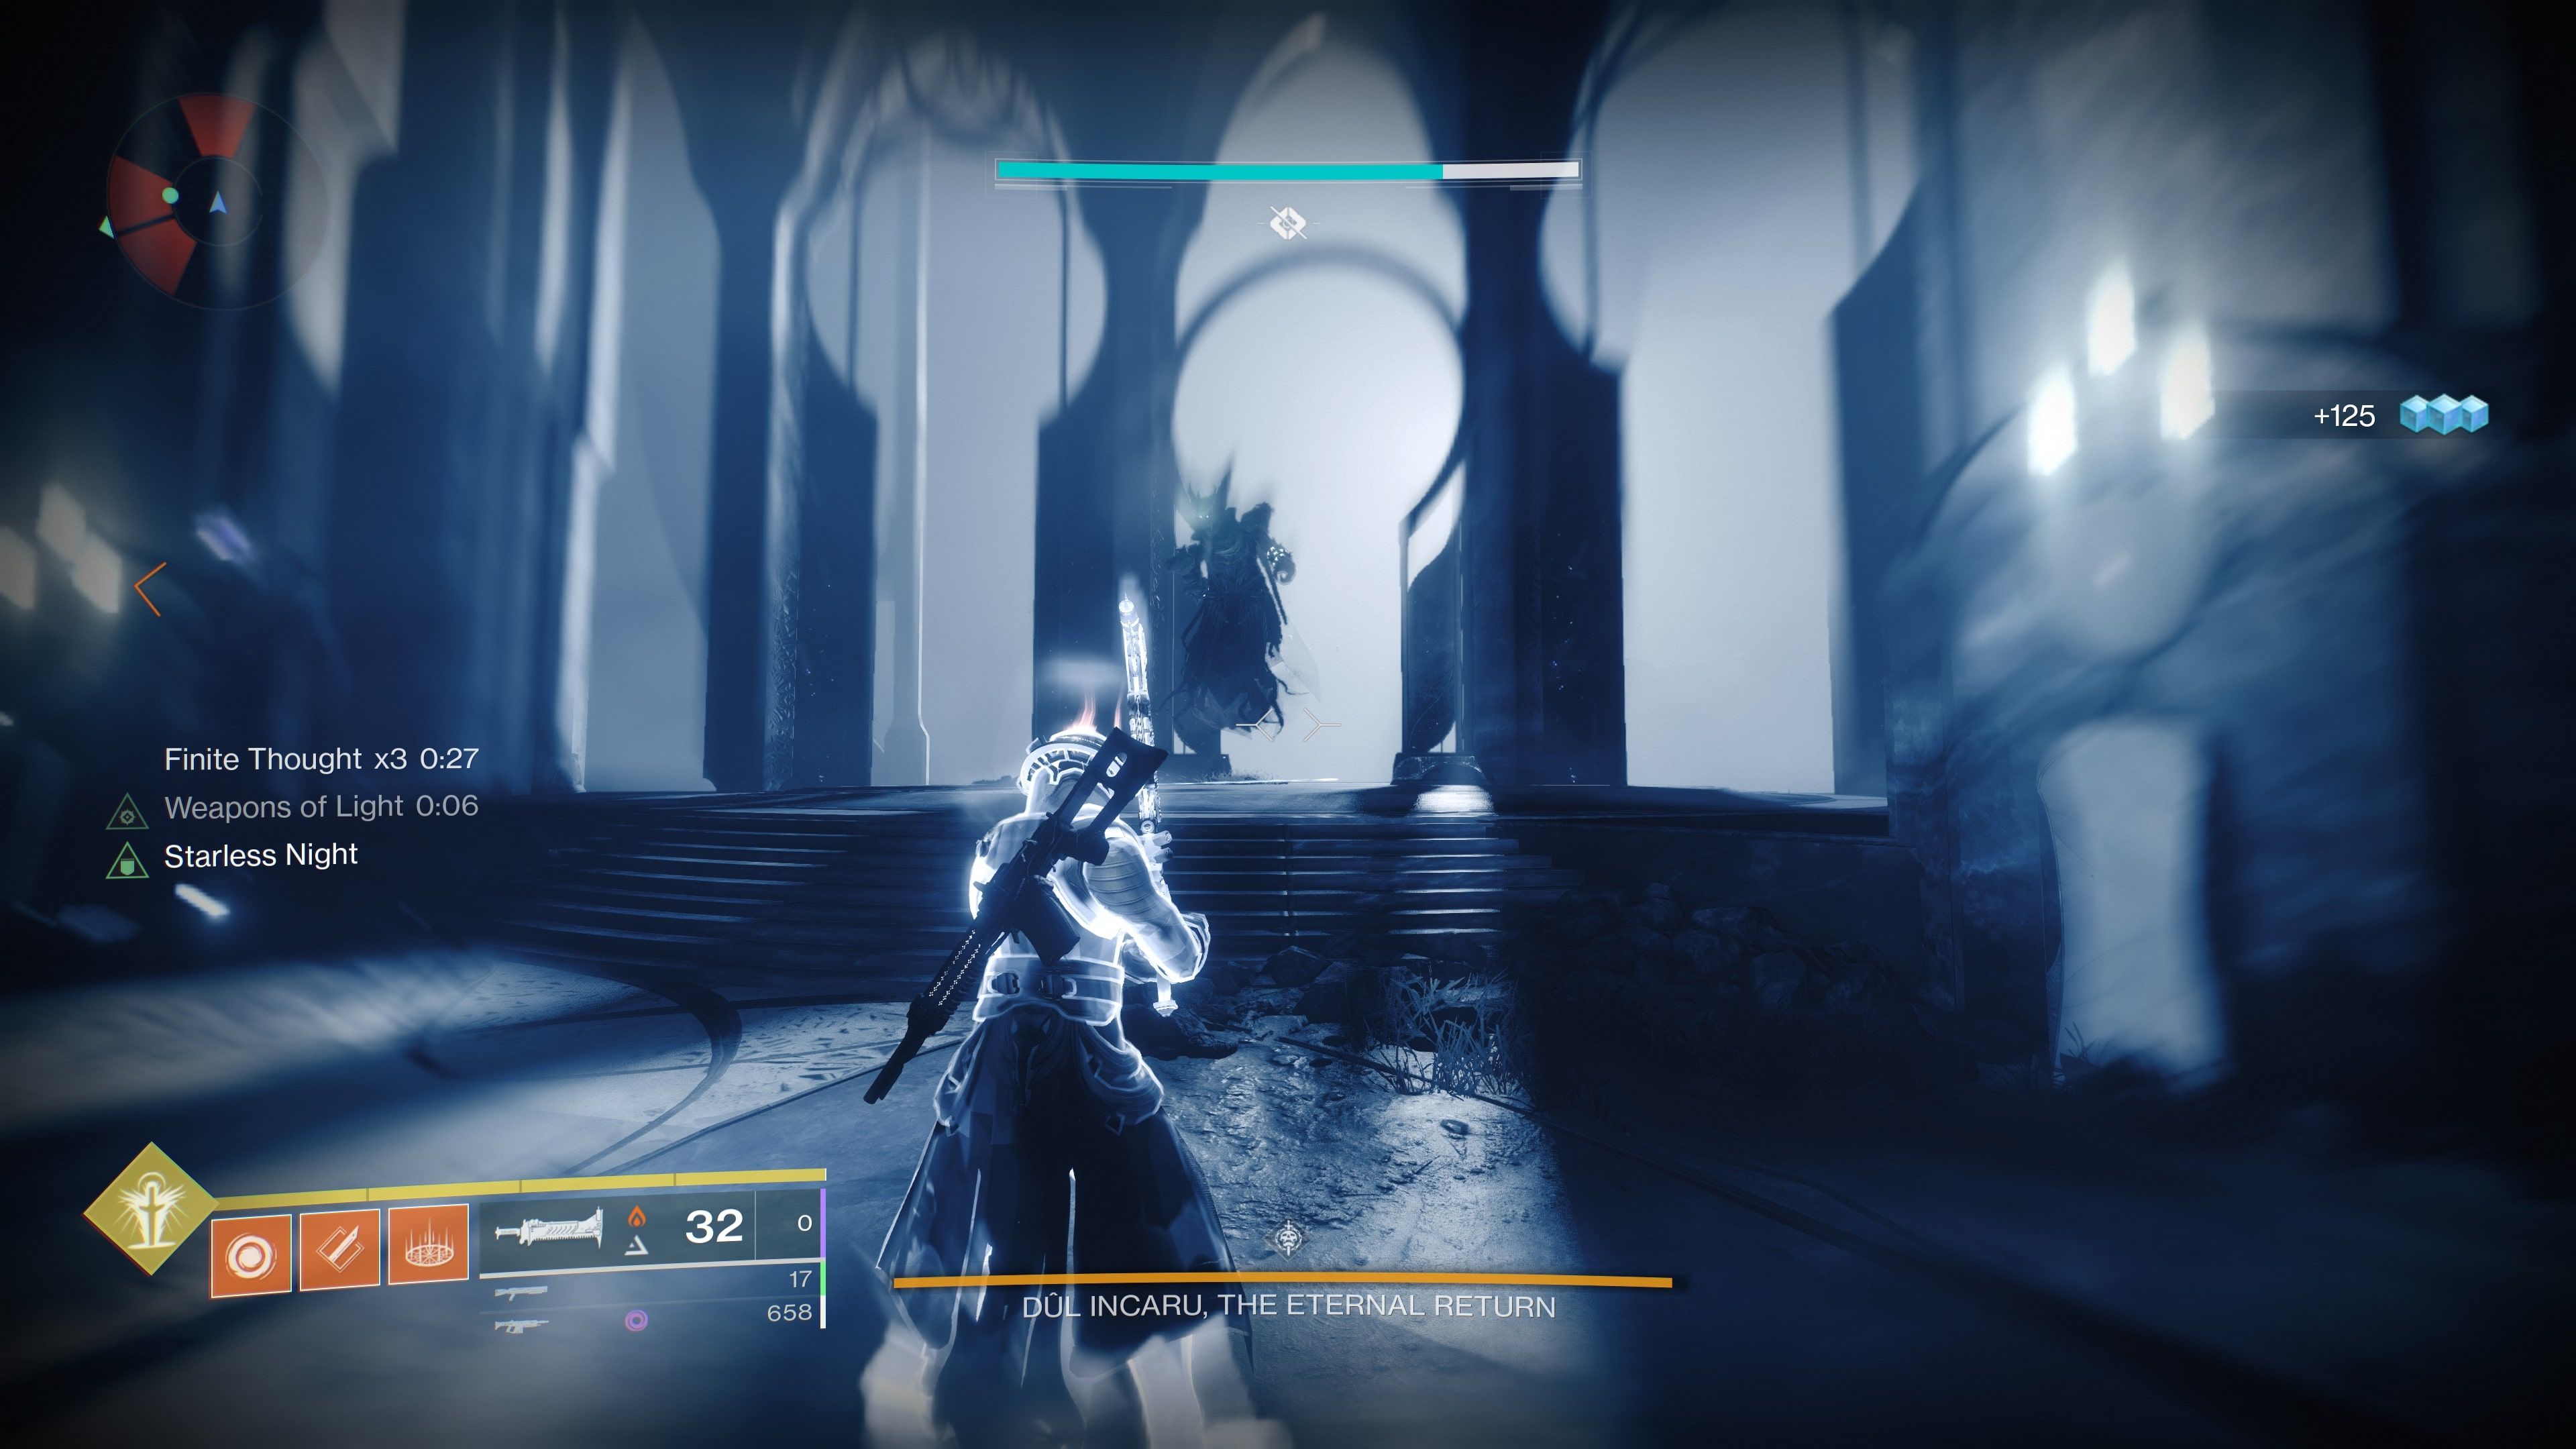
Players need to get the Knights’ health to around one-third remaining and then kill all three at roughly the same time. As soon as the Knights are dead, players need to run through the glowing purple orbs to get three stacks of the Finite Thought buff and use all the weapons and abilities they have to defeat Dûl Incaru.
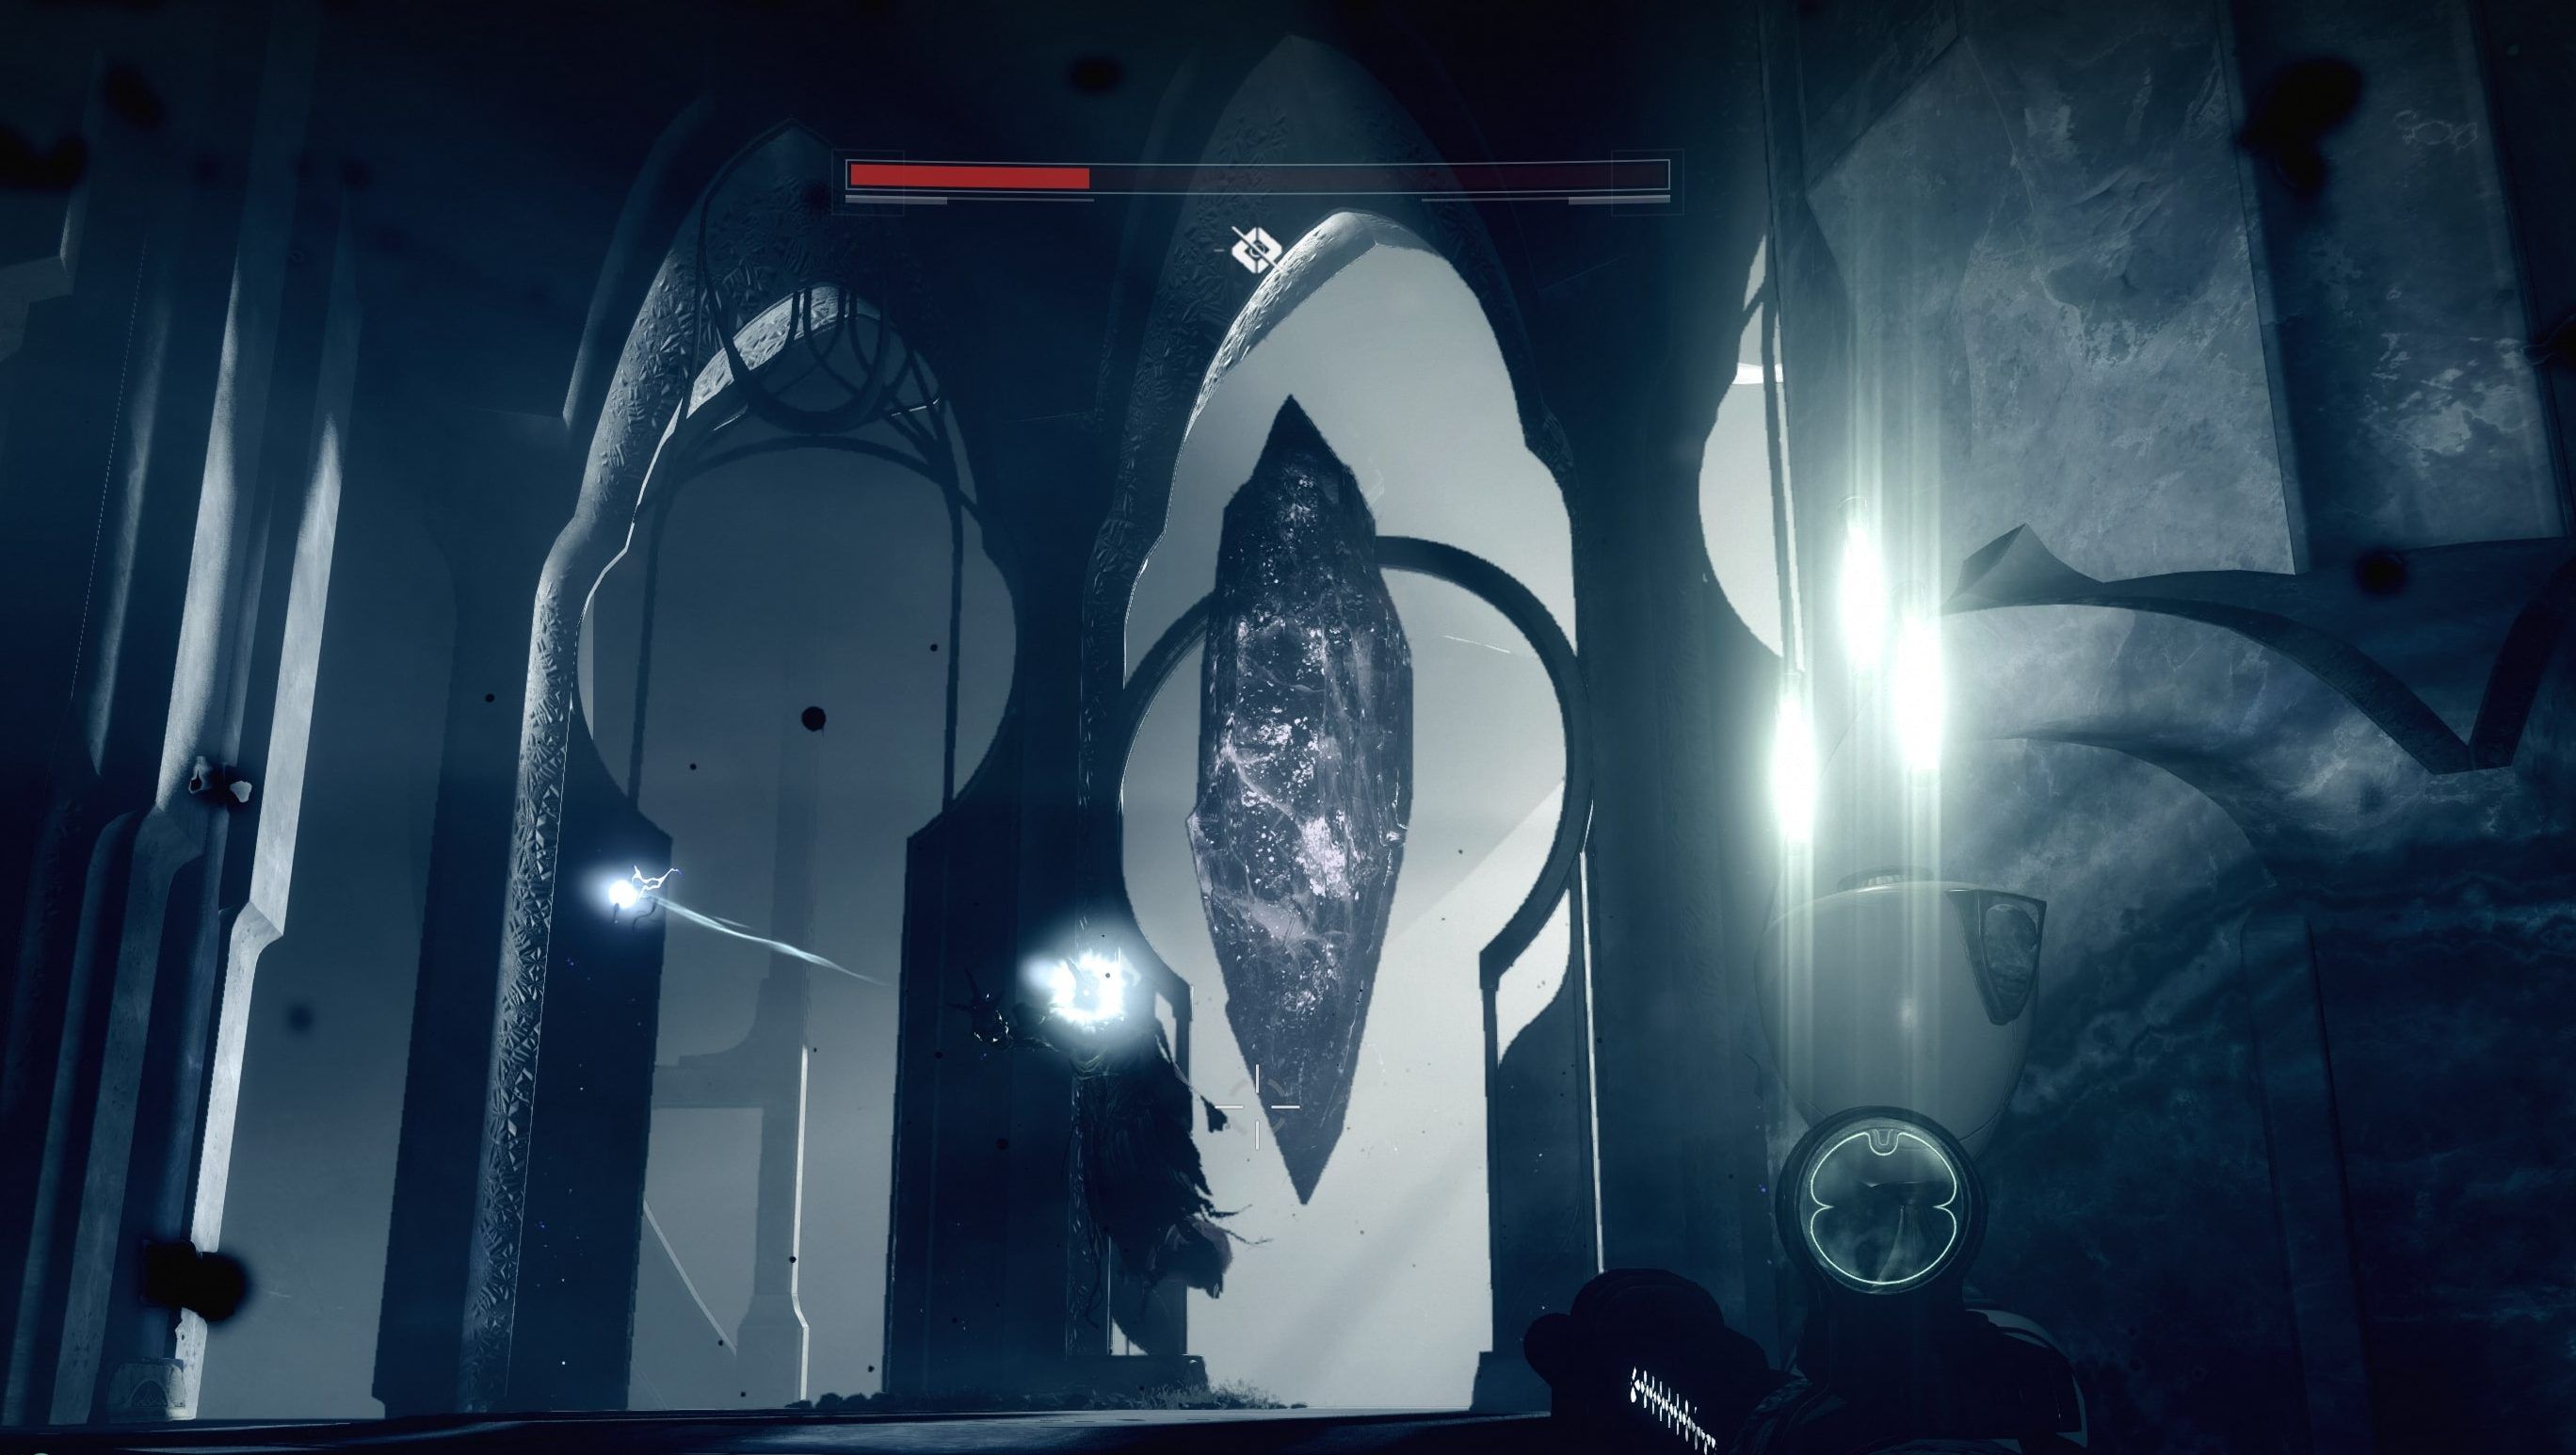
If players take too long to kill all the Knights, the text, “Dûl Incaru conjures…”, will pop up which causes her to summon a giant crystal behind that protects any Knights in the arena. Players should shift their focus to destroying the crystal as quickly as possible, and then back to killing the Knights once it has been destroyed.
If killing the Knights was well-executed, players should have at least 35 seconds to defeat Dûl Incaru, and the same weapons and supers used against Vorgeth also work well against this boss. Failing to kill Dûl Incaru within the Finite Thought timer will result in all players dying and having to start the boss fight again from the beginning.
Once Dûl Incaru is no more, players have reached the end of the Shattered Throne and will receive their final set of rewards. Hopefully, they should have a few good pieces of gear to use that will no longer have an infusion power cap due to some upcoming Destiny 2 changes being made by Bungie.
Destiny 2: Beyond Light and the new Season of the Chosen are available now for PC, PS4, PS5, Stadia, Xbox One, and Xbox Series X|S.
Source: osujds/Reddit
Find A Teacher Form:
https://docs.google.com/forms/d/1vREBnX5n262umf4wU5U2pyTwvk9O-JrAgblA-wH9GFQ/viewform?edit_requested=true#responses
Email:
public1989two@gmail.com
www.itsec.hk
www.itsec.vip
www.itseceu.uk
Leave a Reply