
The Legend of Zelda: Link’s Awakening was already one of the most loved 2D Zeldas of all-time. Now that it has been remade for the Nintendo Switch, there is renewed interest in this fan favorite.
Link’s Awakening boasts some of the best dungeon designs in the series, and the Angler’s Tunnel is no exception. From the moment you enter the dungeon, you are faced with enemies barring your way. So, let’s look at how to best make your way through the Angler’s Tunnel.
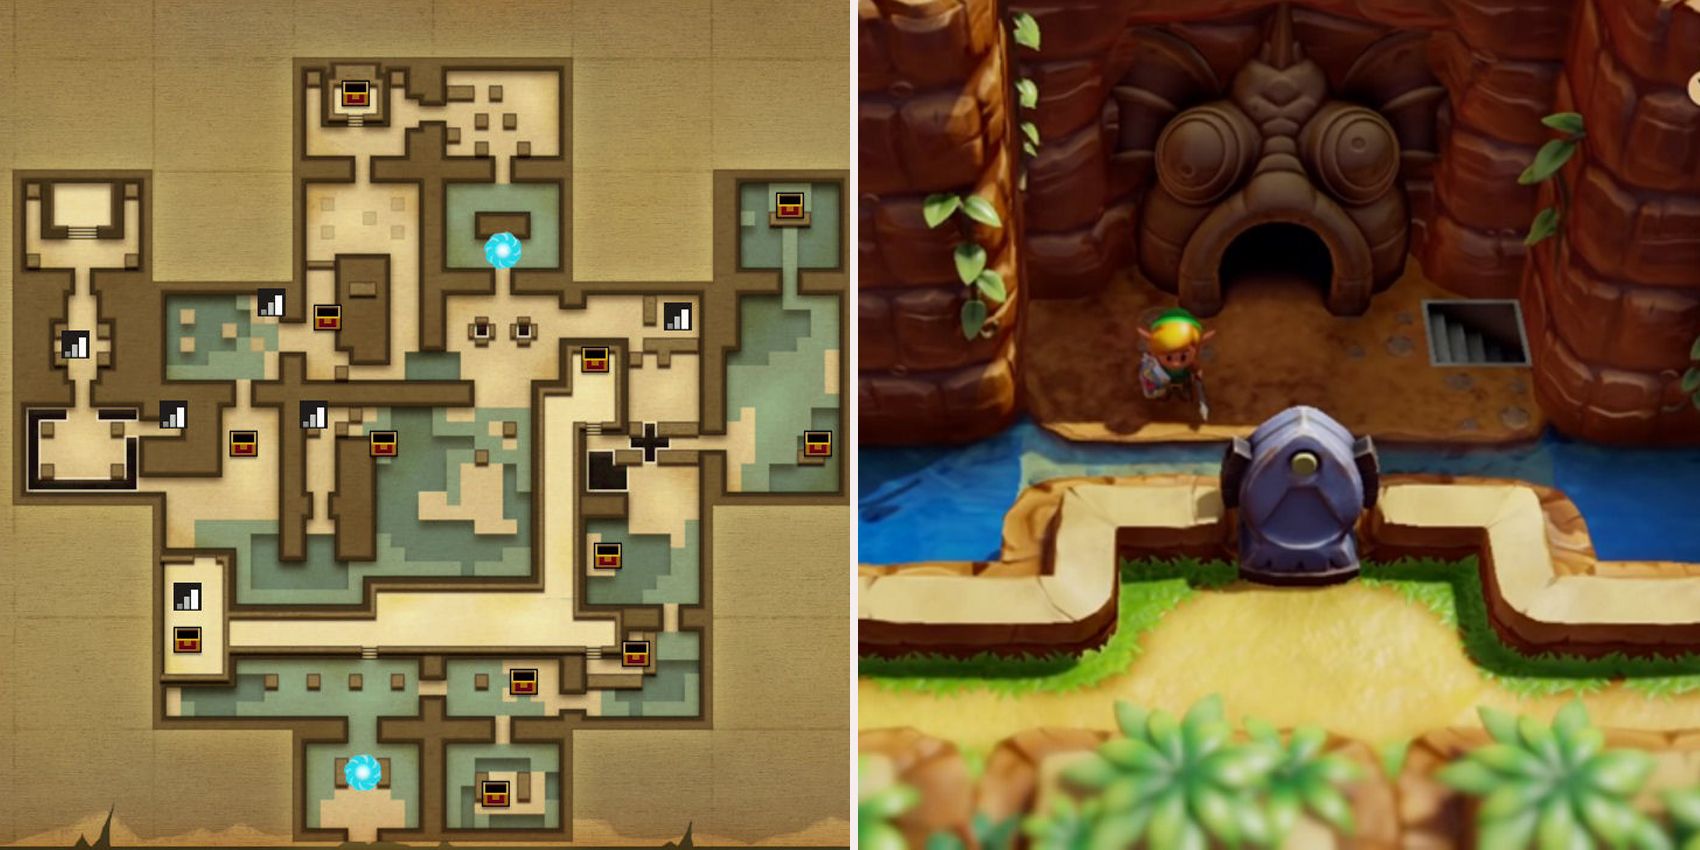
From the first room walk north and you will be confronted with red slime and spiked beetles. The red slime is easily slain by your Sword, while the spiked beetles need to flipped overusing your Shield first, then finished off with the Sword. If you continue to the left you can grab a winged bomb refill with the Roc’s Feather if you need it. Now walk up the stairs and to the right down a long corridor, where you will find the chest holding this dungeon’s map.
Walk down directly from where the dungeon map was located and use the Roc’s Feather and Pegasus Boots together to jump across the large gap. Keep going to enter the next room and use a Bomb to destroy the cracked block you immediately come across, then push the solid block away from the chest and open it for your first small key.
Now head north while avoiding the flying enemies, skulls, and water skitters. In the next room, you will find a second cracked block that can also be blown up, allowing you access to the next chest which contains the second key. There is a flying heart refill in this room if you want it.
From here, go back to the large gap you jumped across with the Pegasus Boots. At the long corridor, the led to the map, go right and down the stairs instead of north. The next room will have a chest with the Stone Beak inside.
Go back to the second room in the dungeon, north of the entrance. Go right from here into the next room to find more red slimes and spiked beetles. Open the chest here to find the compass, then make your way to the room to the south.
This room contains deep water, some water skitters, and a chest surrounded by crystals. The crystals and water skitters can both be destroyed with your Sword, while the deep water can be surmounted with the Roc’s Feather.
Go back to the previous room and open the locked door. Defeat or ignore the water skitters and use the second small key. Do not try to open the chest in this room, you cannot get it yet. You are now on the vertical side of the large gap from earlier, so use the same method to get across.
Use your final key on the locked block and push the second one above it to the north, then go left. Kill the enemies in this room to cause a key to fall into one of the holes. This part is not required, but If you go down the staircase from the previous room, you’ll see where that key ended up, finding that it is unobtainable. Just go south of the room where the key fell from.
If you speak to the Owl Statue it will give you a hint about glowing tiles that we will find later in the dungeon. Head to the southwest, then to the left, using the Roc’s Feather to jump over the deep water. Keep avoiding the enemies as you head to the left. This room contains a chest, but all it has is a green slime, so only open it if you want to. Now go north.
This room has 5 very distinct floor tiles, but nothing can be done with them at the moment. Go left into the next room. Open the chest in this very small room to get another key, then go back to the room with the holes where a key fell from. This will take you to the dungeon’s mini-boss, Cue Ball.
Cue Ball is definitely one of the easiest mini-bosses, as all it does is just continuously circle this square-shaped room, only occasionally turning during its route. Its weak point is its back. Use the Pegasus Boots to keep up with its speed and strike when the opportunity comes. You can also use the Roc’s Feather to jump over it and hit it in midair if you time a sword slash just right. Do this enough times and Cue Ball will die and disappear, allowing you to go north.

Pull the big lever all the way down to cause the blocks to separate, and quickly run between them to open the chest. Be sure to not get hit by the fireballs or red slimes in here as well. The chest contains the dungeon item, the Flippers. With these, you can swim in any kind of water and you can dive as well. This is not an equipable item, you just permanently have these abilities now. Walk south into a new room.
This room contains enemies called Iron Masks that can only be damaged from their back. Use the Roc’s Feather to jump over them and land where their back is facing for an easy strike, or just pay attention to their movements and attack when you get the chance. This room contains an exact copy of those strange tiles from earlier that the Stone Owl mentioned. The pattern of the tiles will make you walk over all of them at least once, without ever retreading to an earlier one. When this has been done, the door will open. Make sure you memorize the pattern the room made you do, as it is the same one that will be used in the other tile room found earlier in the dungeon. There is no concrete order, it is different every time you play this dungeon. Head south to a room you’ve been into before, push the block to the left and keep going left.
This is the strange tile room from earlier. Using the same pattern from earlier, solve the puzzle and a staircase will appear in the top-right of this room that you need to go down. This leads to a side-scrolling section where you will see a new enemy known as a Thwomp. Walk underneath it so that it falls, but quickly move back so it doesn’t crush you. While it’s rising back up, walk underneath and passed it this time to continue. Do this again with the second Thwomp you come across, this time jumping on top of it to get out of this room. Immediately to the south of where you end up, there is a chest that contains the Nightmare Key.
Jump down the ledge and swim to the right beyond the floor switch to find a treasure chest to the north that contains 50 Rupees. Now go back to the room before Cue Ball where that one key fell. Defeat the red slimes if you haven’t yet made the key fall. Then go left to the next room and into the staircase, where you will find the key submerge, but with your new Flippers, this isn’t an issue anymore. Dive into the water and get it, then go back to the staircase.
Push the left-most block south and jump across the gap. You should remember this chest from earlier, swim over to it, and open it to obtain 50 Rupees. This is the final chest of the dungeon. With all of those now obtained, go back to the room south of where Cue Ball was and head all the way to the southwest of the room after that. You should notice a floor switch that you can weigh down by stepping on it, causing the door to open. Get the flying heart refill if you want to, and unlock the block with your final small key. Go down the immediate staircase. Here you will find yourself in an underwater side-scrolling room.
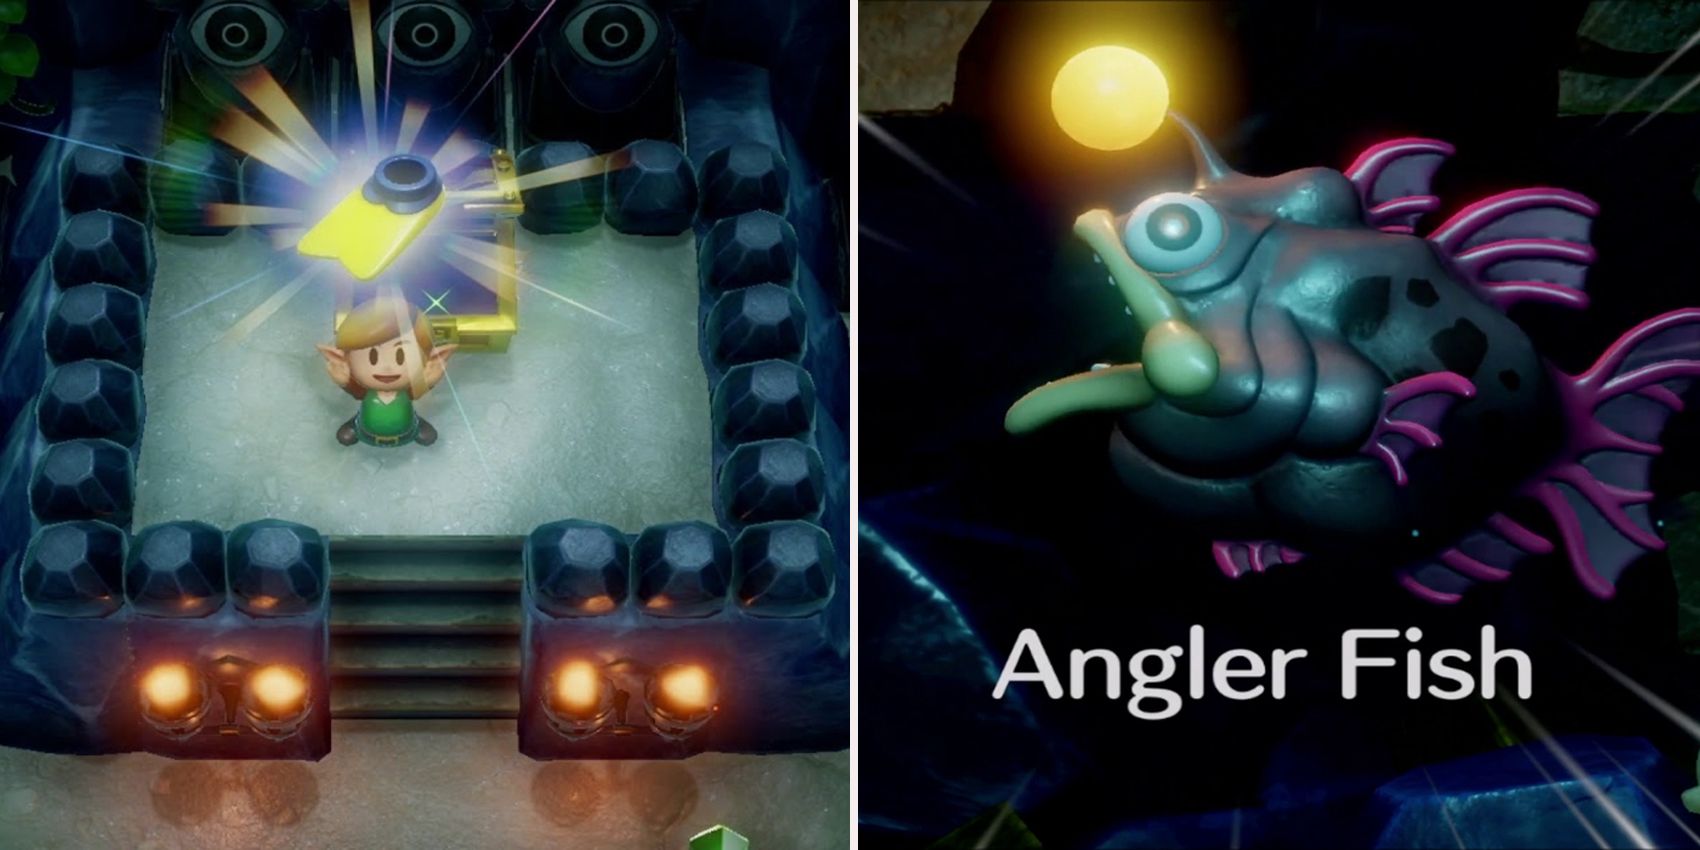
You can defeat or ignore the fish enemies, but make sure you go to the left and resurface. Push the block out of your way and use the Nightmare Key on the big door. Climb down the staircase in the next room to take on this dungeon’s boss, the Angler Fish.

This is one of the easiest bosses in the entire Zelda series, although it has been made a hair more involved in the Nintendo Switch remake. All the Angler Fish can do is swim, occasionally ramming into one of the walls to cause rocks to fall. It will also summon smaller fish enemies to get in your way, but they’re really not a threat.
The Angler Fish’s weak point is its glowing antenna, which can be struck with your Sword. This does cause you to be knocked back slightly, so you do need to reposition yourself a lot. Just repeat this process and the Angler Fish should die quickly. This boss is even easier in the original Game Boy release of the game, as the knockback is not present, and the boss takes much longer to start attacking you.
Once The Angler Fish has been defeated, pick up the Heart Container it drops and resurface. Walk north and collect the fourth Instrument of the Sirens, the Surf Harp.
![]()
www.itsec.hk
www.itsec.vip
www.itseceu.uk
Leave a Reply