

The DSM 7.0 update comes with a lot of exciting changes, including new features and better security. One of the security-focused changes is how the system handles root privileges; Synology now prohibits services like Plex Media Server and other packages from gaining root privileges, and has restrictions on file system access.
While this is a welcome move, the security changes have led to issues with Plex installations. As a result, when you switch from DSM 6.2 to DSM 7.0, you will see a message to repair your Plex installation and migrate the data. Doing so is pretty straightforward, and you’ll need to manually assign permissions so that Plex can see your media library and run in the background.
Using Plex as a centralized media server is one of the best use cases for the NAS; I’ve outlined the best NAS for Plex to make the most out of streaming your media library to your connected devices. If you’ve made the switch to DSM 7.0 and are encountering issues with your Plex installation, here’s what you need to know.
How to download and install Plex for Synology DSM 7.0
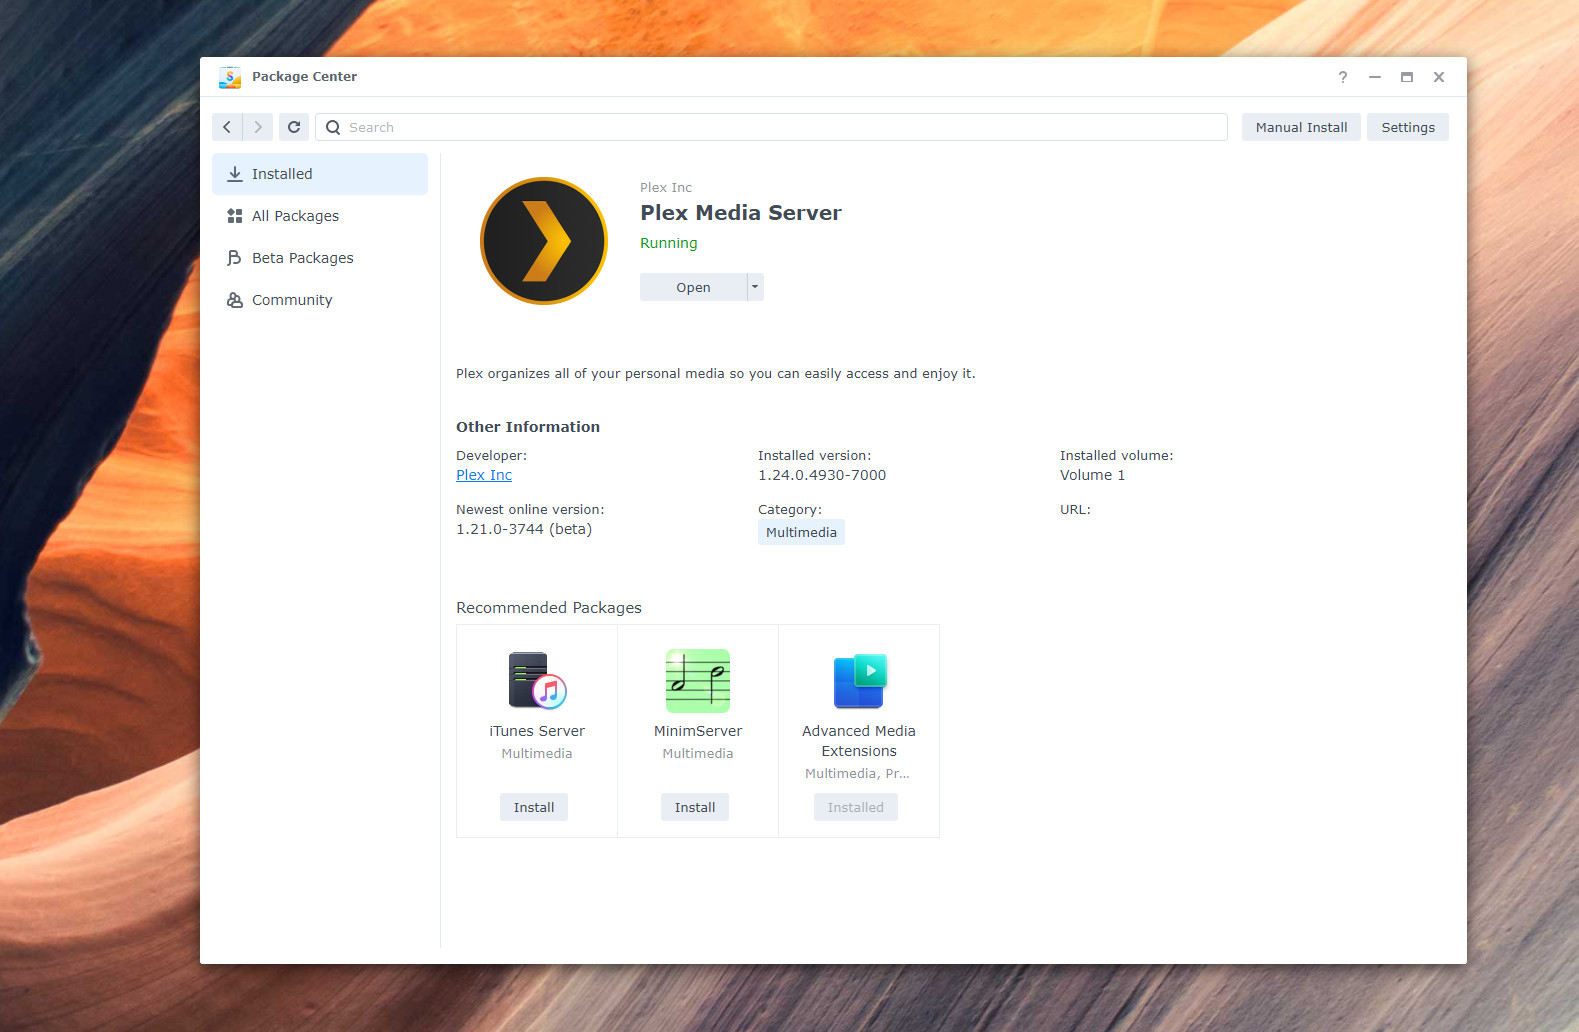
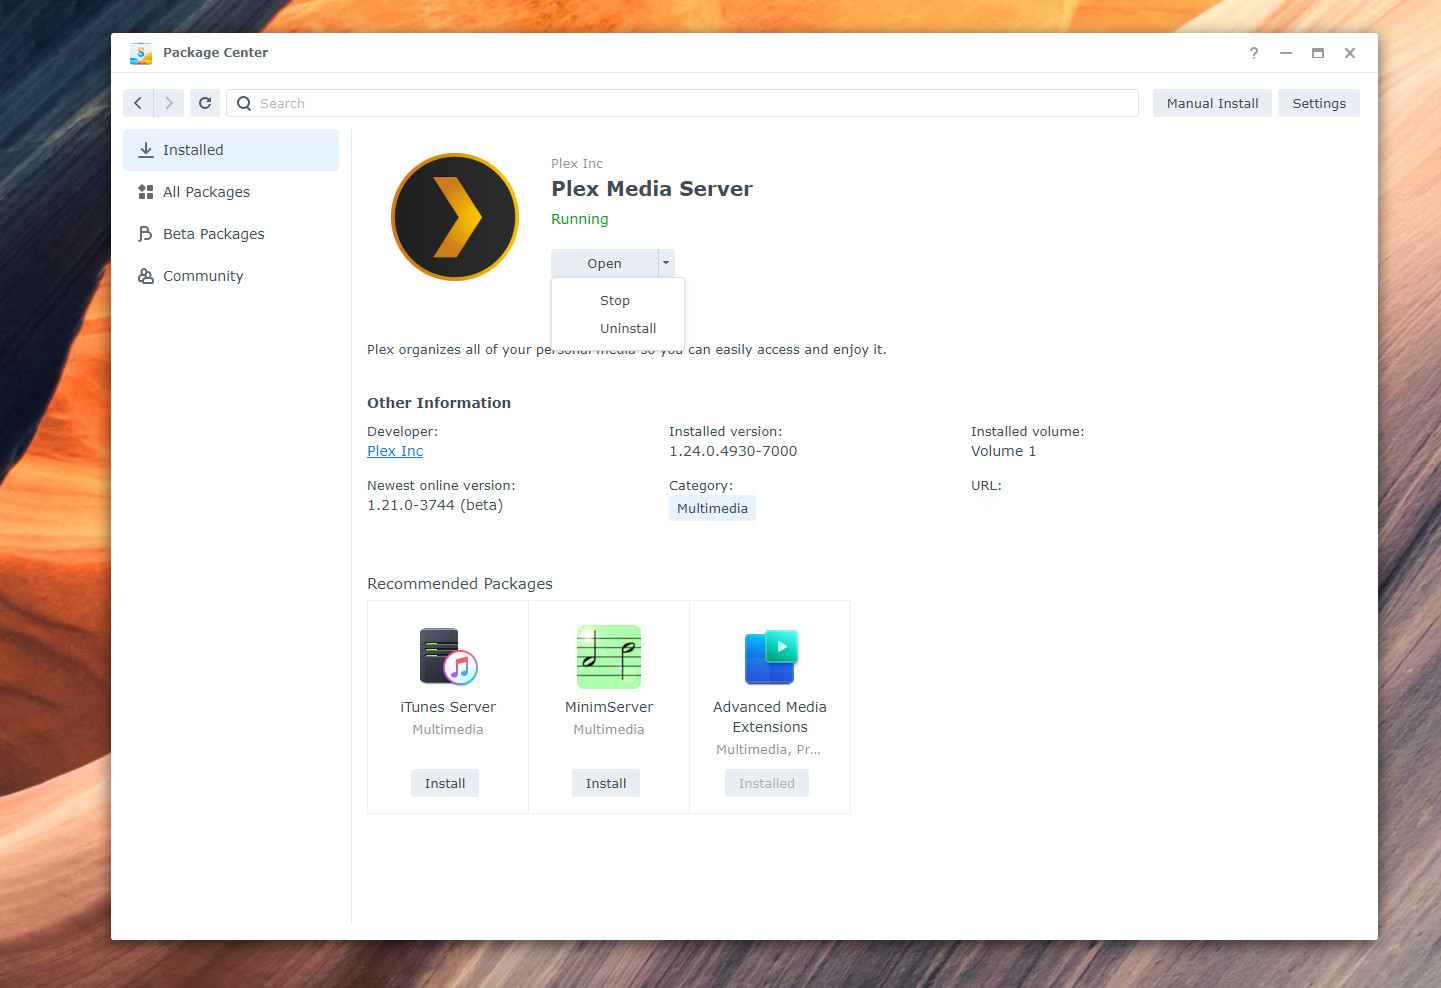
If you already have Plex installed in DSM 6.2 and upgraded to DSM 7.0, you should see a note in Package Center to fix the package. The default Plex package that’s listed in the Package Center is an older beta client and hasn’t been updated for a while now, with build 1.21.0-3744.
Instead of using that version, you will have to do a manual install of the latest DSM 7.0-focused Plex client by downloading the build straight from Plex’s website. Before you do so, uninstall the current version of Plex — but make sure you select the Uninstall only option. Doing so will uninstall the Plex package but retain all the metadata files that are needed once the service is reinstalled.
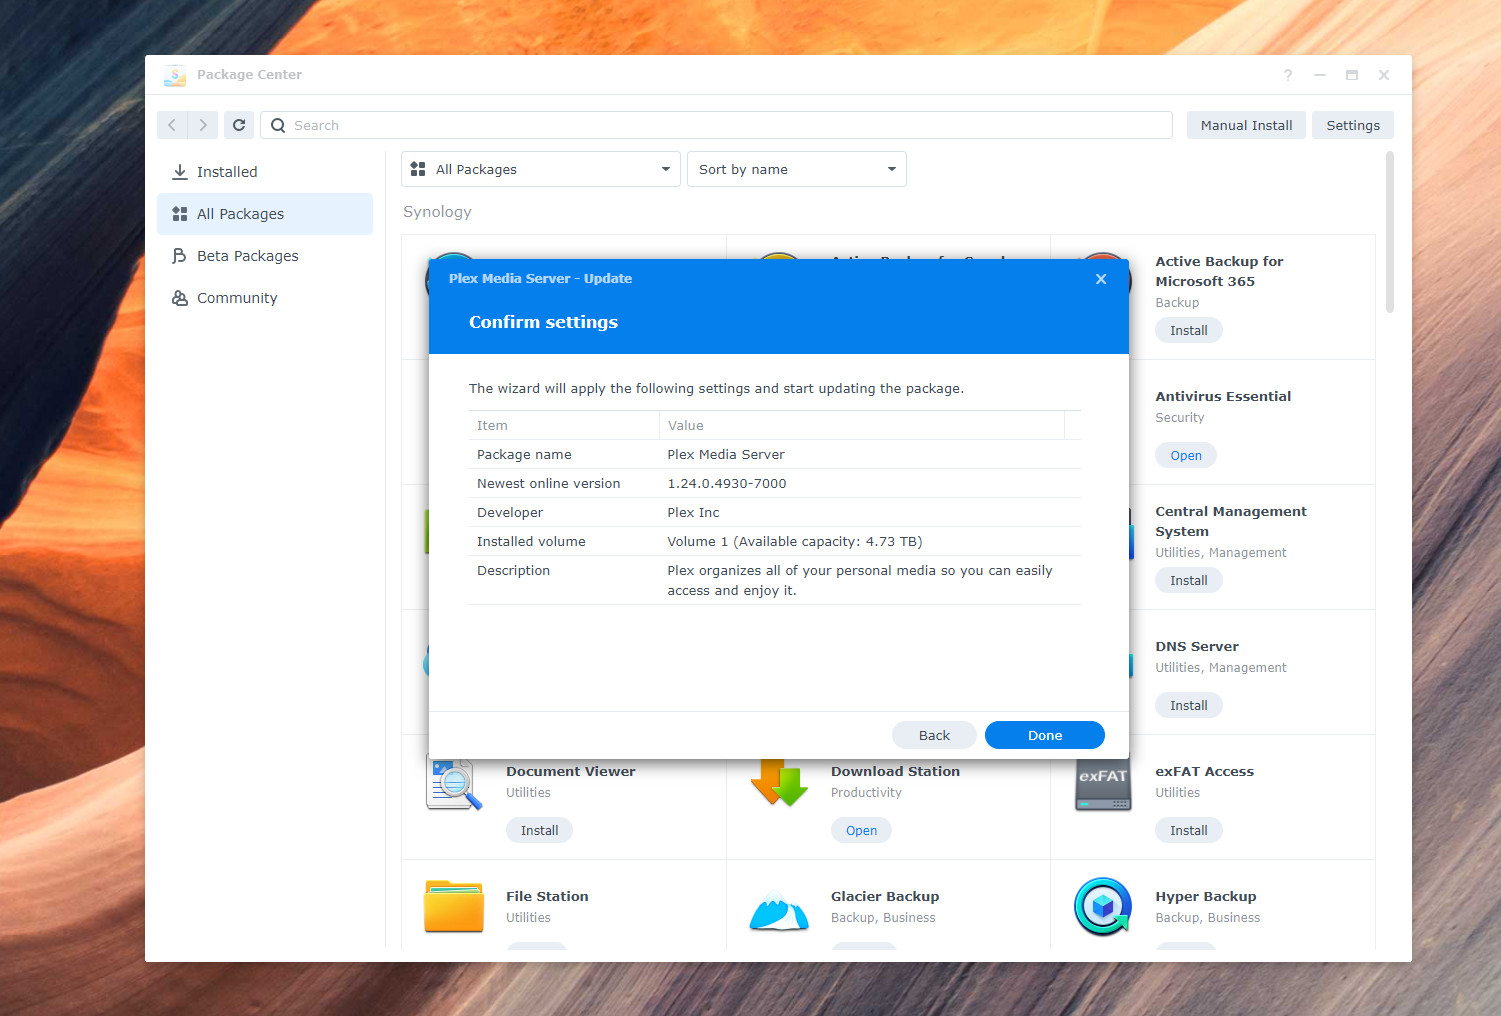
The latest Plex release is 1.24.0.4930-7000, and comes with a lot of changes targeted at DSM 7.0. Here’s how you can download and install the package on your NAS.
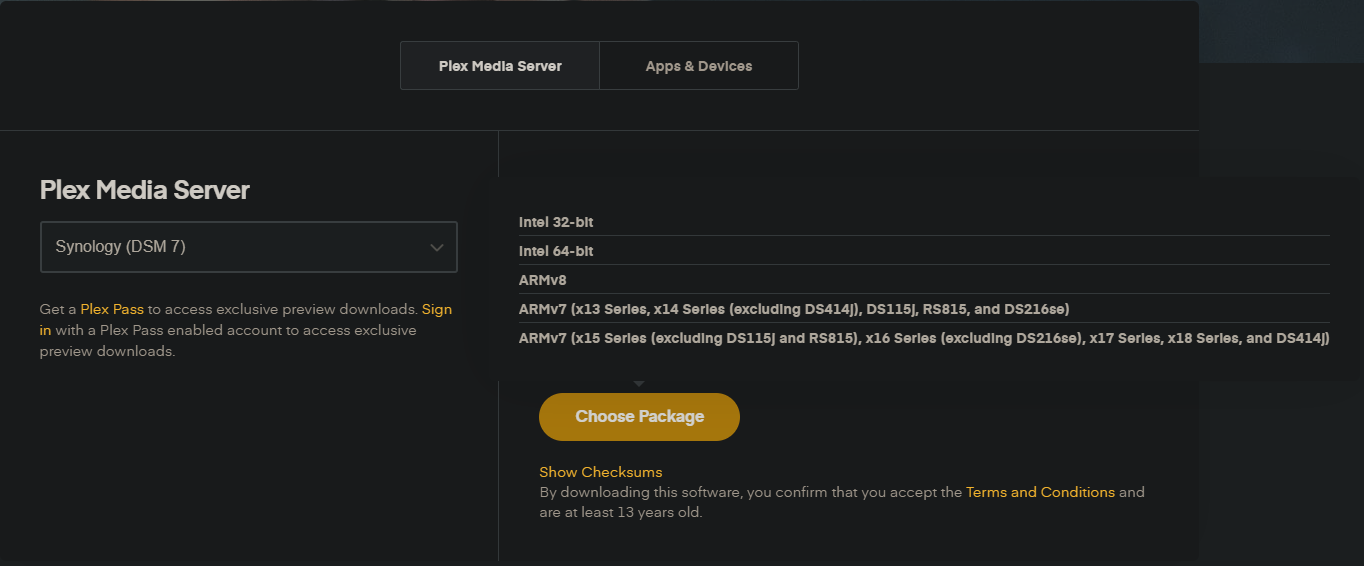
How to download Plex for DSM 7.0
- Go to Plex’s download page.
- Select Synology (DSM 7) in the pull-down menu.
-
Select Choose Package to download the relevant build for your NAS. For most users, this will be Intel 64-bit.
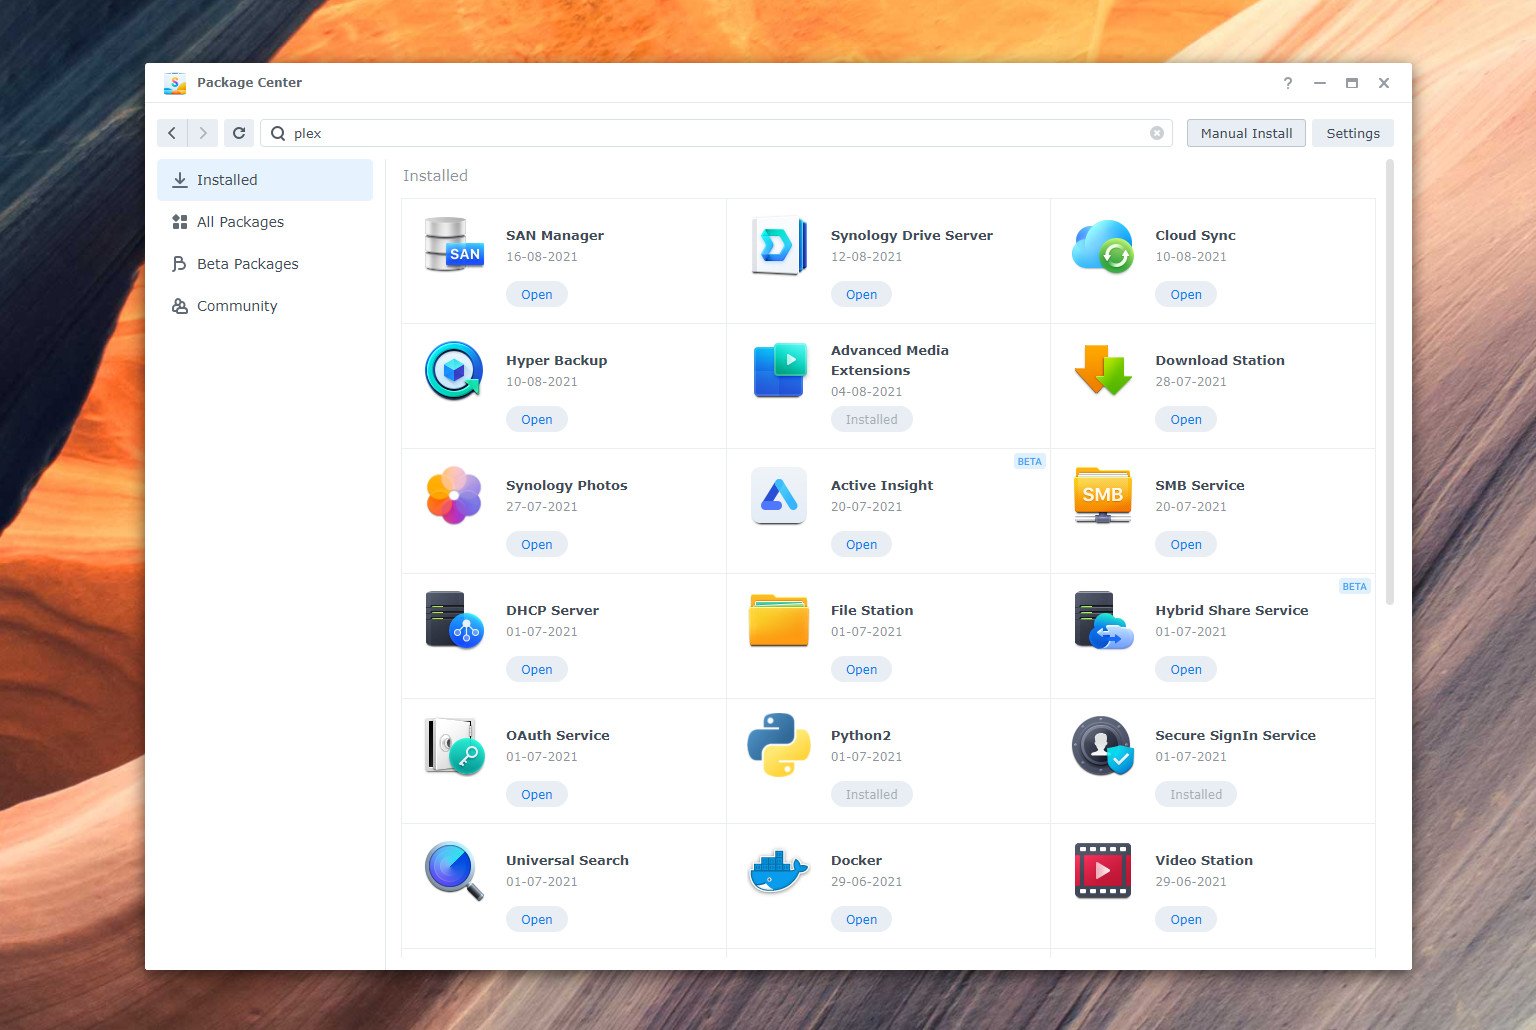
How to manually install Plex in DSM 7.0
Once you finish downloading the DSM 7.0 Plex package, here’s how you can manually install the package:
- Go to Package Center.
-
Select Manual Install on the right.
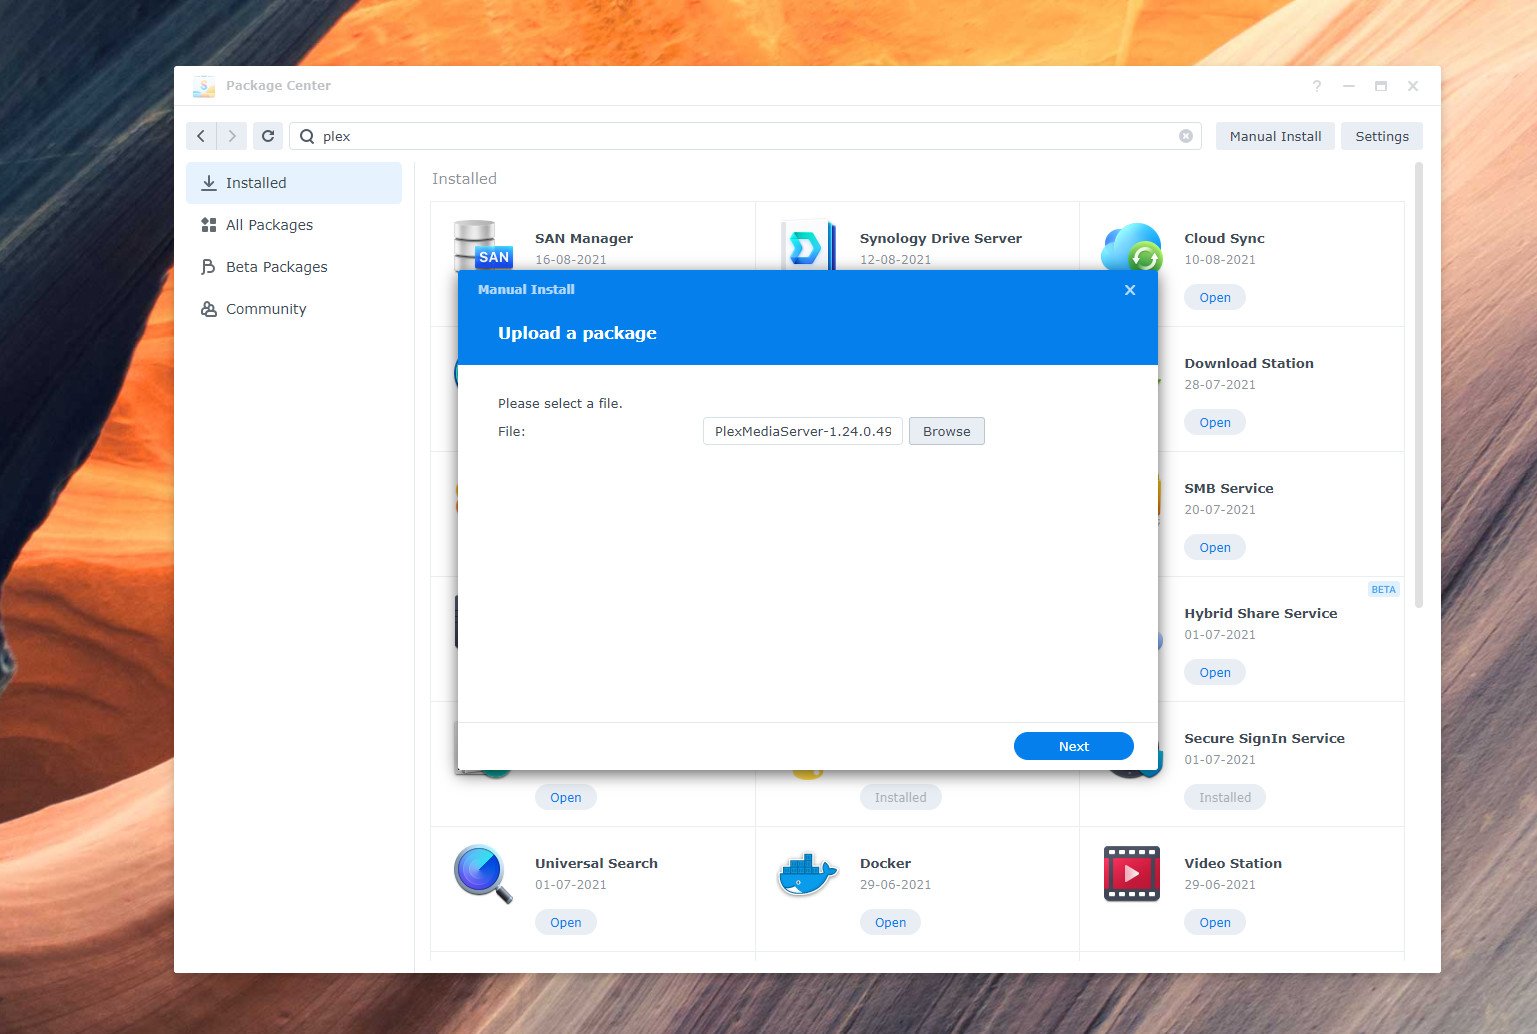
-
Hit Browse to locate the Plex build that you downloaded earlier. After you select the file, hit Next to continue.
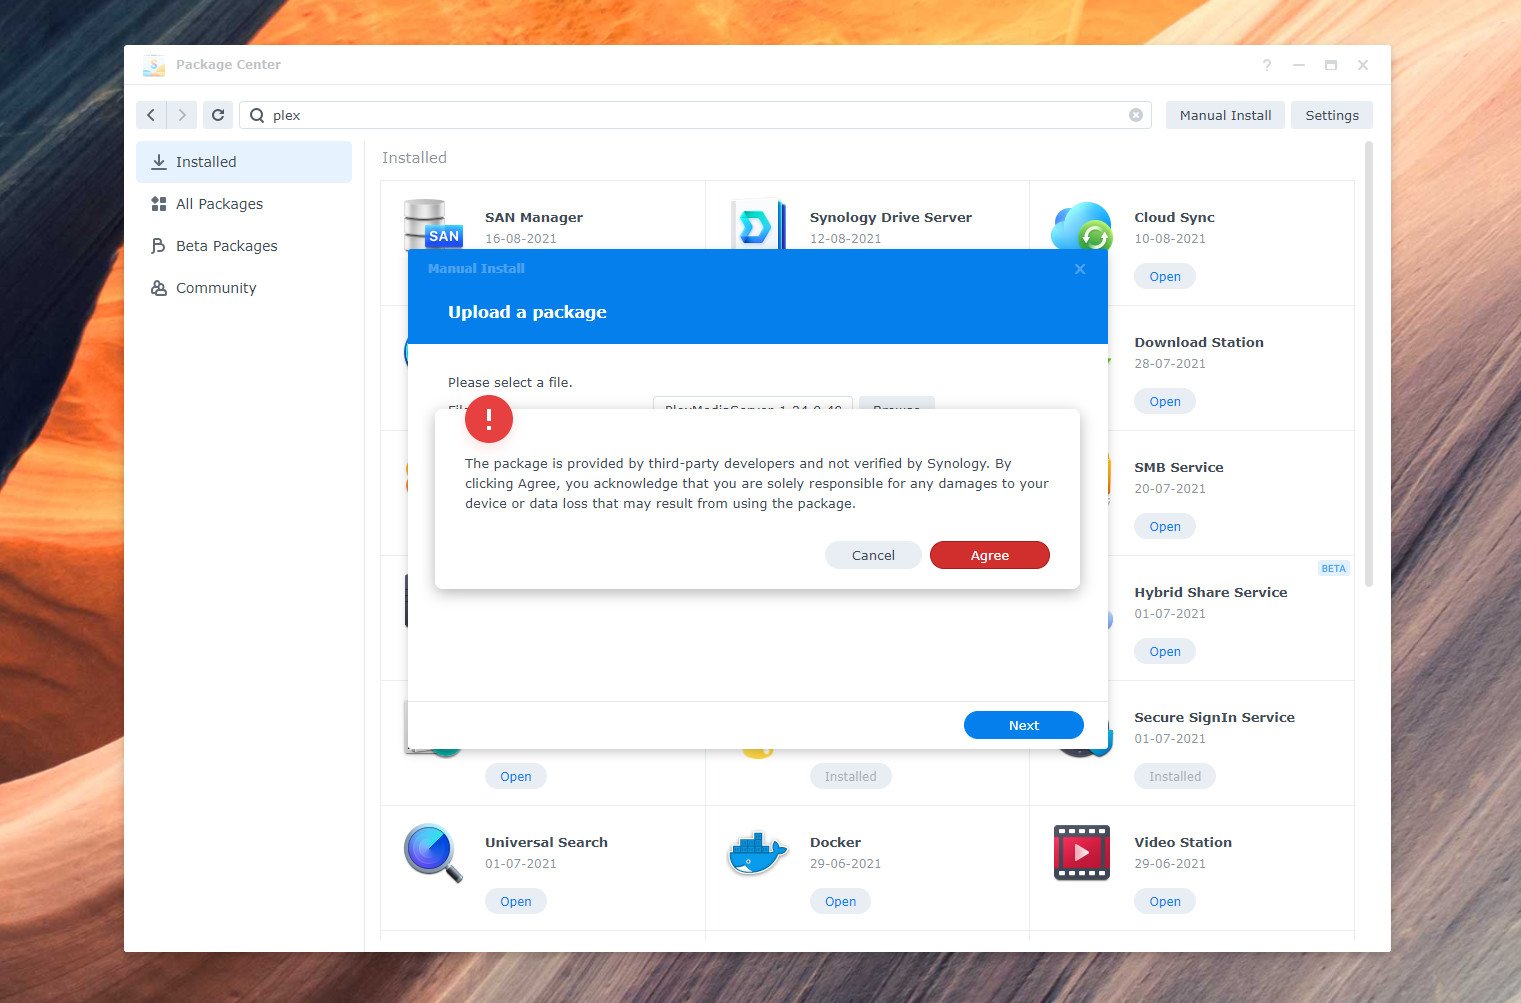
-
Hit Agree on the dialog box to continue with the installation.
-
Select Normal installation. Doing so ensures your older library structure and metadata is retained.

-
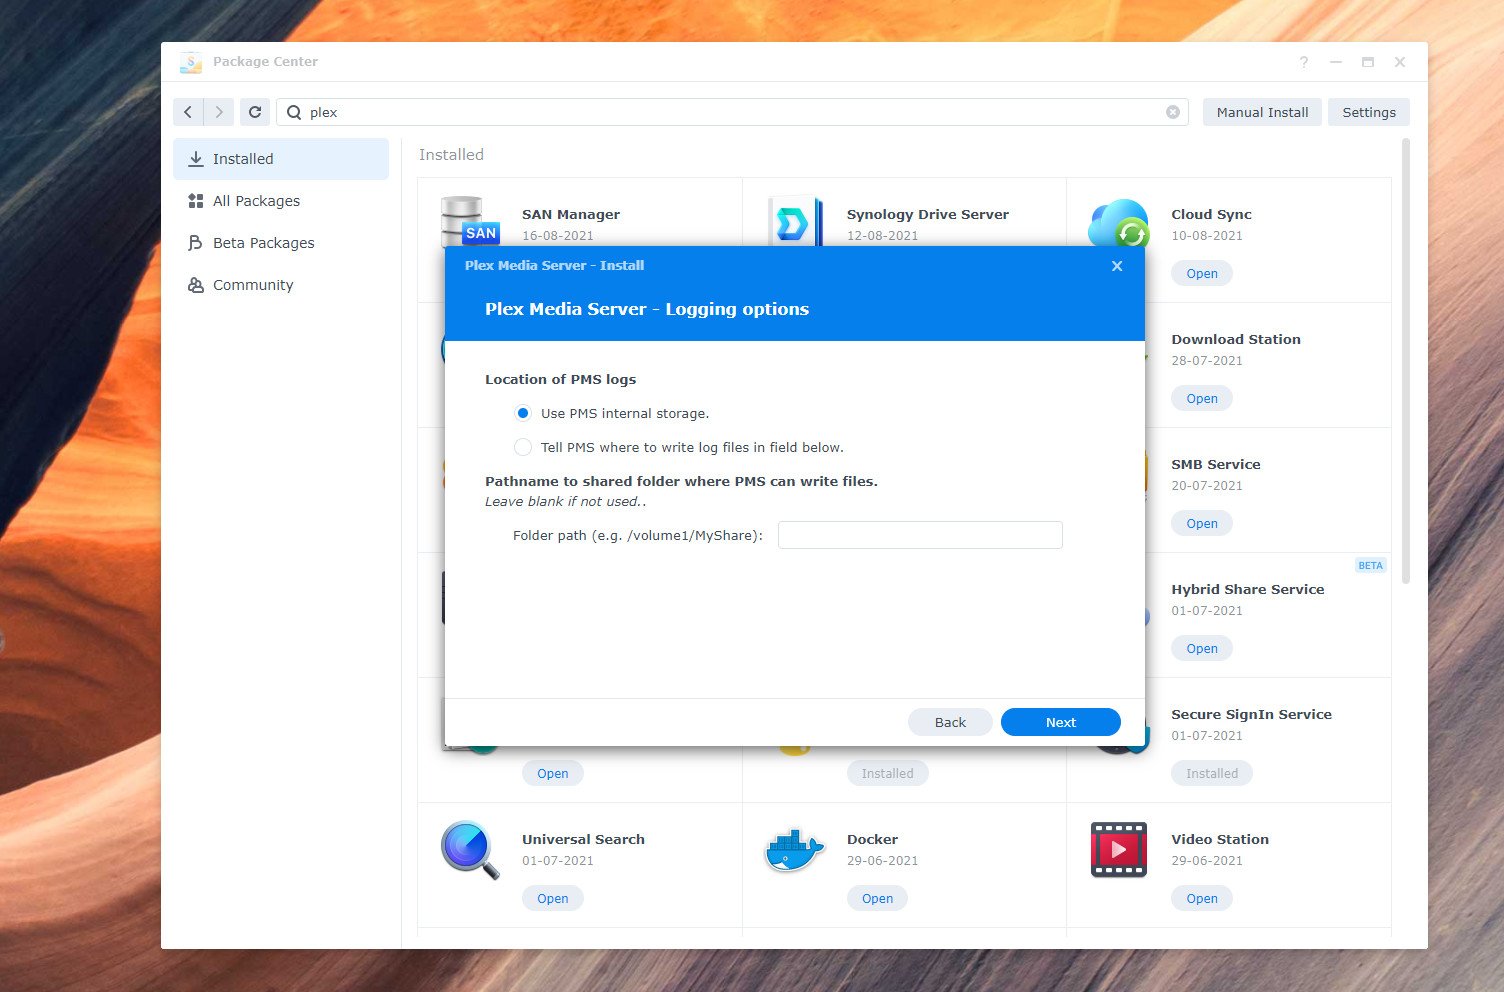
Choose the location for Plex’s logs. Leaving it to Use PMS internal storage is recommended.
-
Hit Next again to continue the installation.
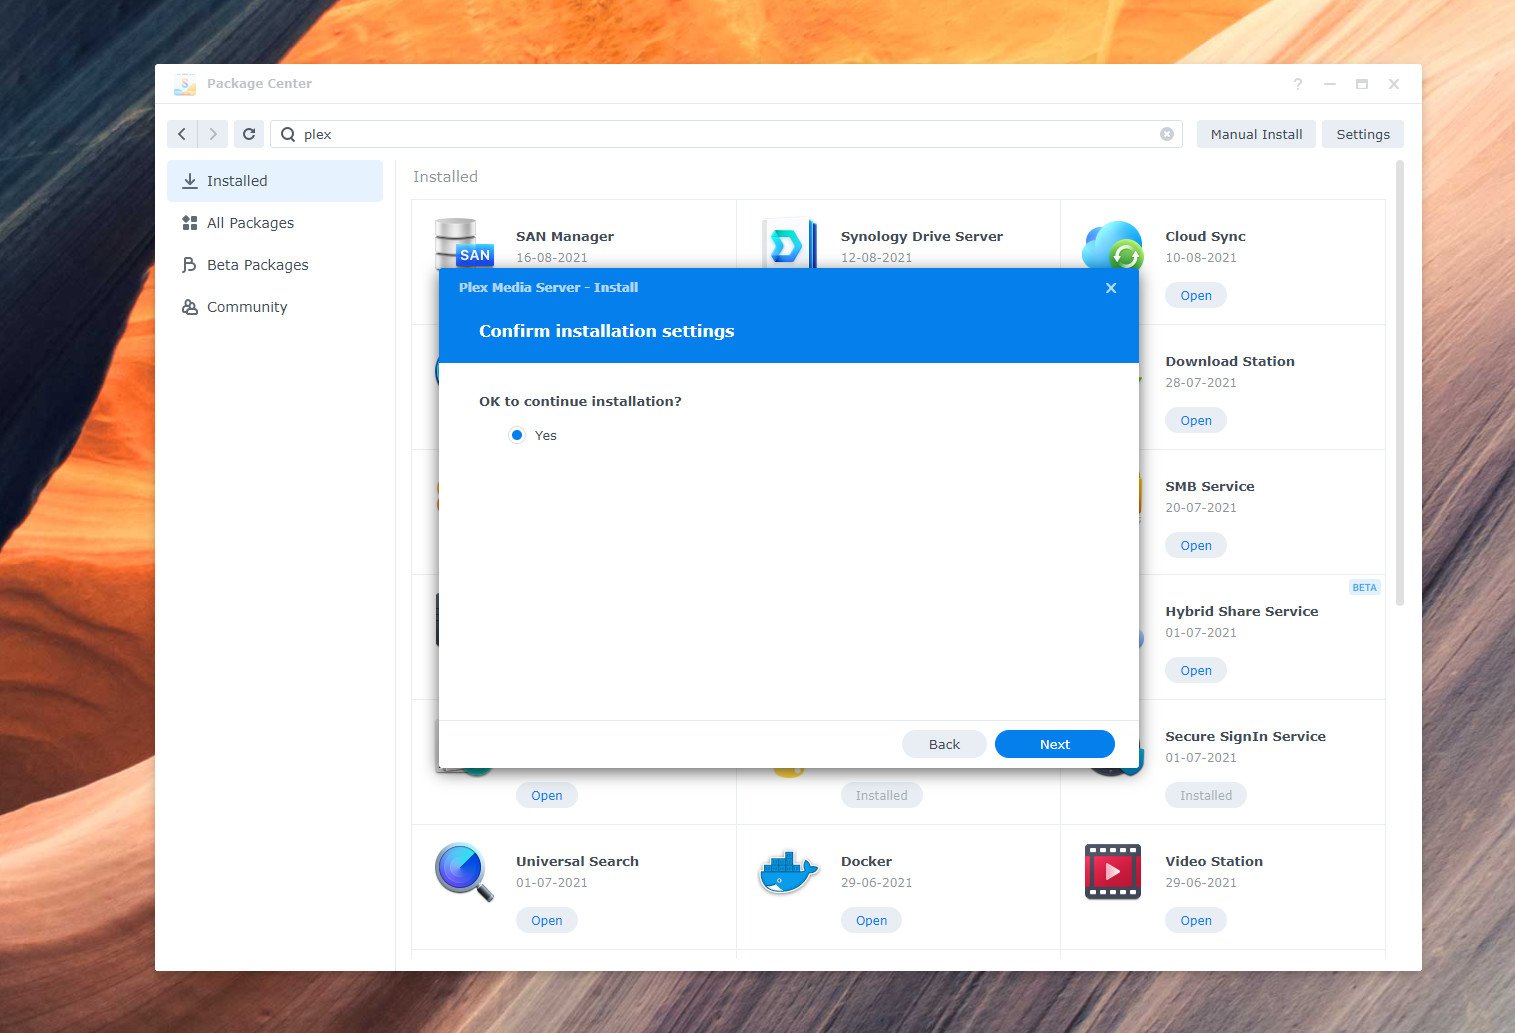
-
Select Done to install Plex.
-
Verify the installation by heading into the Package Center and noting the build number.
While we installed Plex, it doesn’t migrate the data immediately. This installation is just to create the PlexMediaServer user, and we will now need to assign permissions to this user. If you don’t do this, Plex will not have access to your media library, and you won’t see any folders in your server.
How to fix Plex migration issues in Synology DSM 7.0
Before we start, you will need to change the logout timer for DSM 7.0. Plex migration usually takes an hour or so — it’s longer for larger libraries — so to ensure your user account isn’t locked out of the session, you will need to change the setting. Go to Control Panel, and then the Security menu, and in the first section with the logout timer (minutes) field, enter 50000 and hit Apply. You can always change this back once you’re done with the installation.
All of the issues with Plex in DSM 7.0 come down to permissions, so make sure you follow these instructions carefully. Here’s how to assign the necessary permissions to Plex in DSM 7.0:
- Go to Control Panel.
-
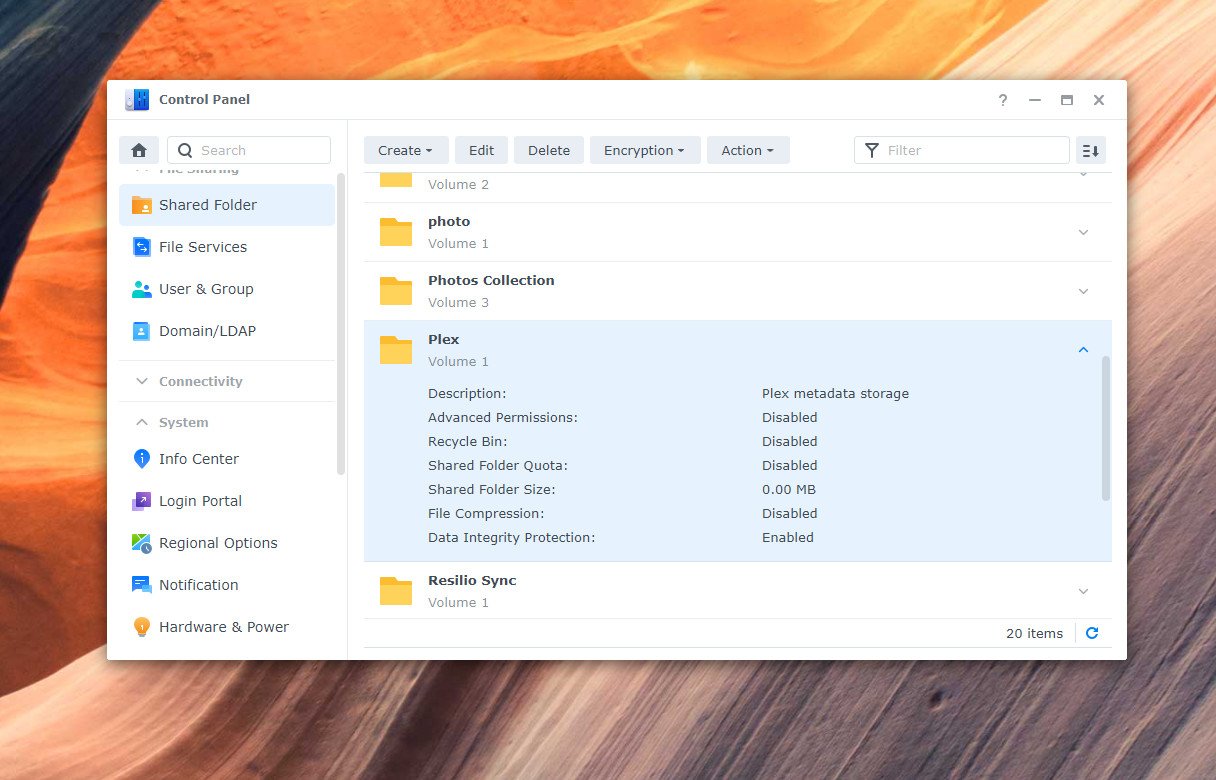
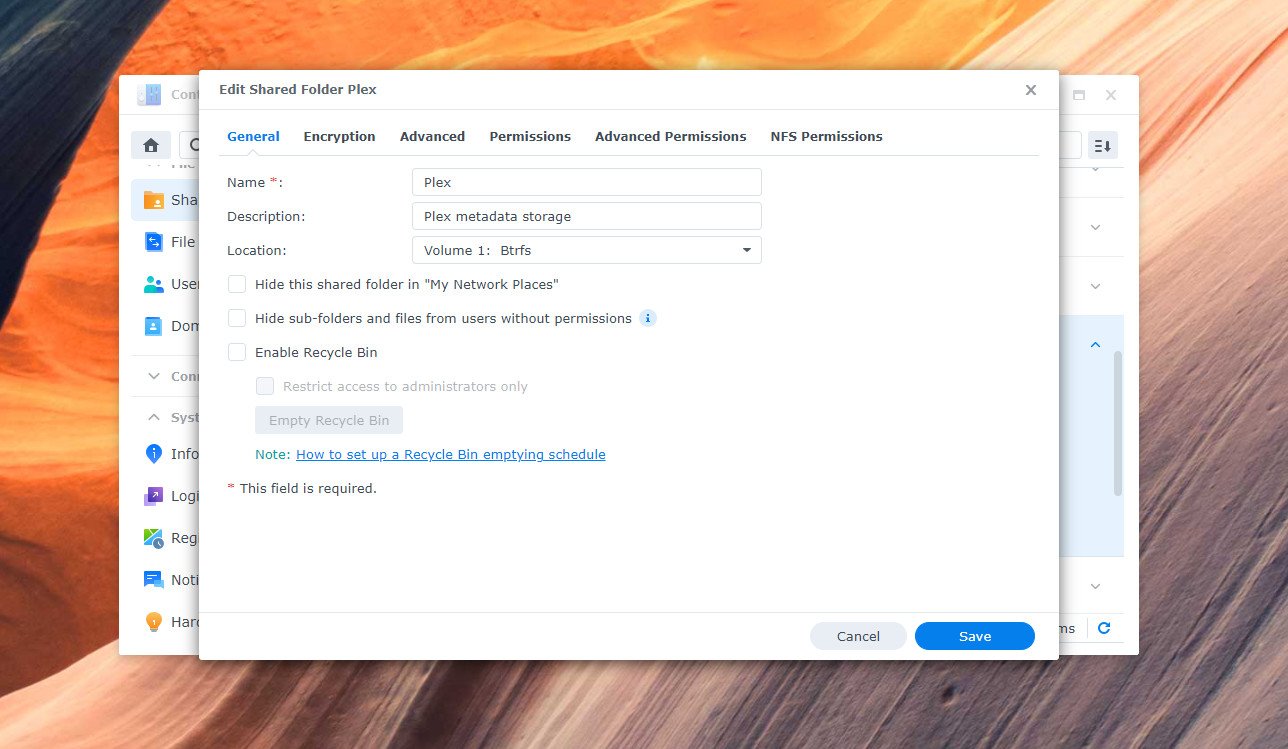
Select Shared Folder, choose Plex, and hit the Edit button.
-
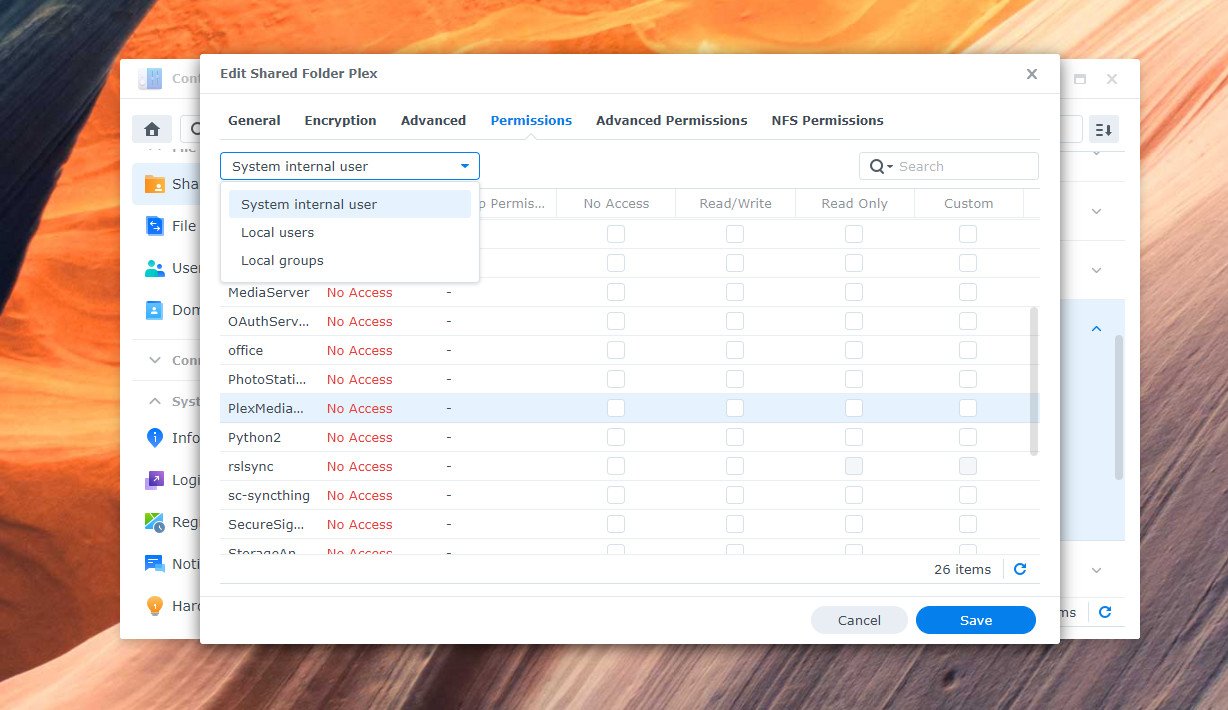
In this window, navigate to the Permissions tab.
-
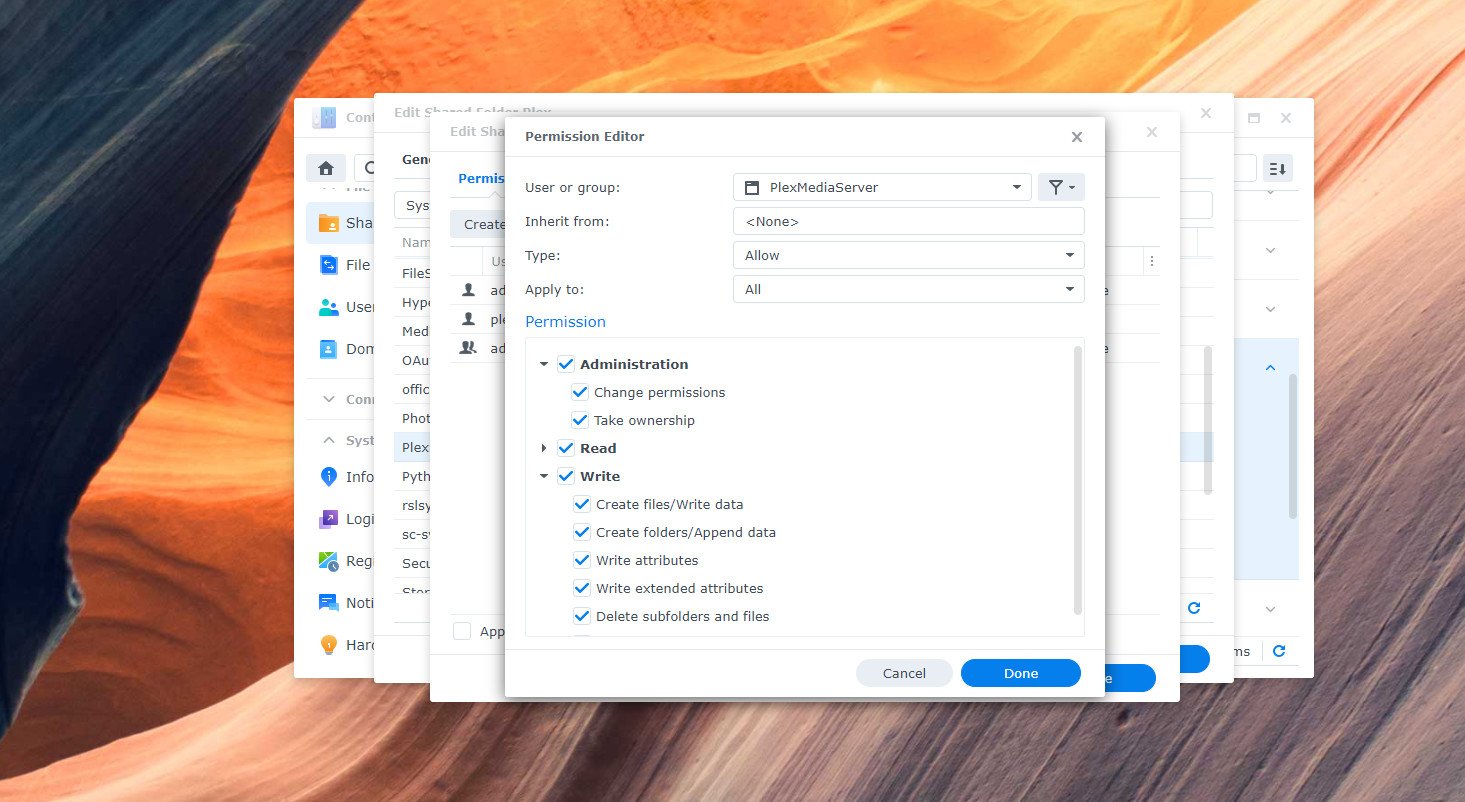
In the pull-down menu, select System internal user to see the PlexMediaServer user. By default, this user account will have no access. We’ll need to change that. Select the Custom checkbox to get started.
-
You will now see a new permissions window. Tick all the permissions in this dialog box, and hit Done to make the changes.
-
In the Edit Shared Folder dialog box, you should now see that the PlexMediaServer has Full Control. In this dialog box, select the checkbox for the setting Apply to this folder, sub-folders and files.
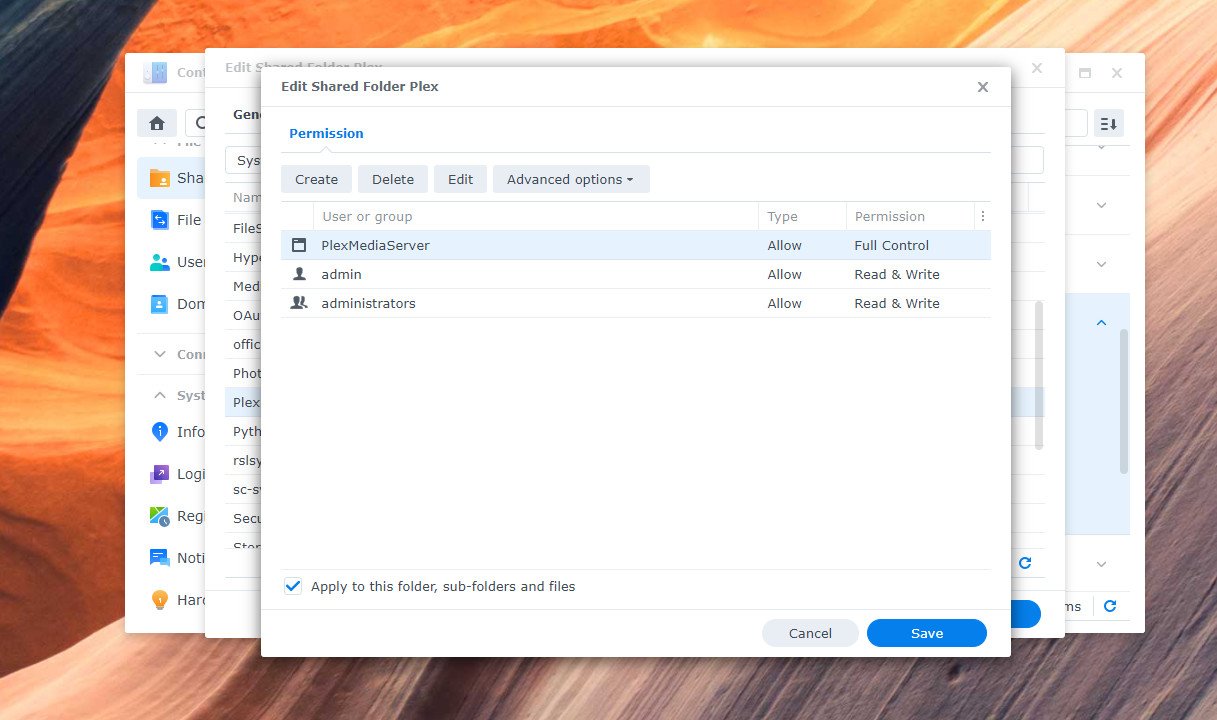
- Once that is done, hit Save to make the changes.
Now, we can get started with the actual migration. To do so, we’ll need to uninstall the Plex package that we downloaded earlier. Go to Package Center, select the Installed tab, hit Plex Media Server, and choose Uninstall from the pull-down menu. When you’re uninstalling, make sure you select the Uninstall only option. Doing so will ensure that the package is deleted, but the PlexMediaServer user will be intact with all the permissions.
The earlier installation of Plex was done so that the PlexMediaServer could be created and we can assign the user the necessary permissions. As we’ve done that, we’ll need to install Plex again so that the data can be migrated to the server.
Follow the steps outlined above for manually installing Plex to re-install the package. This time, you will see a spinning icon next to the Installing message:
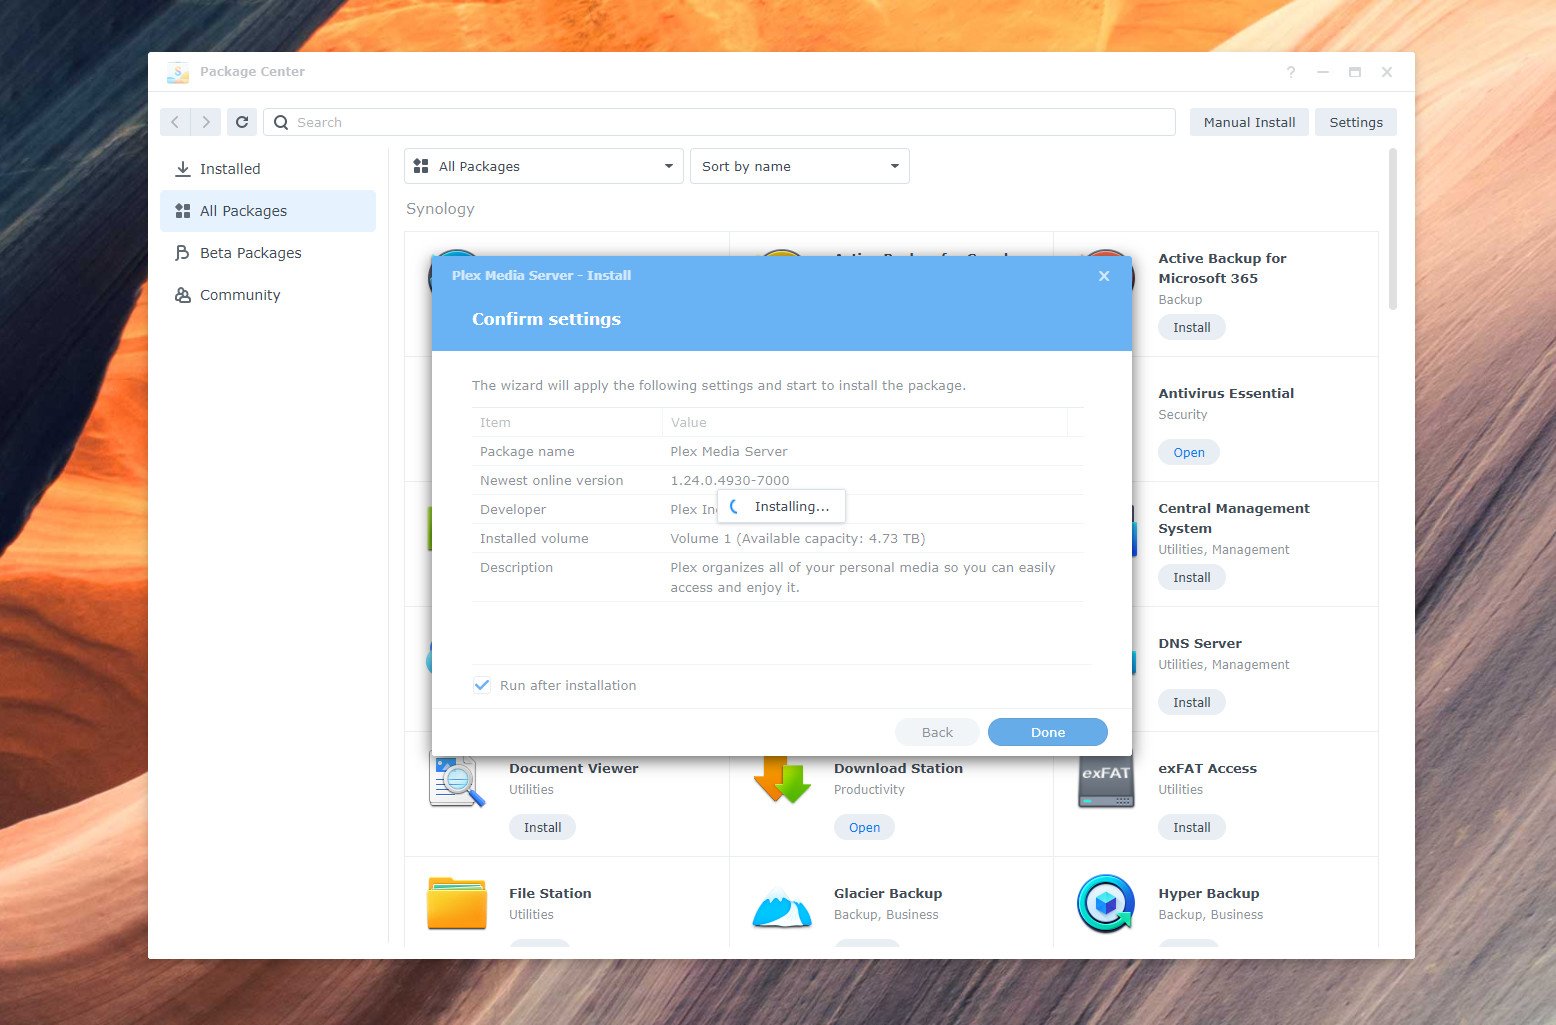
This means that Plex is migrating the data, and based on the size of your media library, it may take an hour or more. According to the official Plex documentation, it takes about a minute to migrate every 1000 items indexed by Plex, so you can use that as a rough estimate as to how long it will take.
I didn’t have any issues with my Plex install after switching to DSM 7.0 on my DiskStation DS1019+, and all I had to do was assign the permissions to the PlexMediaServer user. But I wanted to use the DSM 7.0-focused version of Plex on the DS1520+, so I went with the steps outlined above and was able to migrate the library without any hassle.
As you’re essentially reinstalling Plex, you will have to claim the server again before you can start using it. Thankfully, your folder structure will remain intact, so you don’t have to worry about categorizing your media library all over again. The changes to DSM 7.0 have led to changes in how the Plex package works, but the media server itself works just as well as before.
The obvious choice
Synology DiskStation DS220+

Stream everything
The DiskStation DS220+ is a great choice if you’re looking to set up a powerful Plex media server. With upgraded hardware, the ability to hold up to 32TB of data, and dual Gigabit Ethernet connectivity, the DS220+ ticks all the right boxes. Then there’s the fact that with DSM 7.0, you’re getting the best NAS software around.
![]()
www.itsec.hk
www.itsec.vip
www.itseceu.uk
Leave a Reply